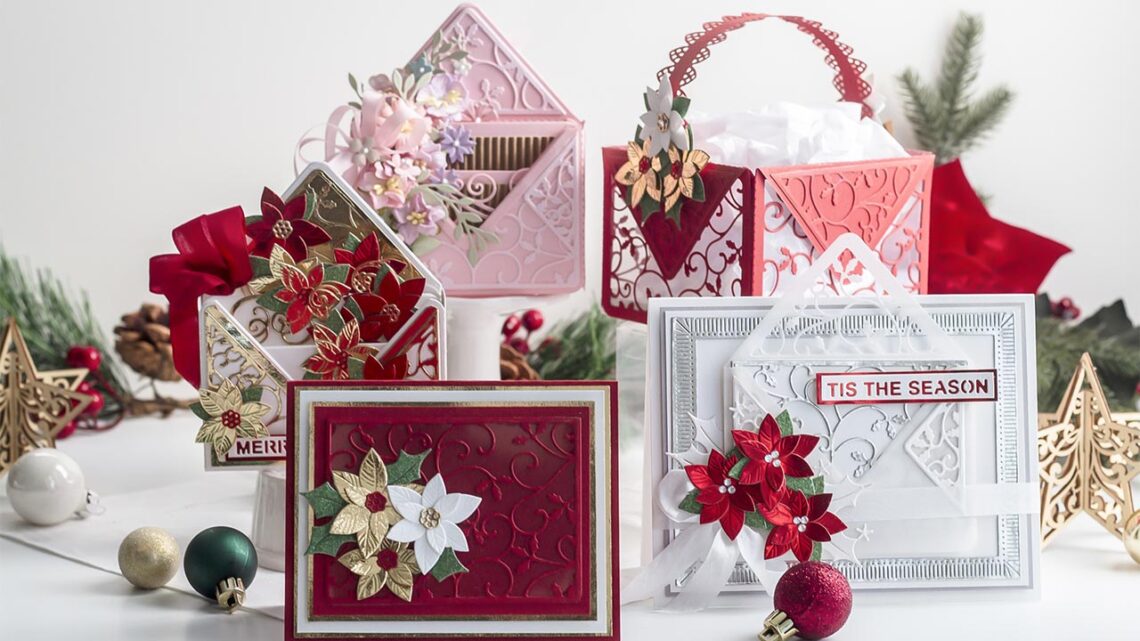
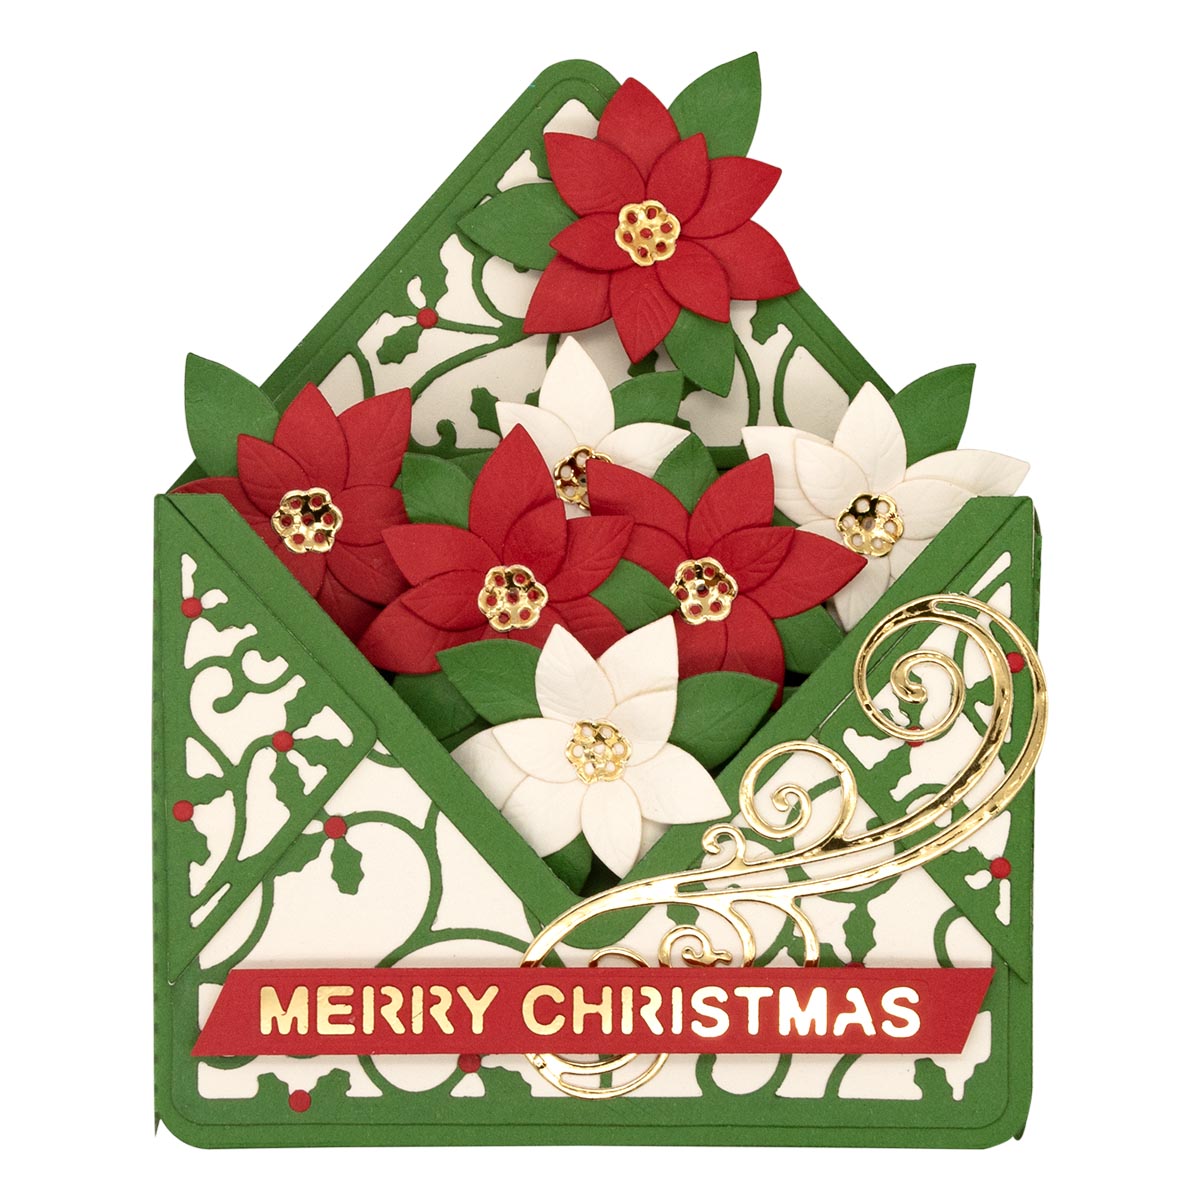
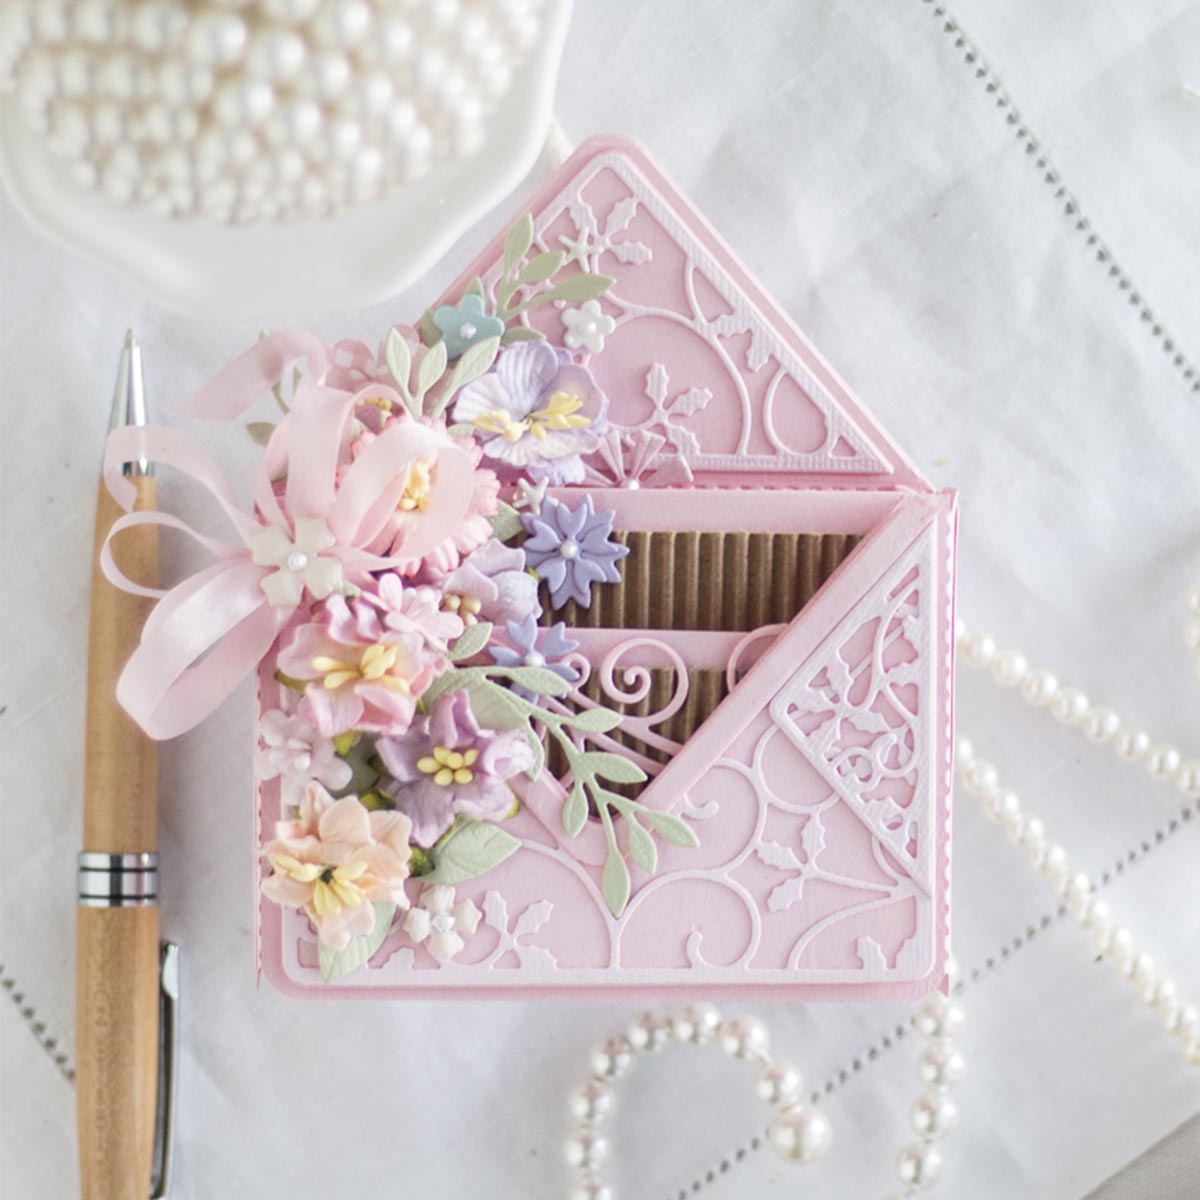
October 2022 Amazing Paper Grace Die of the Month Preview & Tutorials – 3D Poinsettia Surprise Envelope
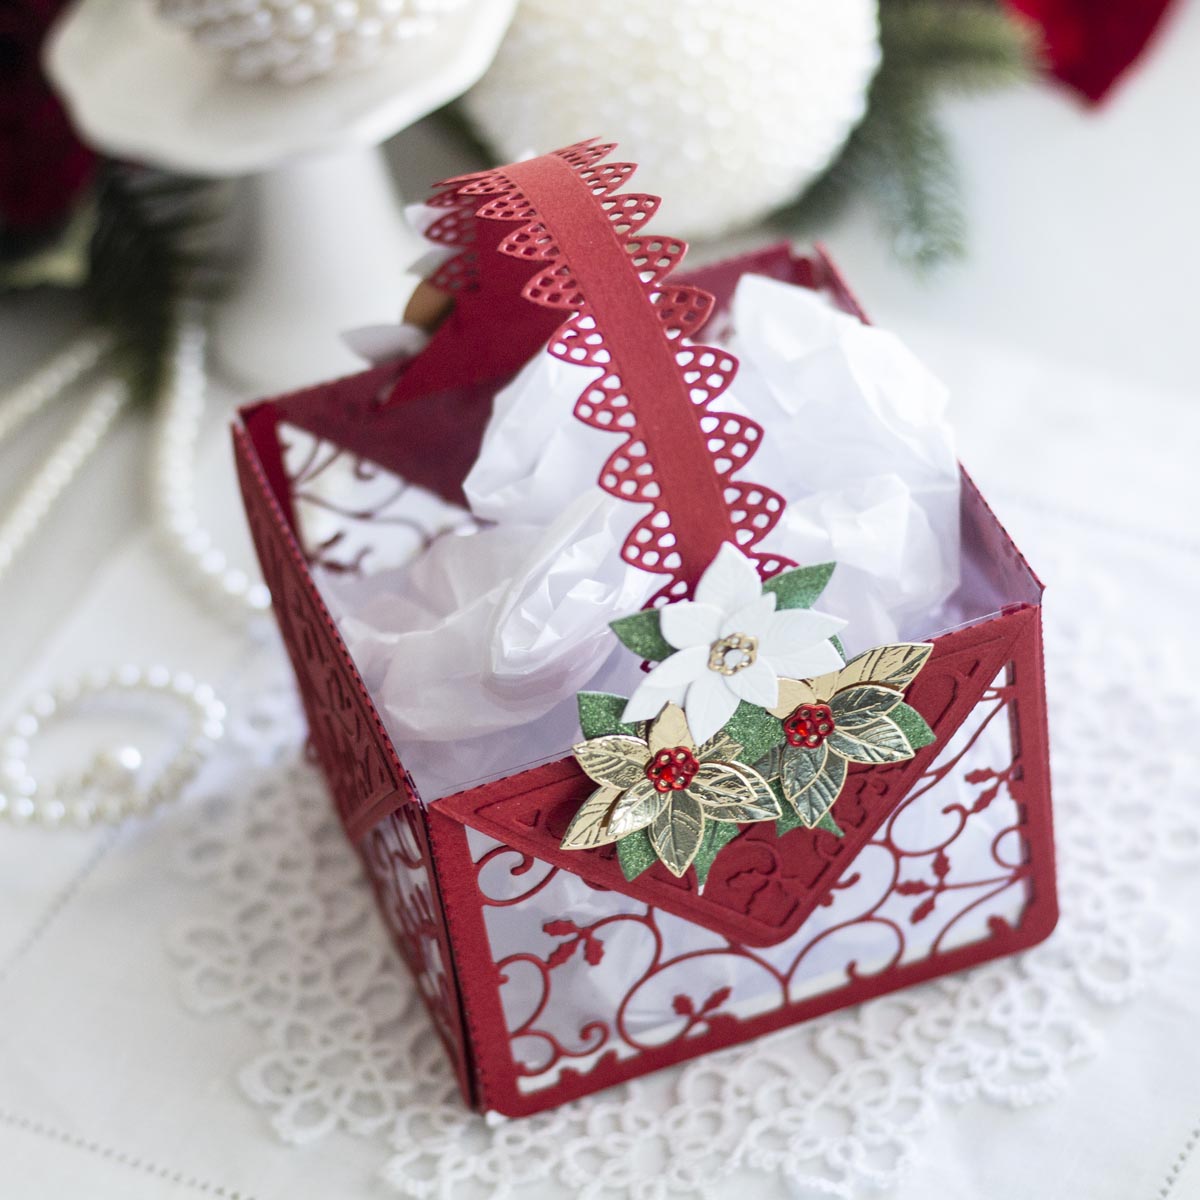
Our September 2022 Amazing Paper Grace Die of the Month preview & tutorials are here! Designed by Becca Feeken from Amazing Paper Grace this “3D Poinsettia Surprise Envelope” die of the month will have you creating gorgeous layered projects in no time! Versatile, elegant, and timeless. This die set features 22 dies.
Enjoy the step-by-step tutorial below as well as the video tutorial to get you started with this month’s kit. Make sure to show us what you create by tagging #AmazingPaperGraceClubKit & #SpellbindersClubKits on social media!

Instructions:
Catch step-by-step instructions below. Click photos to enlarge:
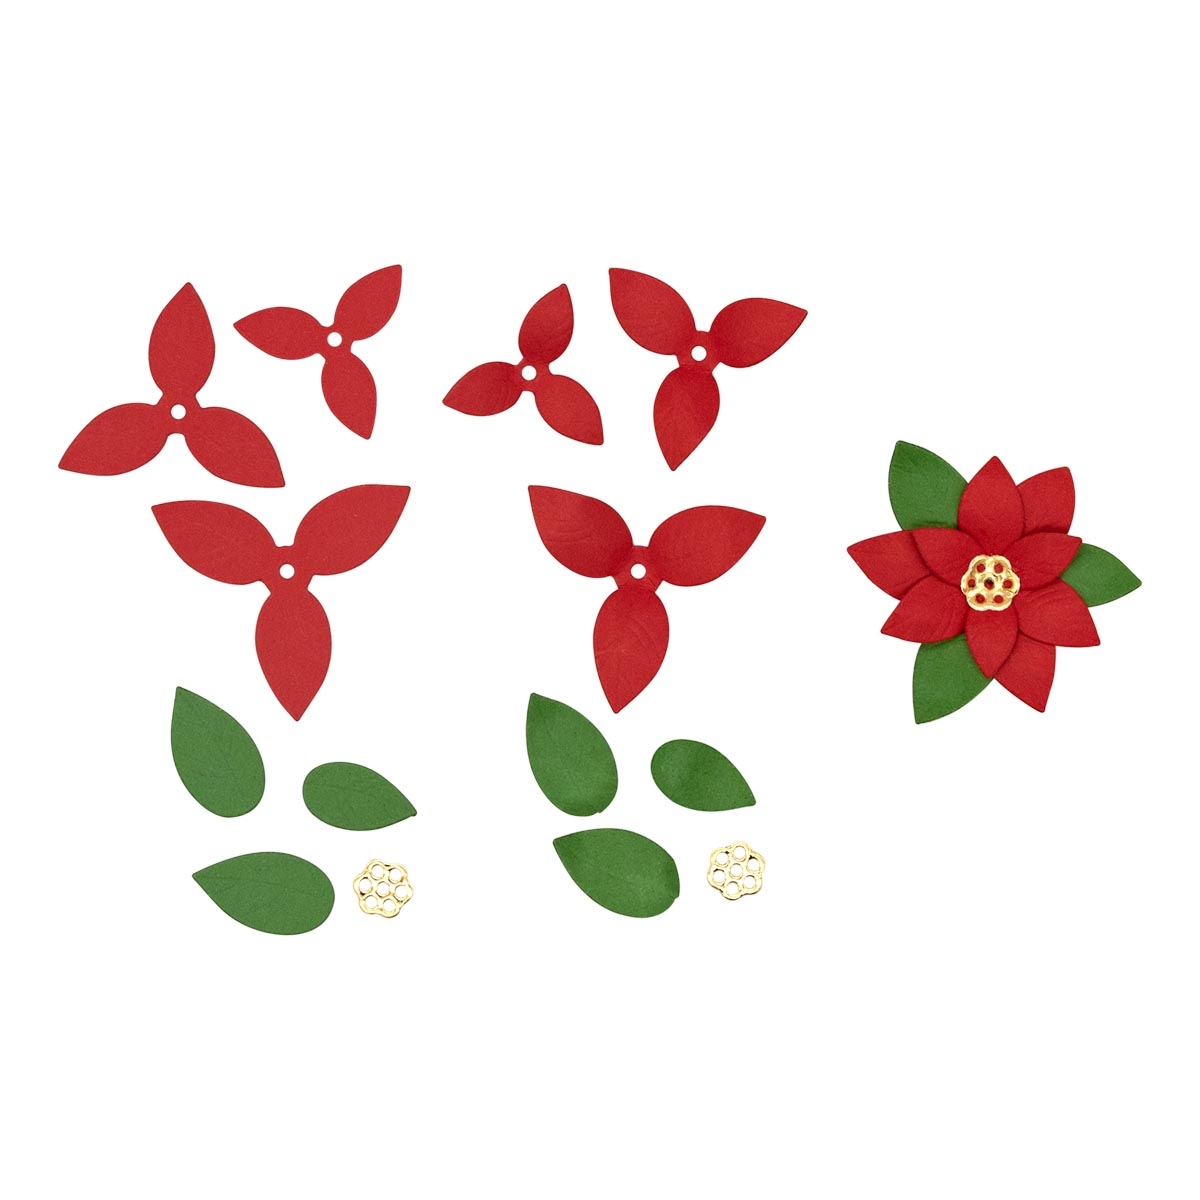
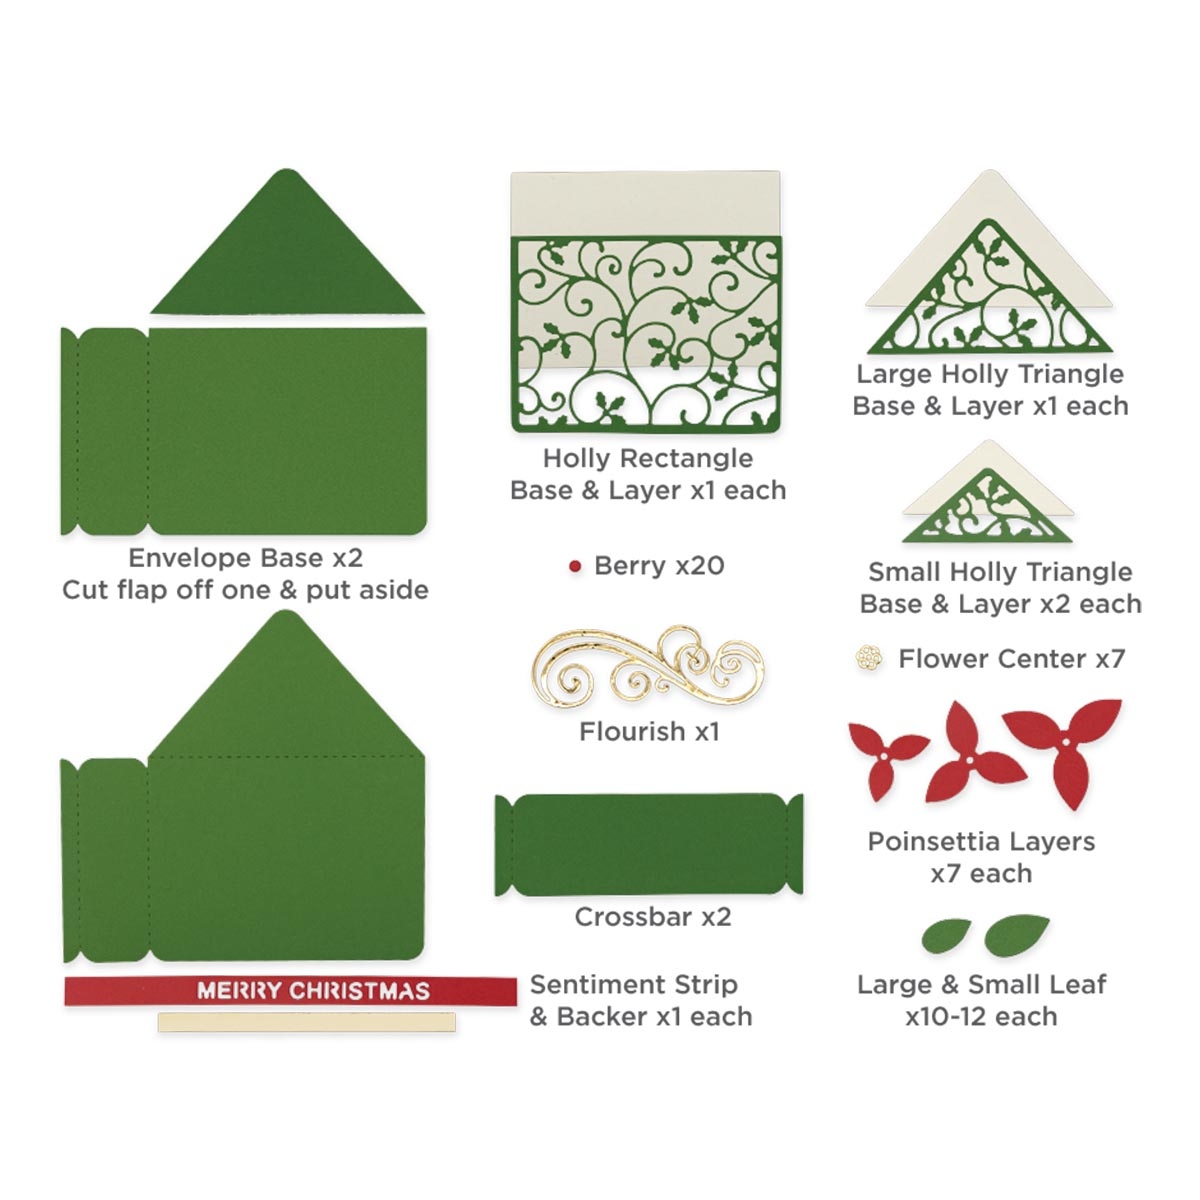
- Die cut pieces as shown.
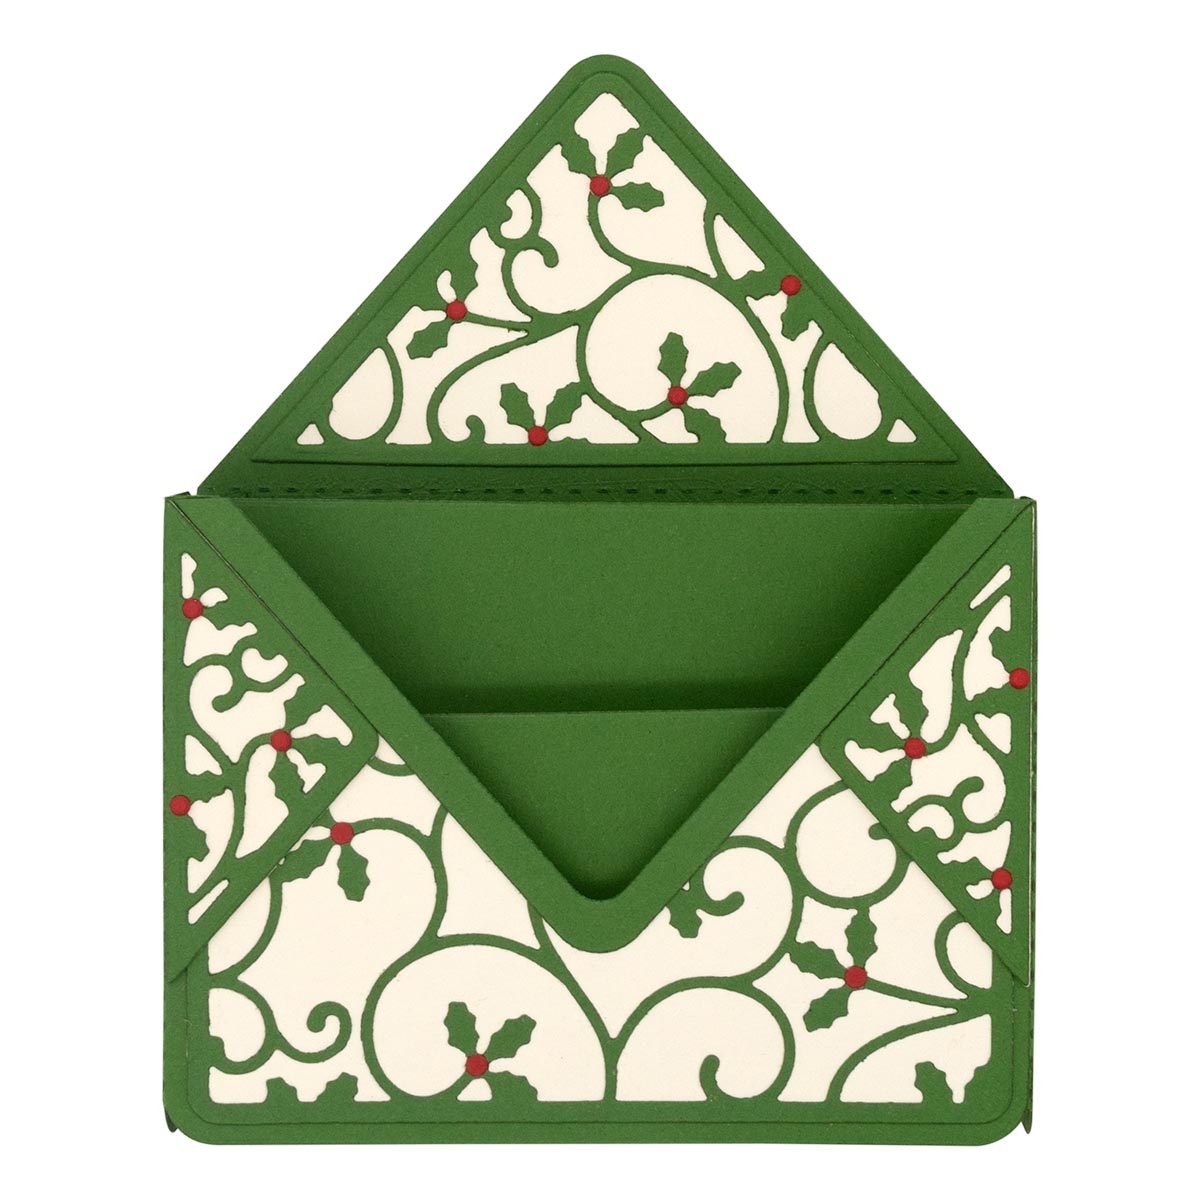
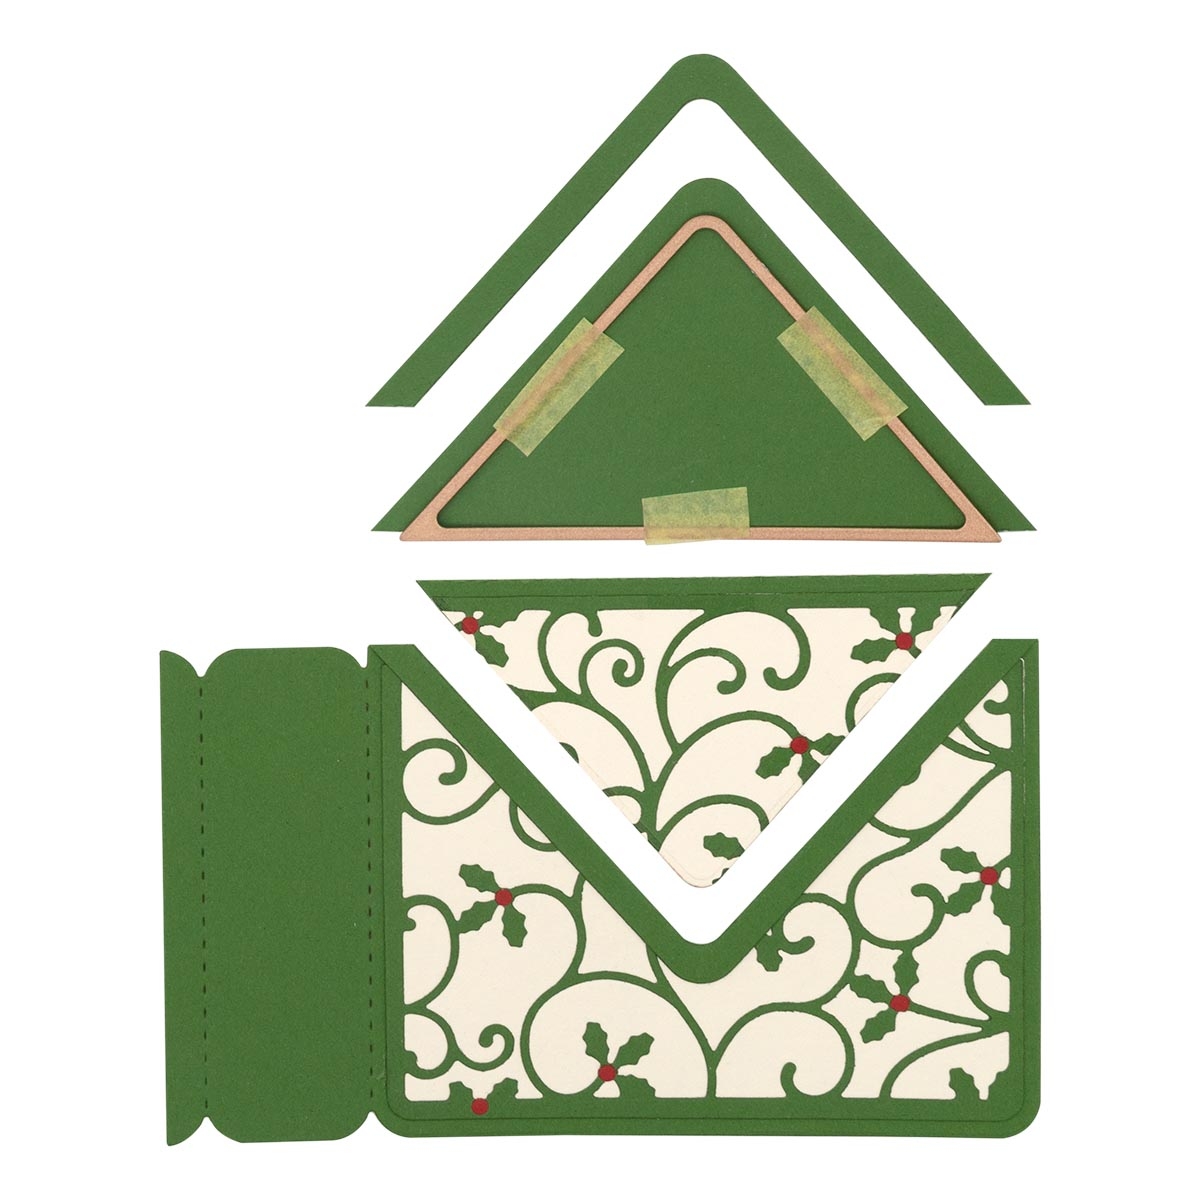
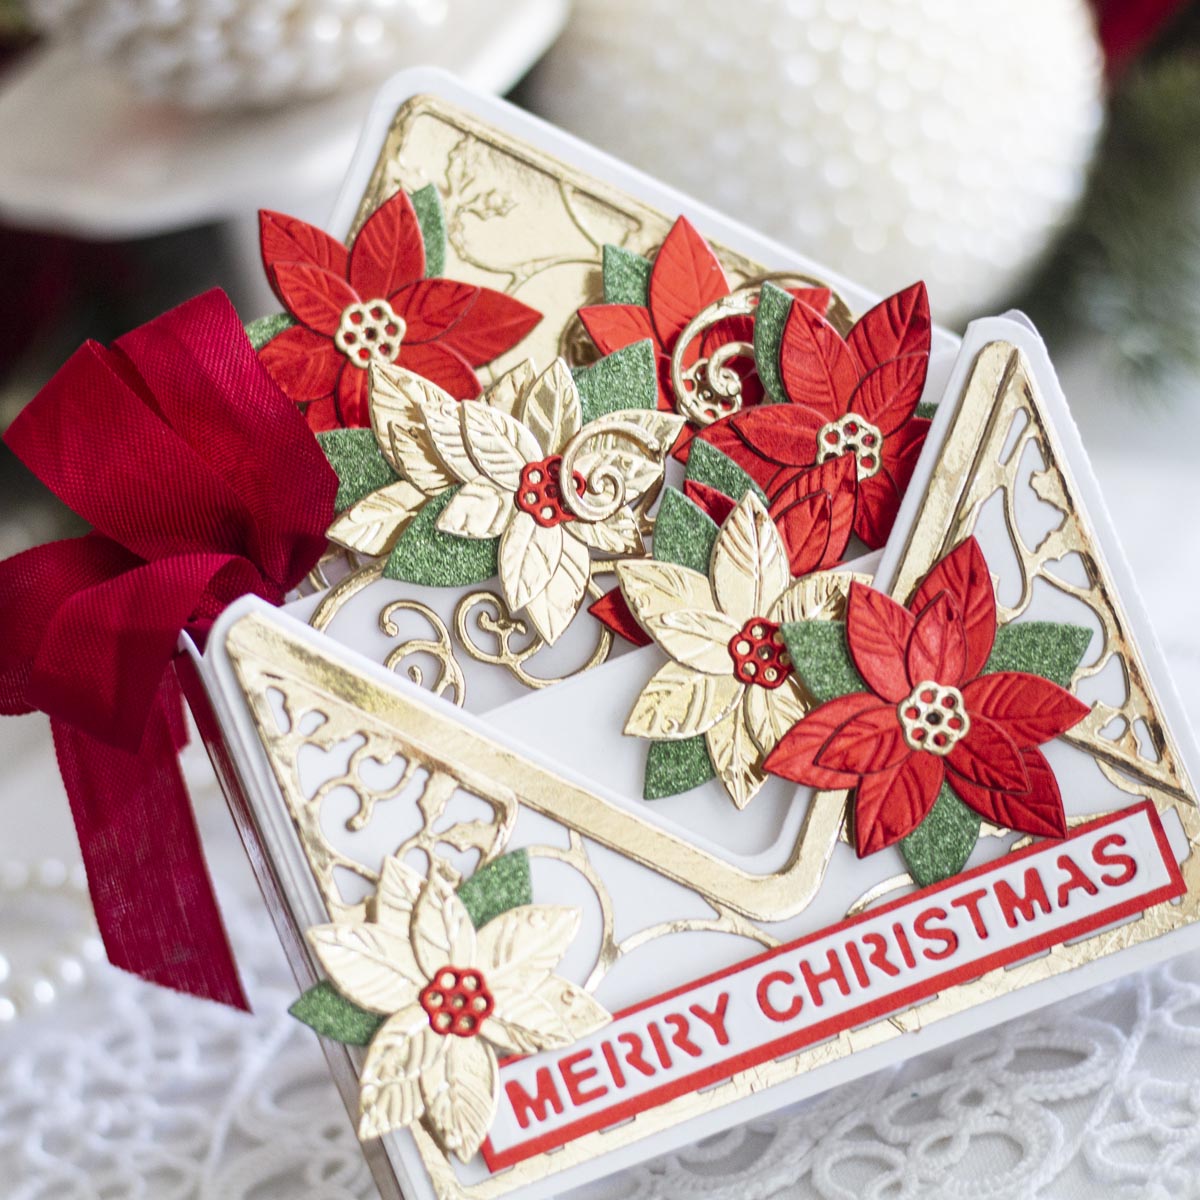
- Using large triangle die, cut envelope flap that was put aside as shown to create a thick border. Layer rectangle holly flourish insert onto cream rectangle base and add berries. Attach to envelope. Center large triangle die; carefully tape in place and cut out “V” to create the look of an envelope. Adhere die cut border to the cut edge of the envelope for a more finished look.
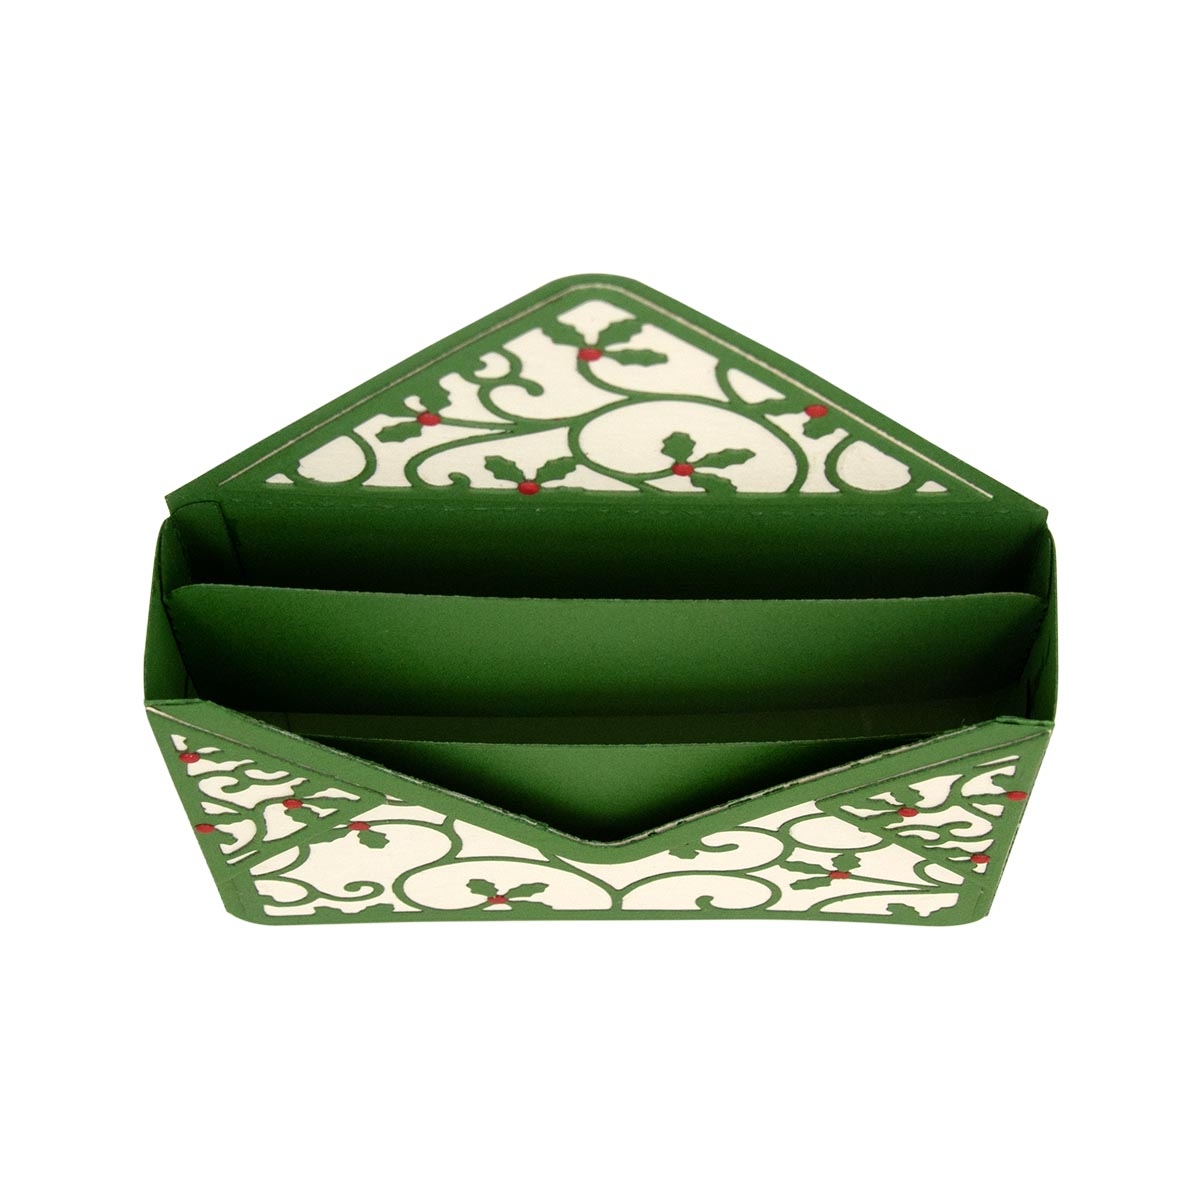
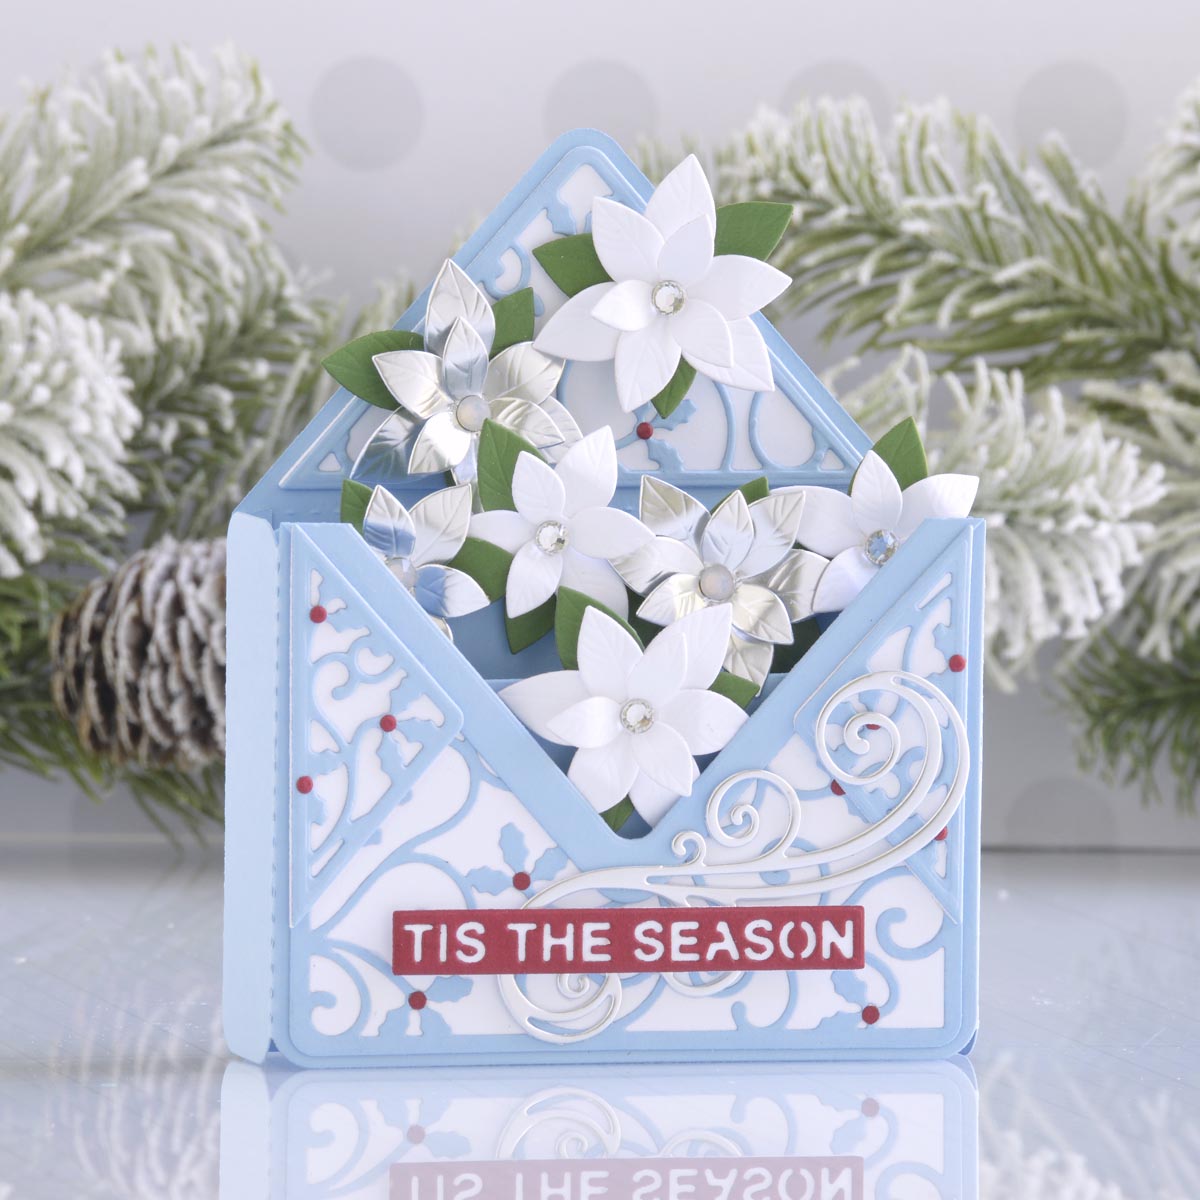
- Glue large triangle holly insert onto cream layer and attach to flap on second envelope base. Assemble 2 small triangles and adhere to sides of the front of the envelope to create the look of the envelope. Fold perforated sides of the two bases of the envelopes. Adhere one side together. Before gluing other side of the envelope together, fold both crossbar pieces and glue staggered to one side of the envelope base, one lower and more to the front and the second higher and to the back. Adhere the other side of the crossbars to the other side of envelope (this is a little tricky, but tweezers can help). Glue remaining tab to create the finished envelope.
- To create the poinsettias (7 created), burnish the backs of the petals and then turn over and cup at the center to create dimensional layers. Glue together, staggered, adding flower center and leaves. To create various size flowers, do not use all three layers for all flowers. With foam squares, add assembled poinsettias as shown. Add flourish and sentiment as shown or desired. To create a more “mail friendly” version, do not use foam adhesive when adding the poinsettias. This can mail flat, but a padded envelope is recommended.
Approximate Finished Project Measurement: 1.00 x 4.00 x 5.13 in I 2.5 x 10.2 x 13.0 cm
October 2022 APG Die of the Month – Video Tutorial
Watch the video tutorial using this month’s kit below or on Youtube.
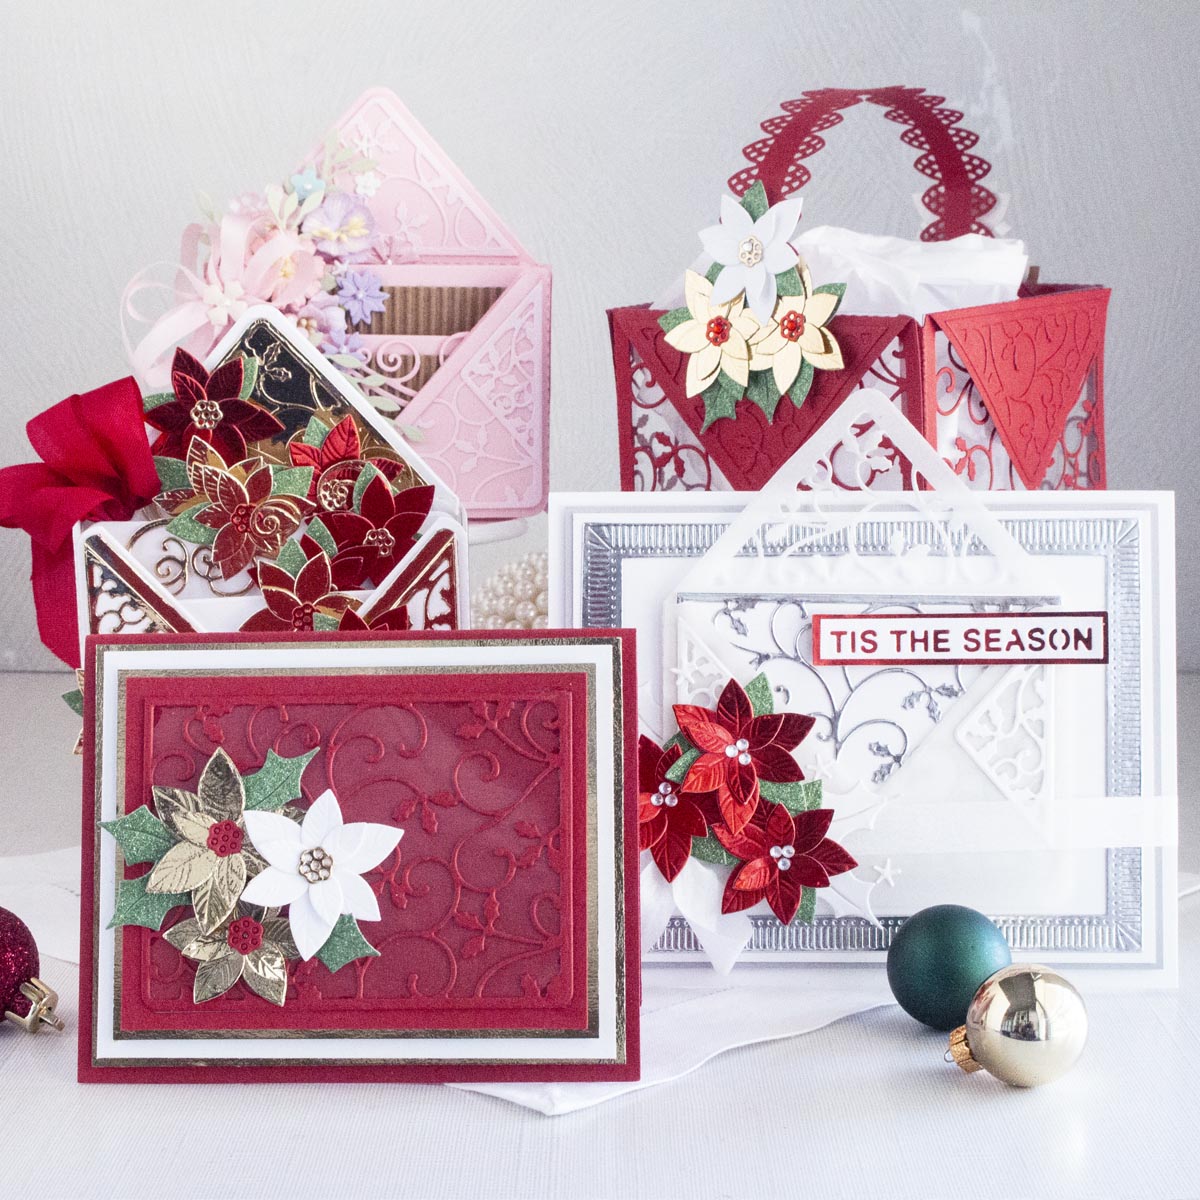
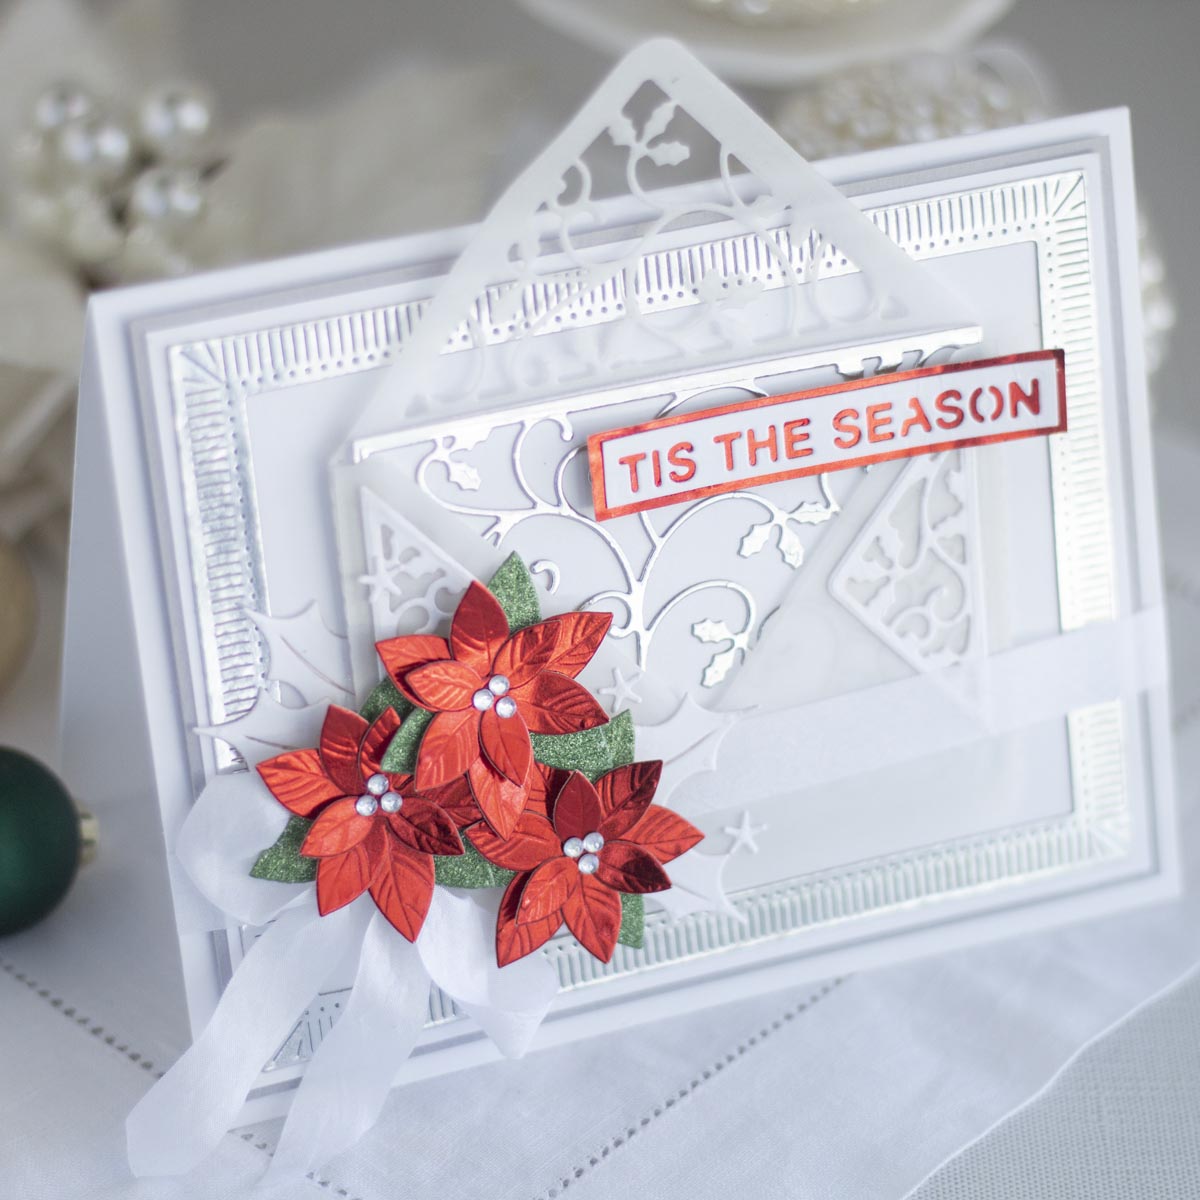
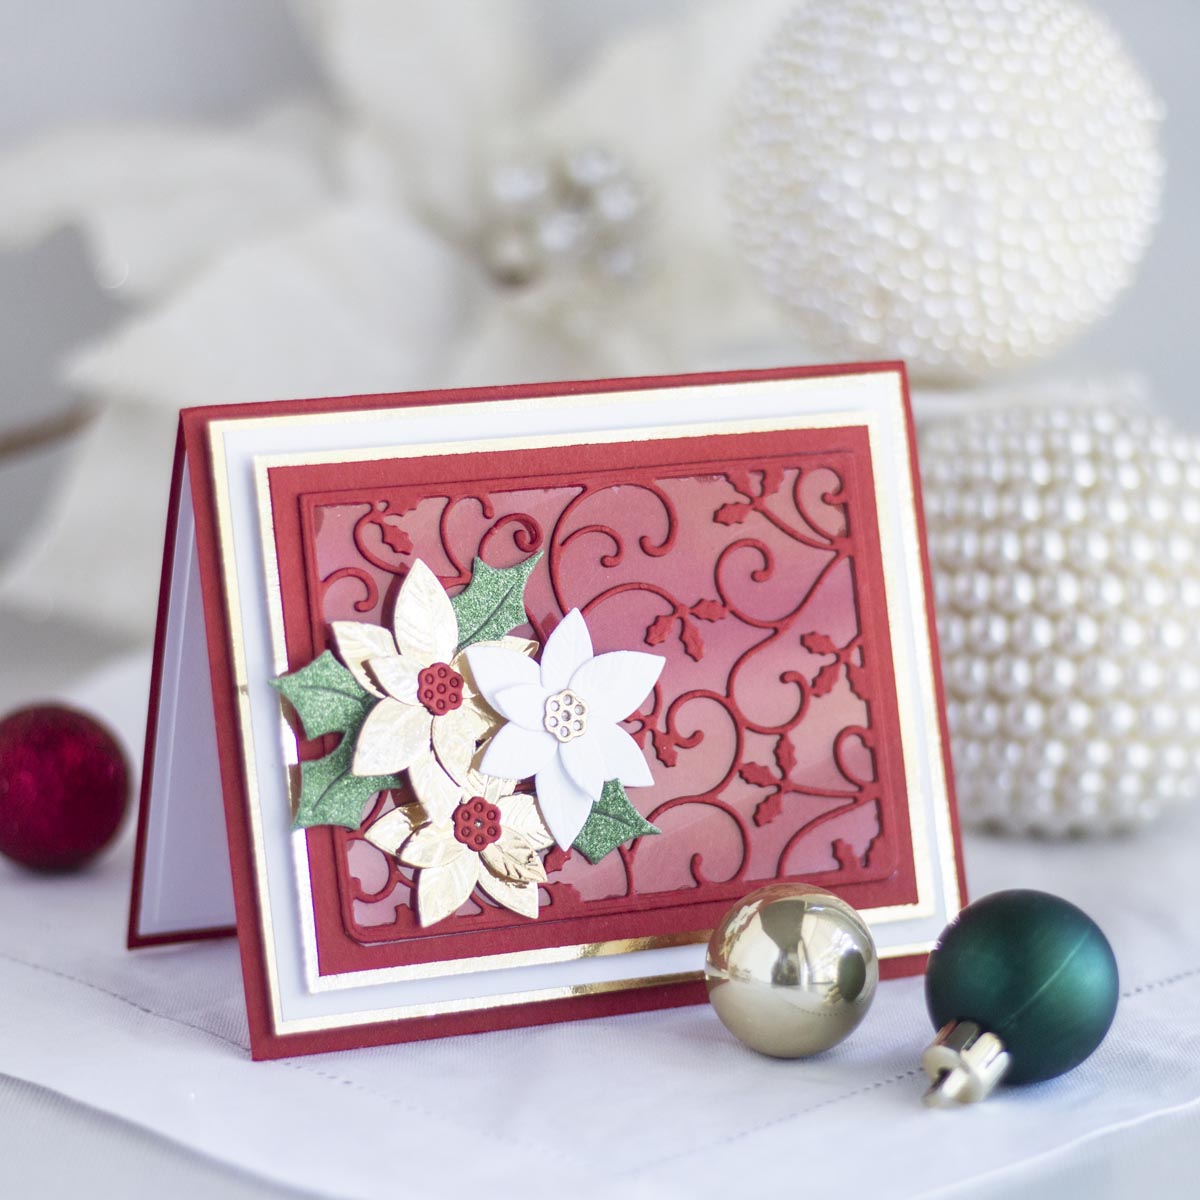
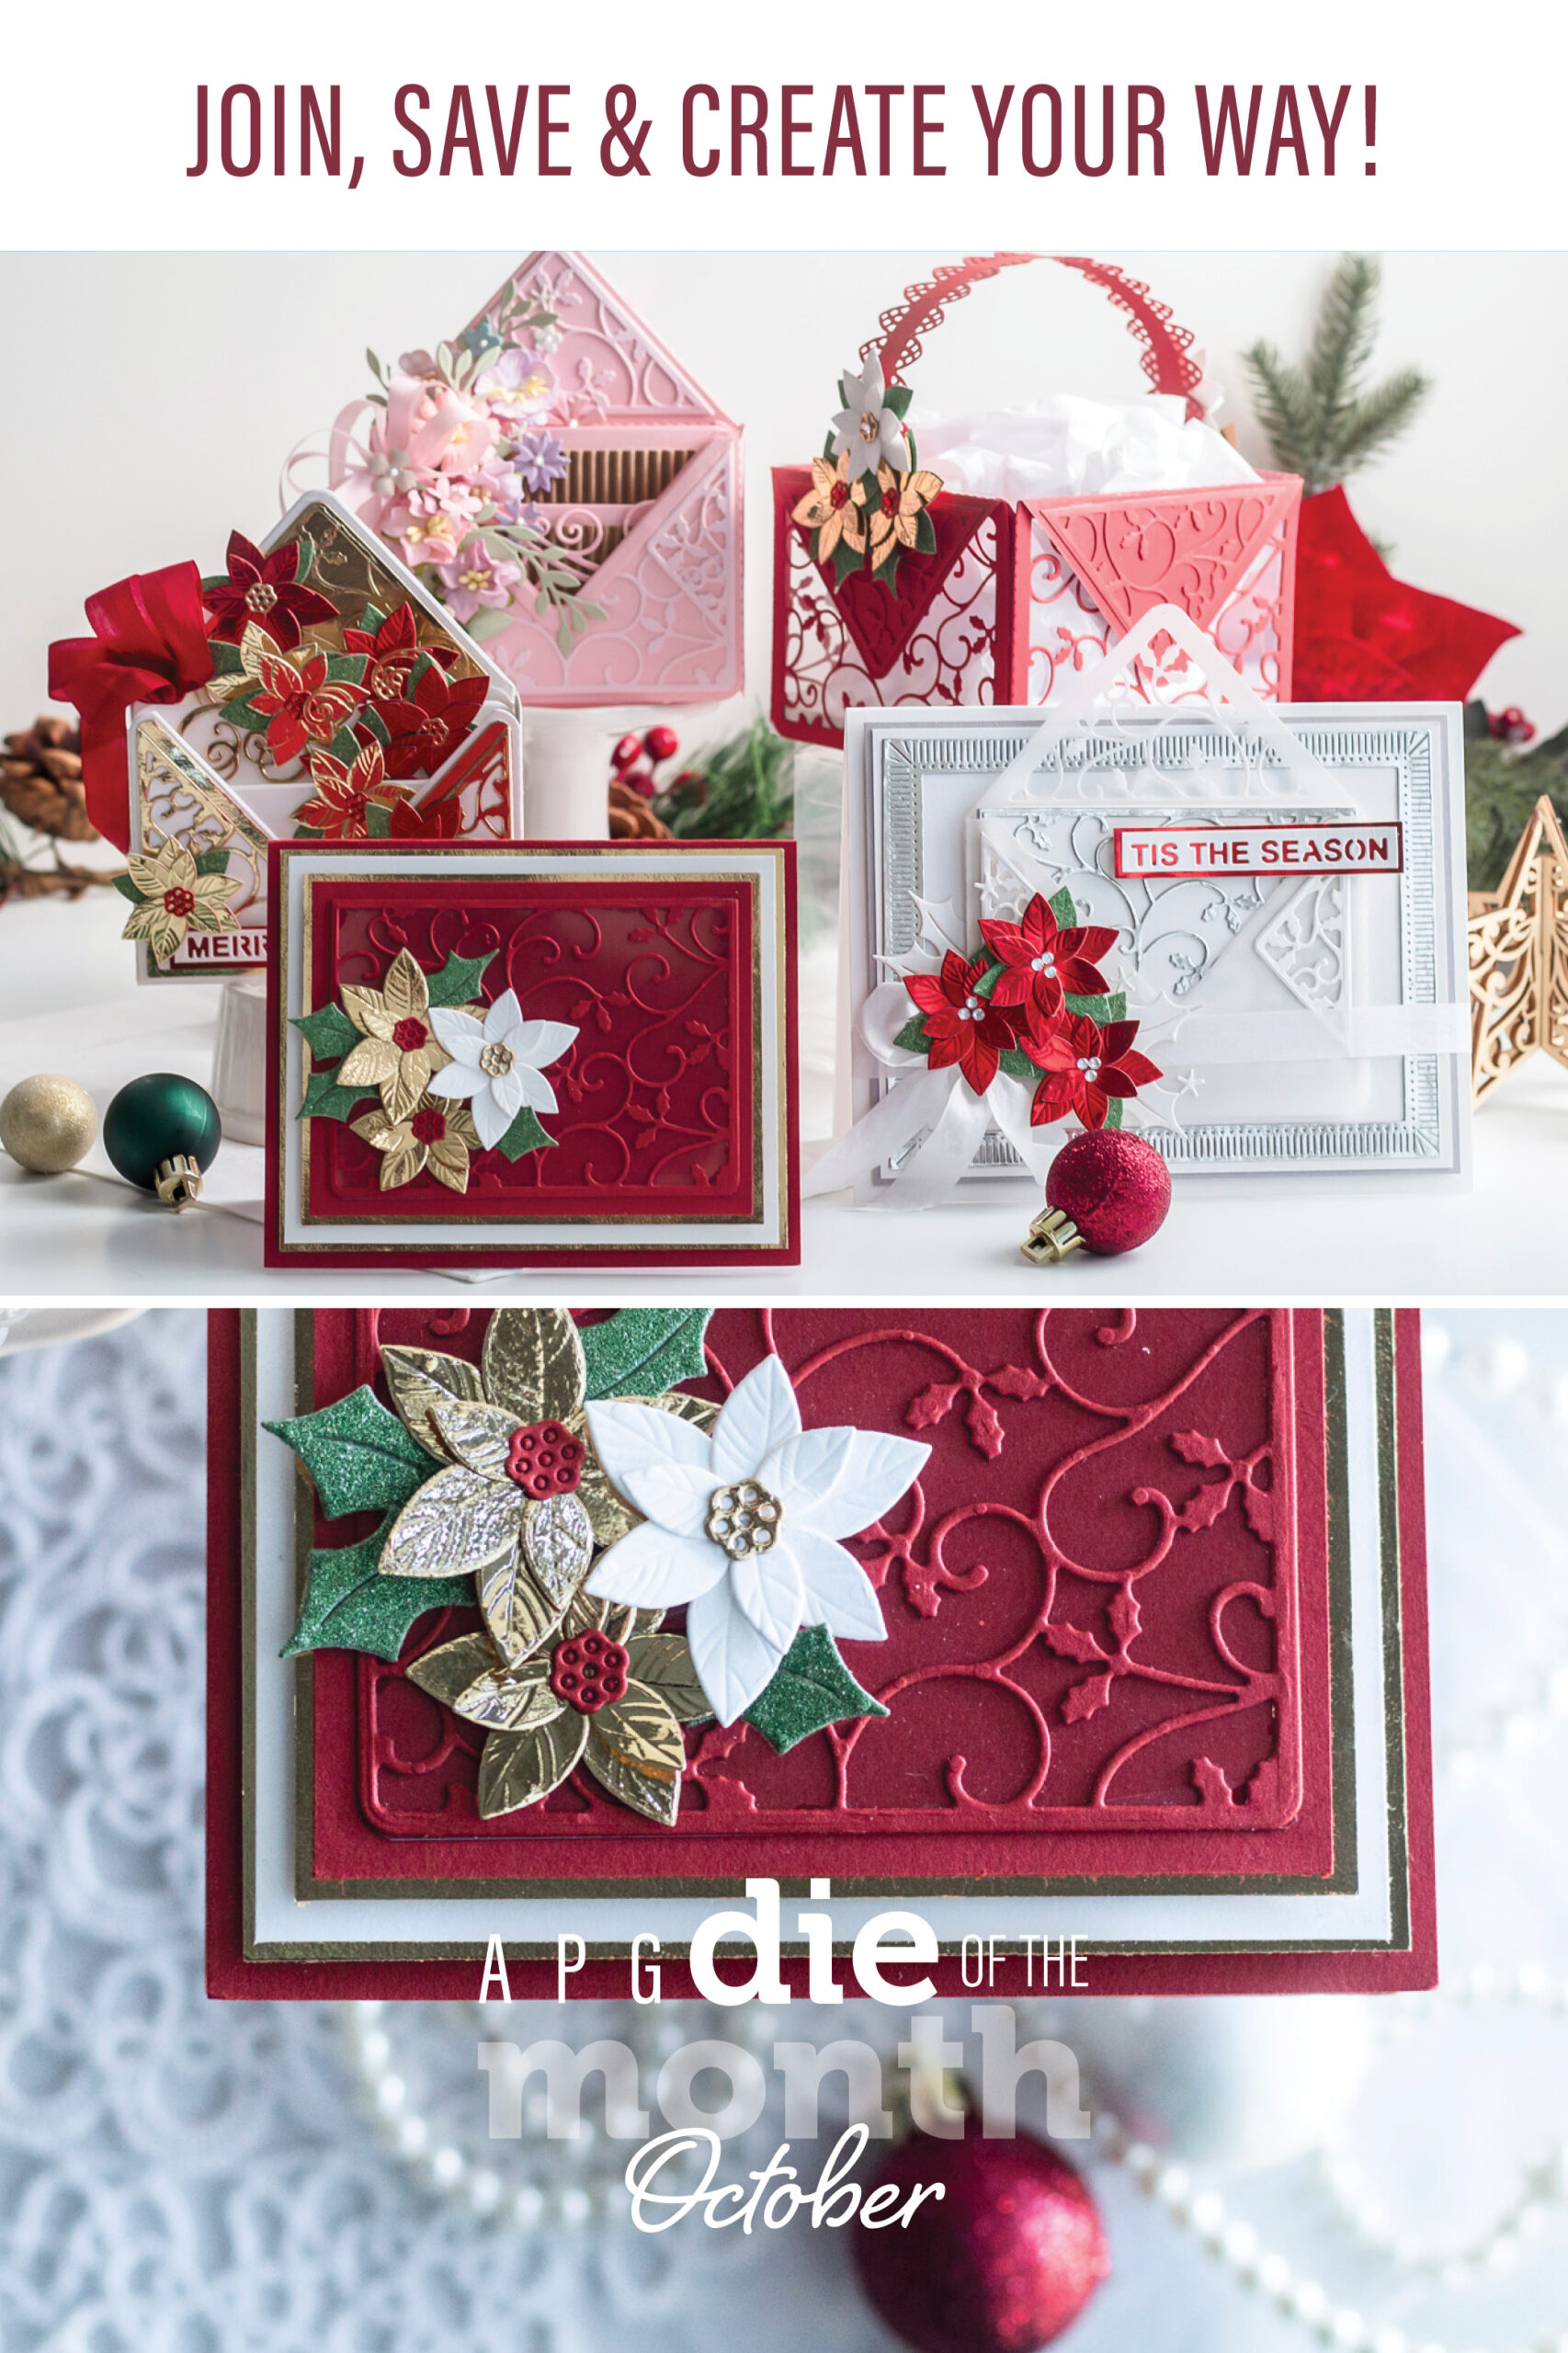
Additional inspiration
Here’s a closer look at the other projects created using October 2022 Amazing Paper Grace Die of the Month:
Value Clubs
For those who want to join multiple clubs to bundle and save, we offer Value Clubs and VIP Value Clubs. VIP Value Clubs offer members the most value and savings + members will periodically get BONUS Deals and Gifts. See all Value Club options here.

2 Comments
Beverly Fuchs
Grace and elegance equals Becca Feeken. You have done it again Becca. I am always amazed at the designs that you create. Your mind must be bursting with all of your brilliant and beautiful ideas. Thanks for sharing with us your wonderful talent and beautiful self.
Leonore
Totally agree Beverly & your card designs are stunningly beautiful too xx