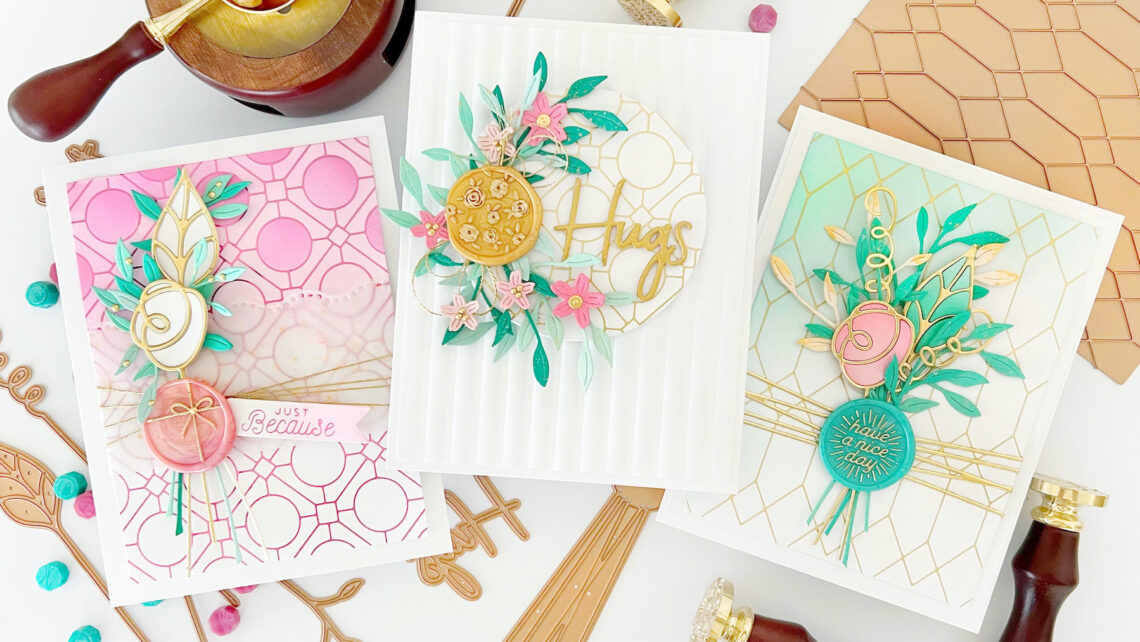
Elegant Foiled Cards With Wax Seals
Hello, crafty friends! Dilay here from JustCallMeDee.com, and I am excited to be returning for another guest post on the Spellbinders blog! Today, I am sharing a few projects using the new Sealed For Spring Collection wax seals. I am showcasing three of the four new wax seals, combined with a gorgeous selection of hot foil plates, coordinating stencils, and dies. Wax seals are a beautiful way to add a bit of elegance to any project – and they are super easy to create! I hope you like what I came up with and are inspired to try them out for yourself! Let’s get started!
Tip: Create the wax seal on a piece of scrap paper first (in case something goes wrong) then transfer it to your project once it has cooled down!
Have A Nice Day
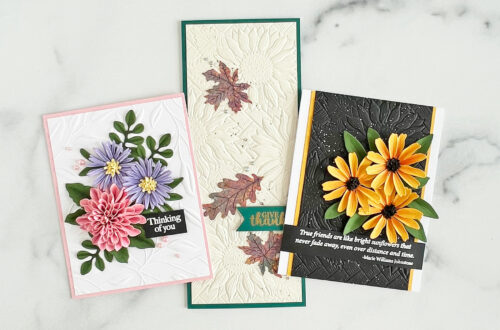
For the first card, I foiled a piece of white cardstock with matte gold foil using the Geometric Diamond Background hot foil plate. Although this foil plate can be used with the coordinating stencils to add color, I went with a subtle gradient wash to the top left corner. I then die-cut the Sealed Twine die in gold mirror cardstock, Sealed Squiggles, and Sealed Leaf Sprigs in shades of teal, light pink, and mirror gold cardstock.
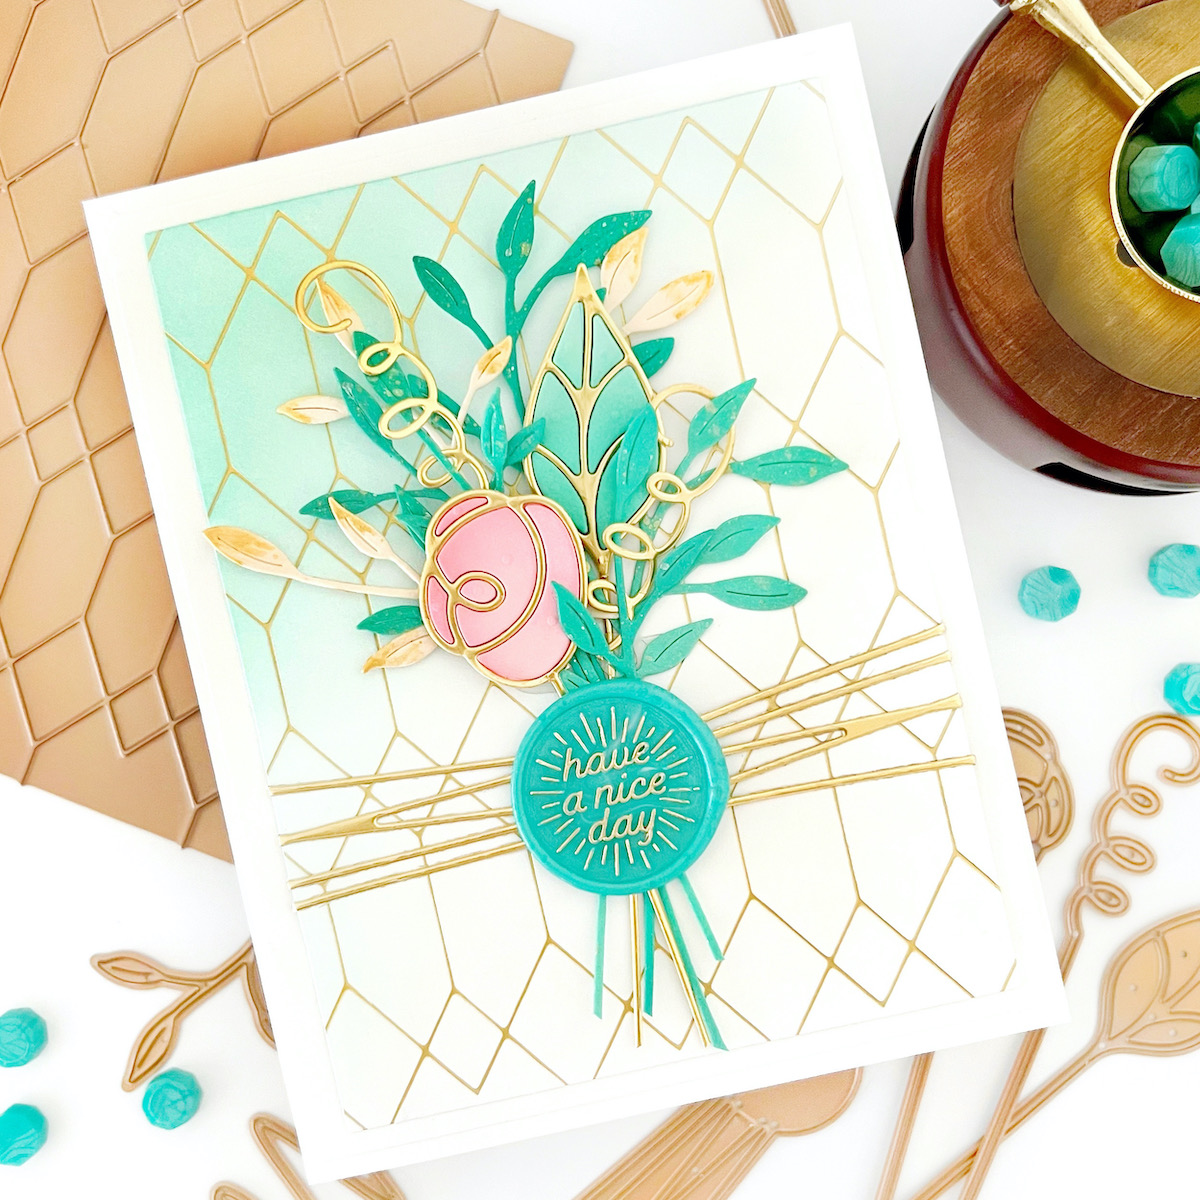
I splattered the die cuts with gold watercolor paint as an extra touch, assembled them, and then adhered it over the top of the foiled panel. To finish, I used teal wax and the new Have a Nice Day seal as the focal point of the bouquet.
Hugs
For this card, I embossed a piece of white cardstock with the Corrugated 3D Embossing folder then adhered it onto an A2-sized, top-folding card base. I then foiled the Geometric Optical Background hot foil plate onto a white cardstock panel and die-cut it with a basic circle die then adhered it to the panel with foam tape.
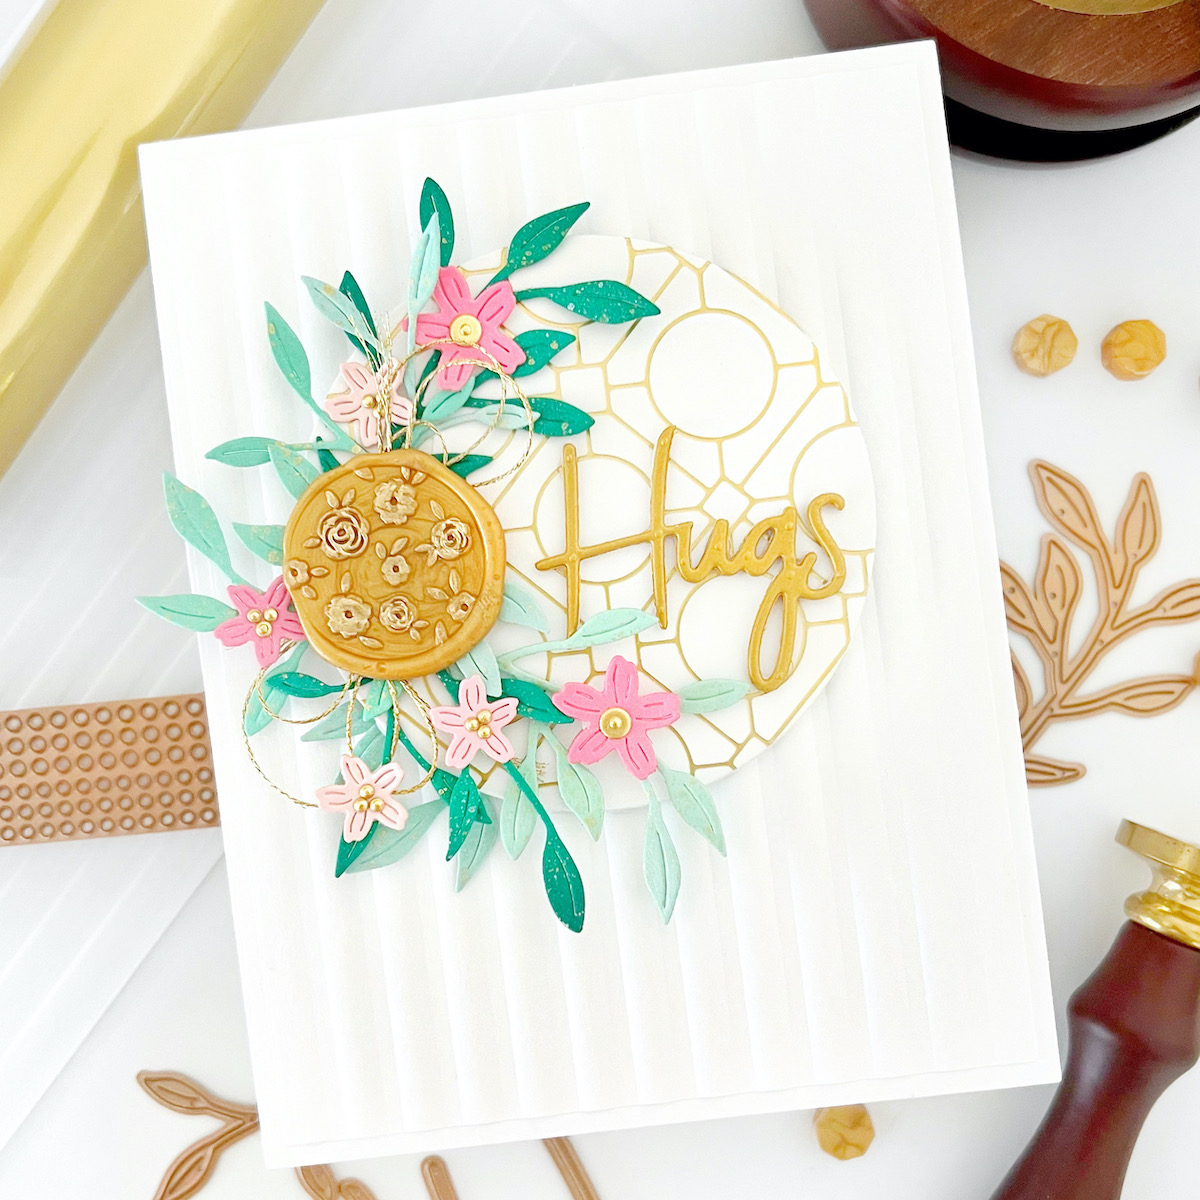
I die-cut more of the Sealed Leaf Sprigs dies and a few simple flowers then arranged and adhered them onto the left side of the foiled circle, securing them using gold wax and the new Scattered Flowers Seal. I added a few gold die cuts using the Sealed Confetti Die and adhered them to the center of the flower arrangement. To finish, I die-cut the Hugs sentiment from the Simply Perfect Mix and Match Sentiments die set and adhered it to the foiled circle.
Tip: To add even more elegance to the seals, you can add some gold detail using the gold DecoColor marker – just as I did with these projects!
Just Because
For the final card, I created a similar design to the first one, but this time used coordinating stencils in addition to the Geometric Optical Background hot foil plate (with pink Foil for a tone-on-tone look). Next, I cut a piece of vellum to create a belly band, then die-cut each of the Sealed Squiggles and Leaf Sprigs dies in shades of teal, white, and gold, then assembled and adhered them to the left side of the panel.
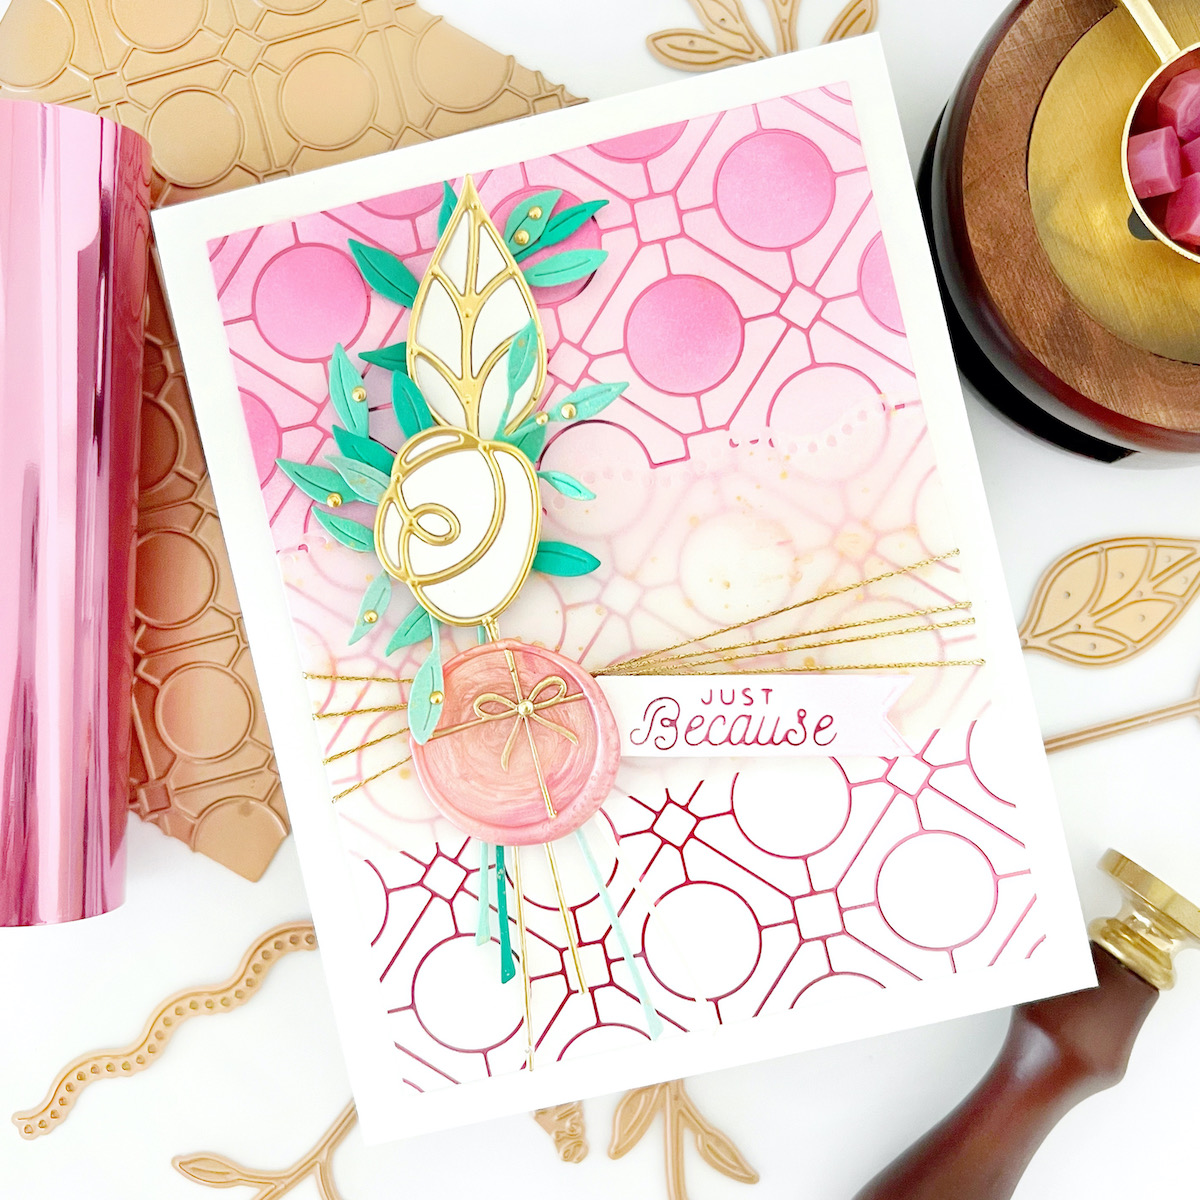
I then wrapped a bit of gold thread around the panel and secured the back before mounting it onto an A2-sized, top-folding card base. Lastly, I added a peachy pink and gold wax seal using the new Gift Bow Seal and added a foiled Just Because from the Sealed Glimmer Sentiments foil set right under it.
I hope that you enjoyed my trio of cards! Be sure to check out the entire Sealed for Spring Collection, as well as visit my blog for more project ideas using wax seals, foil plates, and much more! Thank you so much for joining me today!
Spellbinders Supplies:

Other Supplies
DMC Essential Metallic Diamant Thread, DecoColor Premium Gold Marker.
One Comment
Cindy
All your cards are amazing. Such talent. Thank you for sharing with us.