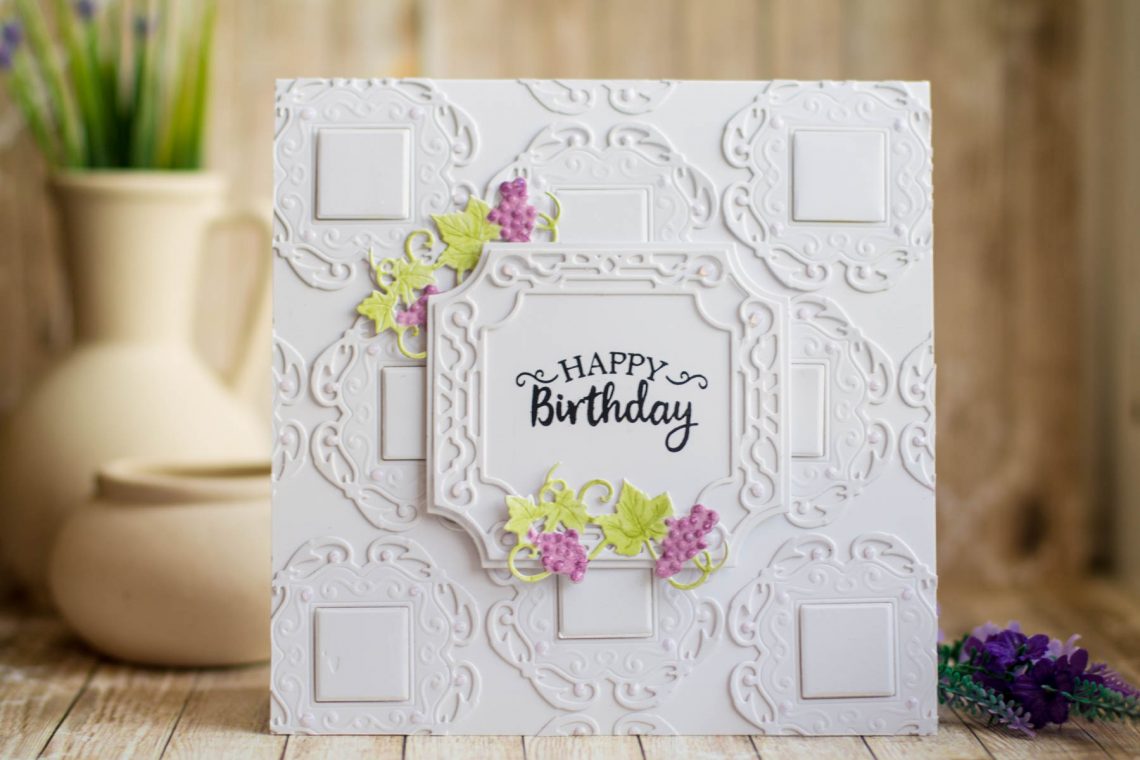
Cardmaking Inspiration | Happy Birthday Card
Hello Spellbinders’ fans! Welcome back to our Cardmaking Inspiration series! We hope you’ve been enjoying these mini posts sharing simple cardmaking ideas and step by step instructions on how to make them!
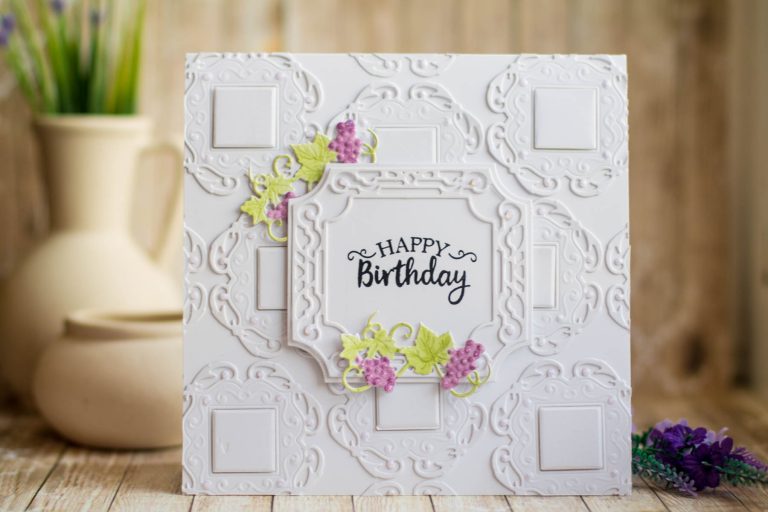
Today we have a Clean & Simple Birthday card created using dies from the Wine Country collection by Stacey Caron.
Project created by Elena Salo
Step By Step Instructions:
We have a full set of step by step instructions describing how to create this card.
- Create 5 ½ x 5 ½ “ top folding card base.
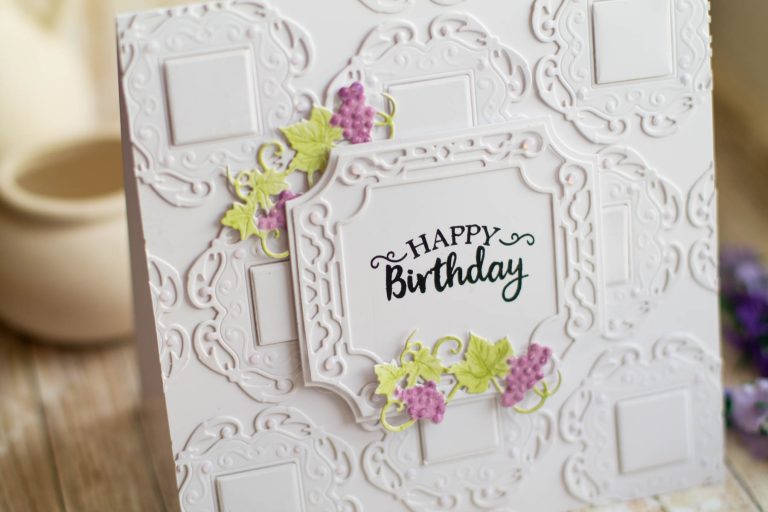
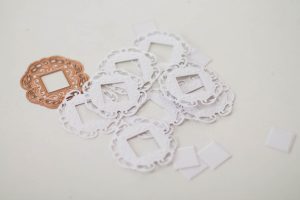
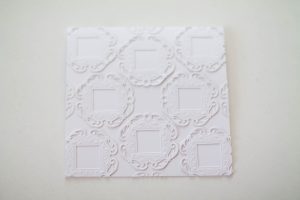
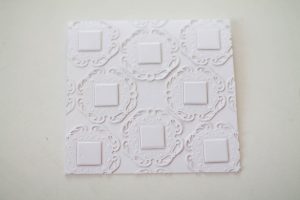
- Die cut several elements using Frame Charms die set. Place and adhere them onto the card base. Foam mount the inner squares onto the card base.
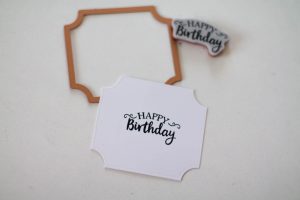
- Die cut a label using Labels 59 set. Stamp sentiment onto label from Wine Glass Bottle set.
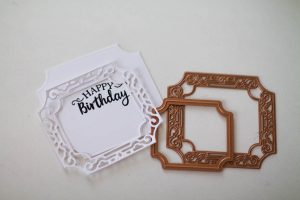
- Create a frame using Label 59 Decorative Accents and die #2 from Labels 59 set. Adhere it onto the label. Foam mount the label onto the card.
- Die cut 2 small branches of grapes from Wine Glass Bottle set, color them and decorate the label on the card.
Spellbinders Supplies:
- S4-878 Frame Charms
- S4-879 Labels 59
- S4-880 Label 59 Decorative Accents
- SDS-134 Wine Glass Bottle
- PE-100 Platinum™ 6 Die Cutting And Embossing Machine
- T-001 Tool ‘N One
Other Supplies:
White Cardstock; Double-sided Adhesive; Double-sided Foam Adhesive; Hero Arts India Ink Black; First Edition Twin Markers: 25 Pistachio, 32 Lavender.
Thank you for joining us today, friends! We hope you like this project and will give this idea a try! If you do, please share your project photos on social media and tag us so we can see!
Have fun die-cutting!

12 Comments
Pooja
I loved the textured BG with die-cuts ! Very elegant card !
Susan Gadbois
Gorgeous card using these lovely dies.
Daniela
What an elegant card. It’s gorgeous!
Mary L Makinen
The use of white on white and dimension makes an elegant card.
Brenda Stainton
I love the use of white on white. These dies are so elegant that you can use them on any card and made them elegant. Well done design team.
Faridah McAtamney
Absolutely charming! Pure gem.
Sheila
These steps are so clear I feel I could even try making these cards, and trust me that is saying something as I am not great at it. Thanks for the how to.
Cara Mariano
So happy to hear you are inspired, by this project. Hope you do try and create something yourself. We would love to see it.
Karen
I agree with Sheila the instructions will be so easy to follow, but of course, I will try and put my own spin on it. But a great post thanks, Cara.
Susan
I love the 3d cards look as it catches peoples attention (I find). The directions you have given in this article are very clear and I will be giving it a go. Thanks.
Katherine
The way you make the cards reminded me of when I was younger, I would get a few of the same card and cut out different parts and overlay the cut-out pieces on the main card to give a 3d effect. So the image most prominent on the card would be the top layer then the next would be the layer after that. Hope I am clear but the effect was great.
Gillian
I came across a few good birthday card making ideas on instructables and they were not a clear as your guide. Well done they could learn a thing or two of you.