Sharyn Sowell Holiday 2019 Inspiration | Clean & Simple Cards with Jean
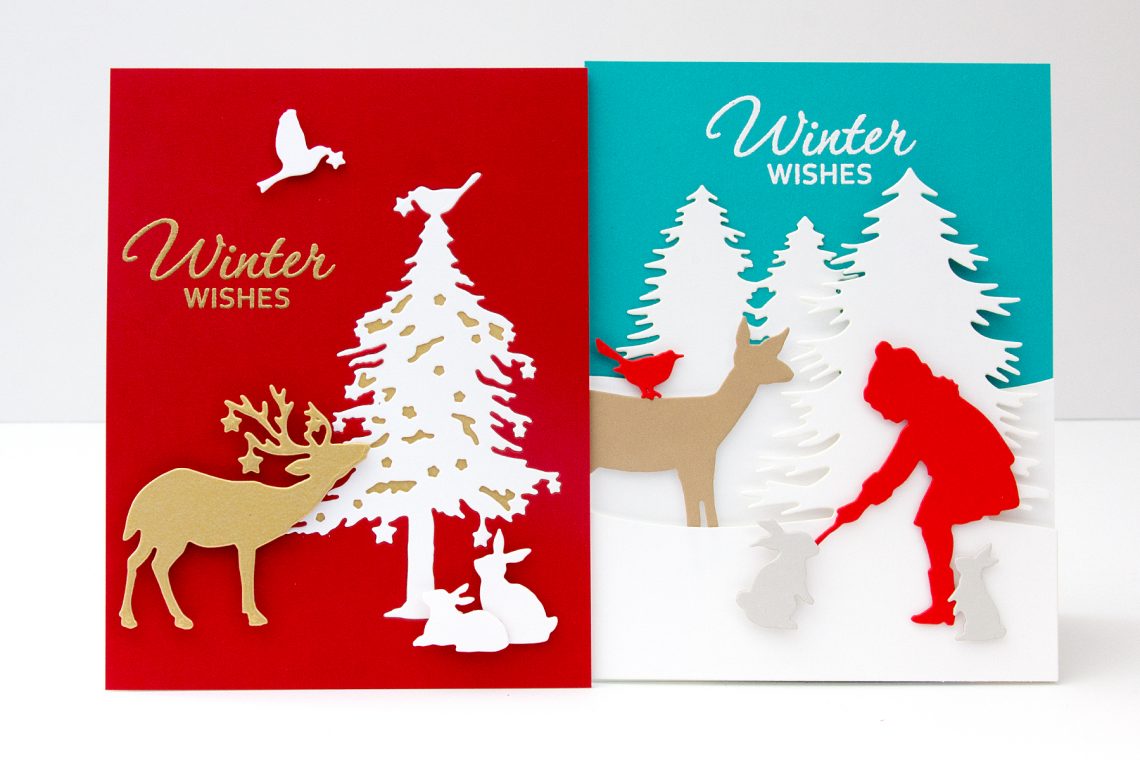
Hello crafty friends! I’m Jean, a papercrafter blogging at Right as Rain. I’m absolutely delighted to be a guest today on the blog sharing two easy projects that showcase the Sharyn Sowell Holiday 2019 Collection at Spellbinders! I am fascinated by winter and holiday themes ranging from vintage to rustic to modern, and everything in between. This collection easily lends itself to a variety of approaches. Both of my projects reflect my clean and graphic style with my love of color.
Winter Friends Card
On my first project I’ve used the Winter Friends die set.
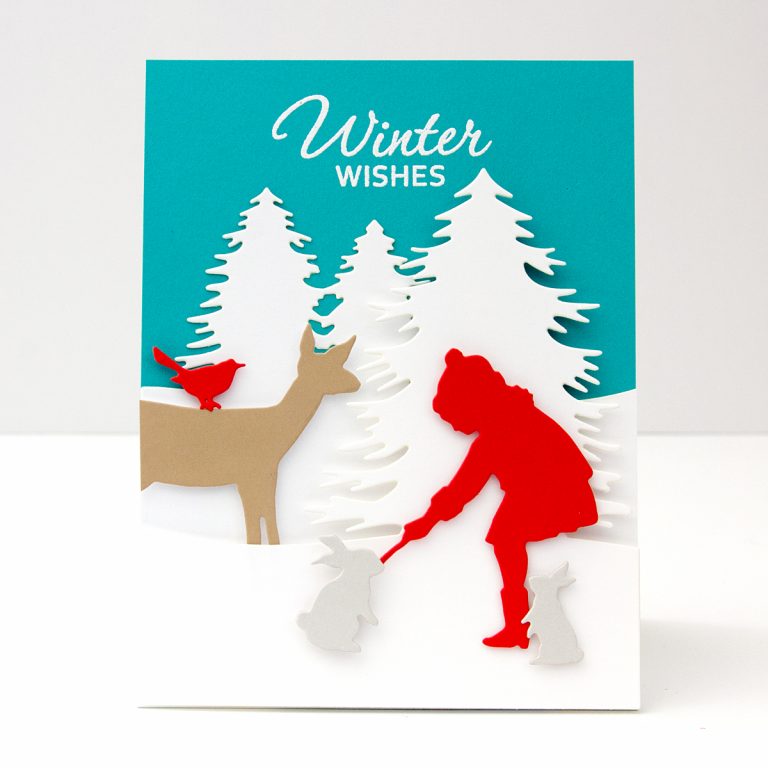
To begin, I die-cut the set’s images from cardstock, choosing a bright red for several of the elements to contrast with the teal-blue background. There’s plenty of white on the card to keep the colors from taking over. I heat-embossed the sentiment with white embossing powder on an A2-size card base.
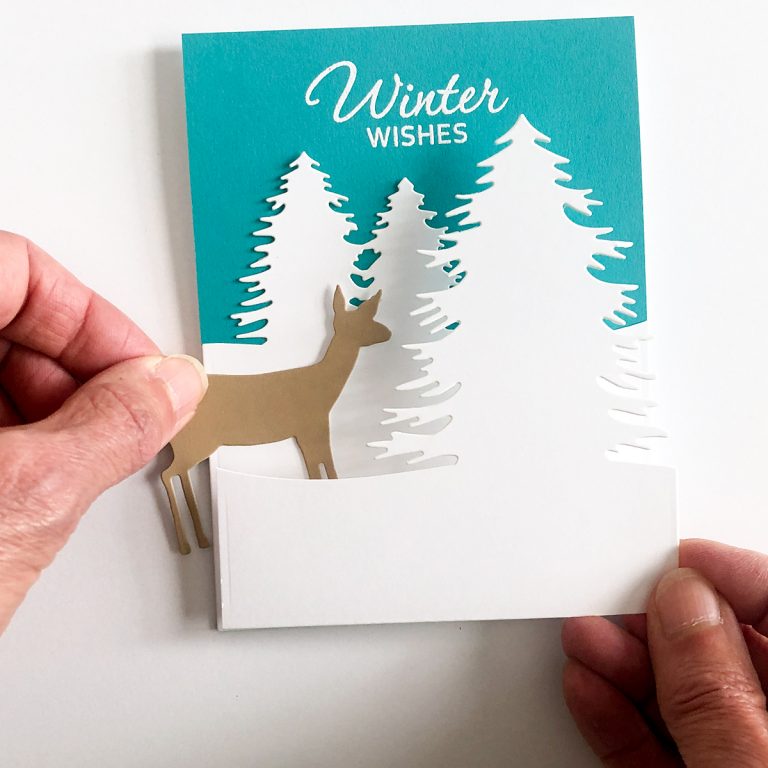
I added a snow-covered evergreen backdrop by cutting the Winter Hills from Whip Cream cardstock. For my card, I trimmed off the edges; the die set was designed to create a layered tri-fold card. I adhered the back panel to the teal card base.
My design calls for trimming the deer on the left-hand side. When I determined where I wanted the deer to be placed, I temporarily adhered it to the desired location on the card and trimmed it off on the left. Once trimmed, I attached the deer and red bird with foam adhesive.
I attached the other Winter Hills panel with foam adhesive. I added the girl and two bunnies with foam adhesive to the front of the Winter Hills panel.
Tips + Tricks: When building depth on a card, I don’t like to add multiple pieces of foam adhesive to the same element as it can start to look clunky. The elements on the left-hand side (between the trees) are attached with foam adhesive. The tree panel on the right-hand side is also attached with foam adhesive that is just slightly thicker, since the tree on the right should appear to be in front of the deer. The girl and bunnies are attached to the right-hand side with foam adhesive on top of the tree panel. In this manner, I avoided having double layers of foam adhesive on any of the pieces.
Spellbinders Supplies:
Other Supplies
Simon Says Stamp Lipstick Red cardstock, Simon Says Stamp Fog cardstock, tan cardstock, Bazzill Candy Necklace cardstock; Hero Arts Winter Wishes stamp set (retired); foam adhesive, dot-roller adhesive
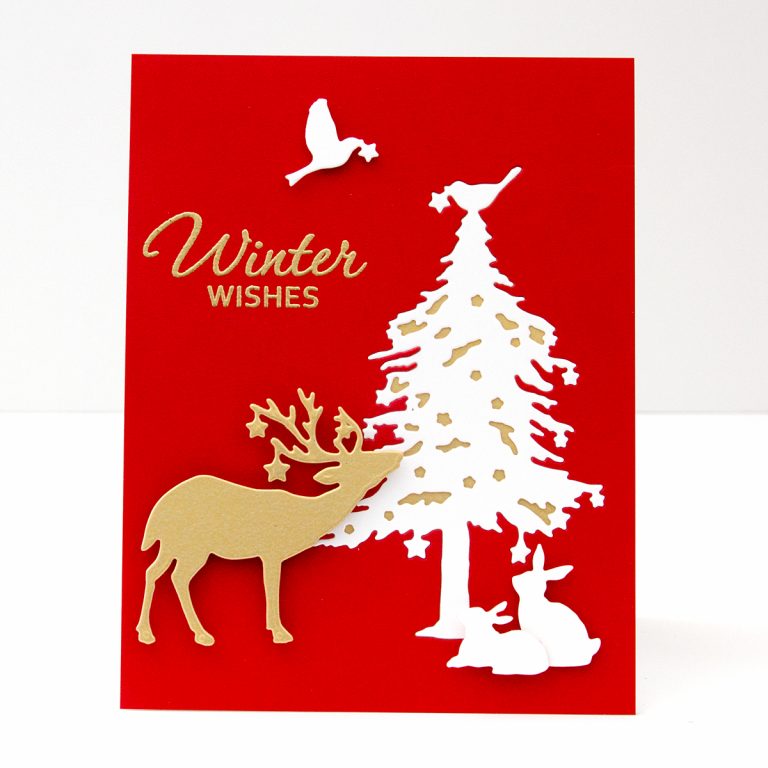
Starry Forest Card
I’ve used the Starry Forest die set on my second card. To add shine behind the set’s winter tree, I used the inlay technique. Let’s take a look!
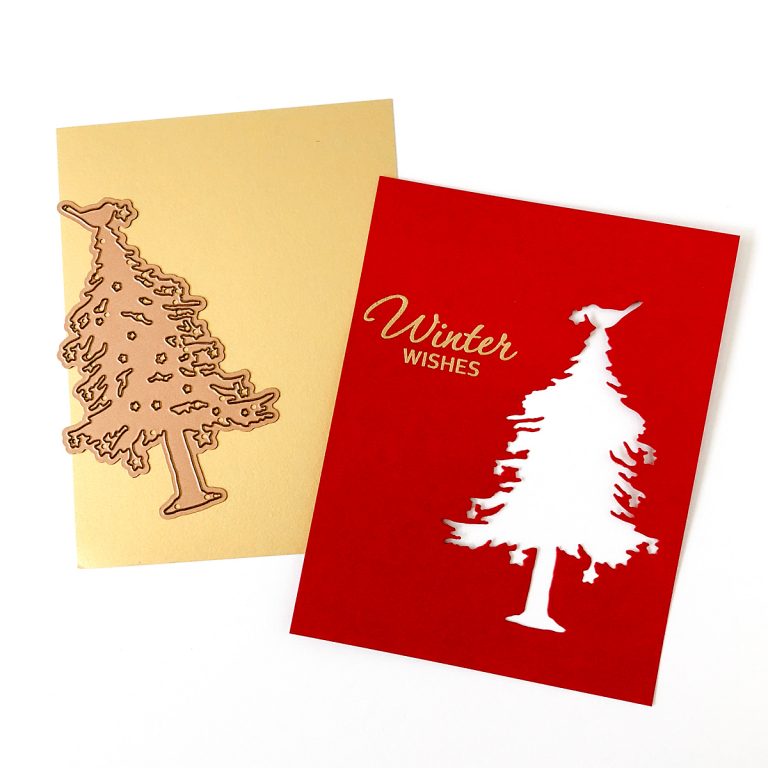
I cut the tree from an A-2 panel of Cranberry Bliss cardstock. I stamped and heat-embossed, in gold, the sentiment to the left of the negative space.
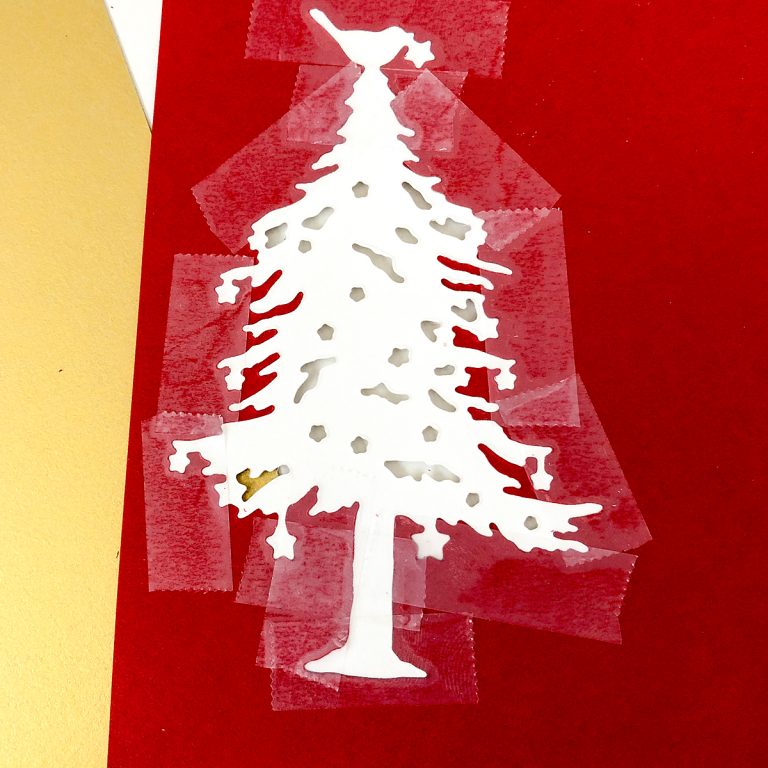
I cut the tree again, this time from Whip Cream cardstock, and adhered it, with tape, to the Cranberry Bliss panel from behind. I then backed the panel with Brush Gold cardstock. In this manner, I was able to add gold to the open spaces in the tree. The assembled panel was added to a card base.
I cut the buck from Brush Gold cardstock and the bunnies and bird from Whip Cream cardstock. I added these elements to the card base with foam adhesive.
Spellbinders Supplies:
Other Supplies
Hero Arts Winter Wishes stamp set (retired); tape, foam adhesive
There are a multitude of ways to craft with these dies. No matter what your style, be it Shabby Chic, CAS, elegant, Mixed Media, or something else, I hope I’ve inspired you to play with the Sharyn Sowell Holiday 2019 Collection! Thanks for stopping by.

3 Comments
Susan Lang
Beautiful cards! Love the colors. Your cas style is classy and stylish! Great tips too.
Patricia Brown
Great cards! Thanks for sharing.
Becky Green
I found your cards on SCS & had to go to your blog & now, I’m here too! Your cards are STUNNING, Jean!!! ;)<3