Make a Scene Card Making Ideas with Bibi Cameron
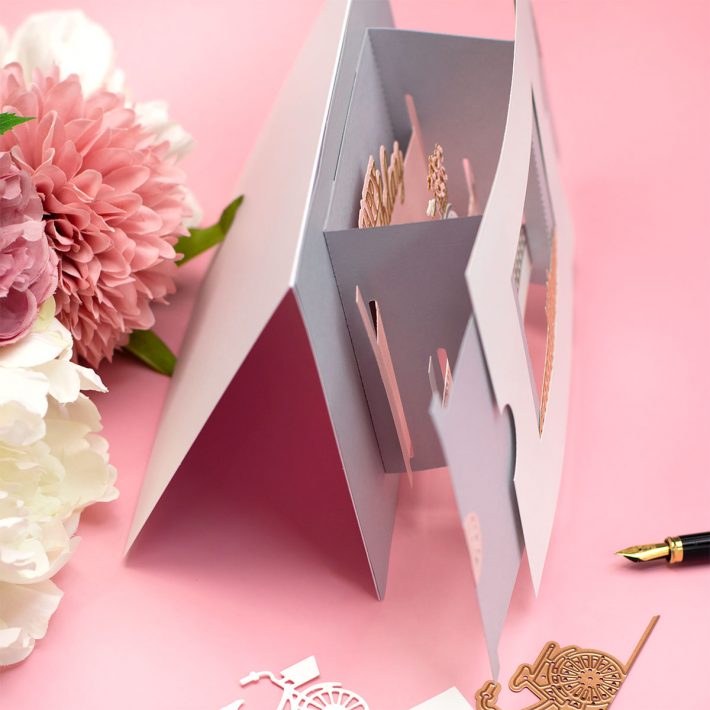
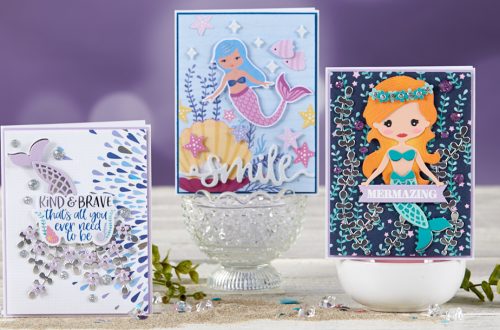
Hi from Scotland, this is Bibi Cameron and today I’m sharing 3 projects featuring the newly released Make a Scene Collection by Becca Feeken. This is a super versatile collection that will allow you to create 5 x 7 inches collapsible 3D cards, that fold flat for mailing.
The collection includes:
- Card Base Die Set (Designed to create a 5”x7” inches theater card base).
- 6 Die Sets to create inserts for different occasions.
- 4 Decorative Die Sets (intricate panels, frames, tags, banners and a flower)
- Make a Scene stamp set.
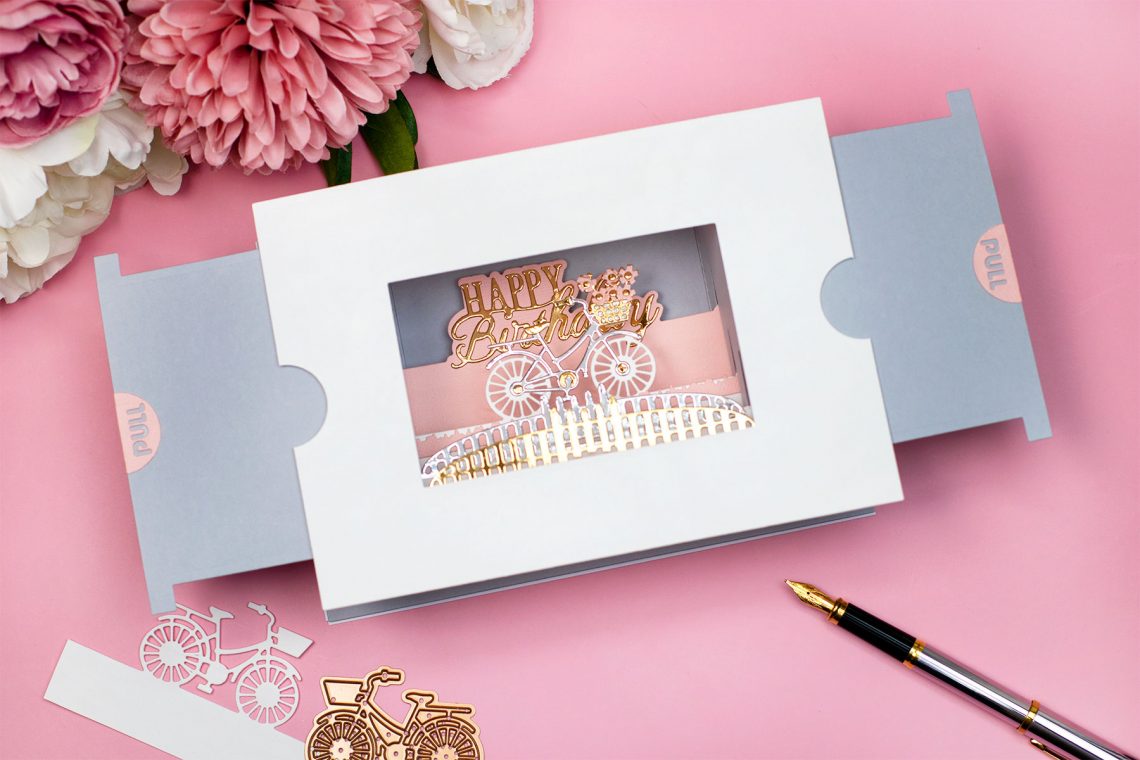
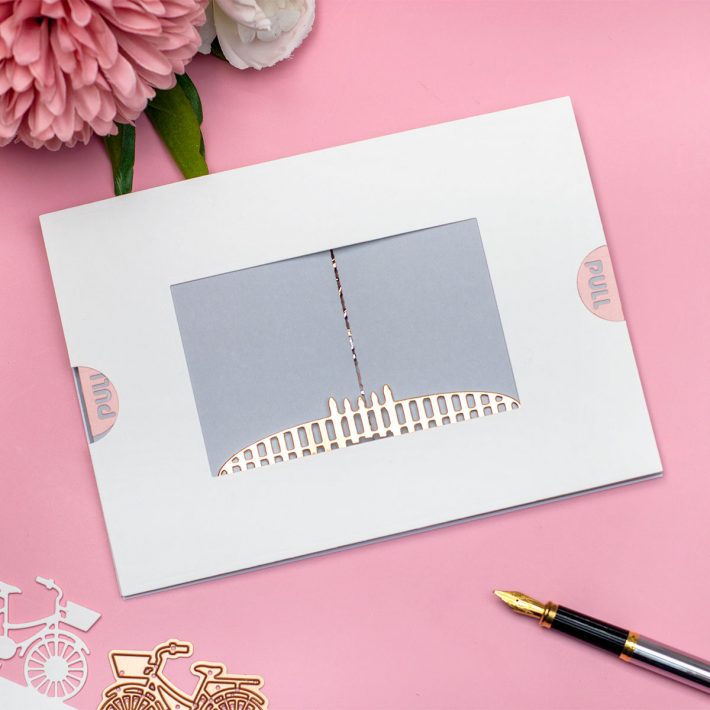
Theater Card
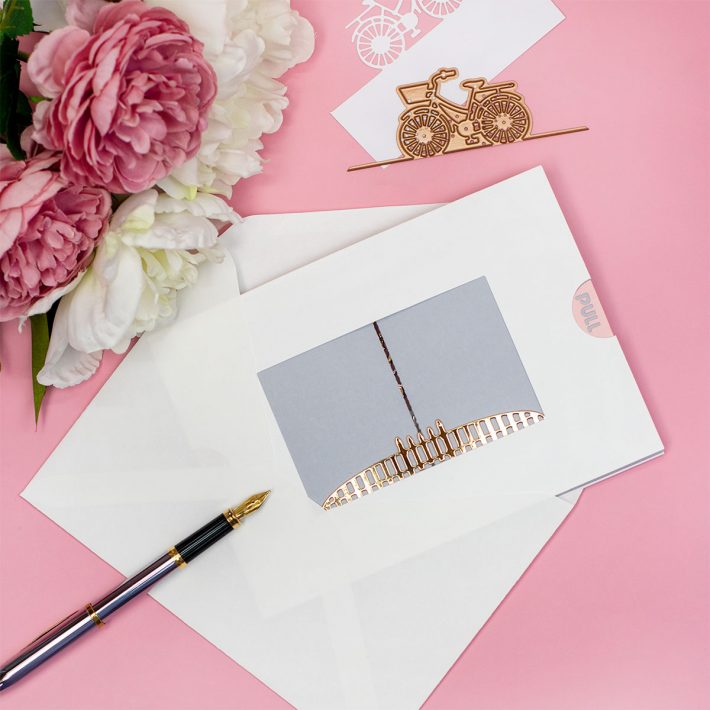
To make this card you will need to create the card base first. This is easy as Make a Scene Card Base die set does all the work. However, it will required some prepping and up to 30 minutes to assemble the whole project.
To complete the card you will also need the insert panels and to make those you will require additional die sets in this collection.
For this card, I used the following die sets:
• Make a Scene Card Base.
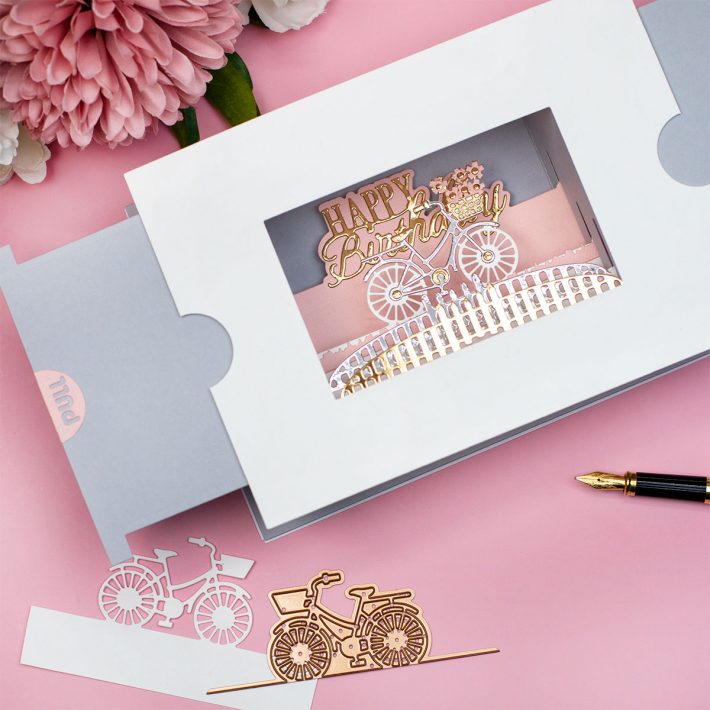
• Rolling Alone die set (Bike and embellishments), Cozy Home die set (fences).
• Celebration Scene (Sentiment) die set.
I also used 240 grams white and grey smooth cardstock. The pink cardstock is 240 grams textured cardstock. The card base has 3 slots, you can cut 2 or 1 if you want to. To do this, you just need to remove dies to create the slots while die-cutting.
Making The Inserts
If you want to create a 3 tier card you will need 3 inserts. To make them you need to cut 3 pieces of paper as follows:
- 1 tier ( front) . 1-3/4″ x 4-3/4″ inches.
- 2 tier ( middle) . 2- 3/4″ x 4-3/4″ inches
- 3 tier ( Back) . 3- 1/4″ x 4-3/4″ inches
So all these pieces are the same width but the pieces at the back need to be taller than the ones in front.
Creating the inserts will allow you to experiment a little bit. By any means, the inserts should be taller than the measurements given above. If so the card won’t close. Avoid bulkiness so that the card will close better. I would recommend using 250 grams cardstock for the mechanism, for anything else (frames and inserts) 300 grams would be great. I also trimmed down 1/8″ of an inch from the width of the die-cut piece that connects the 2 panels for the mechanism to minimize the gap at the front when the card is closed.
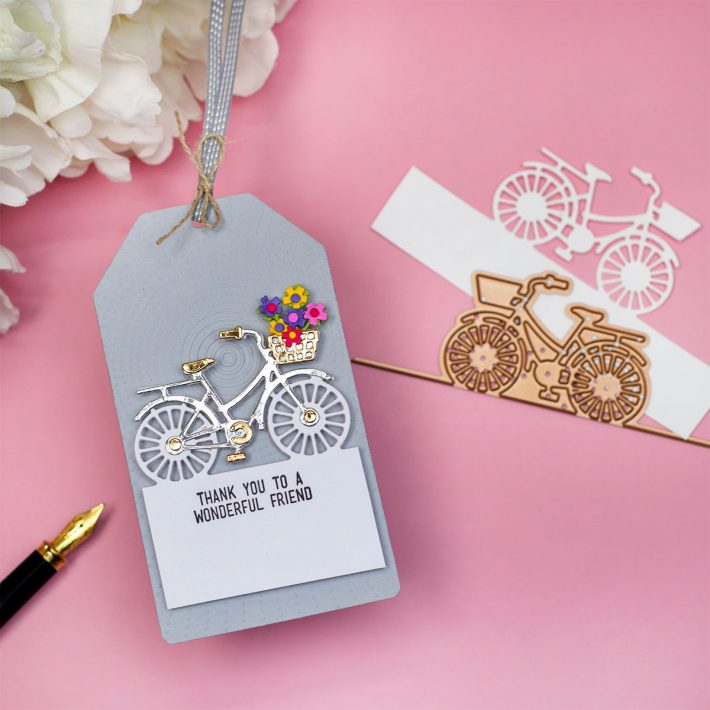
Make a Scene For Tags
Here is a super easy idea to make tags using any of the insert dies in this collection.
For this tag, I used Rolling Alone die set bit you can use any other. You can add banners, stamped sentiments or hot foiled sentiments to any project made with any die set in this collection.
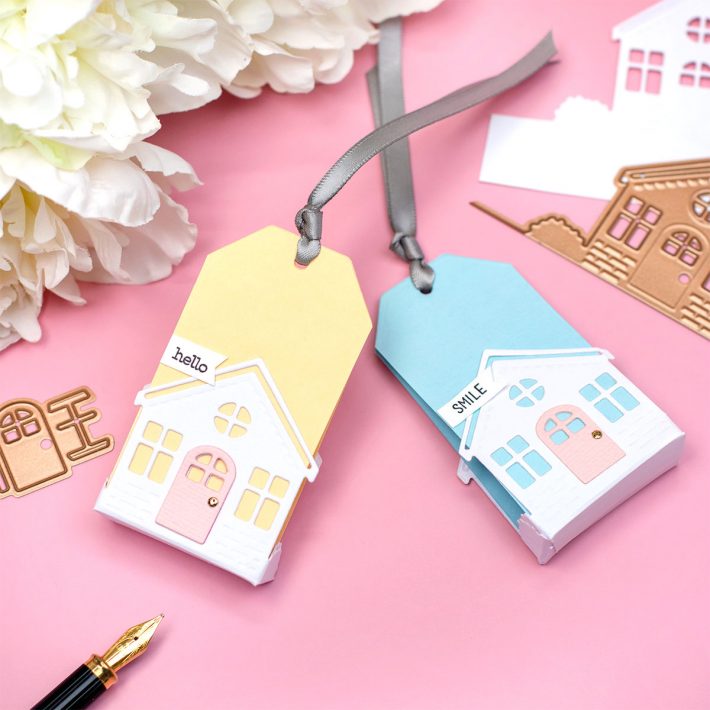
Mini House Treat Box-Tag
As the insert die will partially cut the paper you can use the die-cut to create or decorate boxes by simply scoring and folding flaps at the bottom of the die-cuts. These can be used also a tag or a jewellery box. The size of the boxes is 1-1/2” x 3” inches ( 1/2” deep). They are really tiny and cute. This kind of project can be as wide as the front of the die-cut shape tho.
Spellbinders Supplies:
That’s is all for today. I hope you enjoy these projects.
Hugs, Bibi

One Comment
natashavacca
This is so incredibly pretty! Love the 3D card and the beautiful tags!