Holiday Cheer Enclosed – Special Pet Delivery 3 Ways
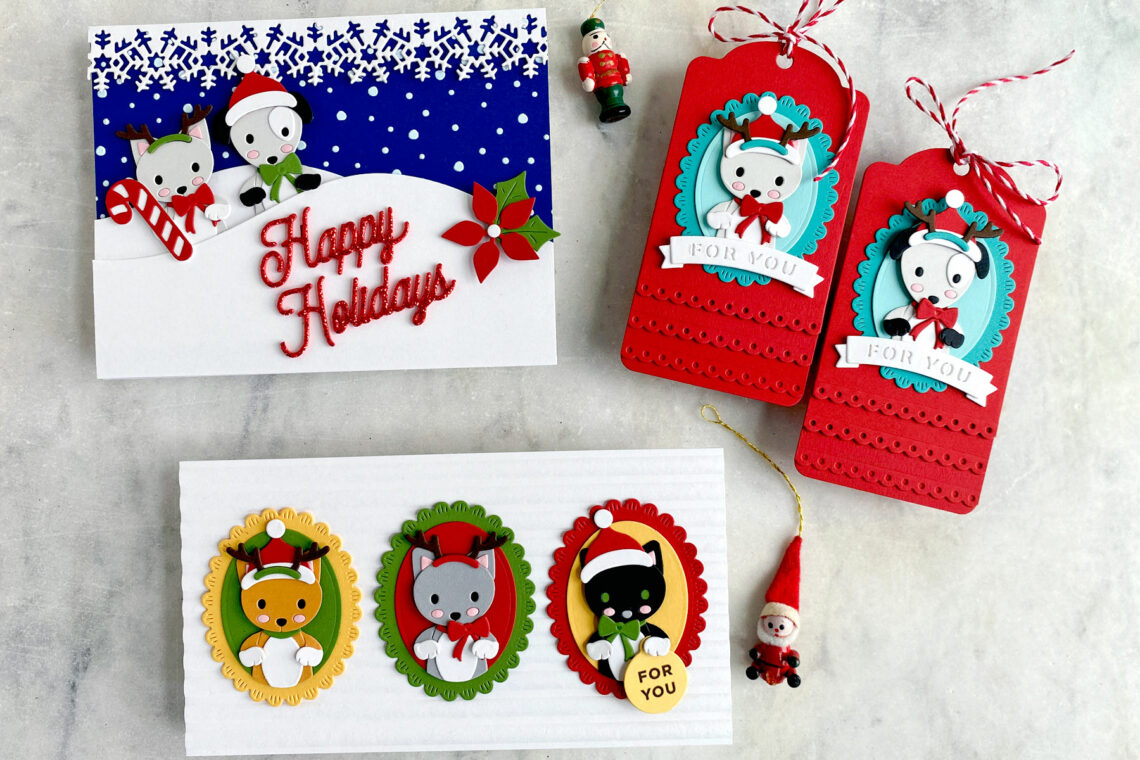
Hello. It is Jean from Right of Rain sharing three projects to showcase the Special Pet Delivery die set, part of the Holiday Cheer Enclosed Collection.
Your cat- and dog-loving friends will be delighted to receive projects featuring these cute pets! I created a mini-slimline card, gift tags, and a winter holiday card with products from the collection. While my projects are focused on the winter holidays, the sets can be used for a wide variety of occasions.
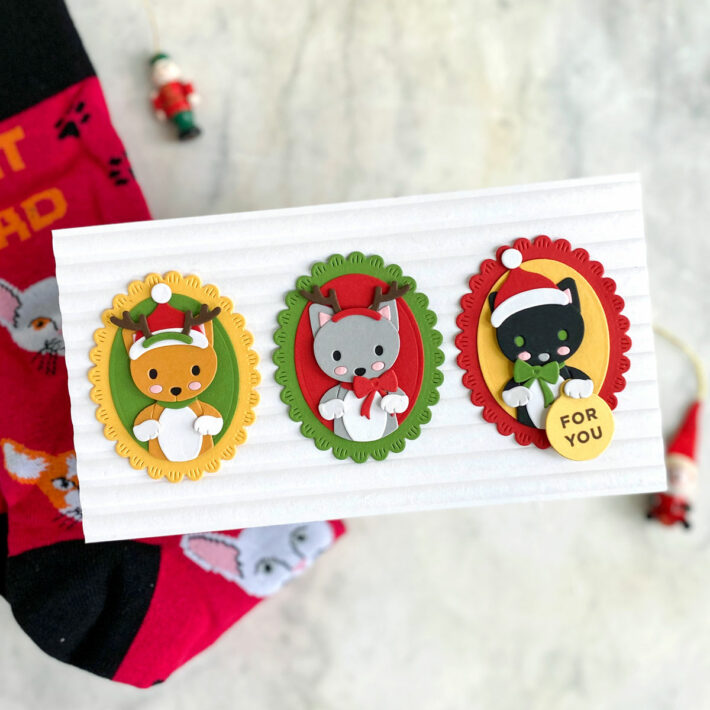
Custom Cat Card & Socks!
Customize a card for the recipient using their pet’s (or pets’) coloring. This card is accompanying a pair of cat socks being sent to a three-cat household.
- Create background: dry-emboss mini-slimline Snowdrift cardstock panel with Corrugated 3D Embossing Folder; attach to mini-slimline card base.
- Create focal images: cut cats, hats, antlers, and bows with Special Pet Delivery die set from light gray, red-brown, Snowdrift, Pink Sand, Onyx, Timber, Pomegranate, and Fern cardstock; cut scalloped oval and smaller oval frame pieces from Beeswax, Pomegranate, and Fern cardstock; assemble frames and pets.
- Stamp Let’s Celebrate Sentiments sentiment in black ink on Beeswax cardstock and cut with die in the Assorted Tags.
- Add assembled frames and pets to dry-embossed card base; tuck sentiment into paw.
Special Pet Delivery Gift Tags!
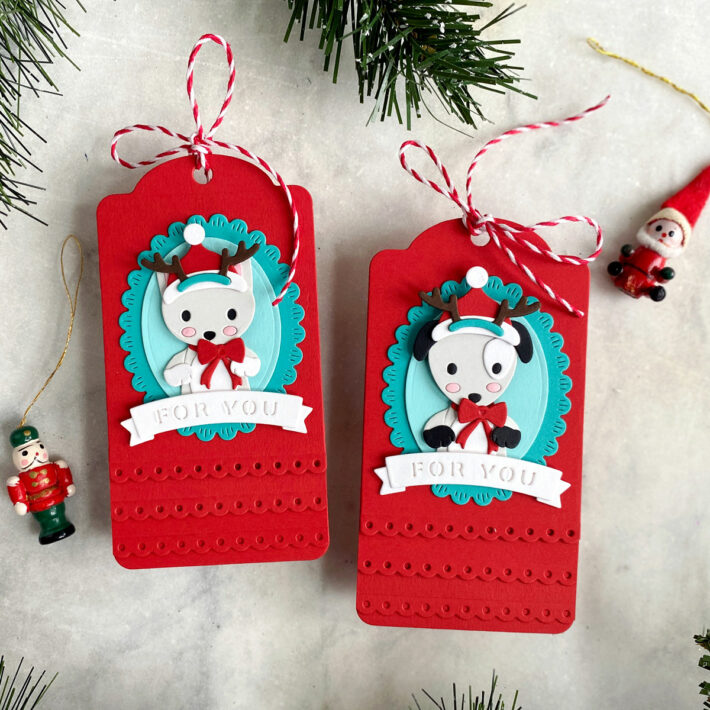
No need for fancy wrapping paper—tags created with the Special Pet Delivery set provide plenty of decoration!
- Create tags: cut tag base from cardstock with the Create a Decorative Tag die; cut 1” tall by 6” wide Pomegranate strip with die in the Winter Borders set and trim to create two sections the width of the tag; cut an additional tag and decorate edge (3 ¼” from top of tag) with Winter Borders die; glue scalloped cardstock sections between the top and bottom tag sections.
- Create focal images: cut cat, dog, hats, antlers, and bows with Special Pet Delivery die set from light gray, Snowdrift, Pink Sand, Onyx, Timber, Pomegranate, and Fern cardstock; cut scalloped ovals from Lagoon cardstock and interior ovals from Waterfall cardstock; cut sentiments from Snowdrift
- Assemble tags, add pets and frames, and add twine.
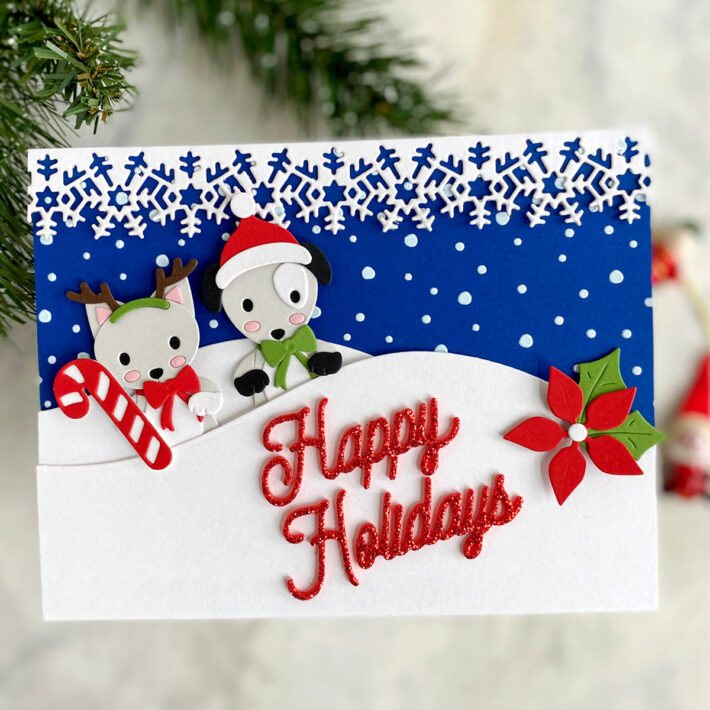
Happy Holiday Pets Card
The Special Pet Delivery pets can be used without the frames. On this winter-themed holiday card, the cat and dog are tucked into a snowbank.
- Create background: apply white embossing paste or gel through the Layered Christmas Tree stencil (snow section) on a Cosmic Sky cardstock A2-size panel and set aside to dry; cut snowbanks from Snowdrift cardstock with dies in the Color Block Scenic Scape set; cut snowflake trim from Snowdrift cardstock with a die in the Winter Borders set; assemble and add background to A2-size card base.
- Create focal images: cut cat, dog, hat, antlers, and bows with Special Pet Delivery die set from light gray, Snowdrift, Pink Sand, Onyx, Timber, Pomegranate, and Fern cardstock; assemble and add to scene.
- Cut sentiment with Classic Happy Holidays die from red glitter foam and glue to scene.
- Embellish scene with a candy cane, cut with die in the Dancin’ Deer set from Snowdrift and Pomegranate cardstock, and poinsettia, cut with die in the Build a Winter Birdhouse set from Snowdrift, Fern, and Pomegranate
Spellbinders Supplies:

Other Supplies
Light gray and red-brown cardstock; twine; embossing paste.
Thanks so much for dropping by the blog today. I hope you are inspired to create projects with the Special Pet Delivery die set from the Holiday Cheer Enclosed Collection for the pet lovers on your holiday list!

3 Comments
slangnv
You have certainly shown the versatility of these dies. Just love the card with that bold blue background. The detail on the tags is a great idea with the border. Love all of it!
Linda Wetterlin
Darling card and tags by Jean – such a delightful combo of colors and papers! I love how you can easily customize to match a friend’s pet!
KathyW
These are so cute, and I’m excited to create with the dog and cat. My problem, though, is I can’t figure out how to assemble the head on both….the eyes, cheeks, nose. Since there is no base layer, how are makers adhering these? The only thing I’ve come up with is to glue the head to a piece of thin paper, inlay the small pieces and then fussy cut the whole thing out. There has to be another way. Any advice is appreciated! Thanks.