-
Holiday Cheer Enclosed – Special Pet Delivery 3 Ways
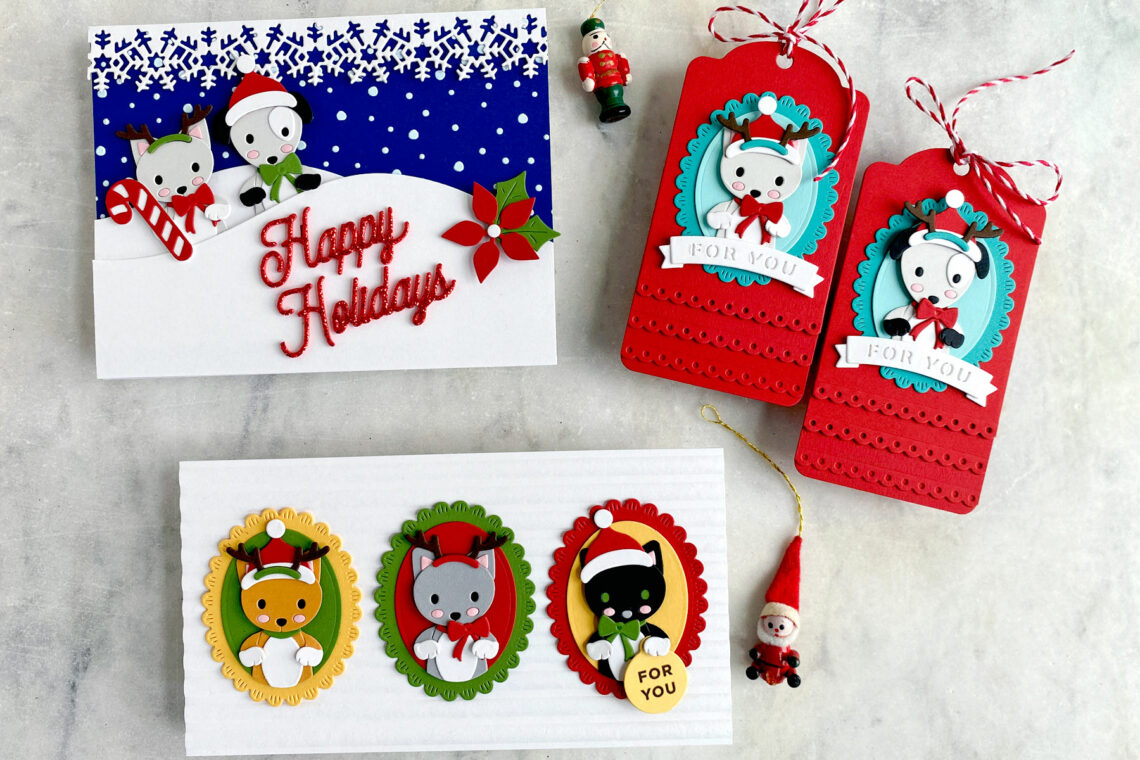
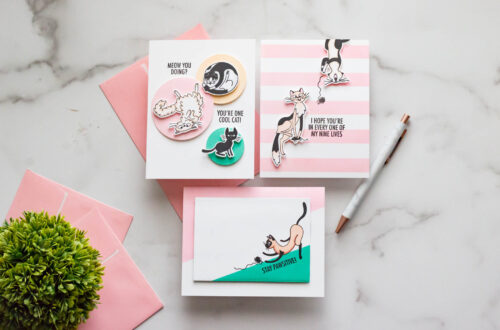
Hello. It is Jean from Right of Rain sharing three projects to showcase the Special Pet Delivery die set, part of the Holiday Cheer Enclosed Collection. Your cat- and dog-loving friends will be delighted to receive projects featuring these cute pets! I created a mini-slimline card, gift tags, and a winter holiday card with products from the collection. While my projects are focused on the winter holidays, the sets can be used for a wide variety of occasions. Custom Cat Card & Socks! Customize a card for the recipient using their pet’s (or pets’) coloring. This card is accompanying a pair of cat socks being sent to a three-cat household.…
-
Shiny & Bright Holiday Greetings with Jean Manis
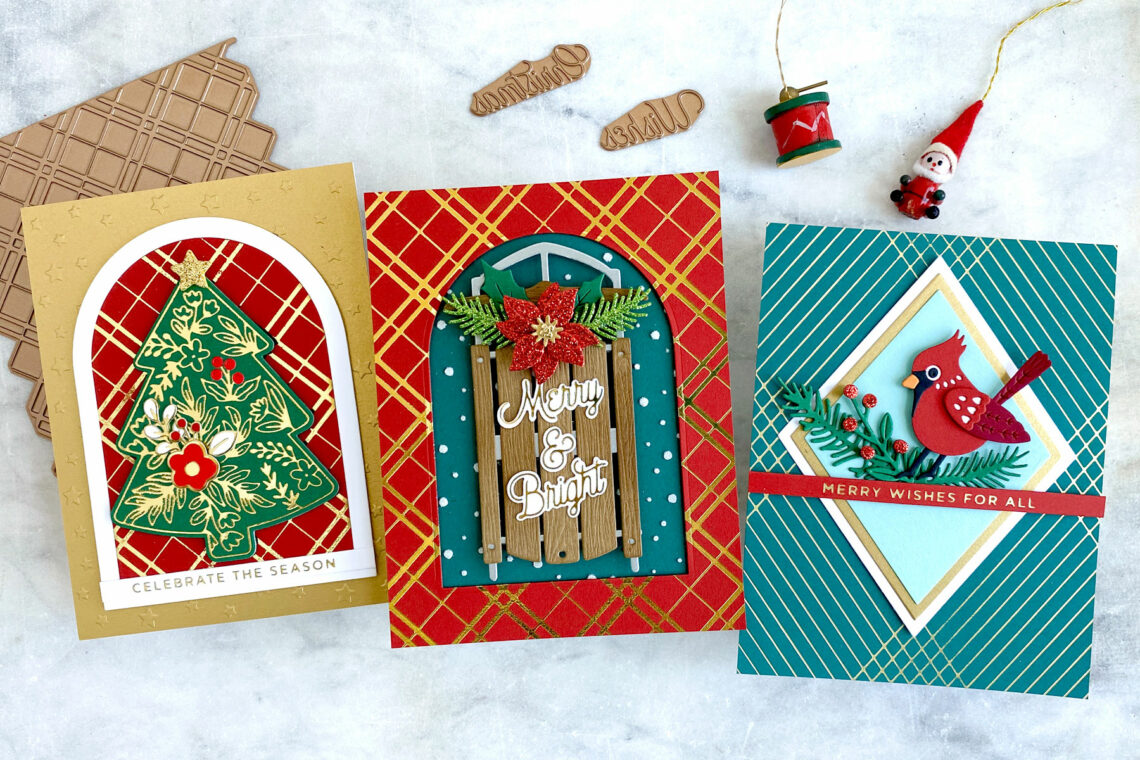
Hello crafters! Jean here sharing holiday-themed cards that feature products from the Glimmer Greetings Collection at Spellbinders, which is jam-packed with glimmer plates and dies. Let’s take a look at the shiny and bright holiday cards I designed with the collection. Mat a focal object with nested diamonds on a foiled background Glimmer foil Crossed Lines Cardfront (without sentiment) in Matte Gold on dark teal cardstock panel. Trim to A2-size and add to card base. With dies in the Essential Diamonds set, create a set of mats by cutting diamonds from Brushed Gold, Snowdrift, and light teal cardstock. Add to the card front. Glimmer foil sentiment in Glitter Wishes set…
-
Trim A Tree Collection Inspiration with Melody
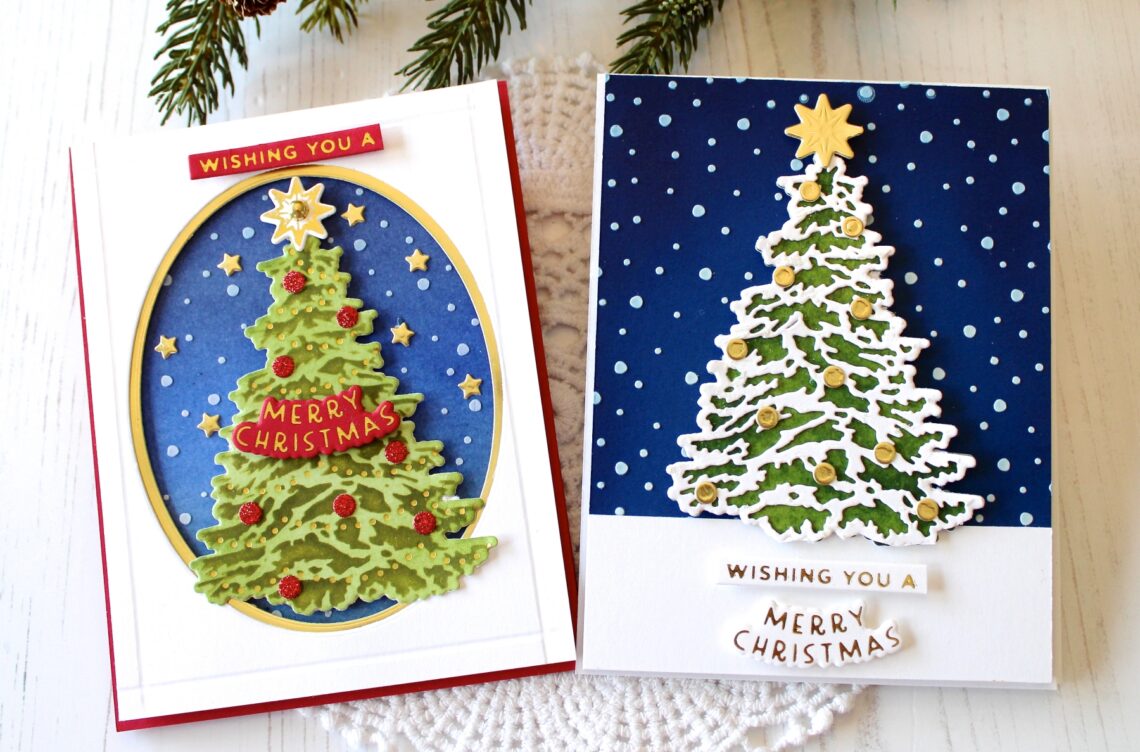
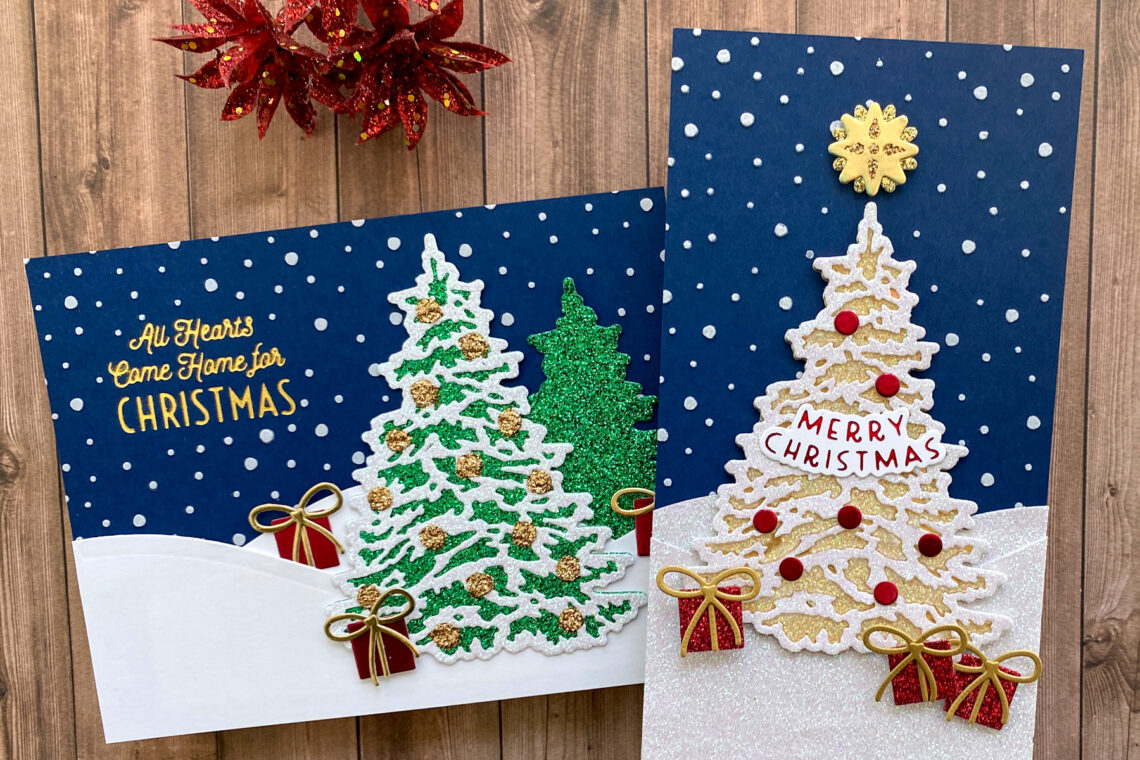
Hello! It’s Melody here on the blog today. This is my first time as a Guest Designer on the Spellbinders Blog and I am excited to be here. I have two projects to share with you that I created with the new Trim A Tree Collection. The collection included a Layered Christmas Tree Stencil, O Christmas Tree Etched Dies, and the Shining Christmas Tree Glimmer Hot Foil Plate & Die Set. To create the background I cut a piece of dark blue cardstock to fit the card front and blended Chipped Sapphire Distress Ink on the outside edges. Then I used the Layered Christmas Tree Stencil with Journey Modeling Paste to add the snow to the background. Next I…
-
Trim a Tree for the Holidays with Bobbi Lemanski
Hello, friends of Spellbinders! It’s Bobbi Lemanski here sharing some festive trees for the holidays as the guest designer for Spellbinders. At our house, we celebrate big for Christmas with four trees in the home and countless decorations. We love to decorate each tree uniquely to fit the space. Today, I am decorating trees for my holiday cards instead. I’ve got three cards to share that show the many different ways you can use the Trim a Tree Collection of products together to create lovely winter trees. O Christmas Tree Image My first 5” X 7” card features the O Christmas tree dies. You get a base and layered die…
-
How to Trim a Tree in 3 Easy Steps with Jean
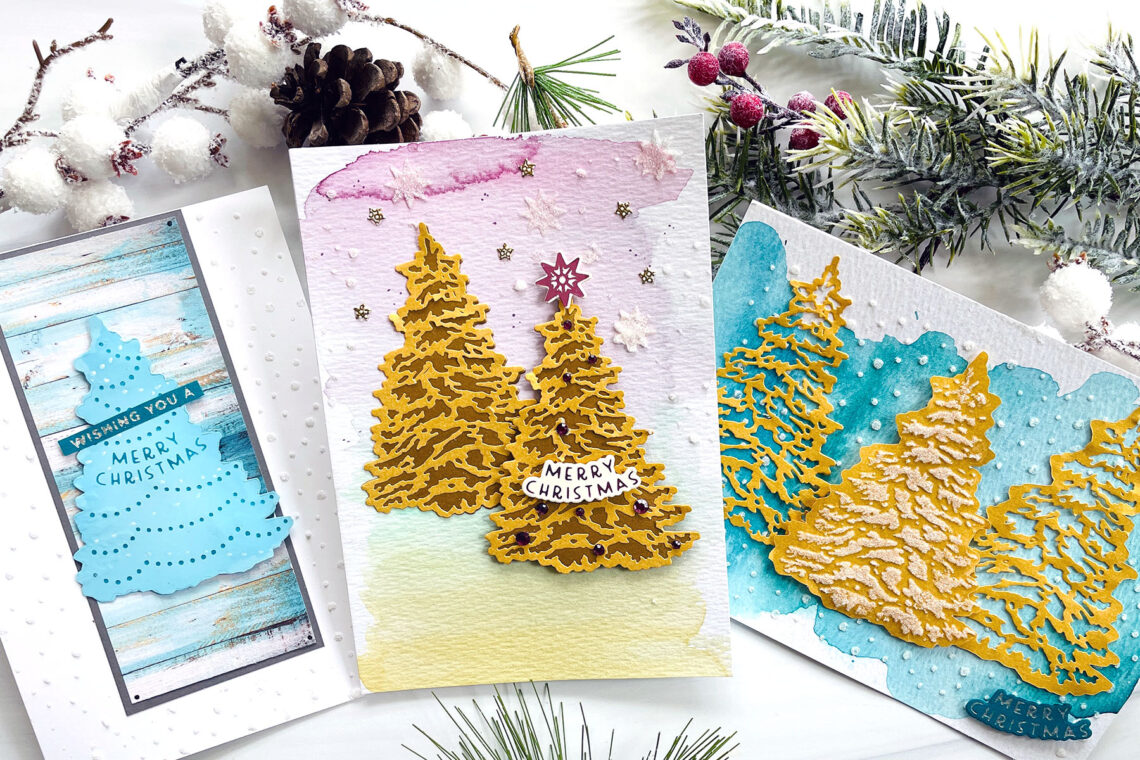
Hello crafty friends! It’s Jean here sharing two holiday cards created with the Spellbinders Trim a Tree Collection, which includes dies, glimmer plates, and a stencil that work together or separately. I’m showing how to create cards with this collection using a three-step approach: create the background, create the focal point(s), and embellish. Let’s take a look! A snowy, forest scene captures the magic of the holidays Create background: Create A2-size card base. Cut A2-size panel from navy cardstock. Foil Gifts of Christmas sentiment in Gold in upper-left. Mask sentiment area and apply white embossing paste through the Layered Christmas Tree Stencil (snow portion) to panel. Set aside to dry.…
-
Tis the Season | Three Cards with Suzanna Hansen
Hey there, crafty pals! I’m so excited to be here on the Spellbinders blog today! My name is Suzanna. You may know me online and on Instagram as Made in Mojave. I’m sharing three cards today that I created with the Tis the Season collection. Each design is super versatile and can be used to create both holiday cards and regular cards alike. This first card is simple, but packs a punch, with the dimension added using the embossing folder. I first embossed a white piece of cardstock and adhered it to a red mat for my background. I die cut the florals and greenery, then added them in a…

