Flurry of Snowflakes 3 Ways With Brenda Noelke
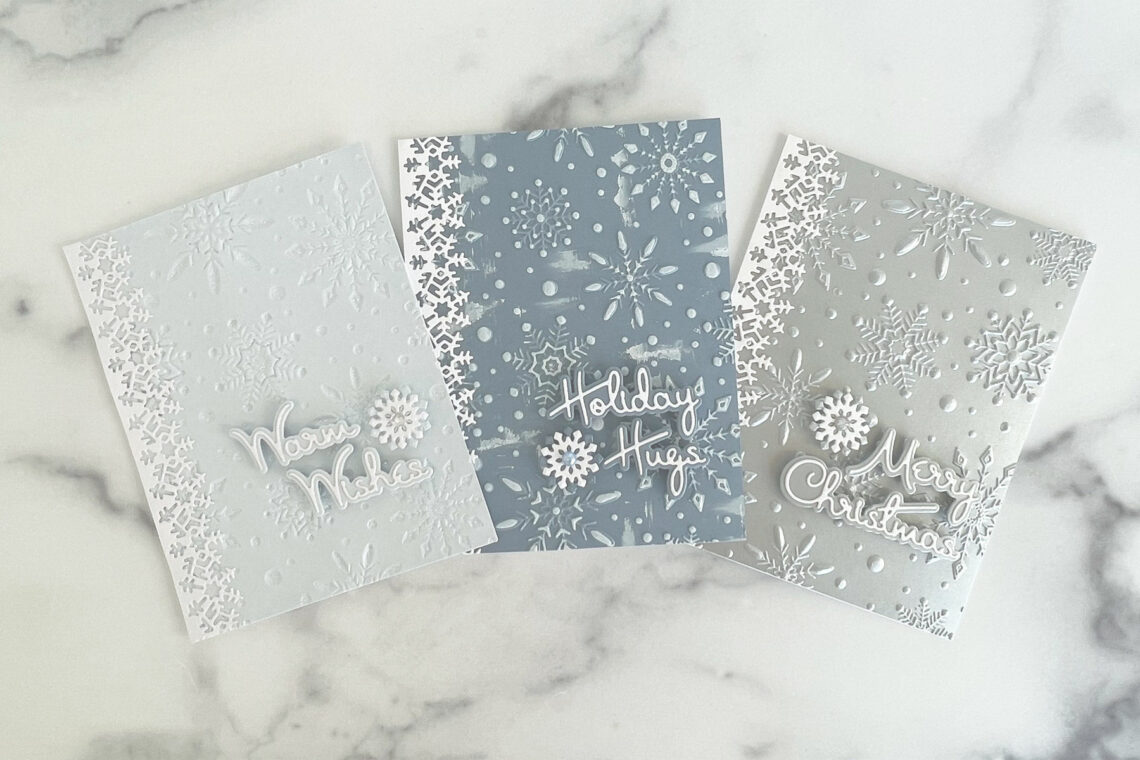
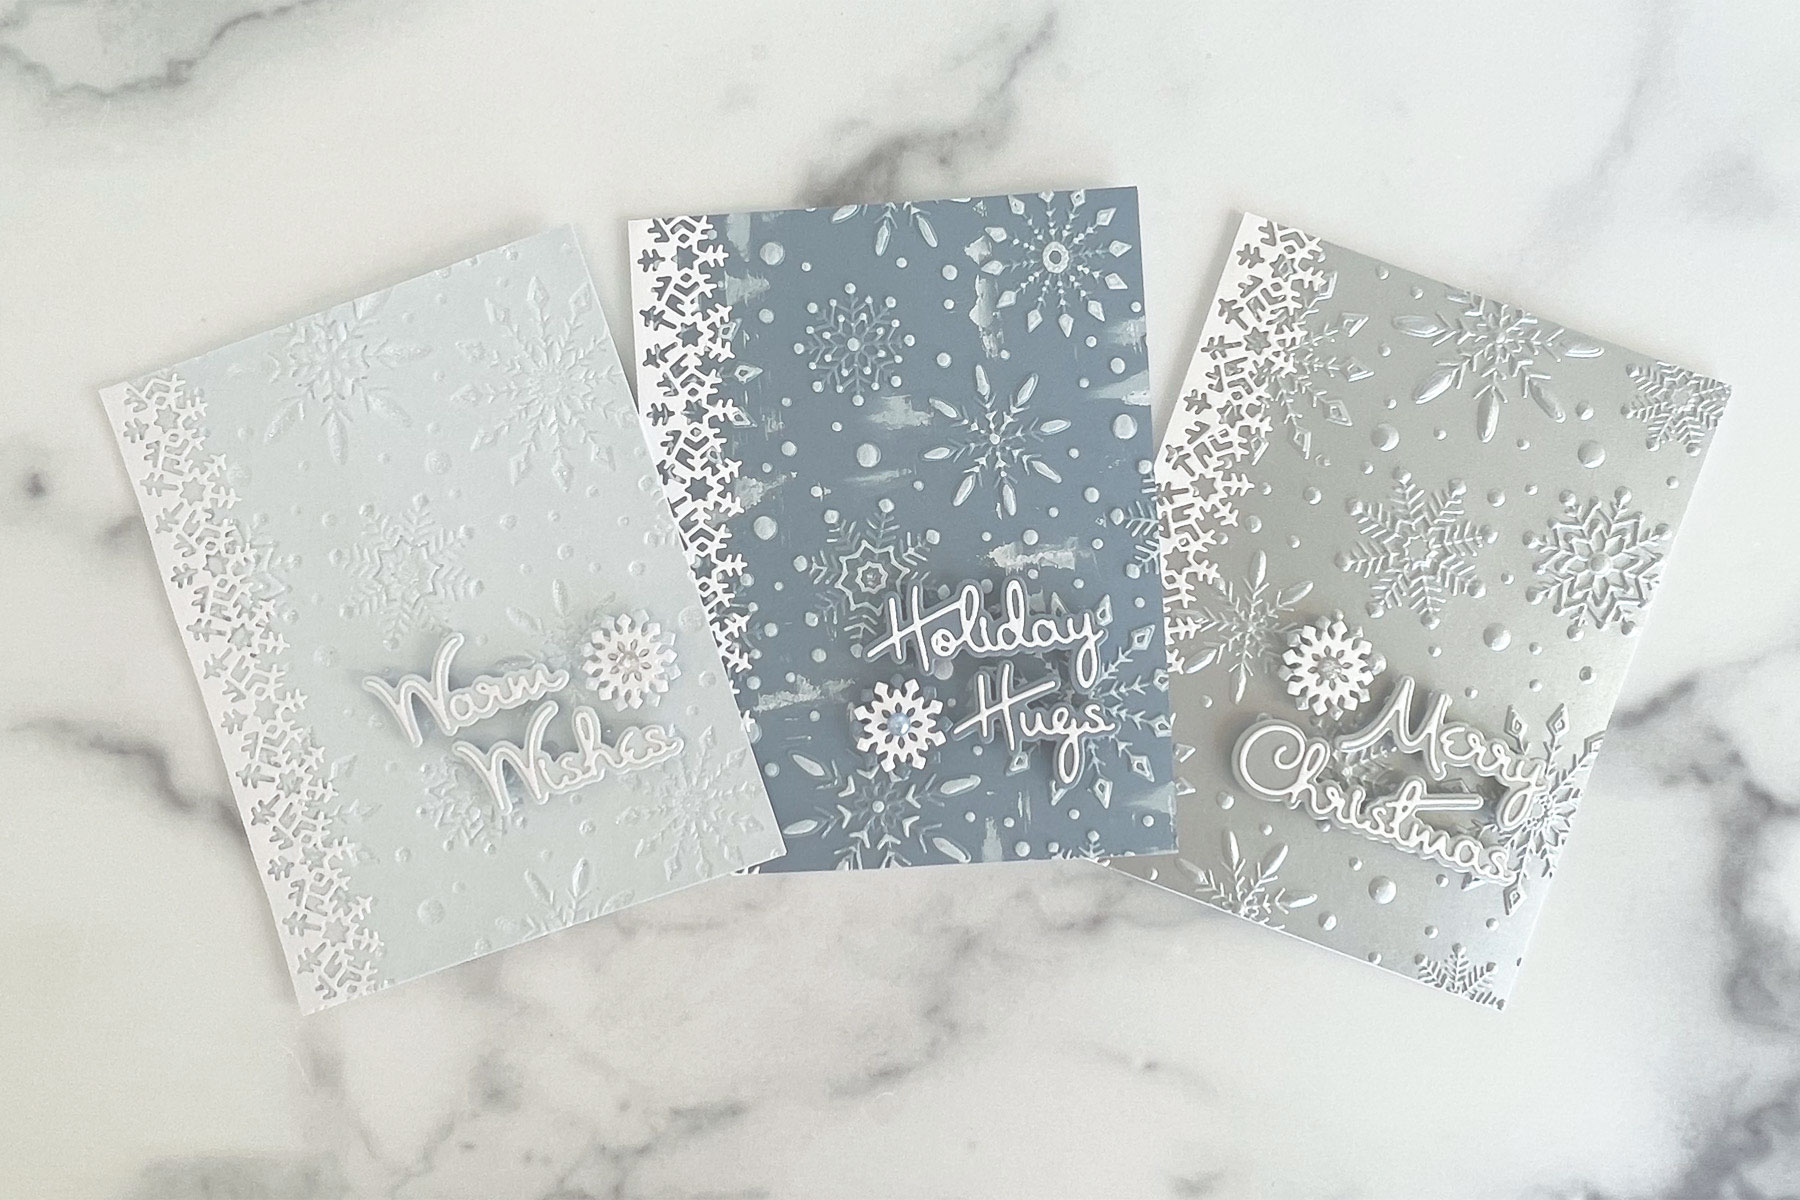
Hello, crafty friends!! Brenda Noelke here from My PaperCut Creations! I’m thrilled to be guest posting on the Spellbinders blog today! I am sharing three ways to use Flurry of Snowflakes 3D Embossing Folder!
Glitter Paste
This is a fun way to add some sparkle and shine to the debossed side of the embossed panel!! I began by running the Flurry of Snowflakes 3D Embossing Folder through my Platinum 6 Die-Cut Machine with a panel of Glacier cardstock using the Universal Plate System. I added some iridescent glitter paste onto the debossed side of the panel with a palette knife and scraped away the excess. This leaves glitter in the recessed areas of the cardstock. (It’s really hard to capture the sparkle in the photos.)
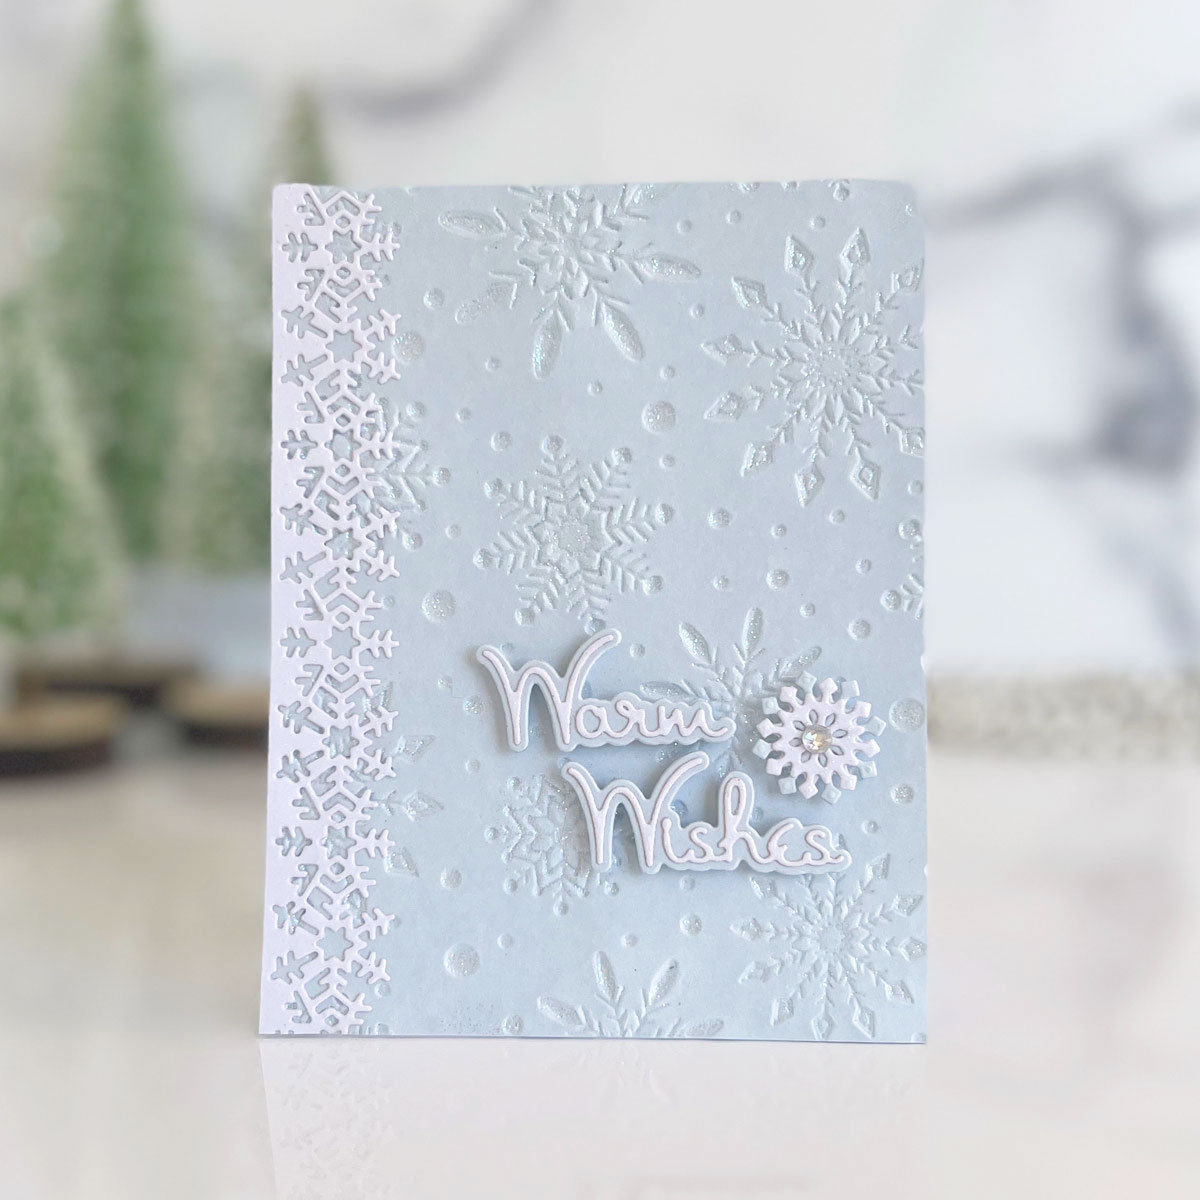
Next, I die-cut the snowflake border in the Winter Borders Etched Die Set from white iridescent cardstock and adhered it to the left side of the panel, once the glitter paste was dry.
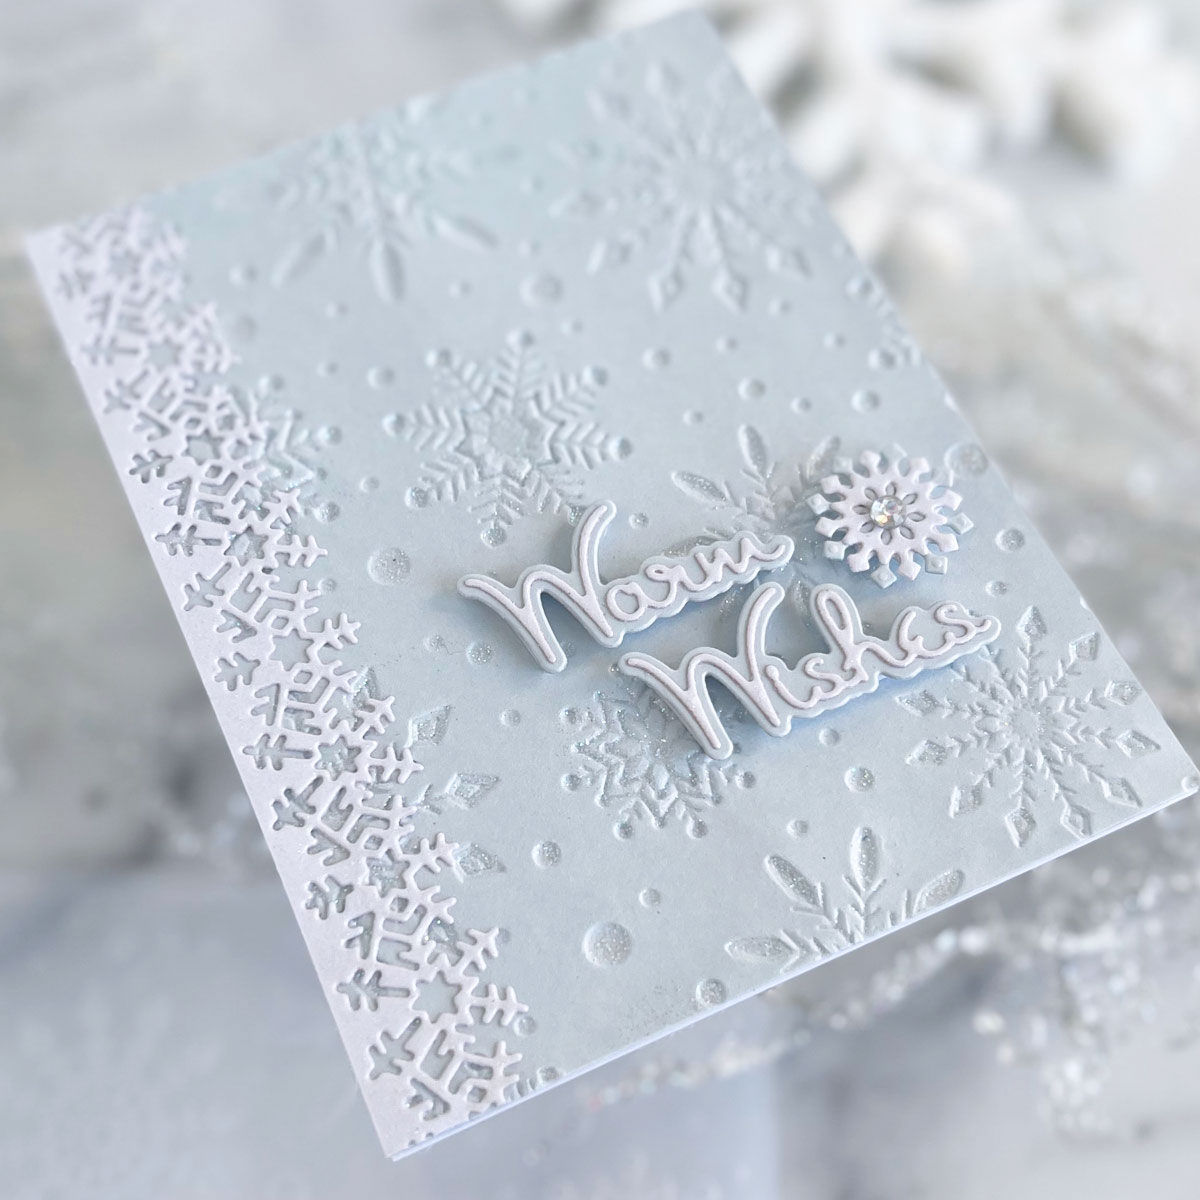
The top layer of the sentiment was die-cut from white iridescent cardstock and the bottom layer from the same Glacier cardstock that was used on the background panel using dies from the latest October Small Die of the Month Club, Outlined Sentiments. It was popped up with foam adhesive.
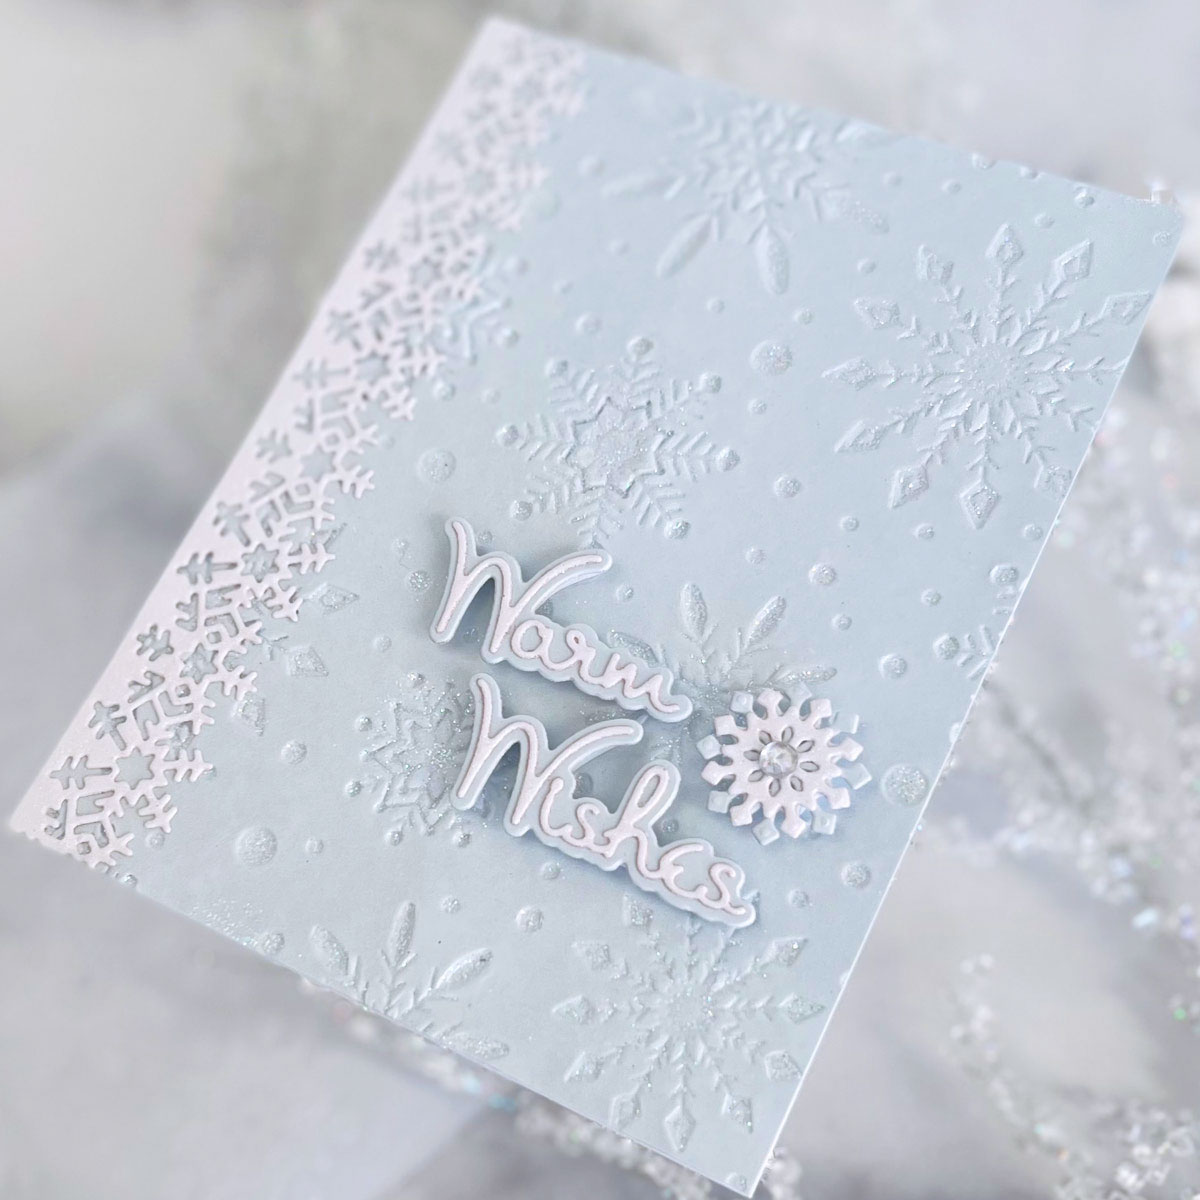
I borrowed two small snowflake dies from the Let It Snowman A2 Cardfront Etched Die Set and die-cut them from the same cardstock as the sentiment. It was also popped up with foam tape and an iridescent gem was added to the center.
White Pigment Ink
Another way to use the Flurry of Snowflakes 3D Embossing Folder is to add white pigment ink!! I started by embossing a panel of Partly Cloudy cardstock with the embossing folder by running it through my Platinum 6 with the Universal Plate System.

I added white pigment ink to the embossed side of the cardstock with a brayer. I repeated the process twice to make the white ink a little brighter.
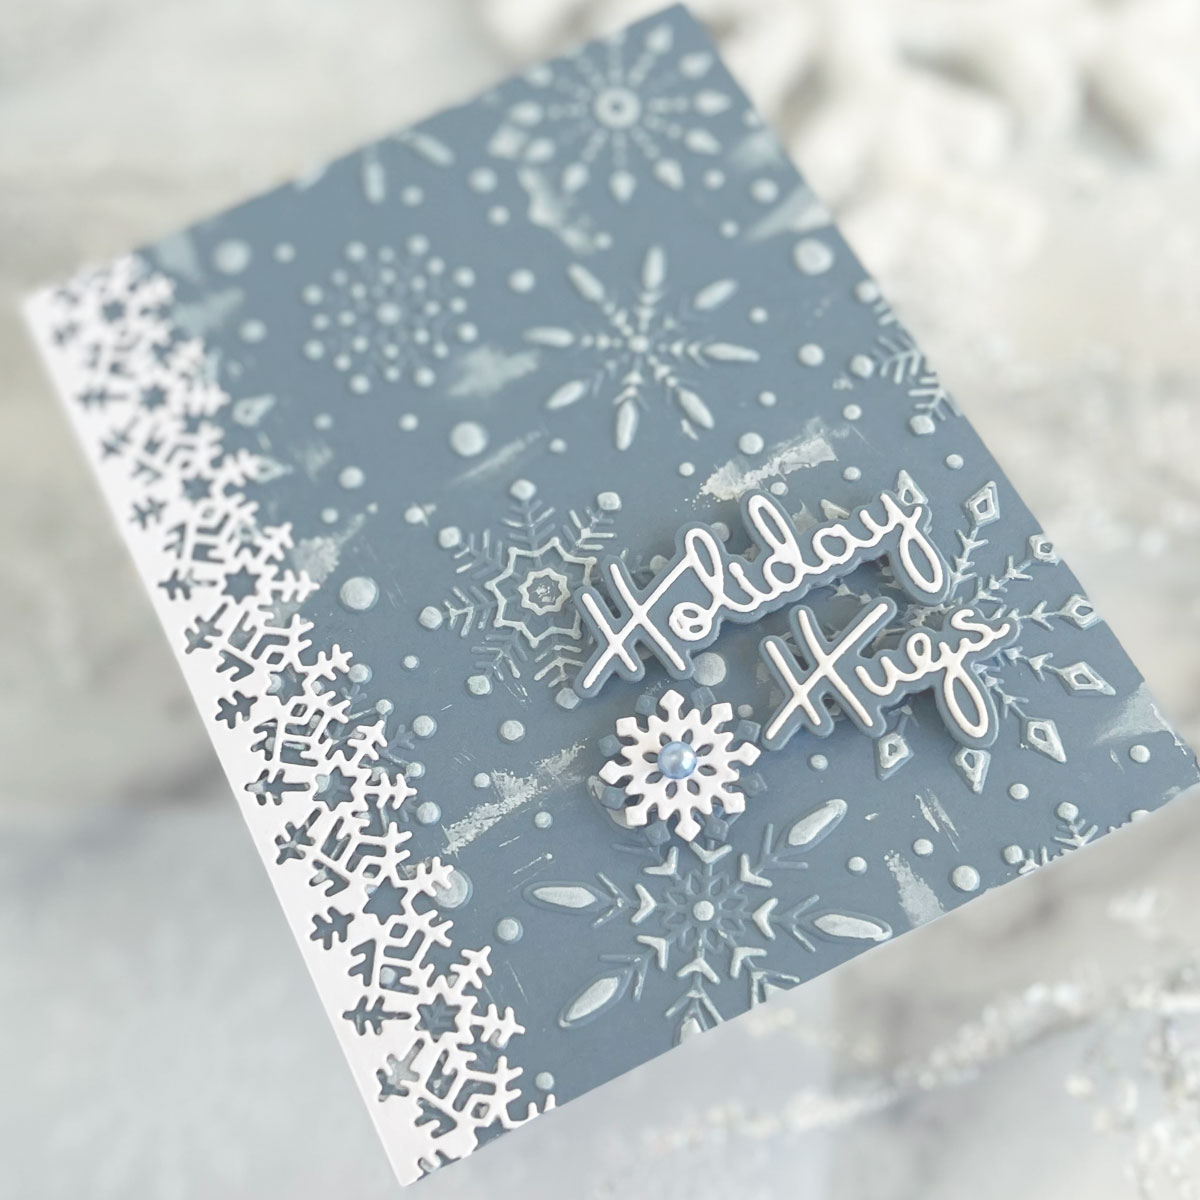
The sentiment, snowflake, and borders were die-cut from white and Partly Cloudy cardstock using the same dies as the first card.

A light blue pearl adhered to the center of this snowflake. I kept the rest of the card pretty simple to allow this beautiful background to shine!!
Metallic Cardstock
My final idea for using the Flurry of Snowflakes 3D Embossing Folder is to use metallic cardstock!! This really creates a unique look that closely resembles metal!
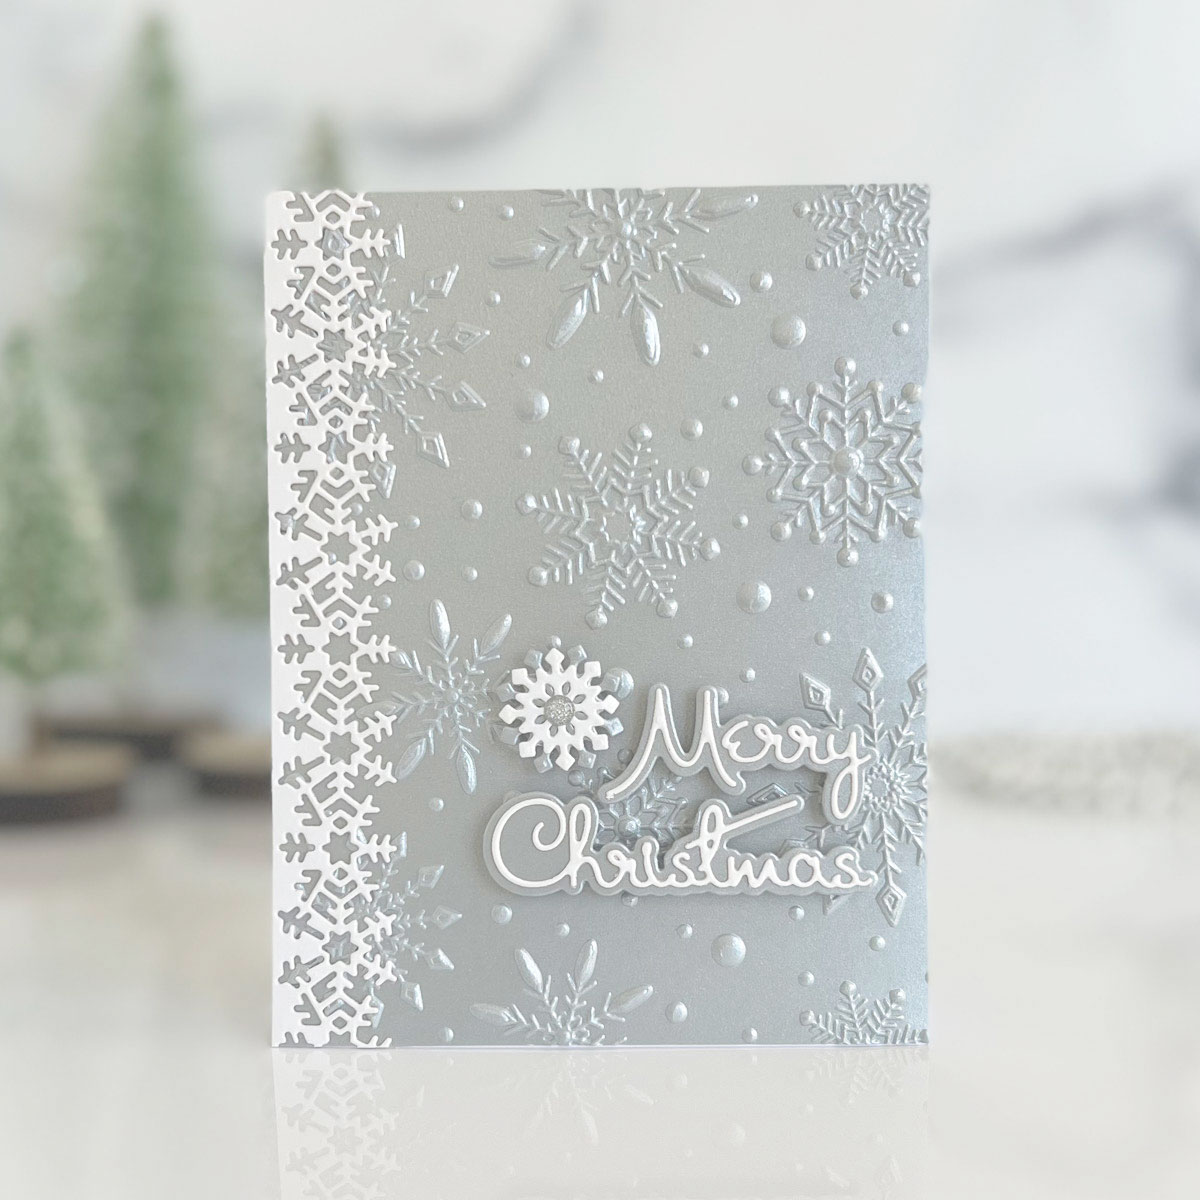
I ran an A2 size panel of Brushed Silver cardstock through my Platinum 6 with the Flurry of Snowflakes 3D Embossing Folder and the Universal Plate System.
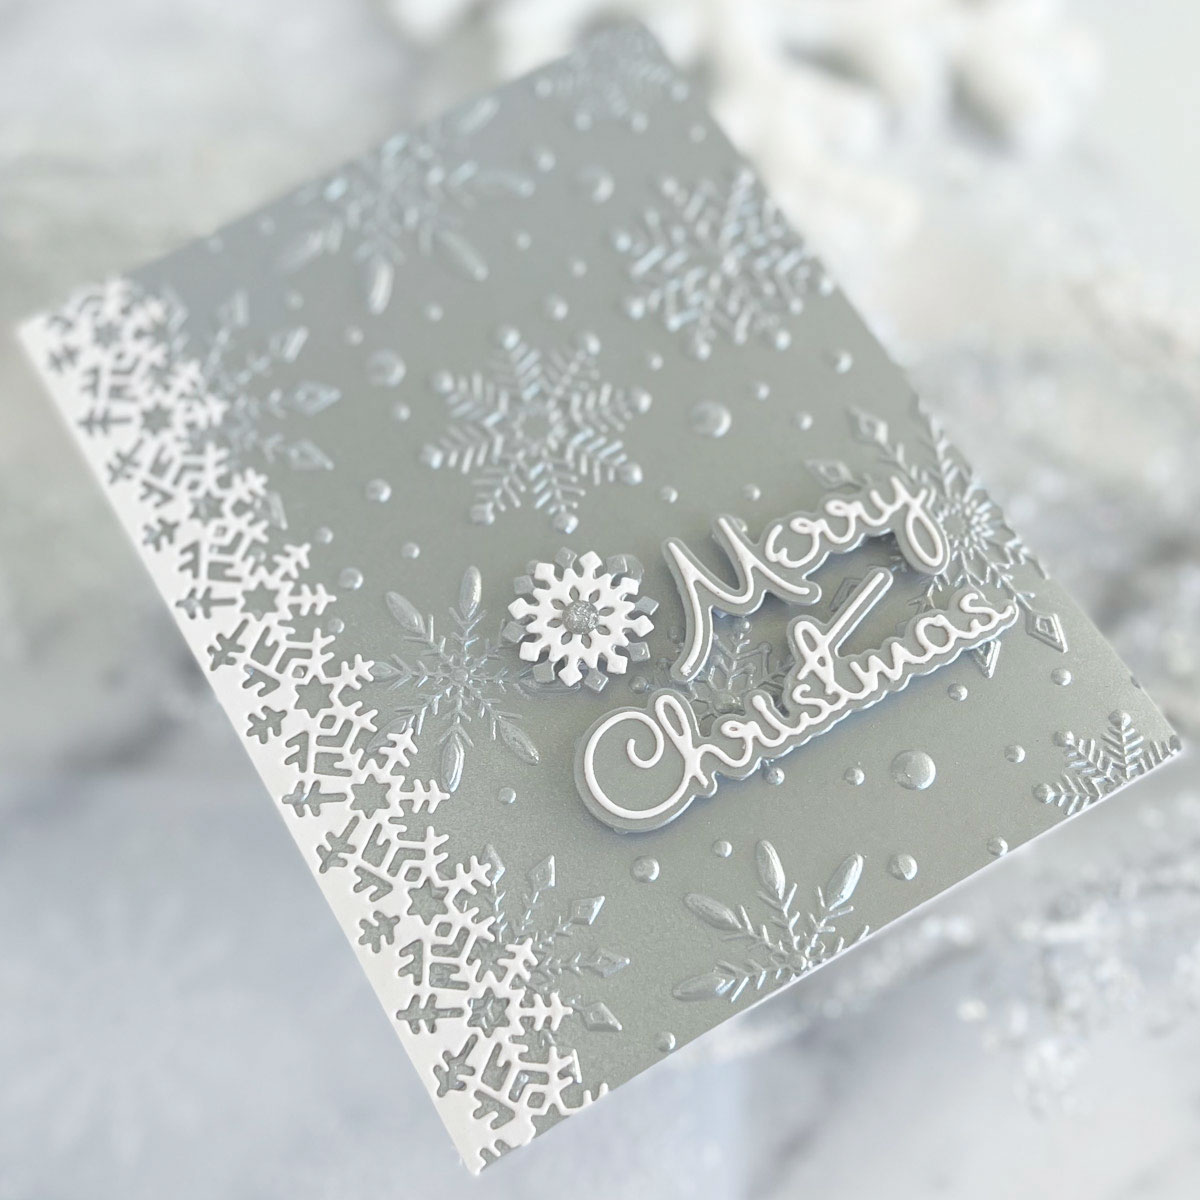
I also die-cut the sentiment, snowflake, and borders from white and Brushed Silver cardstock using the same dies as the other two cards.
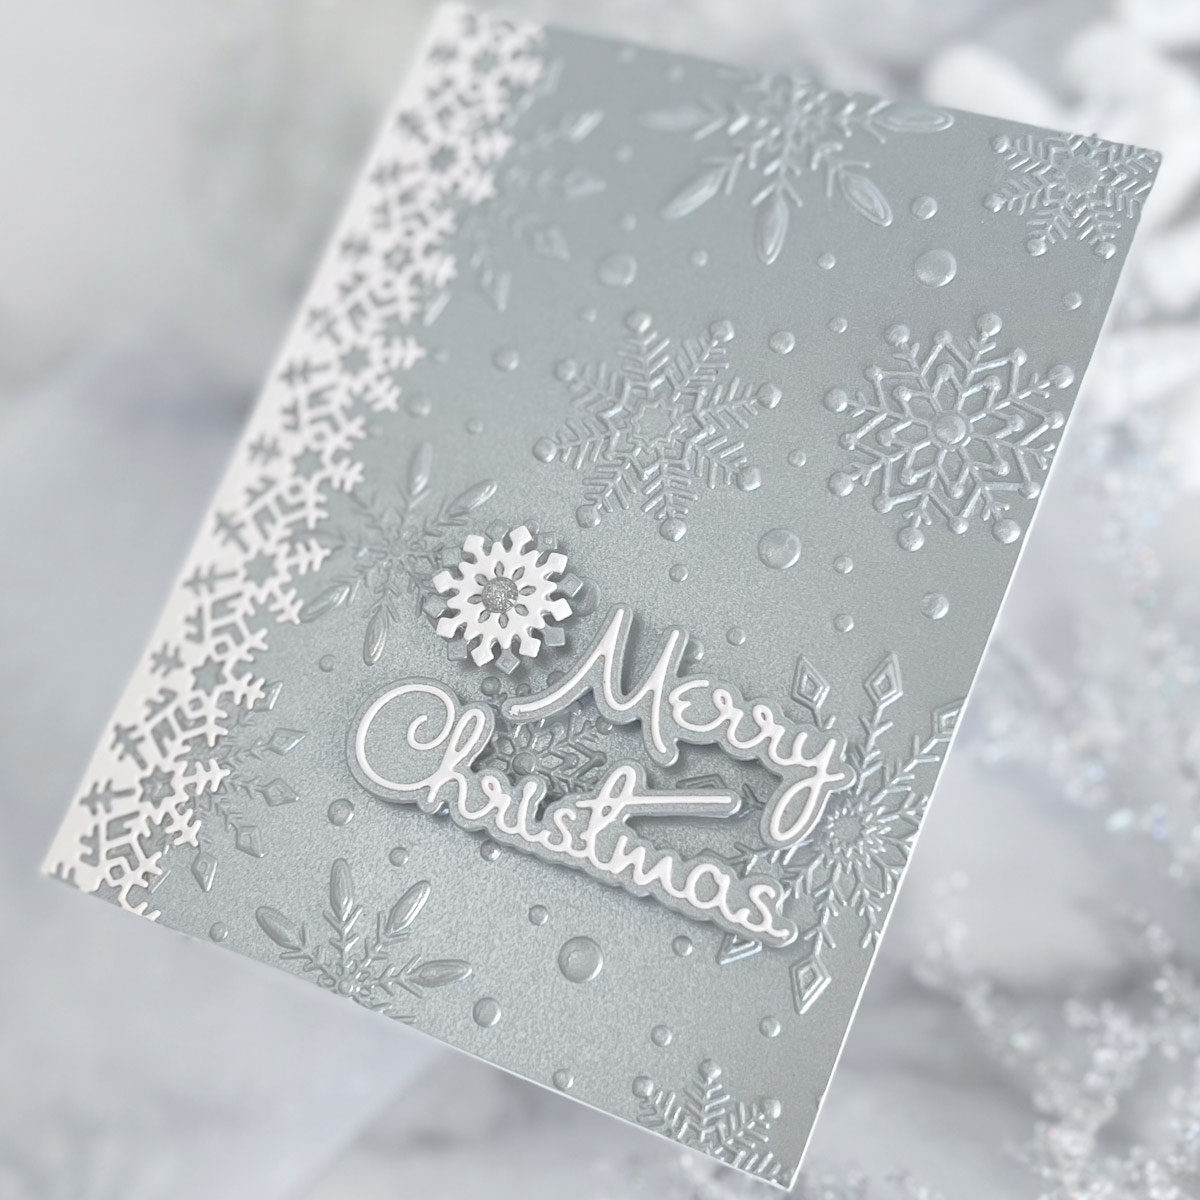
I adhered a silver glitter embellishment to the center of the snowflake. I think this one may be my favorite!! The texture and dimension from these 3D embossing folders are really amazing!!
Spellbinders Supplies:

OTHER SUPPLIES
Scotch foam tape, liquid glue, 110 & 80 lb. white cardstock, white iridescent cardstock, Brutus Monroe Glitter Paste, InkOn3 Shark Tooth Pigment Ink, assorted gems and pearls.
Thank you so much for joining me today for three ways to use the Flurry of Snowflakes 3D Embossing Folder!! You can also find me on my blog at My PaperCut Creations or over on Instagram @mypapercutcreations!!
Happy crafting!

Becca Feeken Sweet Cardlets Collection – Glimmered Sweet Cardlets with Marie
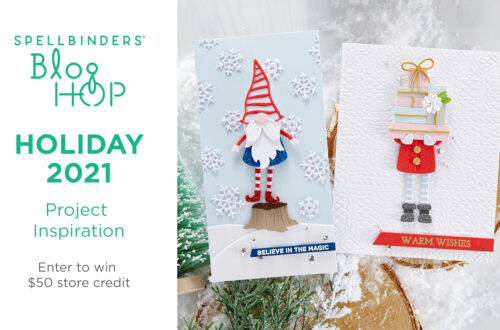
Holiday 2021 Inspiration Blog Hop + Giveaways (Now Closed)