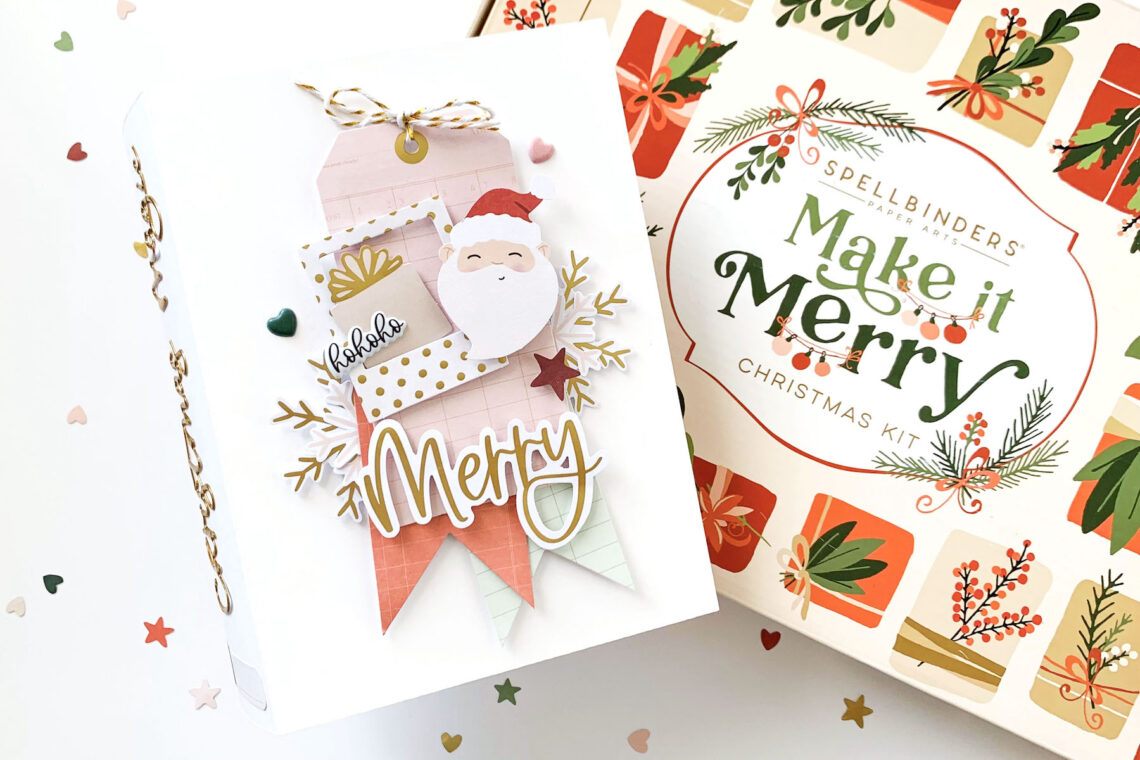
December Day by Day Album with Make It Merry Kit
Hi friends, Angela Tombari here, from I Need Confetti blog. Today, I would like to show you the memory keeping project I made using Make It Merry kit. It’s a kit meant to create Christmas cards but, believe me, it’s absolutely fabulous to make scrapbooking albums too. In fact, I used the kit to create a December day by day mini album to document next Christmas.
Make It Merry kit contains everything needed to create the album, pages included. Stickers, chipboards, jewels, sequins and two packs full of ephemera and die-cuts are enough to embellish the album and still make several cards. There’s also some foam tape! Now, let me show you the album.
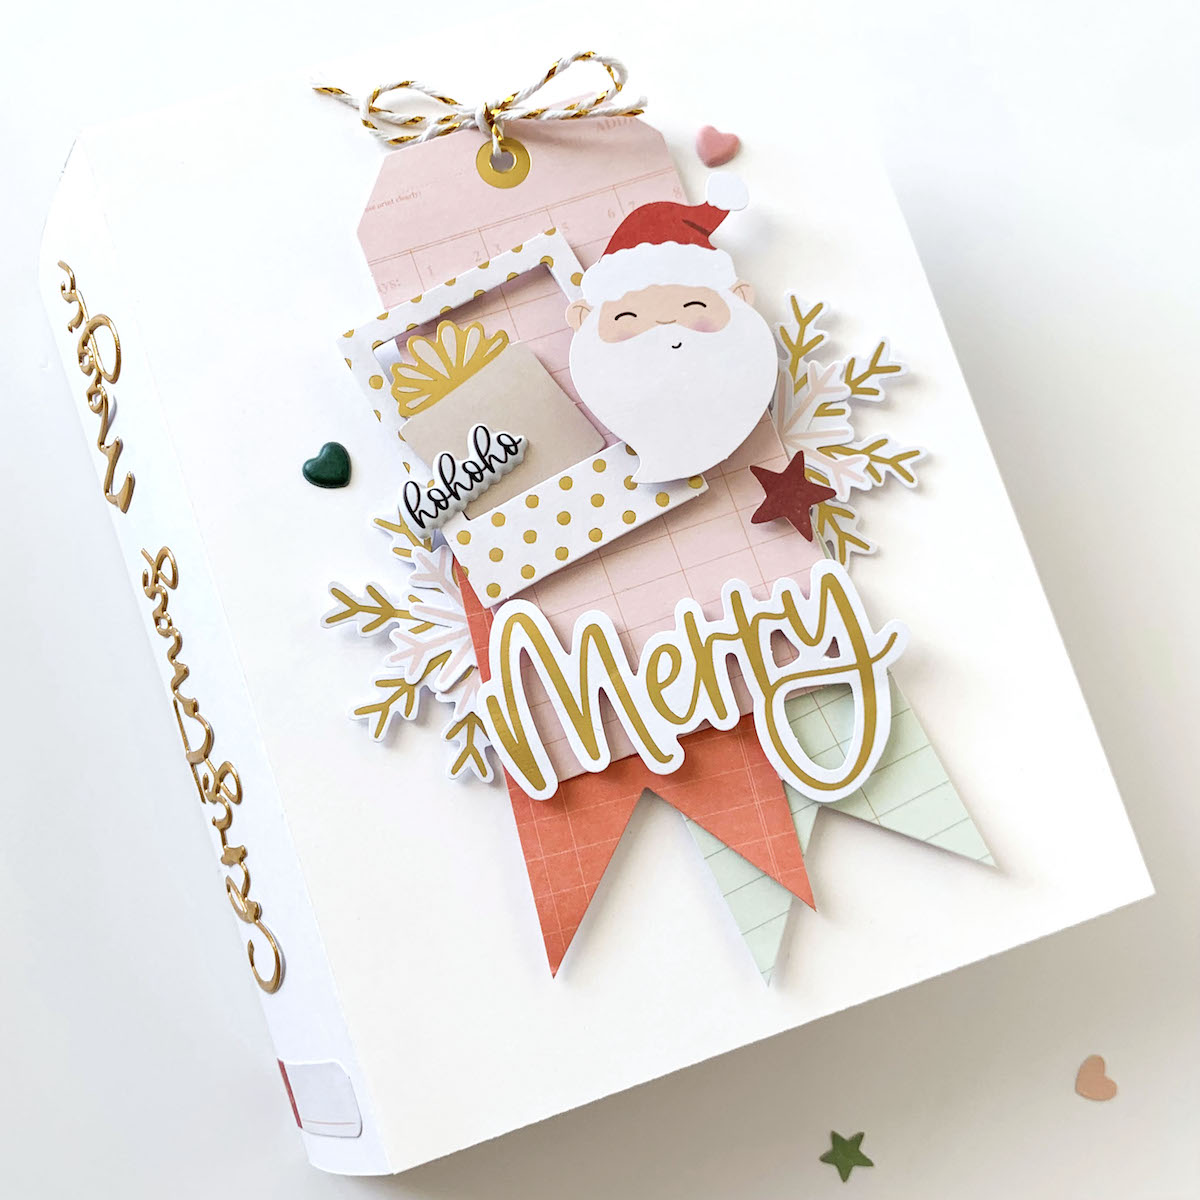
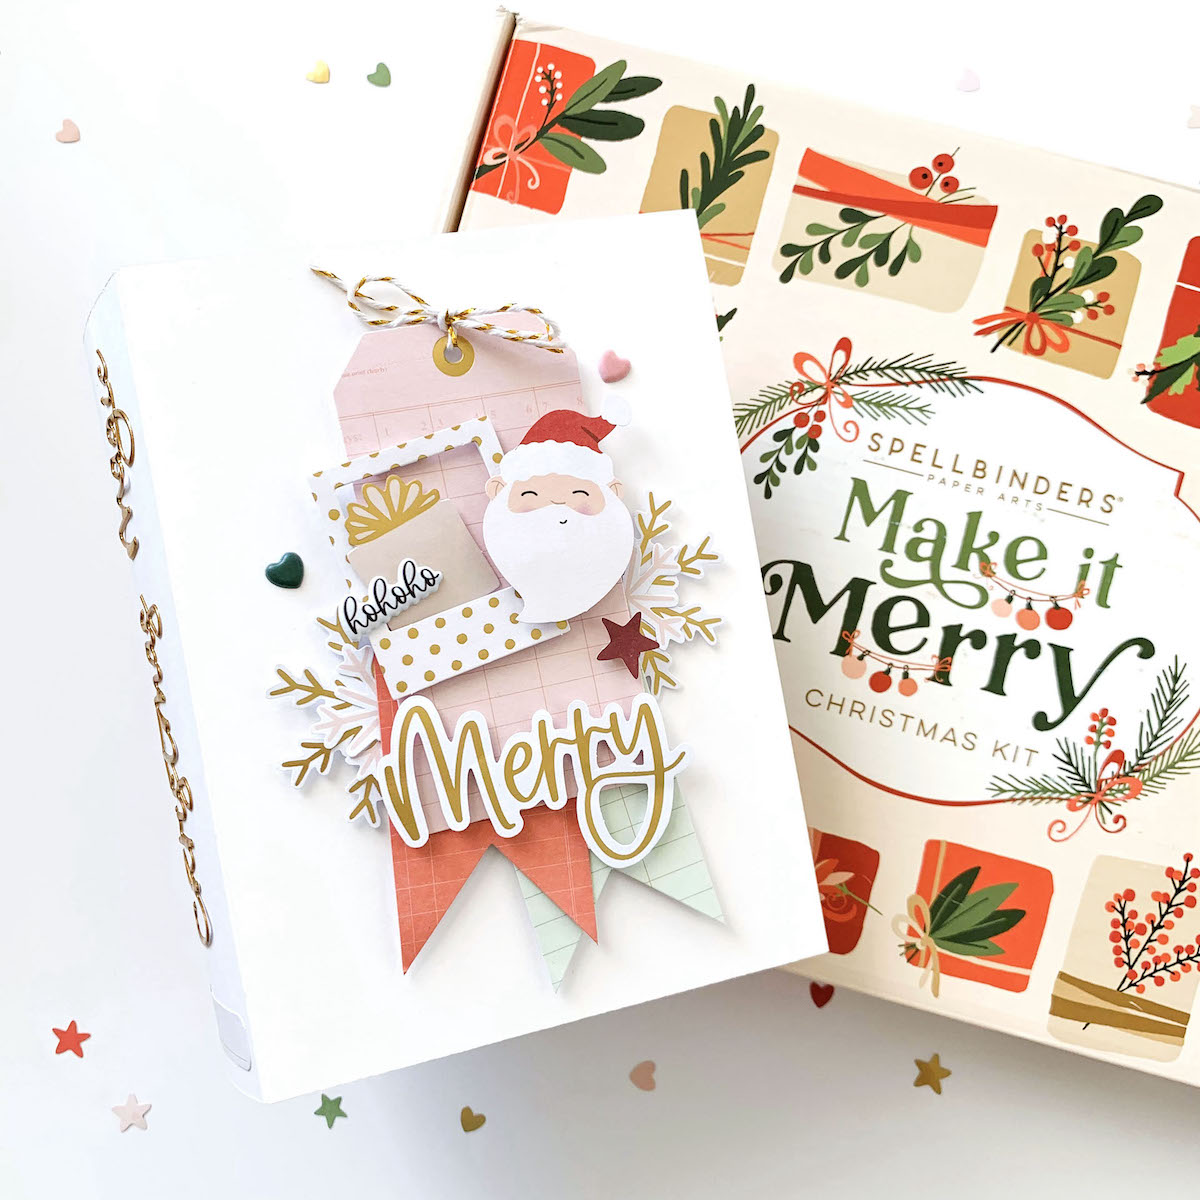
The cover measures 5,5 x 7,5 inches and I made it using the white A4 sheets of card-stock included in the kit. Instead, the pages of the album are made out of the cards, 3 of big size and 4 of the smaller size and one envelope from the kit.
I embellished the cover overlapping some ephemera and puffy stickers, a few tags and an adorable smiling Santa die-cut. On the spine of the album, I adhered the title of the album ‘Christmas Magic’. The two words are gold puffy stickers, always from the kit.
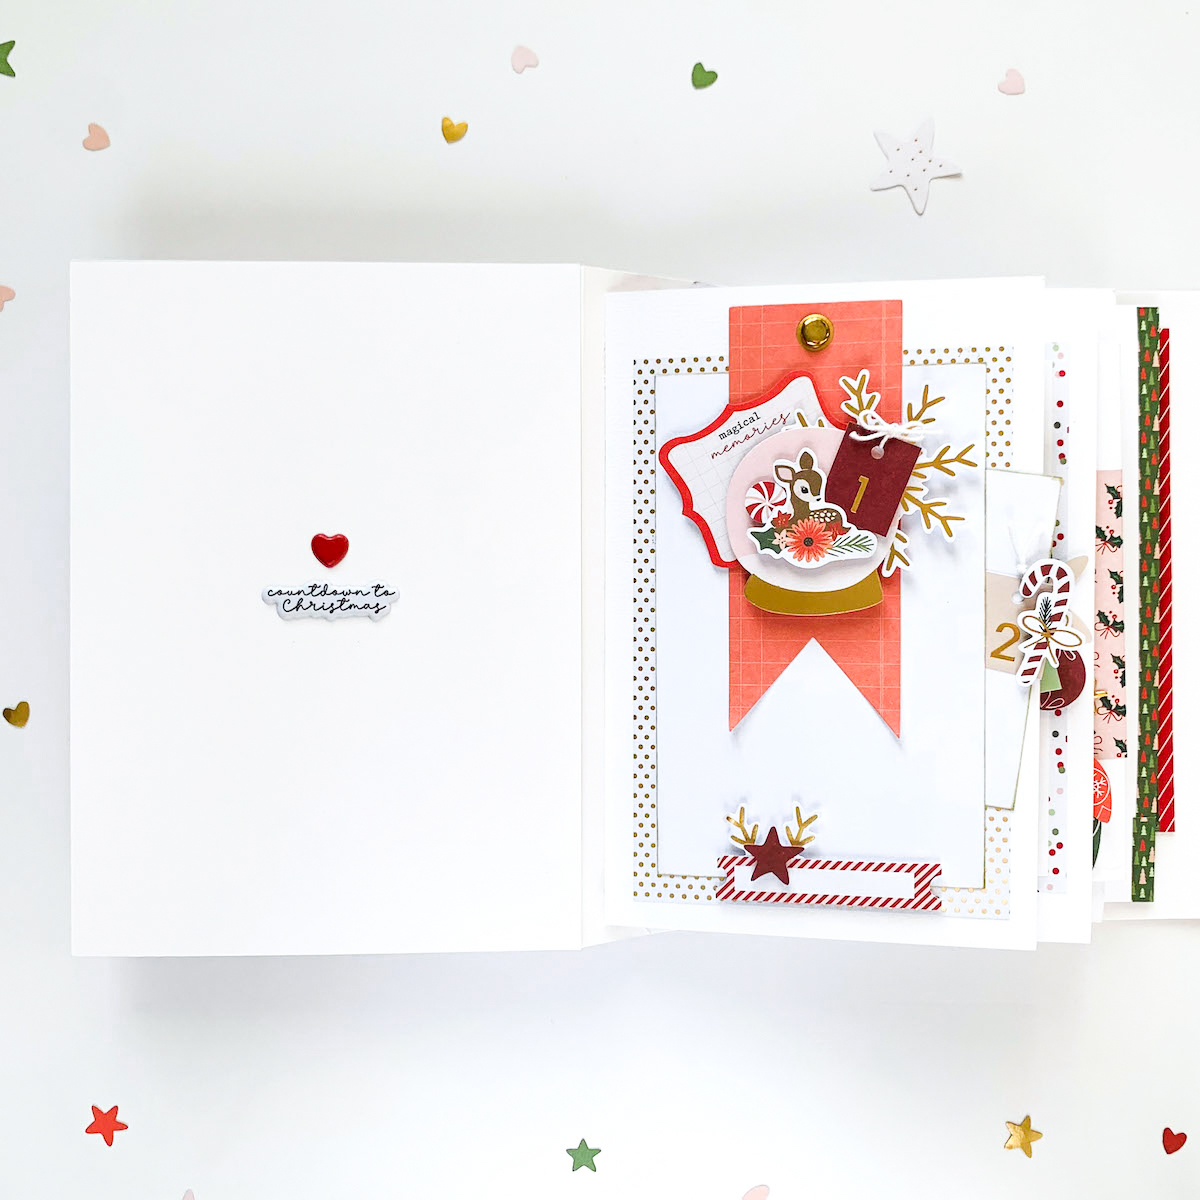
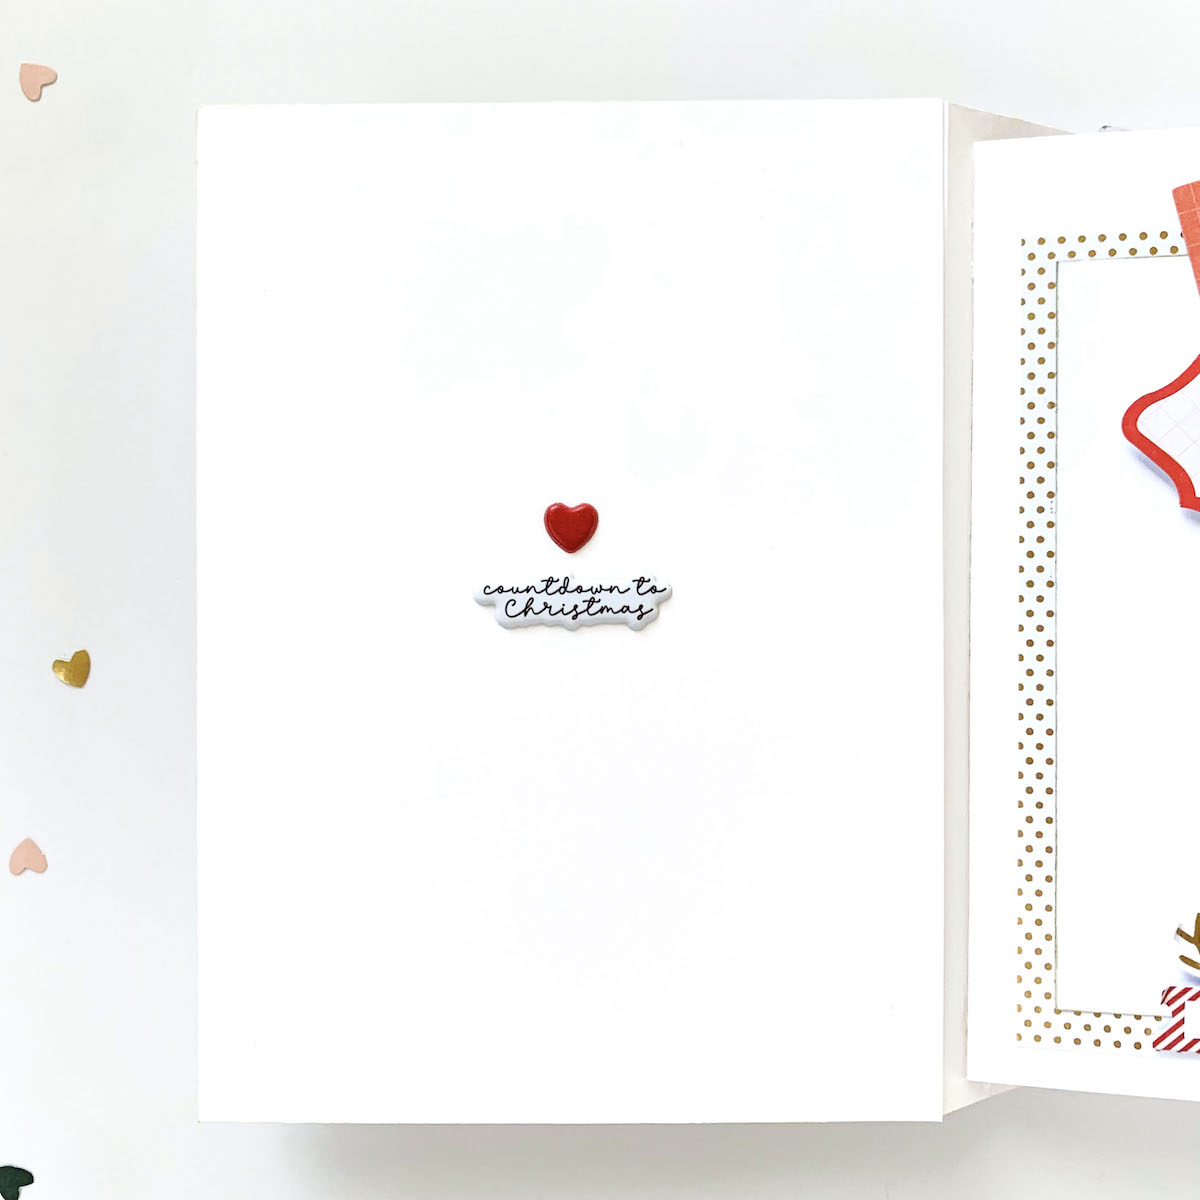
Opening the album, on the back of the front cover, I sticked two puffy stickers, a red heart and the phrase ‘countdown to Christmas’. Since this is a December album, where I’ll document the month with one picture for each day until Christmas, this phrase was the perfect intro to the theme of the album.
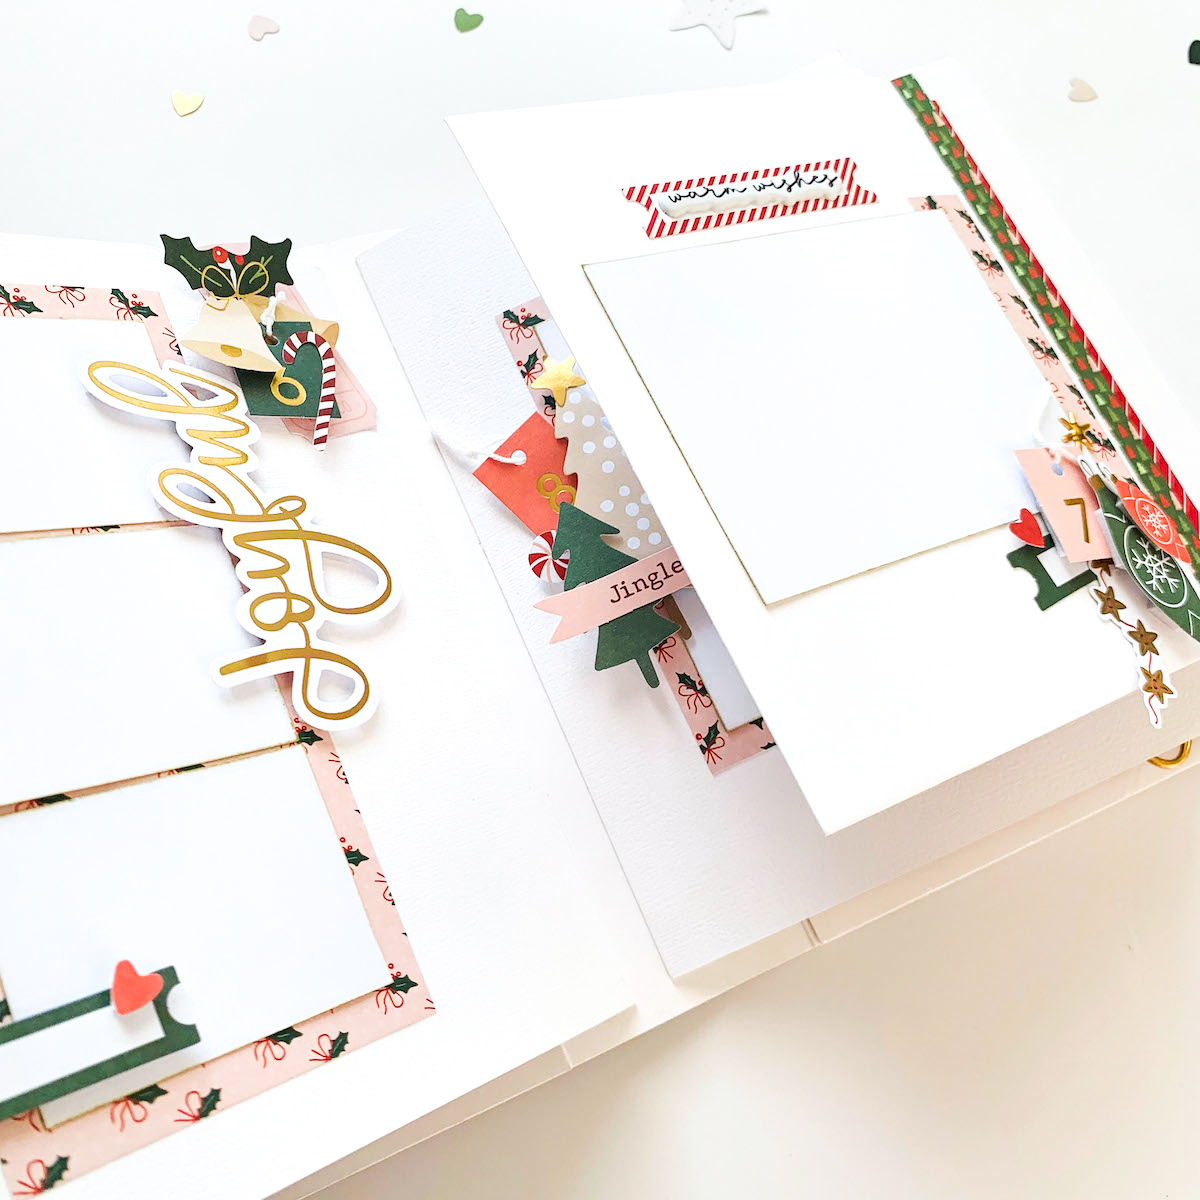
Next side, the real countdown starts with the first page of the album. As I said, the pages are made using the cards of the kit. To make them, I scored a second fold to each card to create some depth, about 0.25 inches and adhered this part to the inside spine of the album with strong glue.
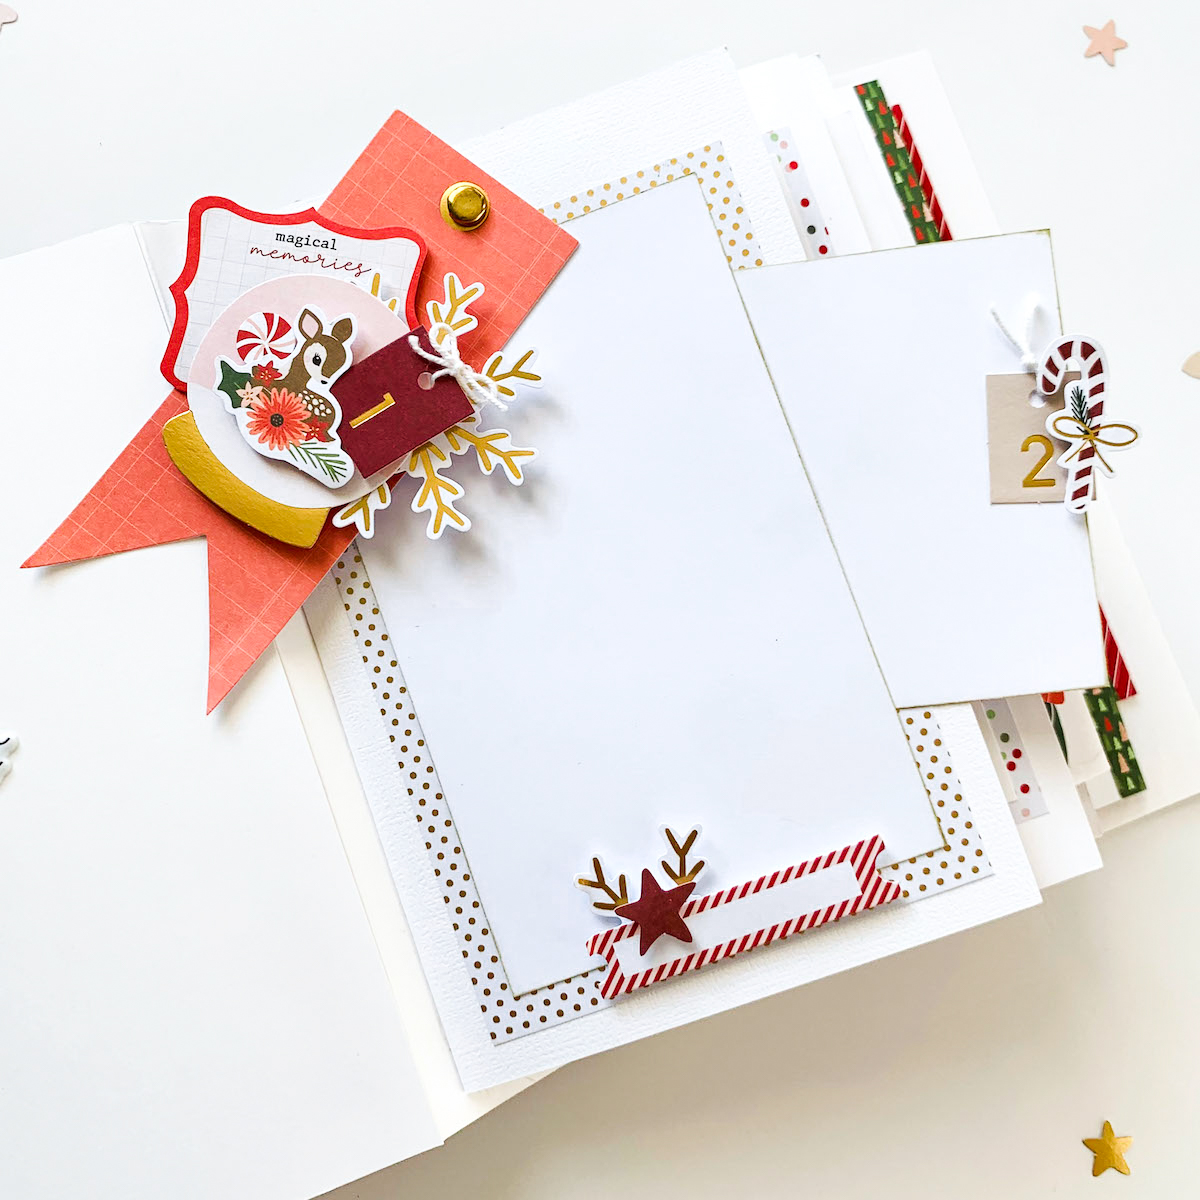
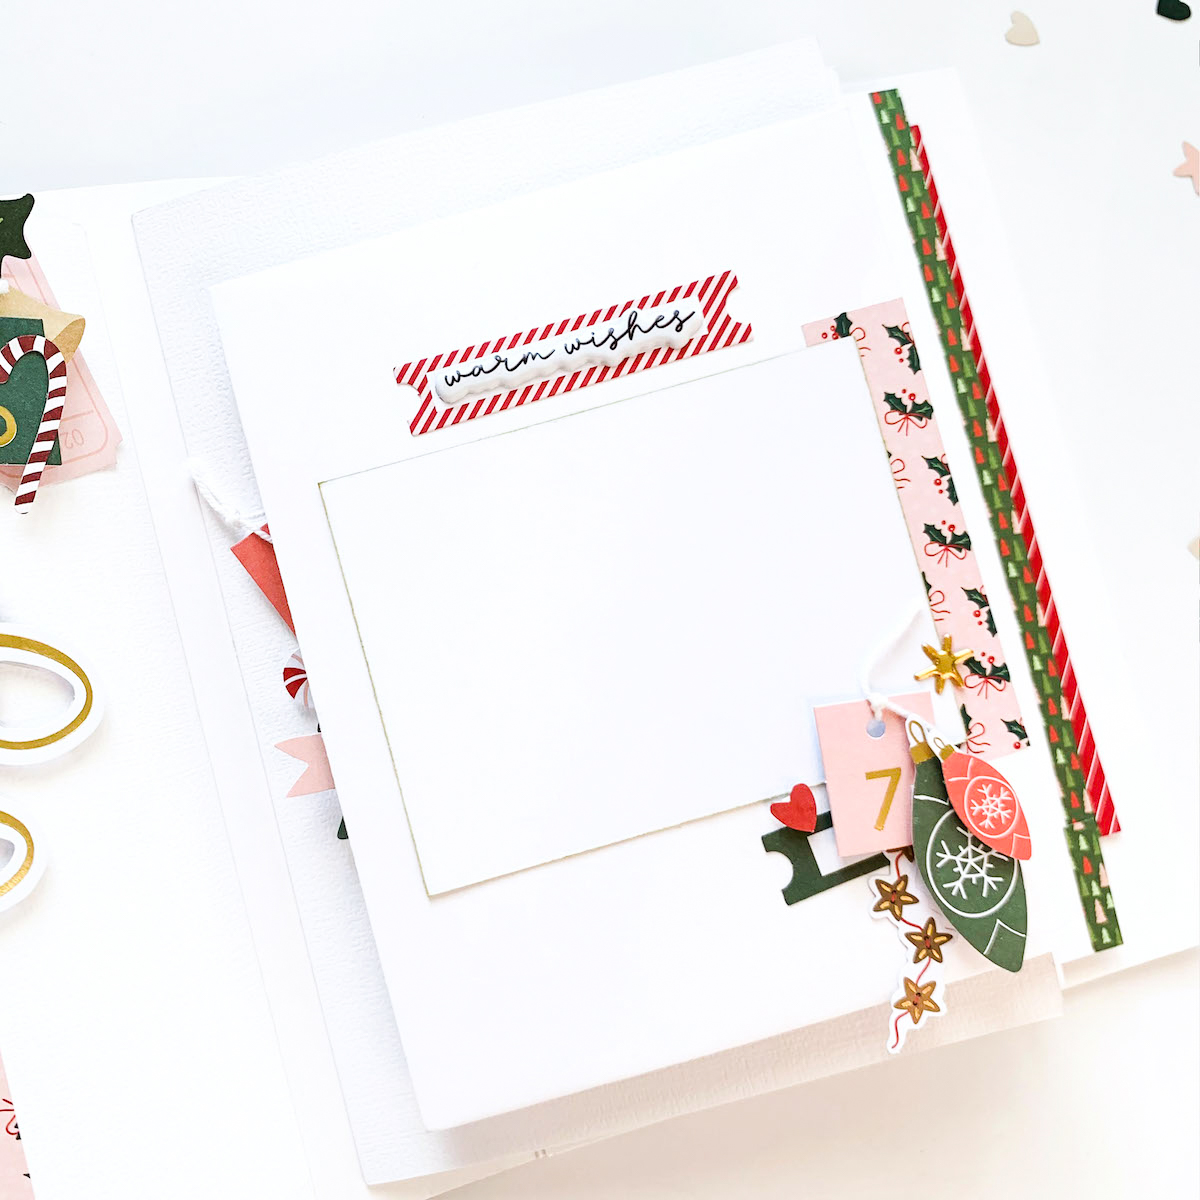
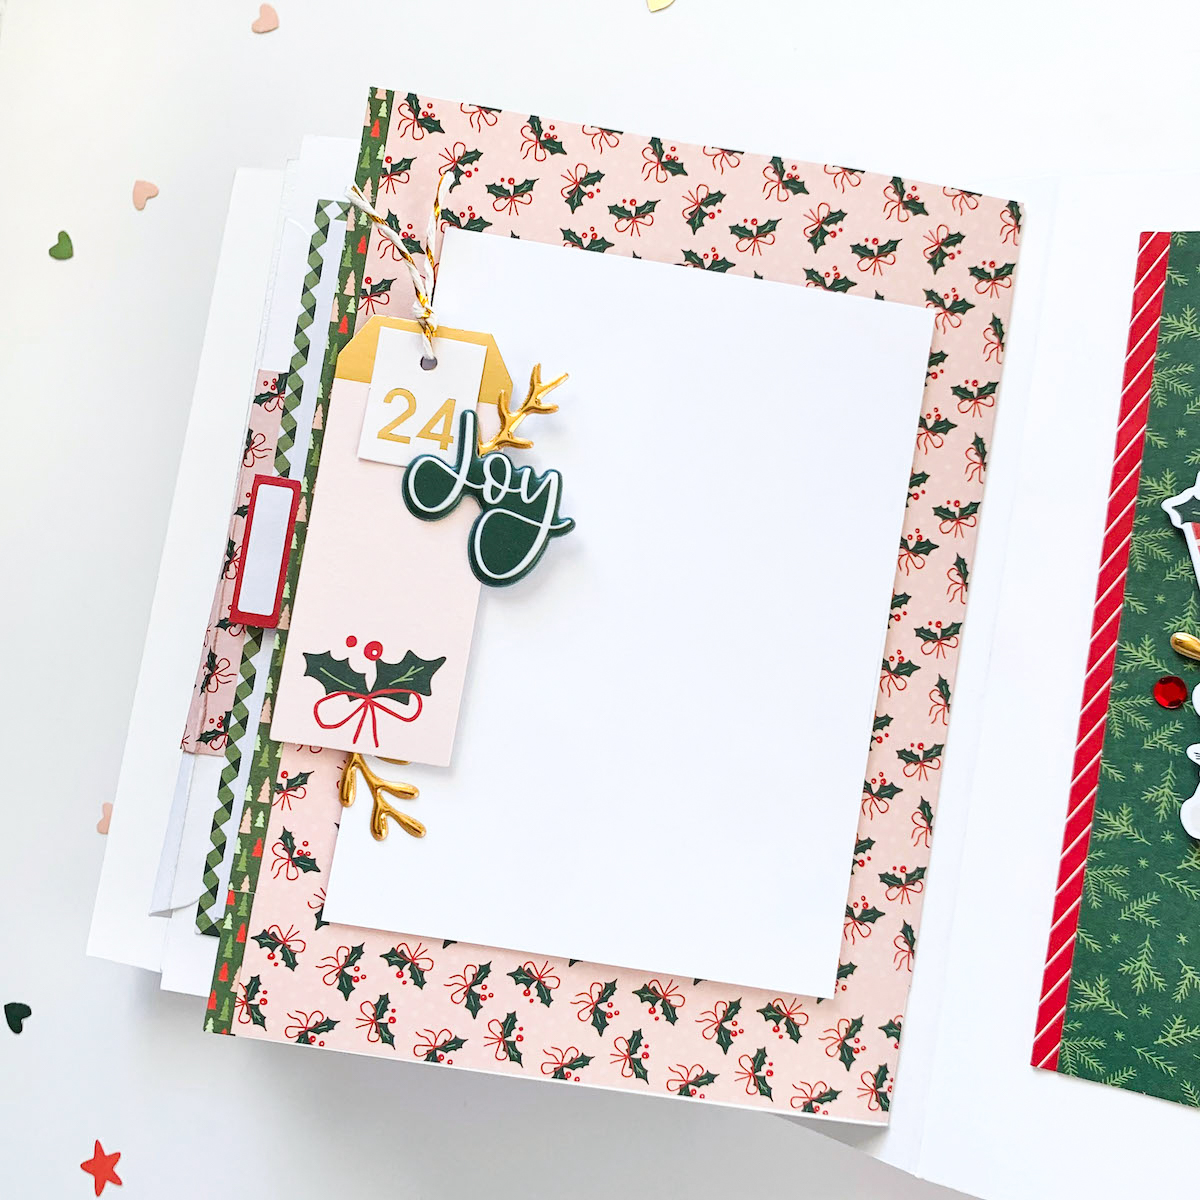
On top of the page I glued a gold dotted paper from the 6×6 paper pad of Make It Merry kit. Above, I placed a pretty banner tag with a brad that allows it to slide on the side. Below, I sticked a label that I will use to journaling about the photo. On the right side of the page is peeking the number 2. This is where I’ll place the photo of December, 2nd.
Every page has got a number. The little tags with the little gold foiled numbers on it are of course, from the kit. There are two tags for each number so, potentially, you could make two minis with one kit, one for yourself and one to gift.

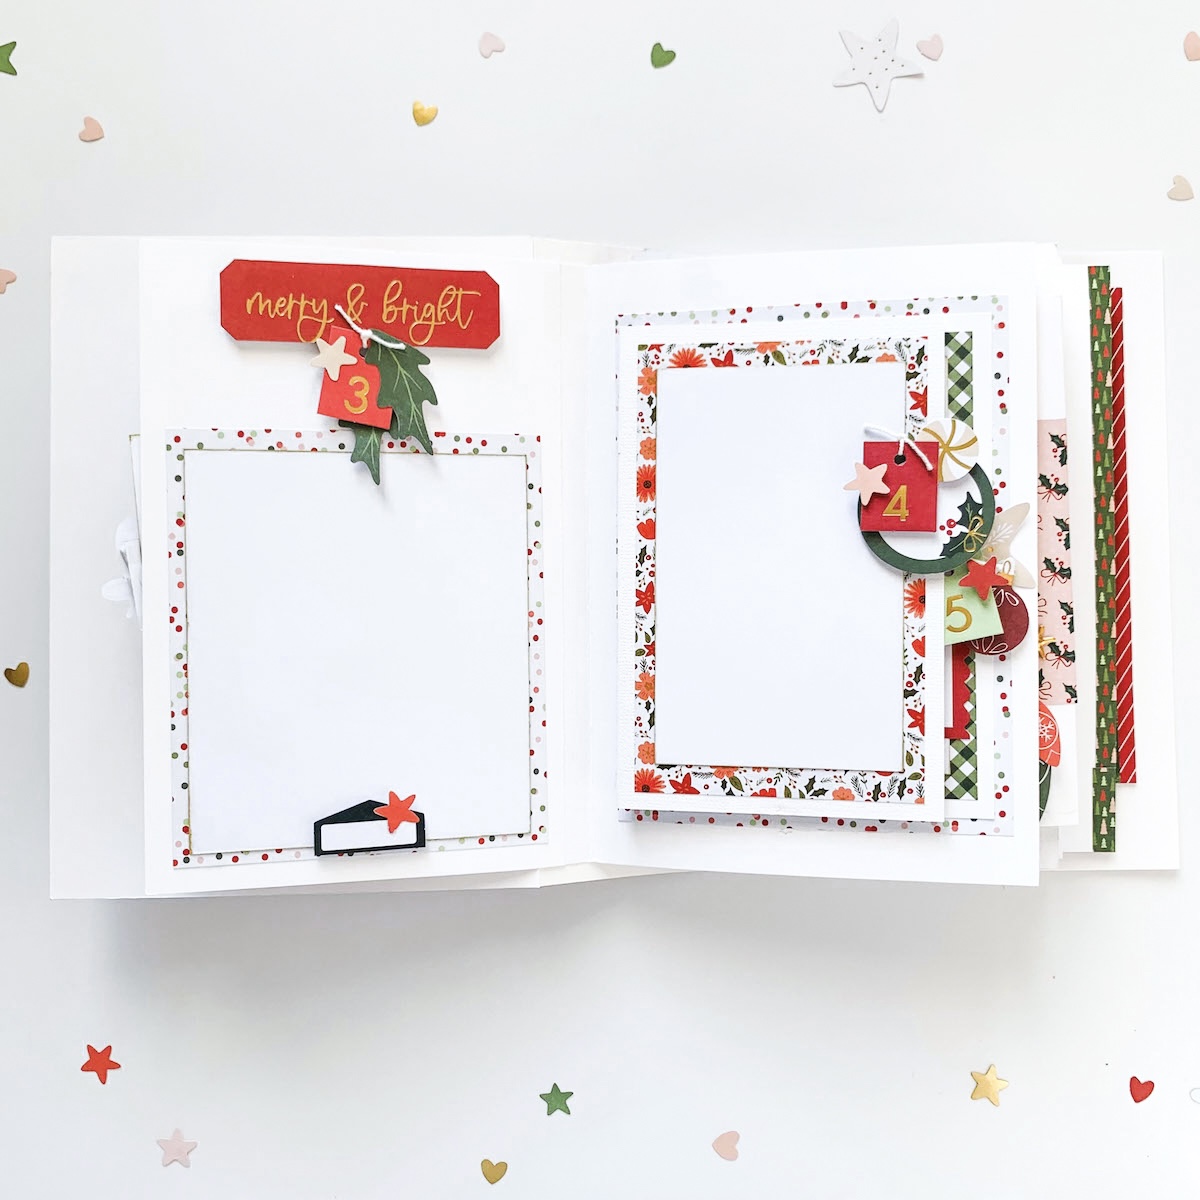
In addition to the numbers, all pages of the album are decorated with the beautiful papers of the 6×6 paper pad.
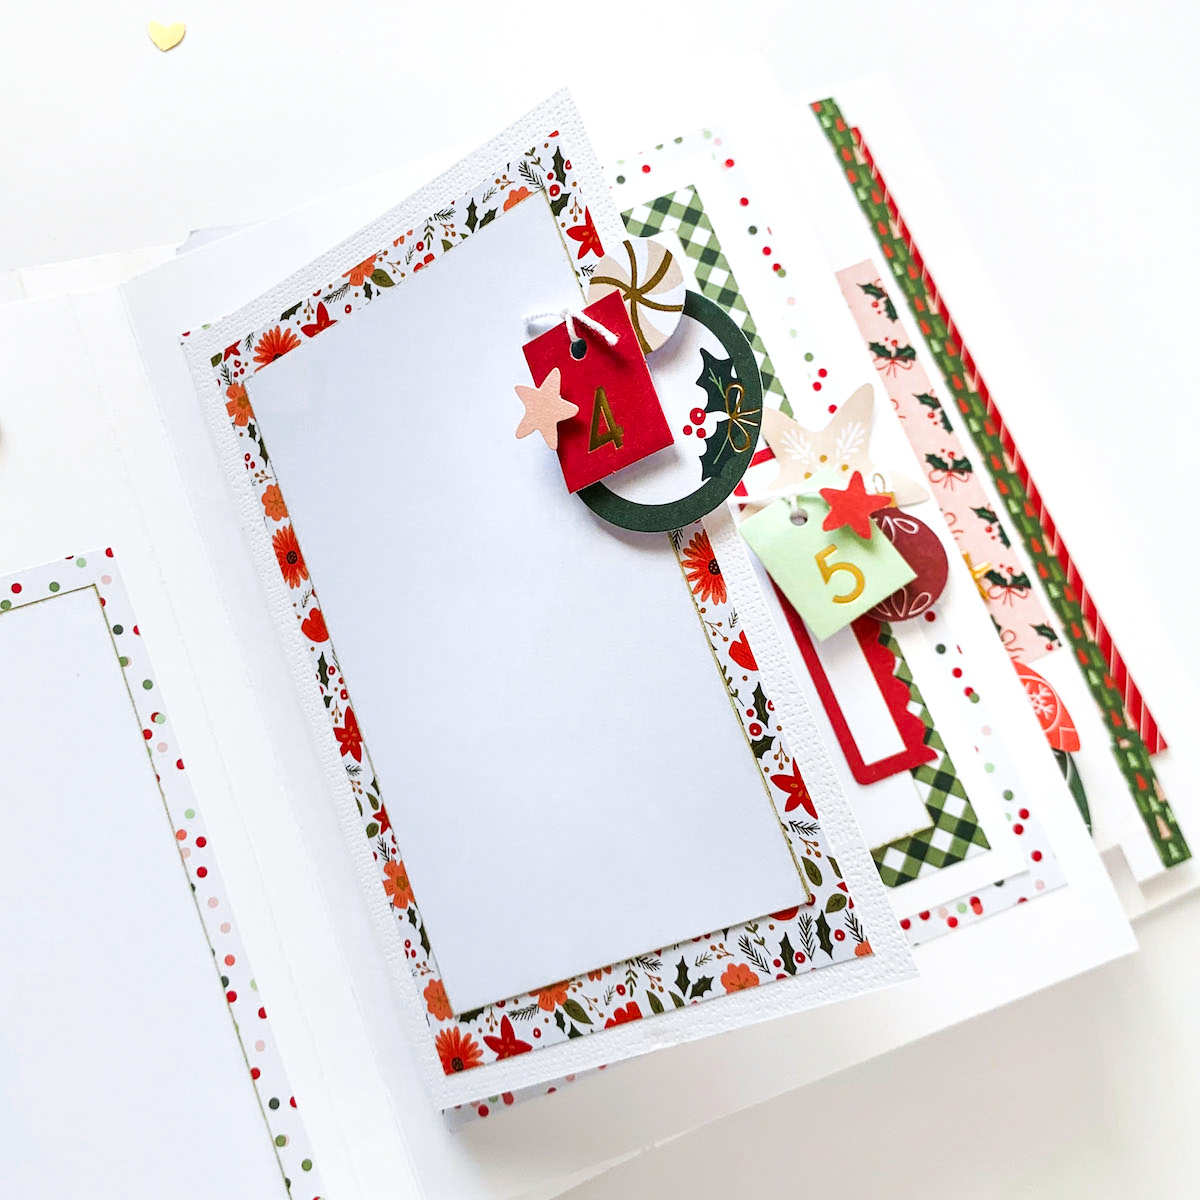
The white rectangles of papers you see sticked on top of the patterned papers are where I will put the photos of the day. December is a busy month so, to have the album finished in a ‘acceptable’ time, having an idea of where to place the photos and in what size to print them, is a time saving.
For making one of the pages of the album, I used an envelope. Technically, it’s not a page but a flap that gives some movement to the album.
On the front I previewed the space for a photo with the usual number tag and a cluster of embellishments.
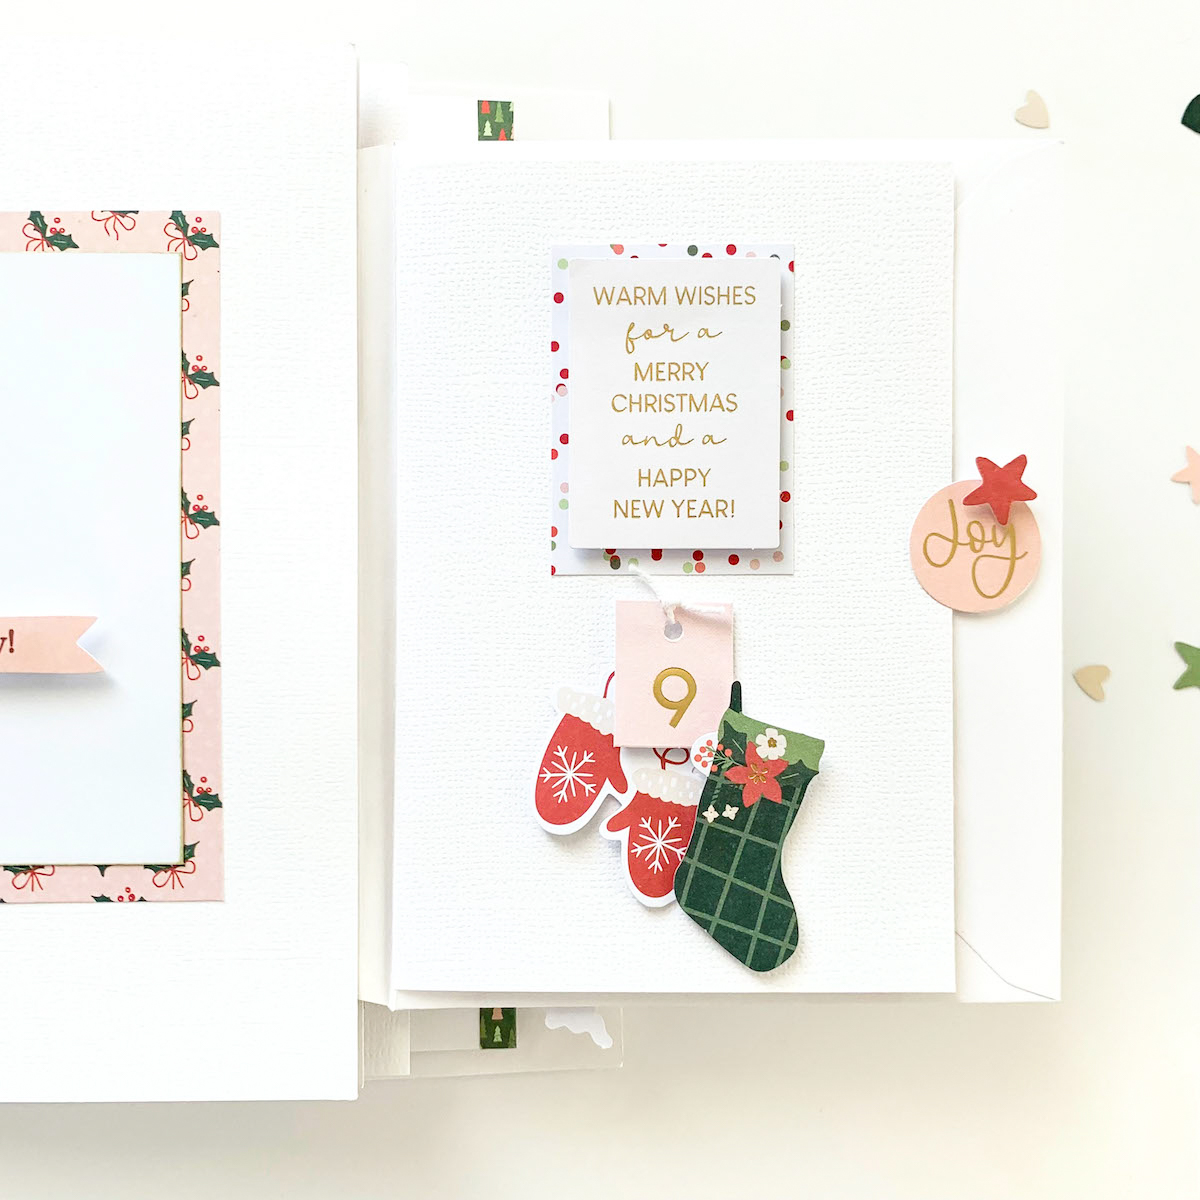
Opening the flap, inside the envelope I placed a card with a wishing note.
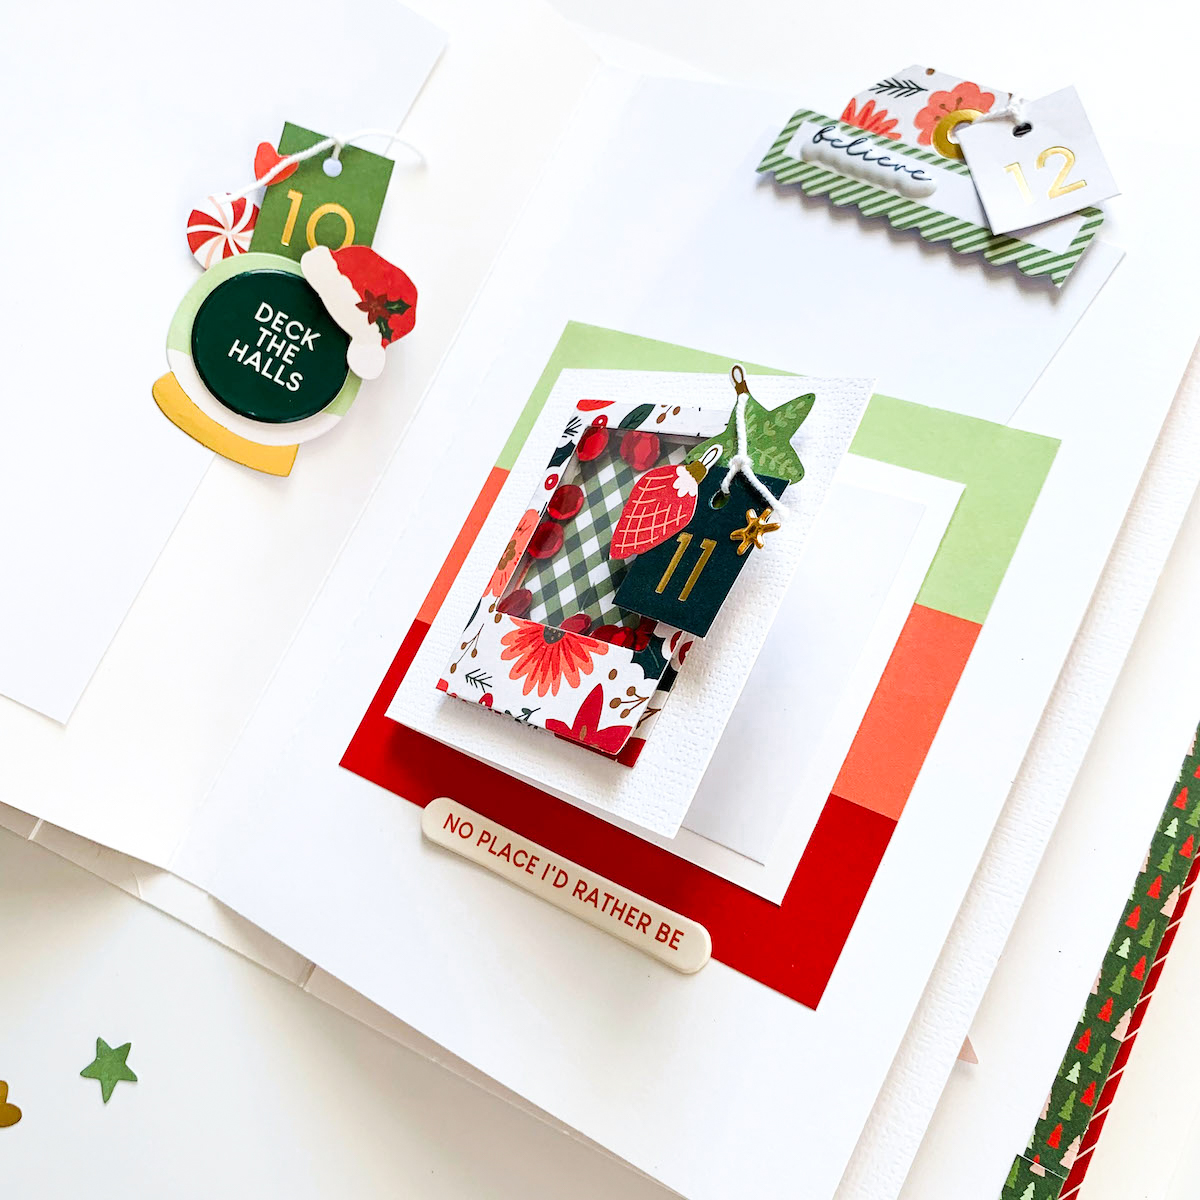
To make the album more interesting, I varied the size of the pages. For example here, I created a little page of about 3 inches, sticked on top of the main page. On the front, I created a shaker filled in with the red sequins of the kit.
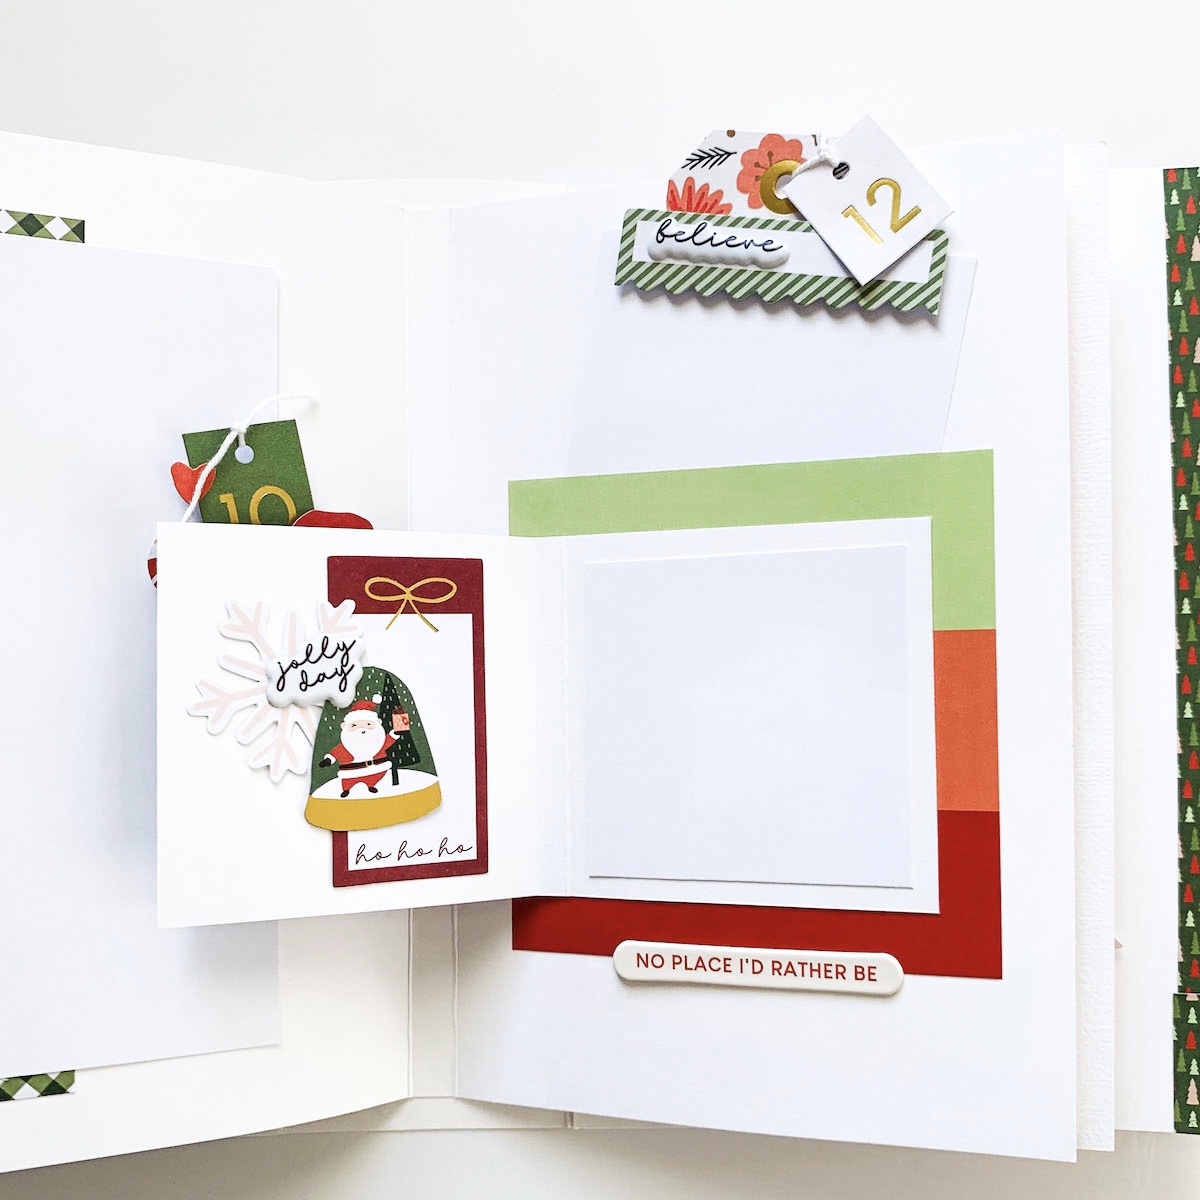
Inside, I left some space for the photo on the right and I embellished the left page. Please, note the cute Santa in the snow globe! I adore it!!
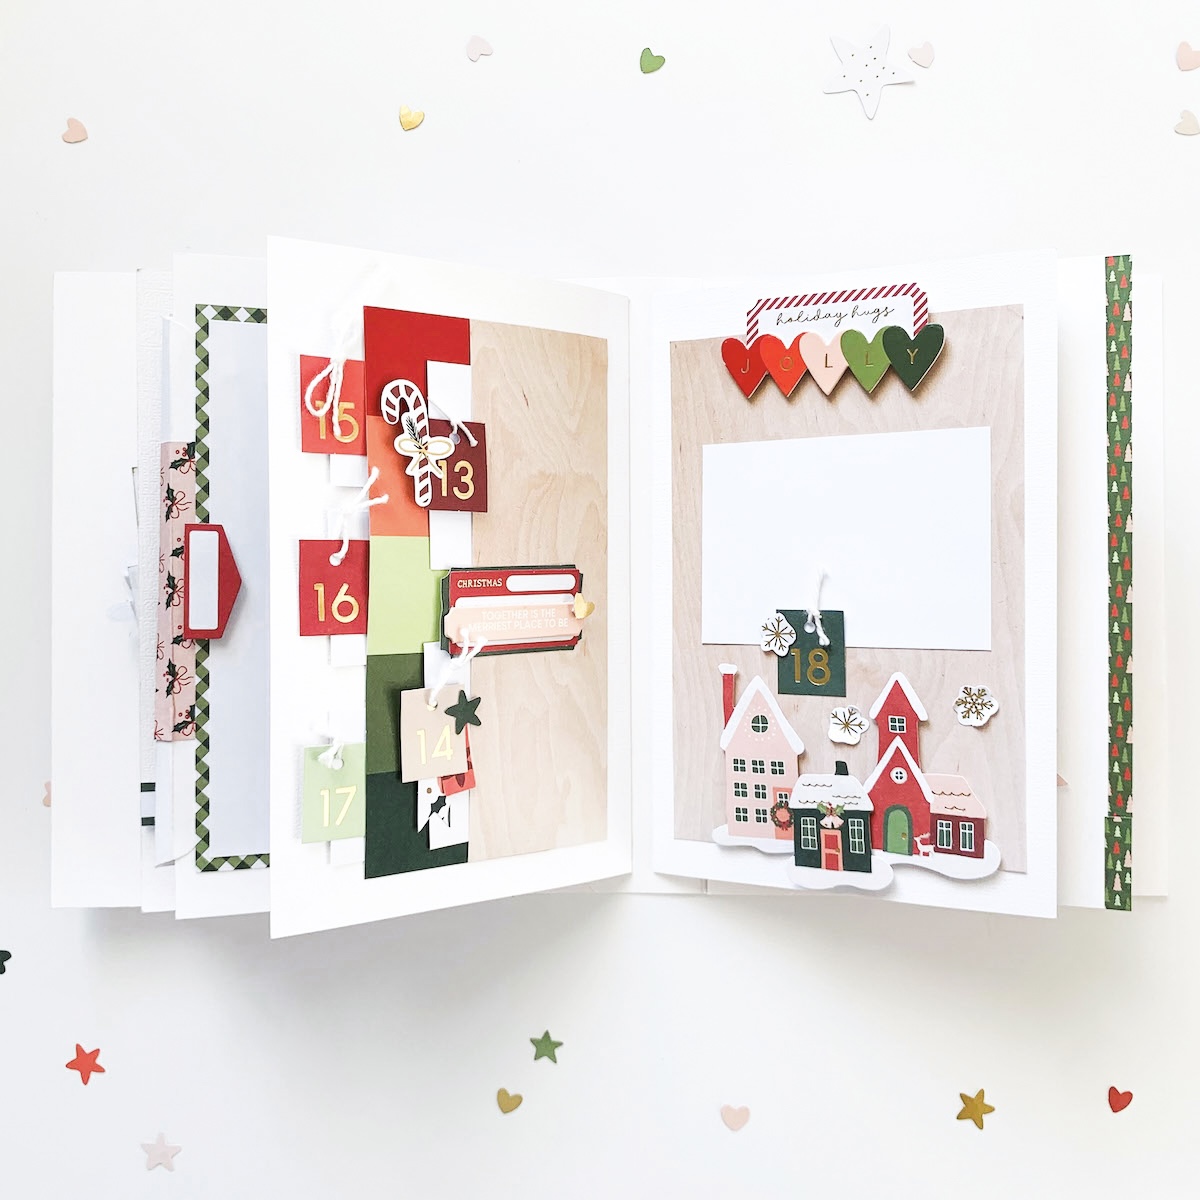
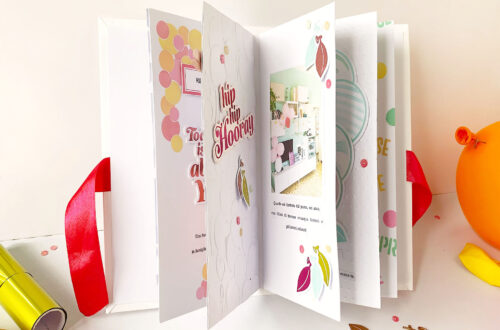
When I create an album, I also enjoy creating pocket pages where I slide in tiny photos. Here, I created a double line of flaps using two strips of patterned paper.
In the kit there are so many beautiful sentiment strips that make so easy decorating the pages. Aligning them from the shorter to the longer, I tried to recreate the shape of a Christmas tree with a spot for the photo in the middle.
I like the different type of embellishments that are in the kit. You don’t need much to decorate a photo but creating a cluster made of a tag, a chipboard and a puffy sticker, make the whole page interesting and fun.
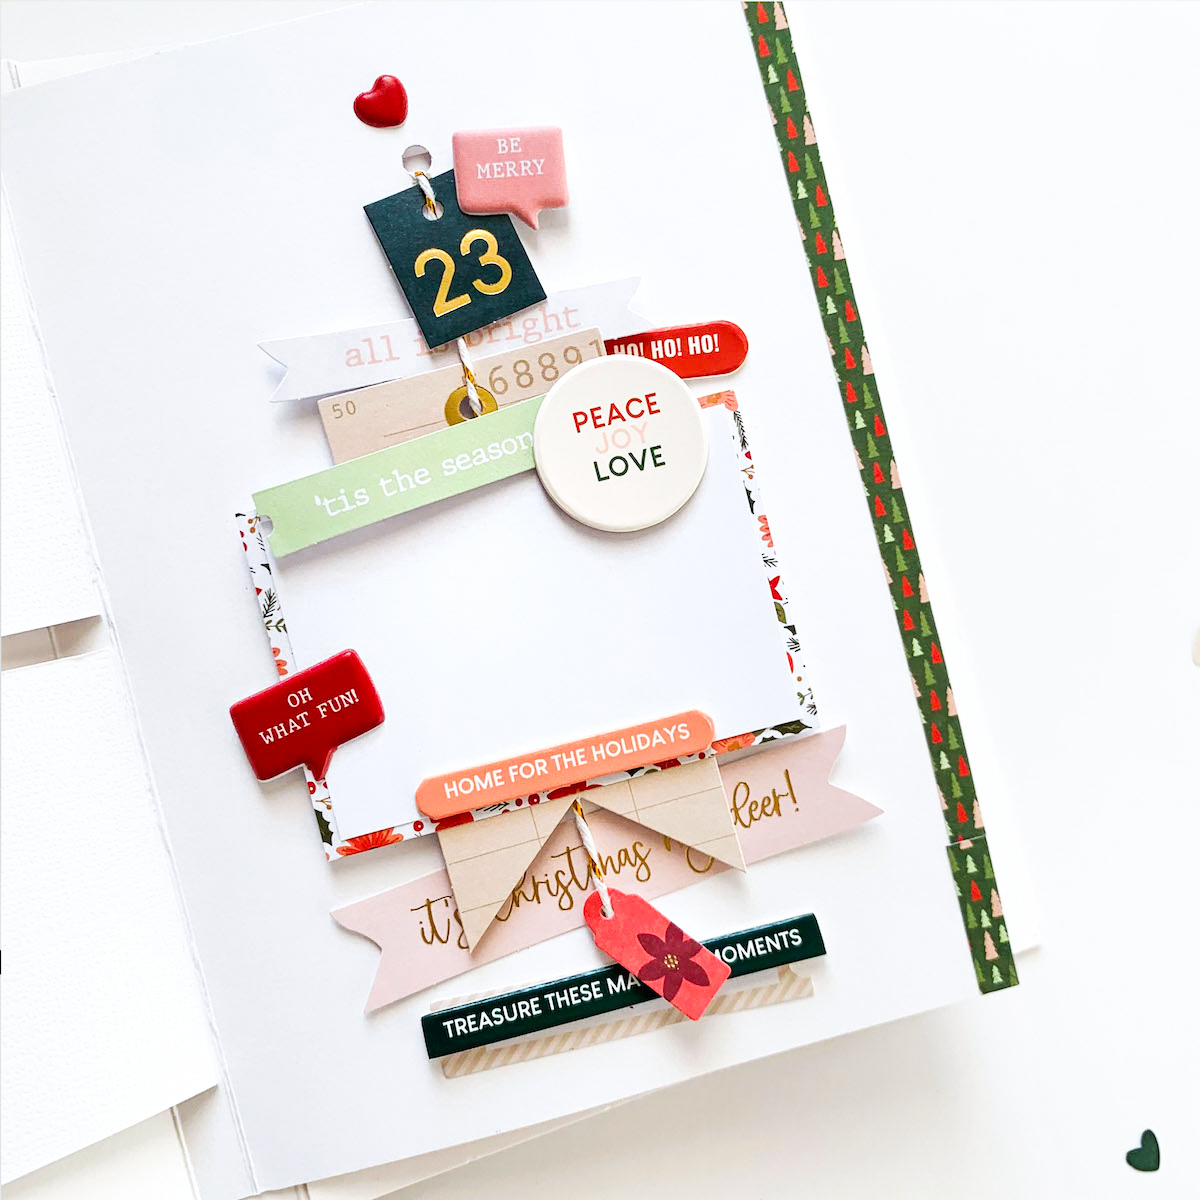
The last pages of the album are my preferred, especially the page of Christmas Day.
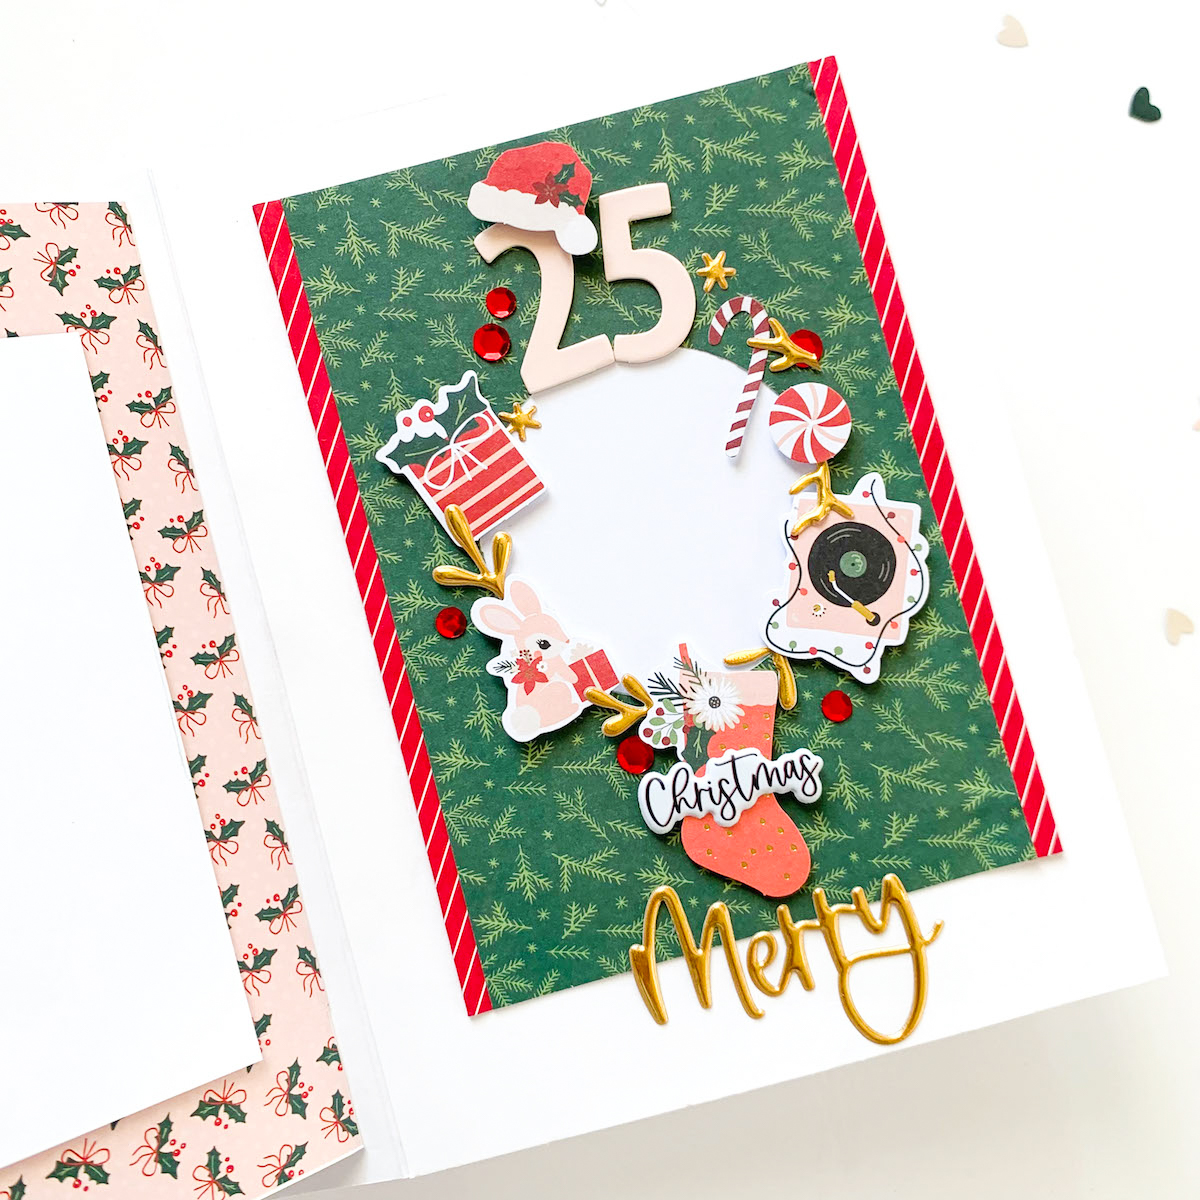
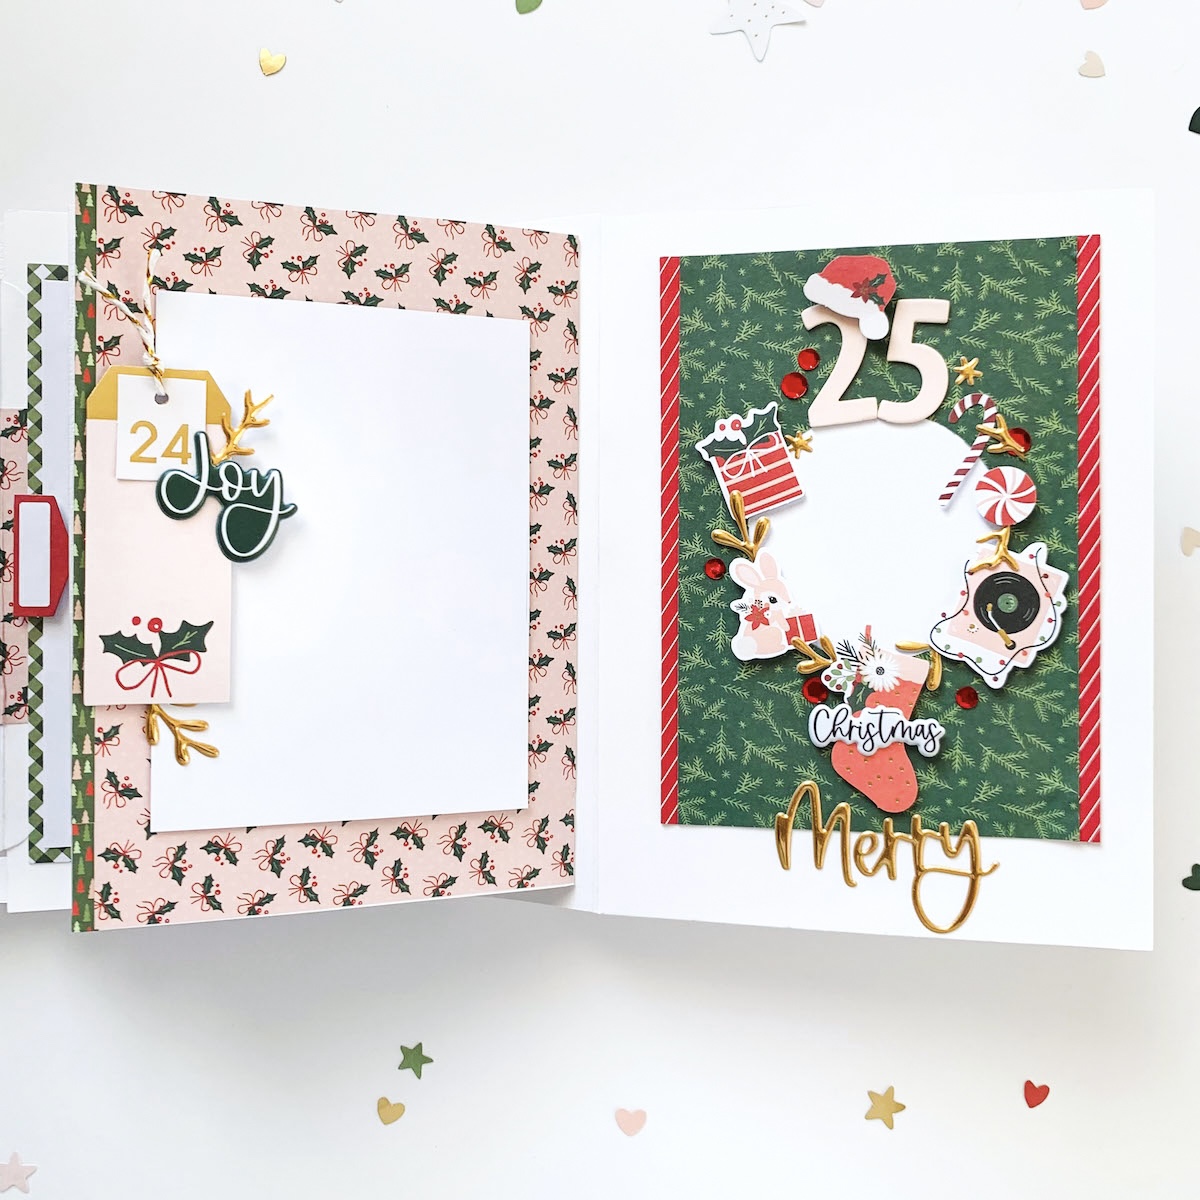
Day 25 is created directly on the inside part of the cover. I cut a circle in the middle of the patterned paper and I adhered it in place. Then, I decorated the border of the circle with cute embellishments.
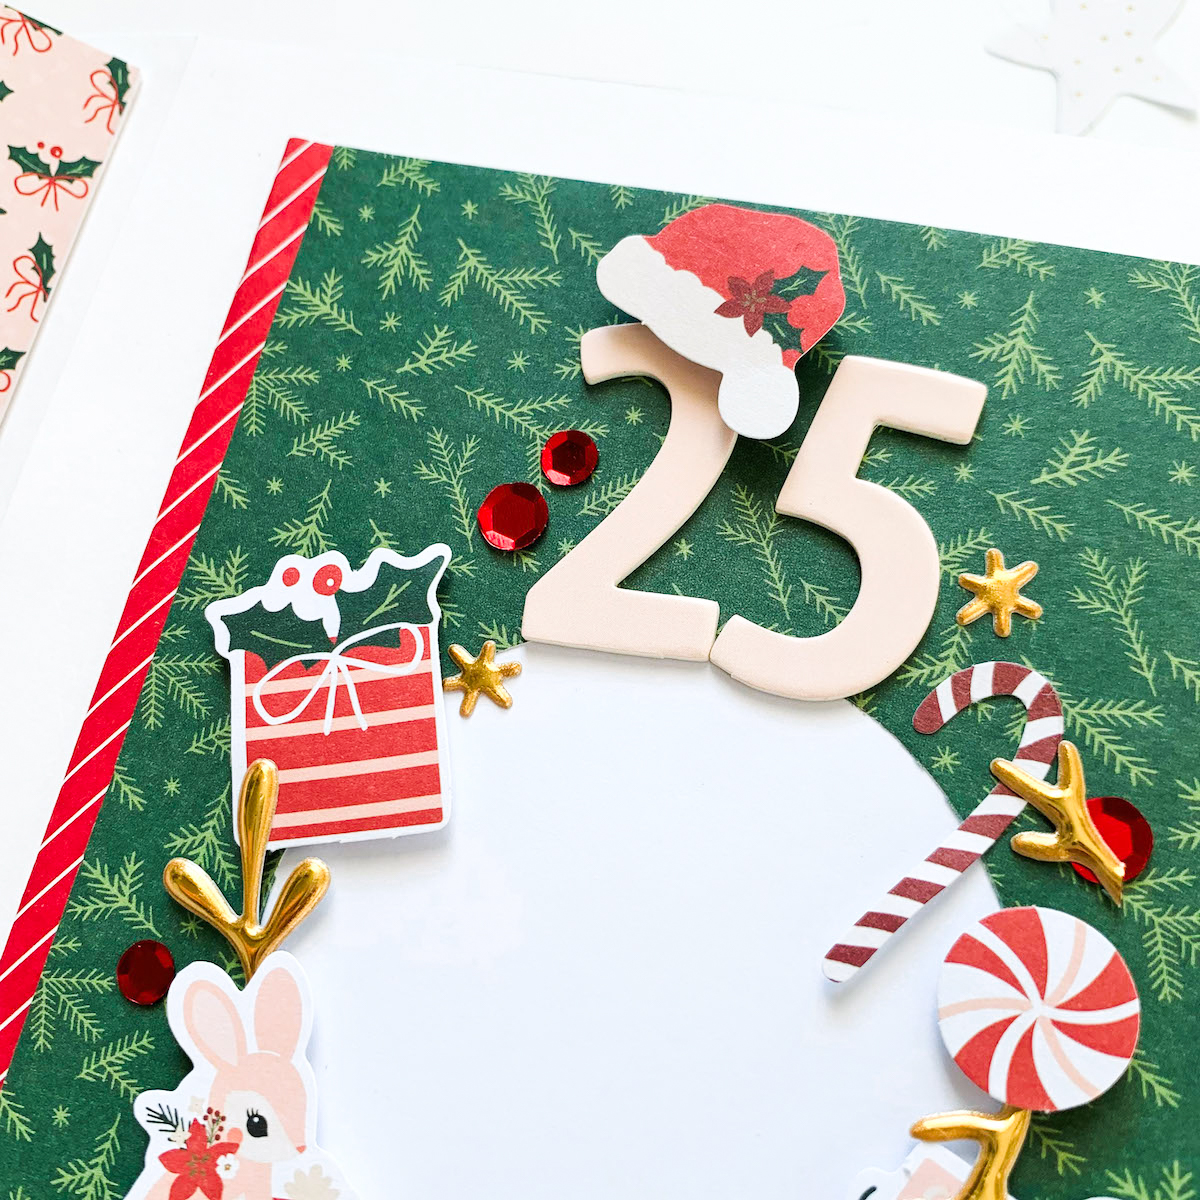
In the upper side, I placed the chipboard number 25 with a fun Santa’s hat on top.
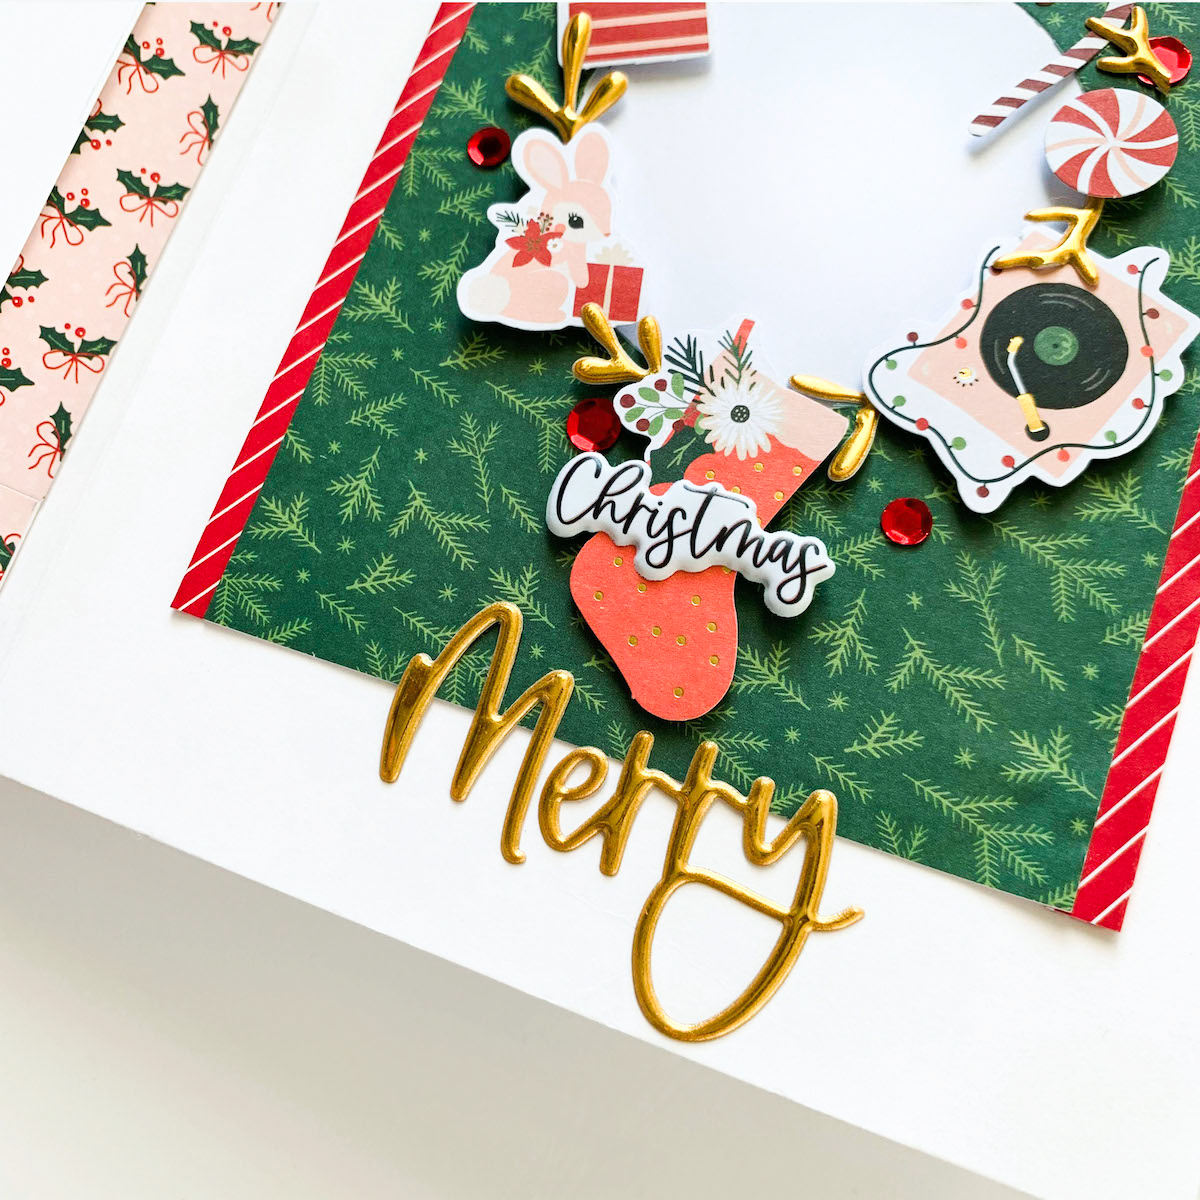
On the opposite side, I sticked the gold puffy sticker Merry underneath an adorable Christmas stocking and voilà!
That’s all for today, friends. Thank you so much for visiting the blog. I really hope you liked my December day by day album and hopefully give it a try with the gorgeous Make It Merry kit. If so, I would love to see your projects and please, you can tag me @angelatombari on Instagram.
Love, Angela.
Spellbinders Supplies:

Other supplies
Brads, twine, glue.
One Comment
Ma. Luján Franco Hermida
Hola! Me ha encantado este mini!!!😍. Me hubiera gustado mucho un tutorial 😜.
Me gustaría saber qué tipo de encuadernación utilizo. Muchas gracias!!
Saludos ☺️
Hello! I loved this mini!!!😍. I would have really liked a tutorial 😜.
I would like to know what type of binding I use. Thank you so much!!
Greetings ☺️