House Mouse Holiday Card Ideas
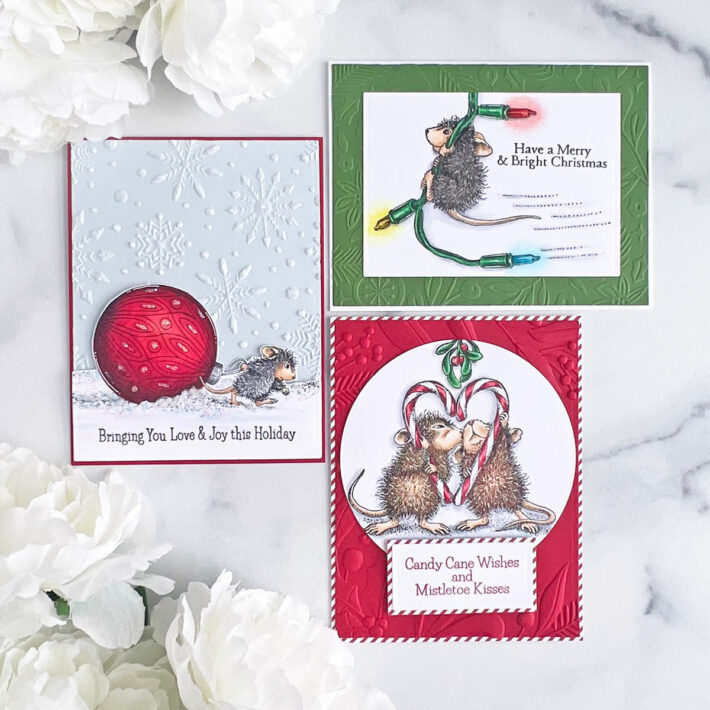
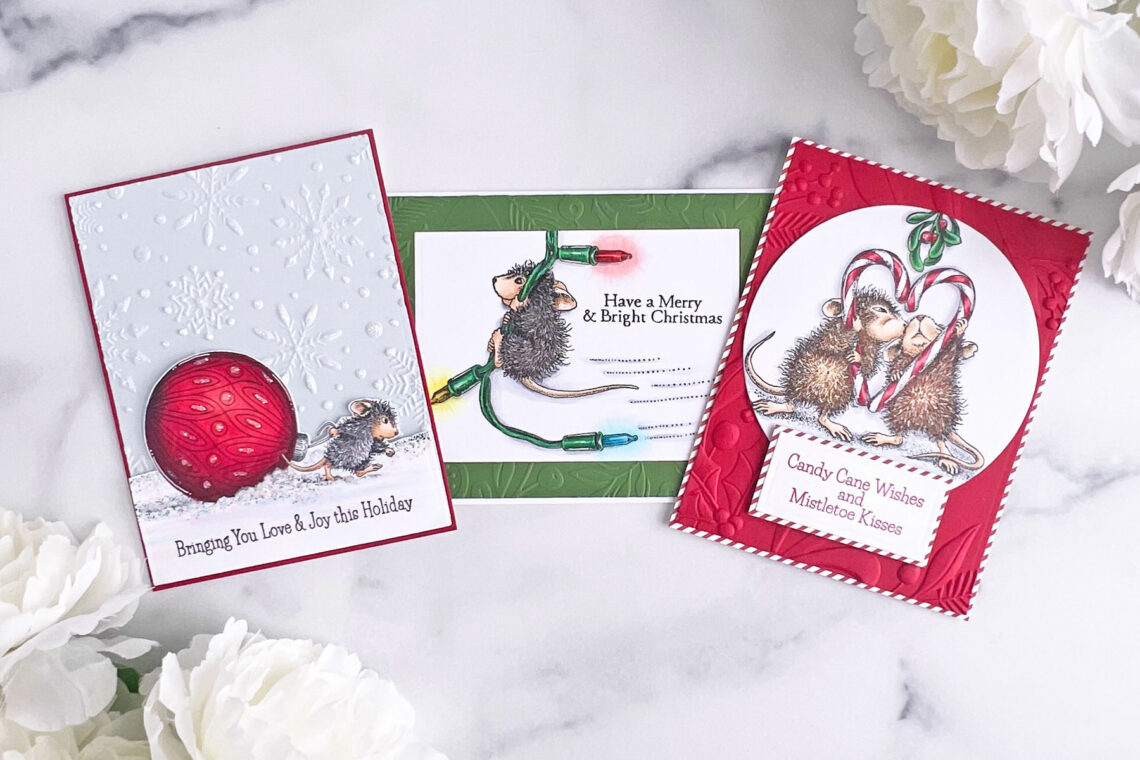
Hello, crafty friends! Brenda Noelke here from My PaperCut Creations! I’m excited to be guest posting on the Spellbinders blog again today! I’m sharing three cards using the House Mouse – Holiday Collection! This collection includes six seasonal and holiday House-Mouse scenes with the adorable mice that we have all come to love! If you love these precious mice as much as I do, there is also a bundle that includes all six stamp sets!
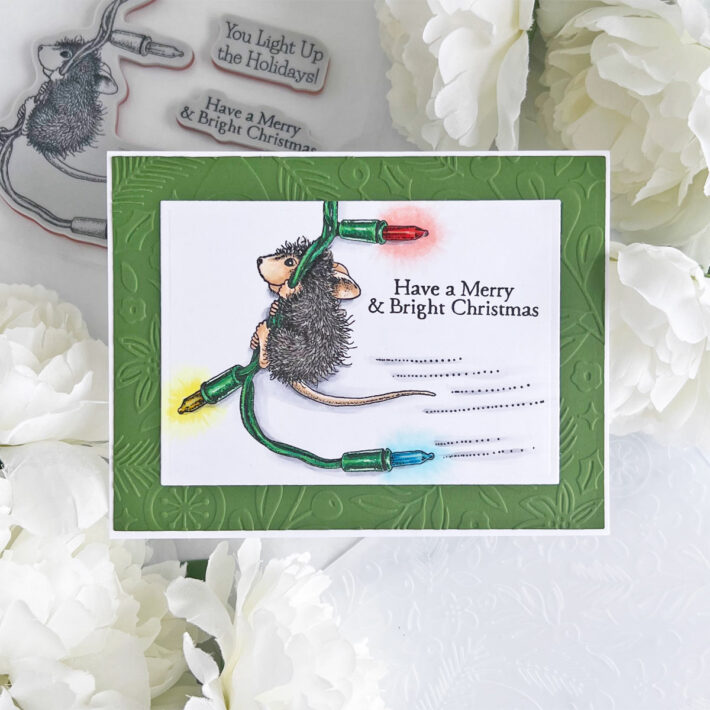
MERRY & BRIGHT CHRISTMAS
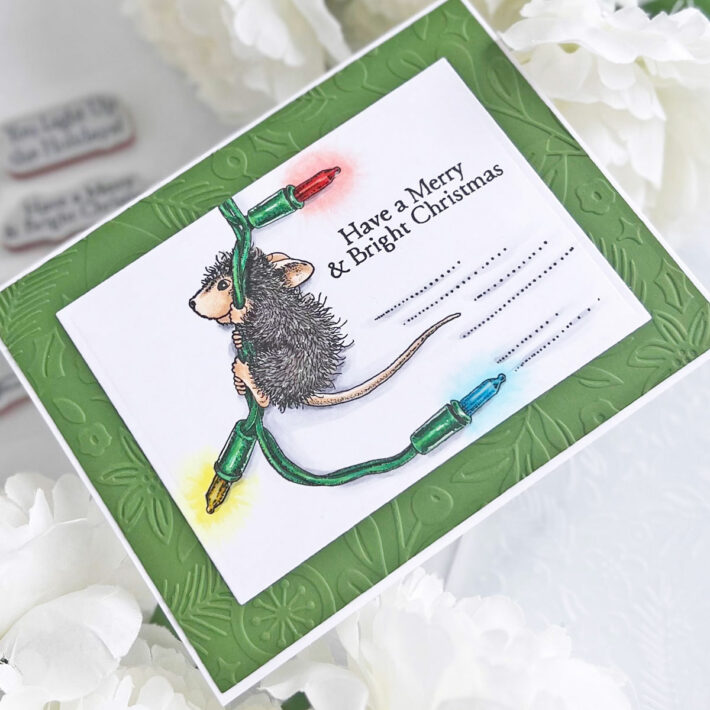
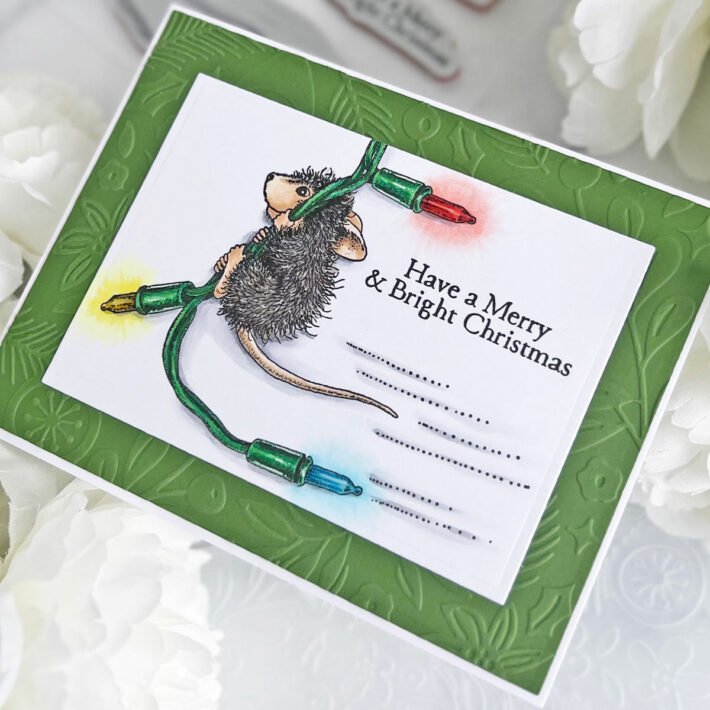
For my first card, I stamped the darling mouse and sentiment from the Merry & Bright stamp set onto white cardstock with Copic-friendly black ink. I colored it with Copic markers, added highlights with a white gel pen, then cut it out with the third largest die in the A2 Matting Basics A Die Set.
For the background, I die-cut a panel of Fern cardstock with the largest die in the A2 Matting Basics A Die Set. It was embossed with the Scattered Christmas embossing folder, then adhered to an A2 white card base. The smaller panel was adhered in the center with liquid glue.
I added a bit of clear crystal glaze to the lights for a little shine to complete this card.
BRINGING YOU LOVE & JOY
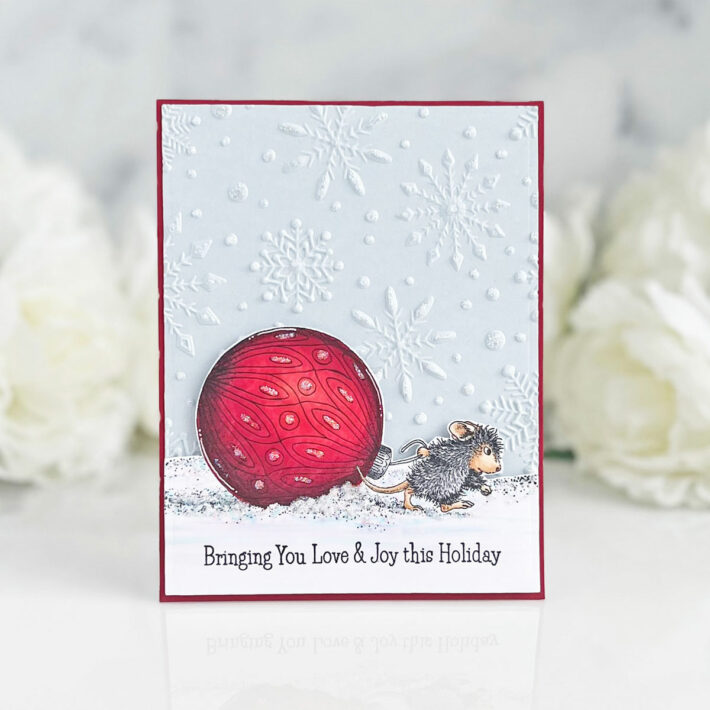
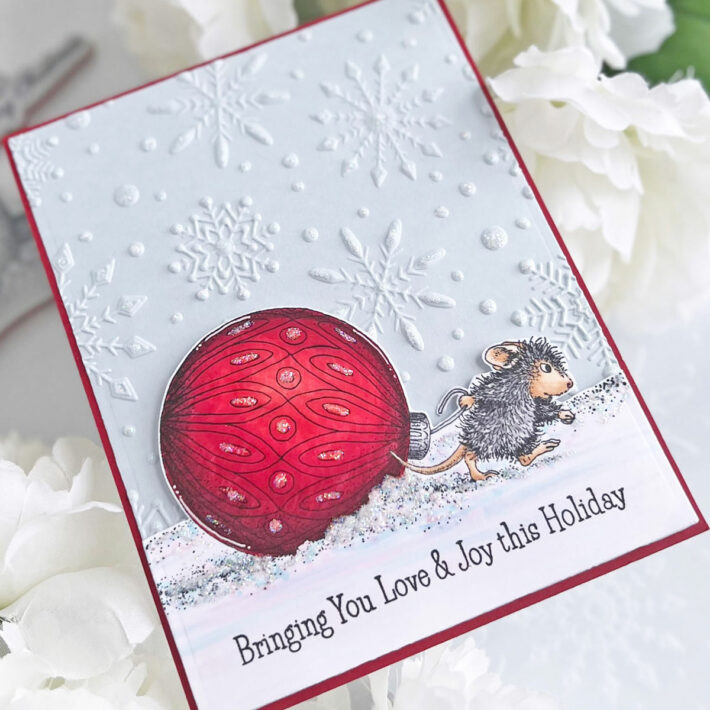
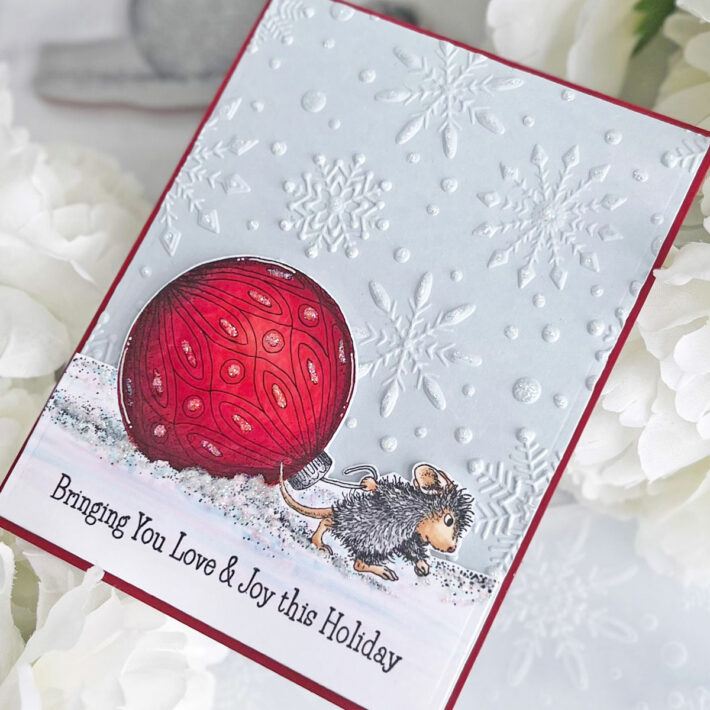
I started this card by stamping the sweet mouse dragging the ornament and sentiment from Bringing Christmas to You onto white cardstock with Copic-friendly black ink. I colored it with Copics, added highlights with a white gel pen, and fussy cut along the top of the image.
For the background on this one, I die cut a panel of Glacier cardstock with the largest die in the A2 Matting Basics A Die Set and embossed it with the Flurry of Snowflakes 3D Embossing Folder. The mouse panel was adhered to the background with foam tape, then it was adhered to an A2 panel of red cardstock, before being adhered to a white card base.
To finish this one off, I added Stardust Stickles to the scene and embossed snowflakes on the background.
CANDY CANE WISHES
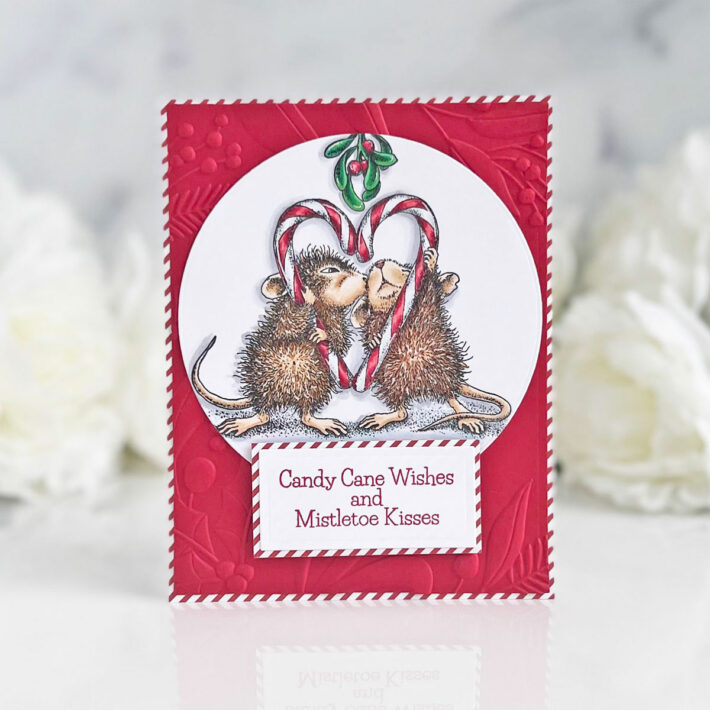
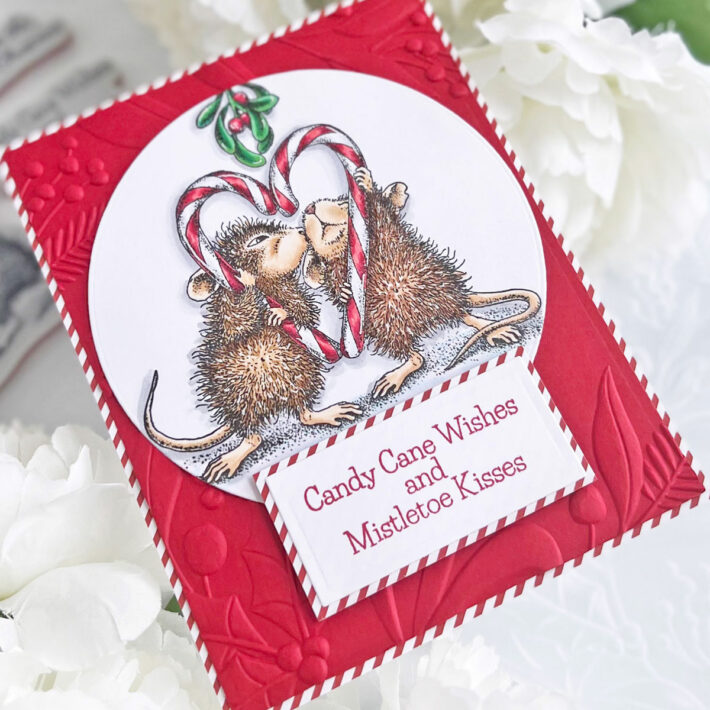
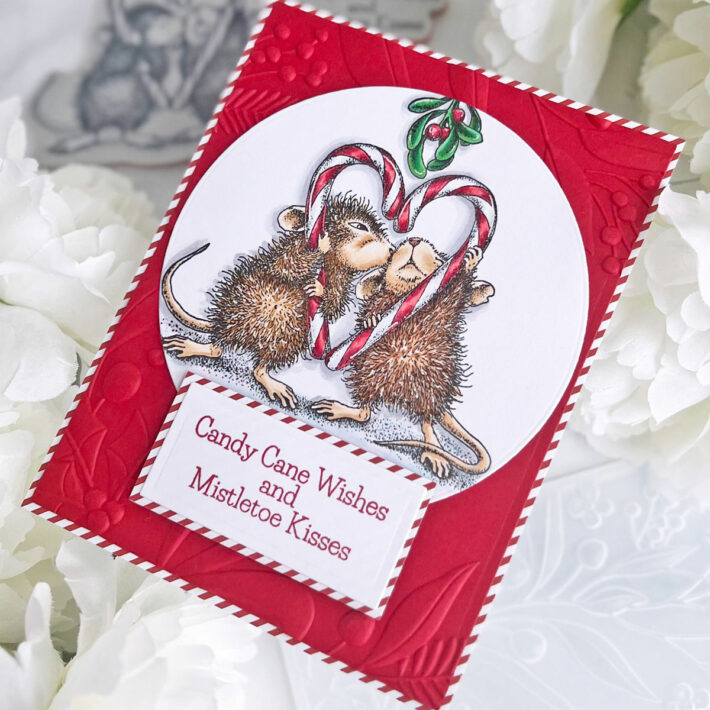
My final card showcases the darling Mistletoe Kiss stamp set. I started this one the same way as the first two, by stamping it onto white cardstock with Copic-friendly black ink. I colored it with Copics, added highlights with a white gel pen, then cut it out with the largest die in the Essential Circles die set.
For the background on this one, I die-cut a panel of red cardstock with the largest die in the A2 Matting Basics A Die Set and embossed it with the Holiday Floral Swag 3D Embossing Folder. It was adhered to an A2 panel of red and white striped patterned paper and the circle die was adhered to the background.
The sentiment is also from the Mistletoe Kiss stamp set. It was stamped onto white cardstock with red ink, cut out with the smallest die in the A2 Matting Basics A Die Set, then matted with the same red and white striped patterned paper. It was popped up under the mice with foam tape.
Spellbinders Supplies:

Other supplies
Scotch foam tape, liquid glue, 80 & 110 lb. white cardstock, red cardstock, black & red ink, crystal glaze, white gel pen, Copic markers, Stardust Stickles, red and white patterned paper
Thank you so much for stopping by today!! Happy crafting!

