3 Dazzling Cards featuring the New Wax Seal Beads and Bead Mixes
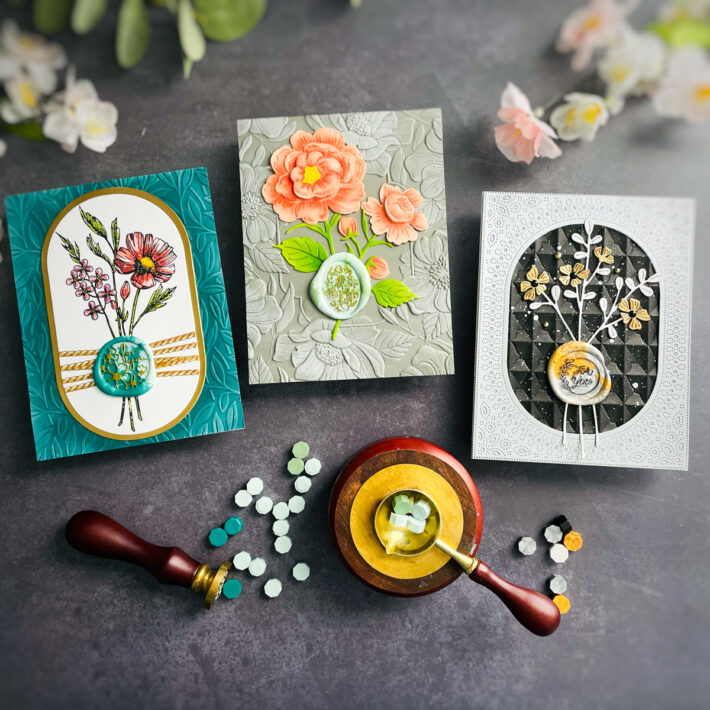
Hello, crafty friends! My name is Heejung Hunsberger, and I am excited to be a guest designer this month. Today, I will share some of my latest projects using the new beads and bead mixes from Spellbinders. The Spellbinder wax beads and bead mixes are stunning. Today, I am showcasing three sets of color-coordinated beads and cards.
If you want to know me better, visit my blog or Instagram. I also have a YouTube channel where I post a lot of video tutorials.
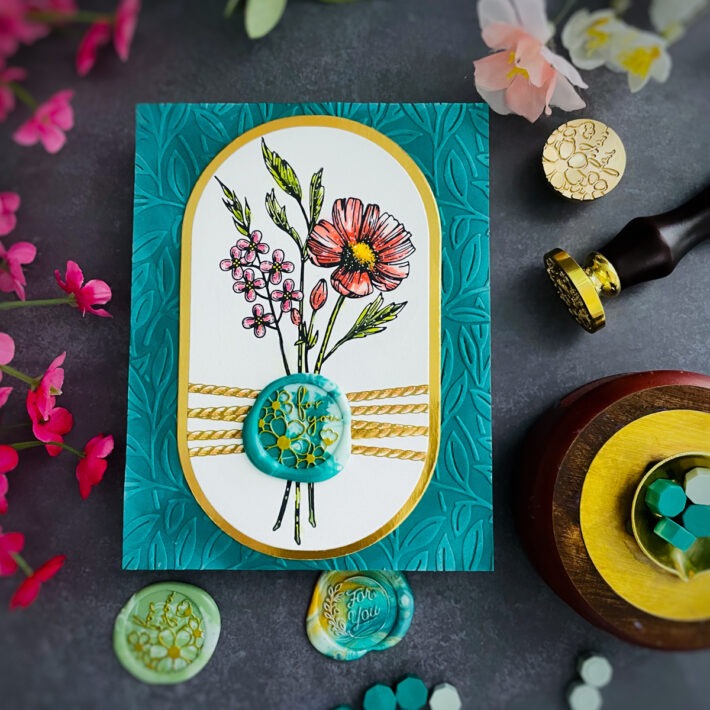
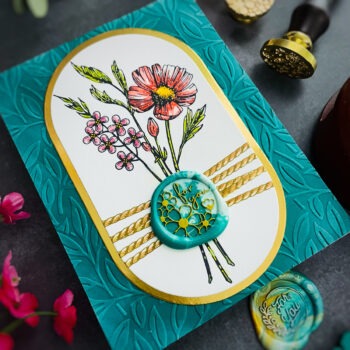
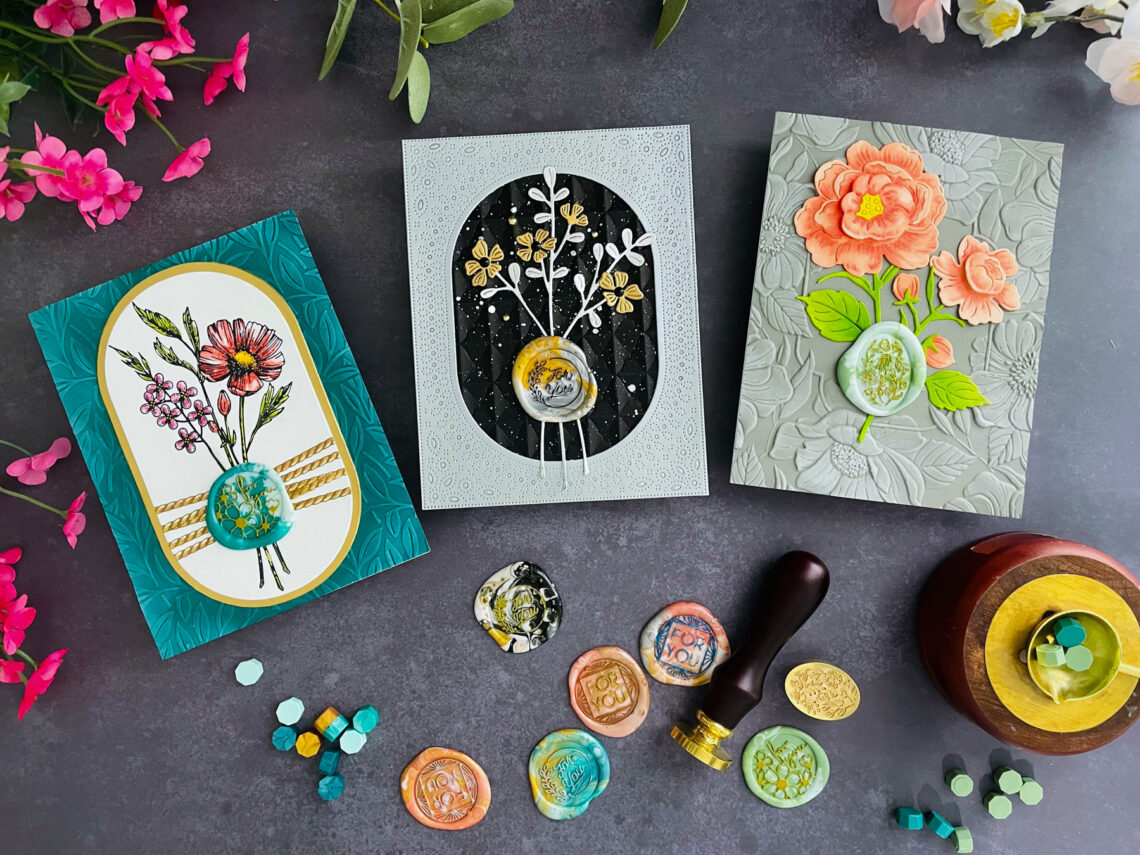
Spruce & Pistachio Wax Beads Mix Card
I made a card using the Sealed Florals BetterPress Plate and the Sealed Cord & Faux Seal Sentiment BetterPress Plate. The card base is Teal, so I created custom bead mixes using Spruce and Pistachio beads that match the color of the card. Spruce and Pistachio color beads are also new releases of this month.
- Trim a piece of Lagoon Color Cardstock to 4.25” x 5.5, and emboss it with the Embossing Folder Club of the Month (Jan 2024)
- I used a white Paper Pouncer to apply white ink onto the embossed paper.
- Better Pressed the Sealed Florals Plate onto the Better Press Cotton Card Panel with black ink. Then I Better Pressed the Sealed Cord Plate with Tawny Brown ink in the middle of the flower bouquet.
- Use markers to color the flower bouquet, then die-cut it with the Essential Modern Ovals die. Cut the gold mirror cardstock with the bigger size of the bouquet image oval and mat it under the bouquet.
- Melt the three spruce wax beads and one of the Pistachio wax beads on the warmer spoon.
- Pour the melted mixture onto the silicone mat and stamp it with the Bloomy For You Wax Seal Stamp, WSOM Nov. 23.
- To add a touch of elegance, use a gold metallic marker to color the wax seal.
- Attach the wax seal with glue on the card.
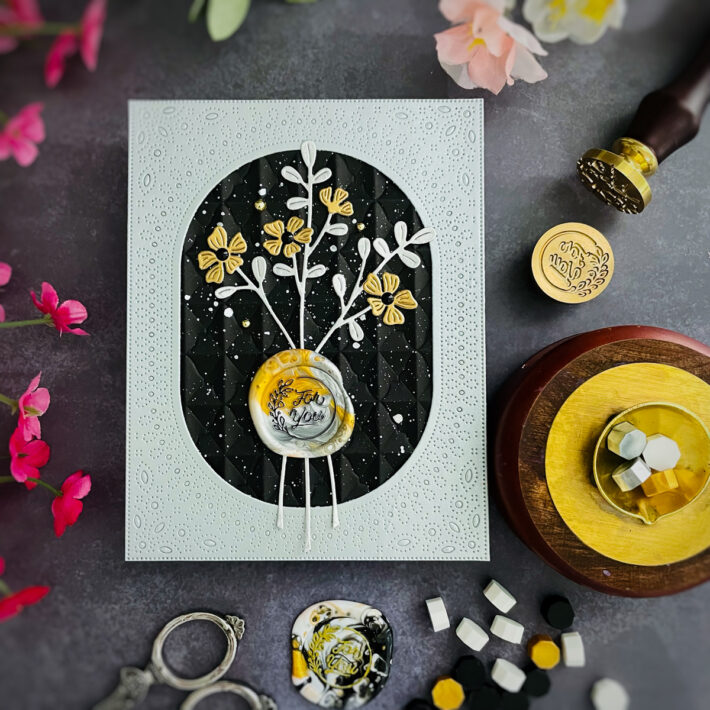
Wax Beads Mix- Basic Card
I love all of the new bead mixes. There are five different color mixes: Teal, Basic, Coral Pink, and Purple. One of my favorite mixes is Basic, which includes gold, silver, white, and black.
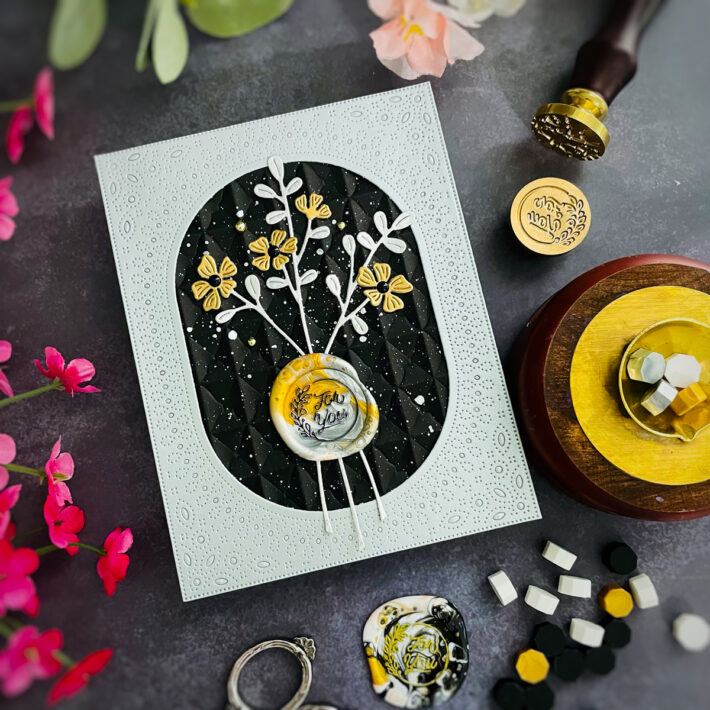
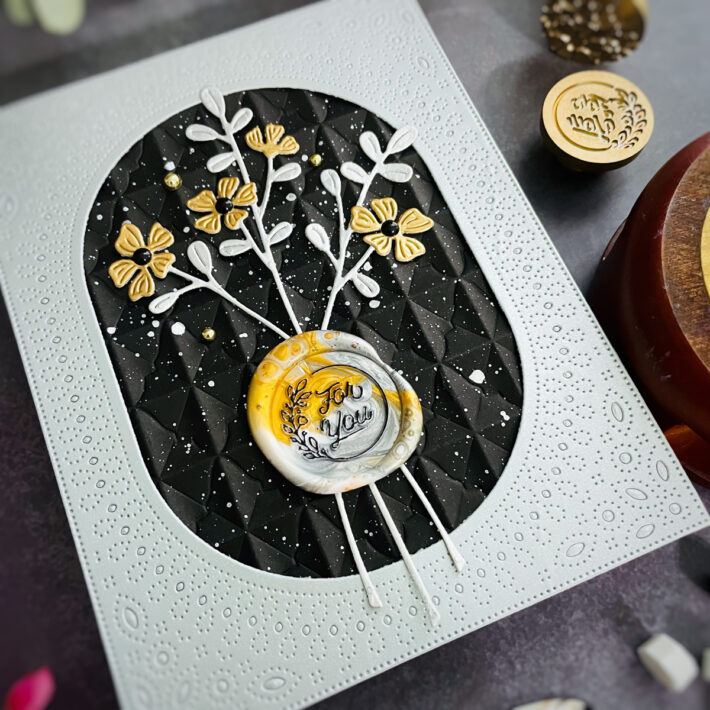
I used the Basic Mix to make a wax seal on a card. I mixed 3 silver beads and 1 gold bead to create the seal. I played around with the mix a couple of times before deciding on this combination.
- First, I created the card base by die-cutting the Brushed Silver Cardstock with the Infinity Punch and Pierce Plate die.
- I embossed the Geo Quit 3D Embossing Folder on the black card stock.
- Sprayed white pear-colored ink on the embossed paper.
- Die cut the Sealed Blooms die on the Silver and Gold card stock.
- Attach the oval frame to the embossed paper.
- Attach the flowers to the embossed paper.
- Melt three silver beads and one gold bead on the warmer spoon.
- Pour the melted mixture onto the silicone mat and stamp it with the For You Wax Seal Stamp (which is included the Wax Seal Starter Kit)
- To add a touch of elegance, use a Black marker to color the wax seal.
- Attach the wax seal to the flowers.
- Attach the Black enamel dot to the flower.
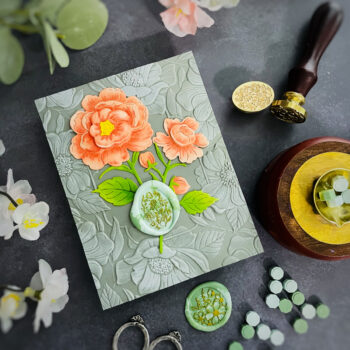
Soft Color Wax Bead Mixes Card
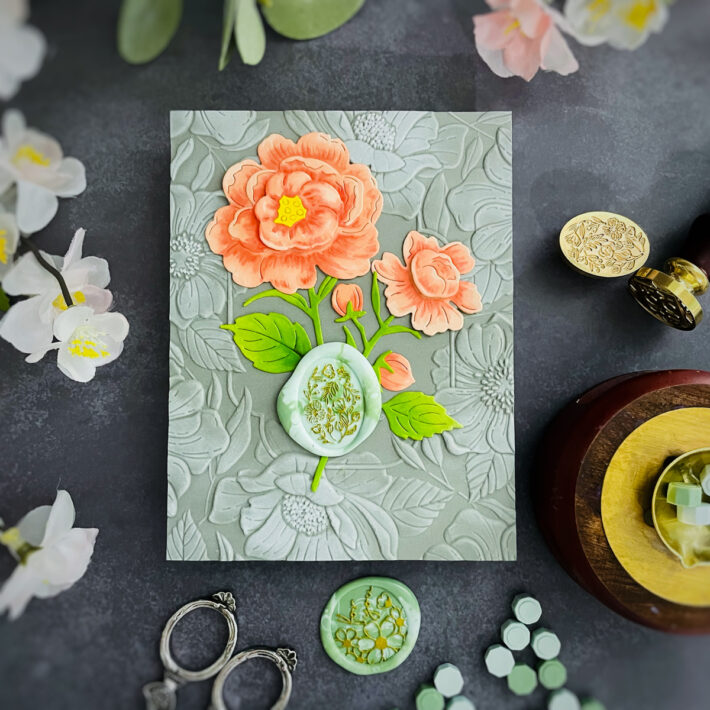
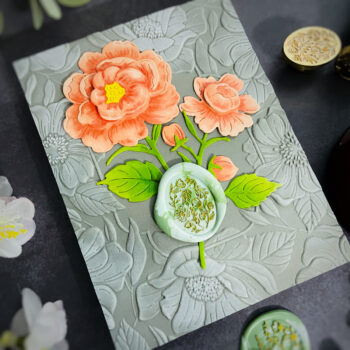
The most effective way to select colors for a wax seal is to match them with the die-cut or card base. I found it challenging to choose the wax color for my card as the base was a warm gray shade with a stunning floral pattern embossed on it and a beautiful flower die-cut.
I decided to use a soft-toned wax mix to match the card.
- Cut the Lunar Gray Card Stock into pieces of size 4.25 x 5.5 inches. Use the Four Petal 3D Embossing Folder to emboss the card stock.
- Die cut the Vintage Florals Die on Rainforest and Peach Sorbet Color Card Stock, then color with markers.
- Gently dab the white pigment ink onto the embossed paper using a paper pouncer.
- Attach the Vintage Florals die-cut on the card.
- Melt three of the Pistachio wax beads and one Fern wax bead on the warmer spoon.
- Pour the melted mixture onto the silicone mat and stamp it with the 3pack wax seal stamp.
- To add a touch of elegance, use a gold metallic marker to color the wax seal.
- Attach the wax seal to the stem of the flower.
Spellbinders Supplies:

I had a lot of fun experimenting with different mixes of colored beads. I hope this post inspires you to play around with your own unique creations.
Thank you for stopping by!
XOXO
Heejung

