Sending Monster-ous and Playful Birthday Wishes
Hello Friends! It´s Raquel here again sharing some colorful fun ideas with the super adorable Monster Birthday Collection.
The moment I saw these critters I couldn’t help but smile and think of fun and playful scenes with lots of color. These projects can be used for birthday celebrations or just for a fun surprise card for both children and adults. Some of these little whimsy and fun creatures even dance with its moving legs so there is also that additional surprise.
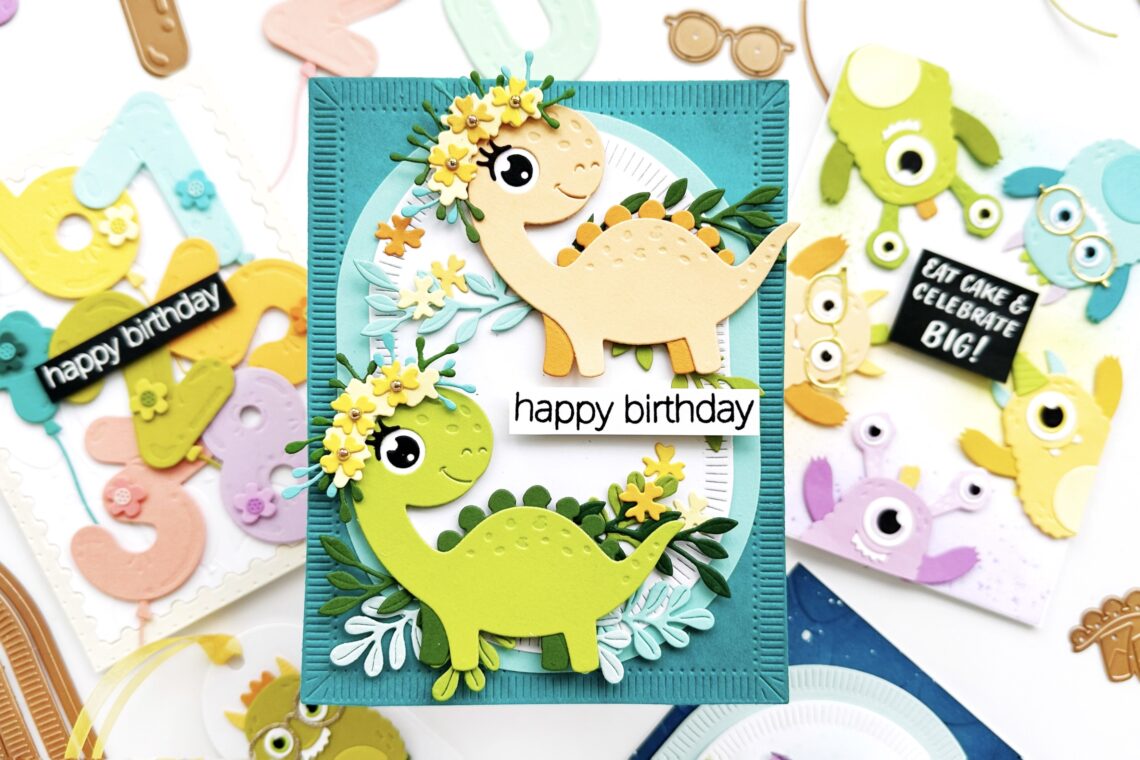
My first project features the super cute Birthday Dinosaur Etched dies. This adorable lady dinosaur stole my heart with her captivating eyes and her gorgeous flower crown.
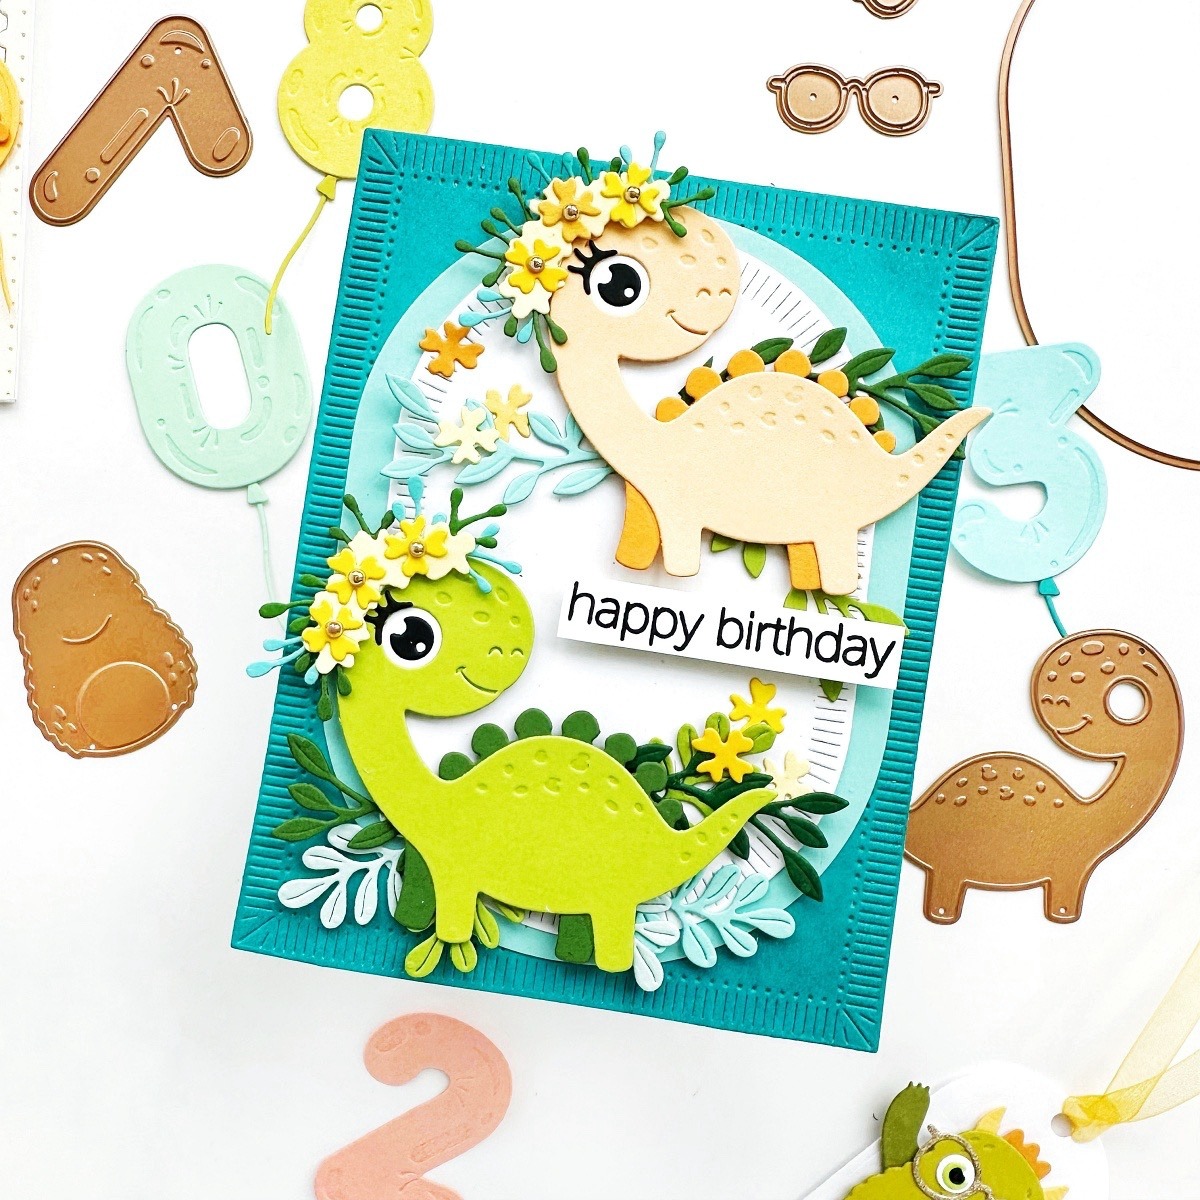
One dinosaur alone can perfectly fill one A2 size card front but I wanted to use two in different colors so the final project had a lot of contrast.
- Die cut the body piece of the dinosaur out of complementary colored cardstock. I used light green and light peach.
- Die cut the back legs and the back plate from a darker-colored cardstock. I looked through my stash and picked shades that coordinated with the light green and light peach I chose for the body and front legs.
- Die cut the Flower Crown Base, Flowers, Flower Center, and Sprigs using your favorite colored cardstock.
- Glue the back legs and the back plate to the body and adhere the flowers to the Flower Crown Base. Adhere some gems to the center of the flowers.
- Arrange the springs onto your work surface and use the flower crown base as a reference. Once you have the sprigs arranged, glue them to the flower crown base.
- For the eye: I glued a small piece of white cardstock under the eye, that way I just had to die cut the eye out of black cardstock and adhered the black part of the eye onto this piece and the eyelash onto the left-hand side of the eye.
- Use several geometric dies for your background and create layers. I used the Flutted classics rectangles, the Essential Stylish Ovals, and the Make a wish labels from different colored cardstock.
- Finally, glue the dinosaurs onto your front layer and add some greenery and some flowers to create some interest. I used the Mini Blooms and Sprigs dies and the Petite Floral Potpourri to cut out some leaves out of colored cardstock.
- Choose a sentiment from the Monster Birthday Sentiments stamp set and place it on the center of your card.
- TIP: Choose your color scheme before you start die-cutting. This will save you time. Do not overthink it too much and limit your palette to two or three shades and then pick similar colored cardstock, this will give you a cohesive look.
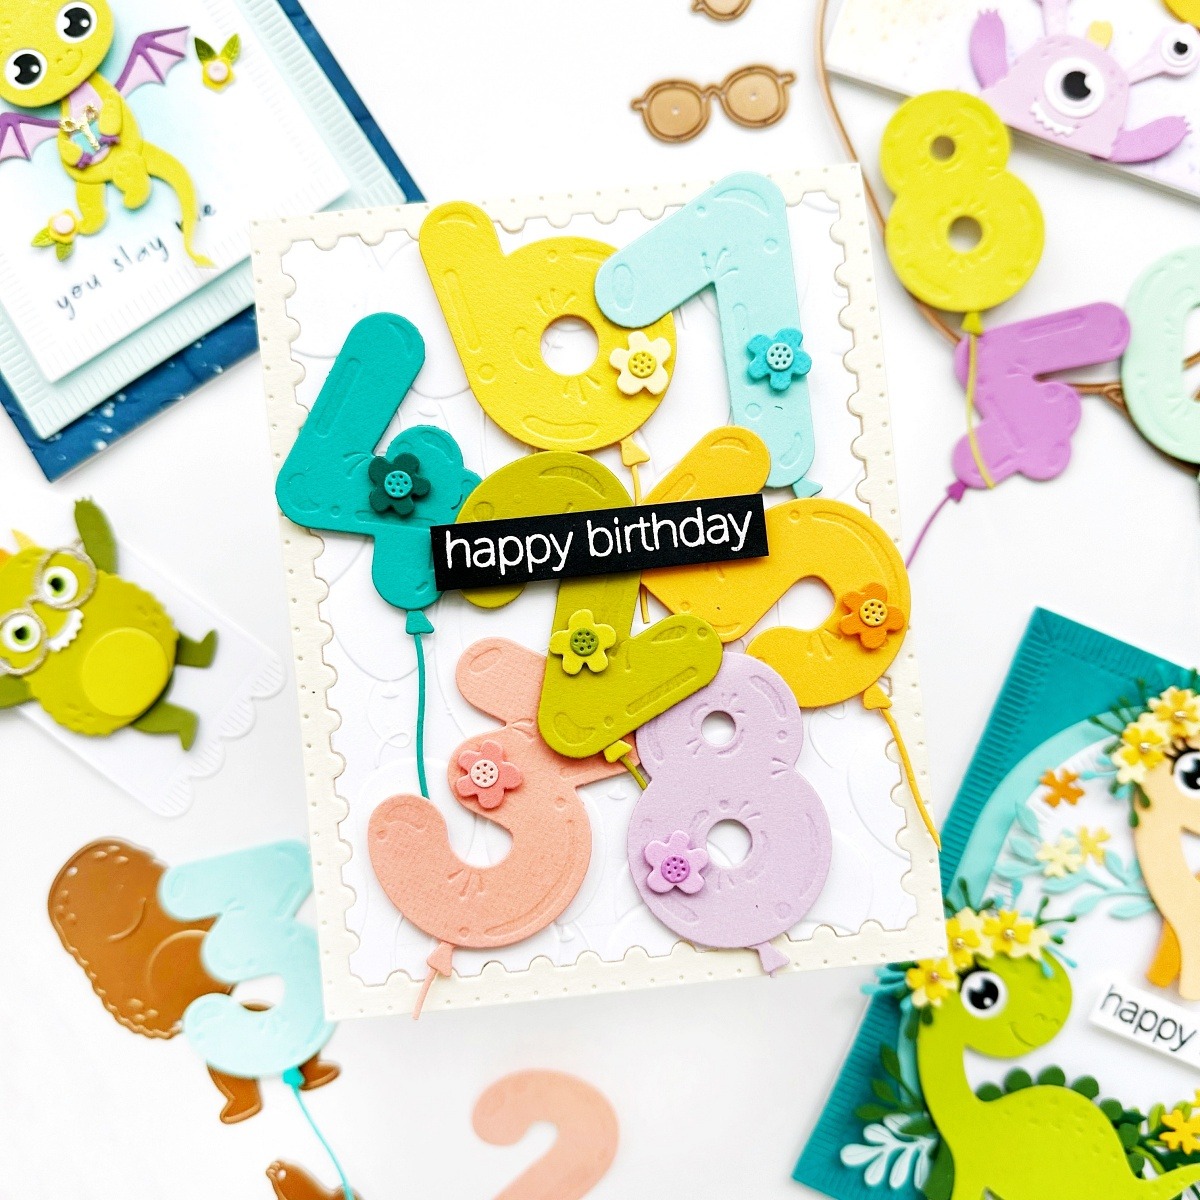
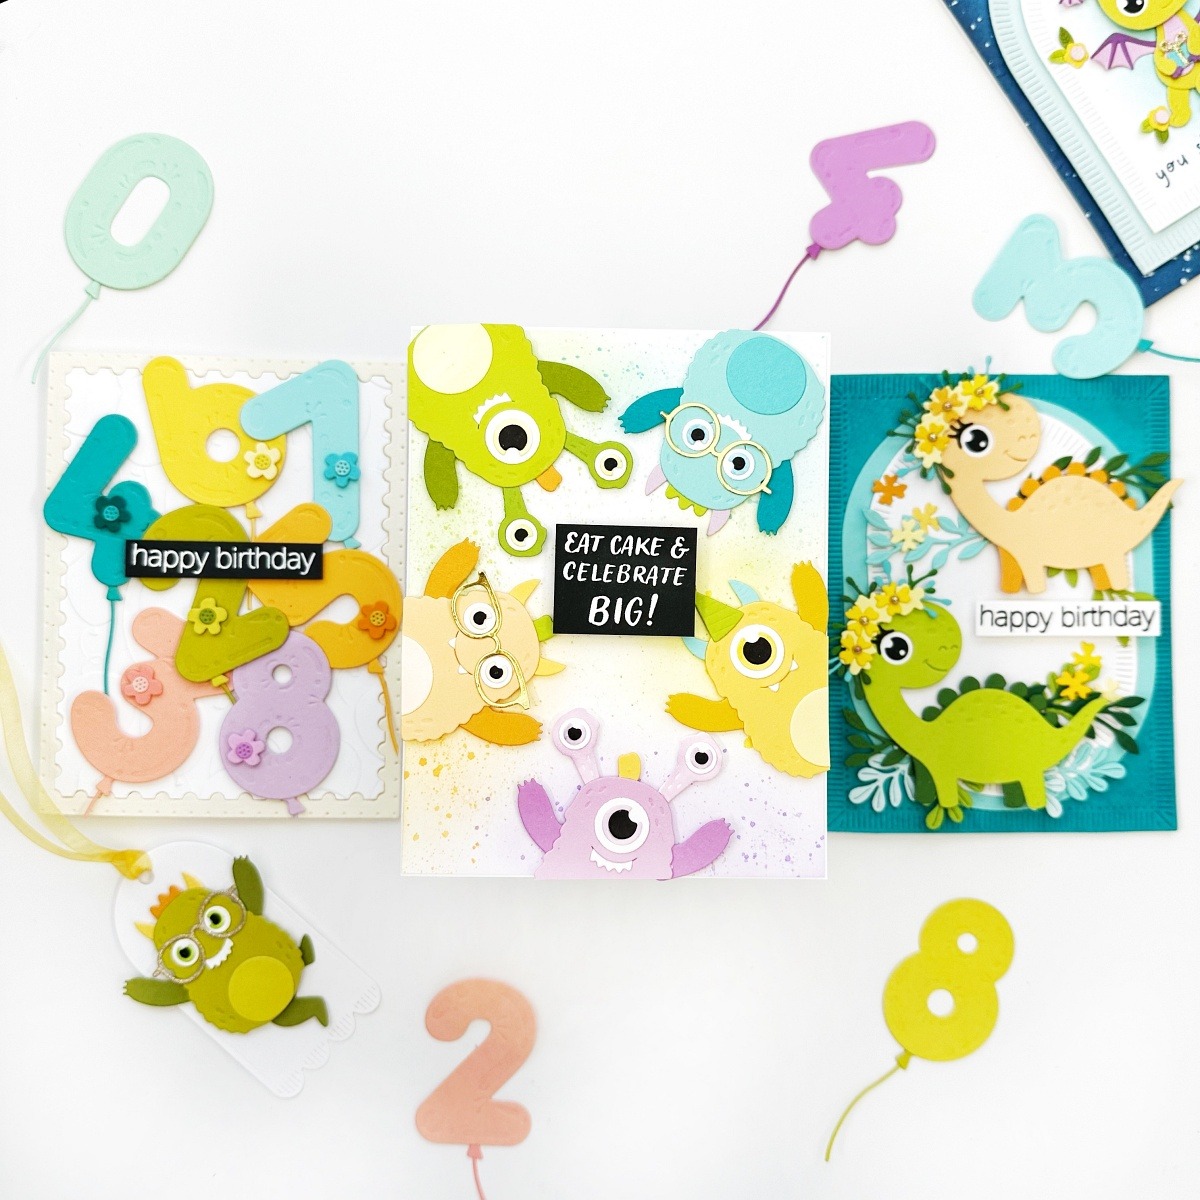
- Die cut seven numbers, the Curved Balloon String of the Birthday Balloons Etched Dies, the Balloon Knot out of different colored cardstock.
- Use a 3D embossing folder as your front panel to add some extra texture. I used the Floating Balloons 3D embossing folder.
- Adhere your 3D embossed panel onto another rectangle die (I love to have different layers) For this project I used the Postage Edge Rectangles.
- Glue your Balloon knots and strings to your balloons and arrange them onto your embossed background creating some movement. I used seven balloons but three or five will look amazing.
- As a final touch, you can add extra elements to your balloons. I choose flowers from the Mini Blooms and Sprigs dies.
- Choose a sentiment from the Monster Birthday Sentiments stamp set and place it on the center of your card.
- TIP: Choose your favorite color combo for your numbers and a lighter or darker shade for the balloons string and knots. You can even mix and match colors between balloons, strings and knots.
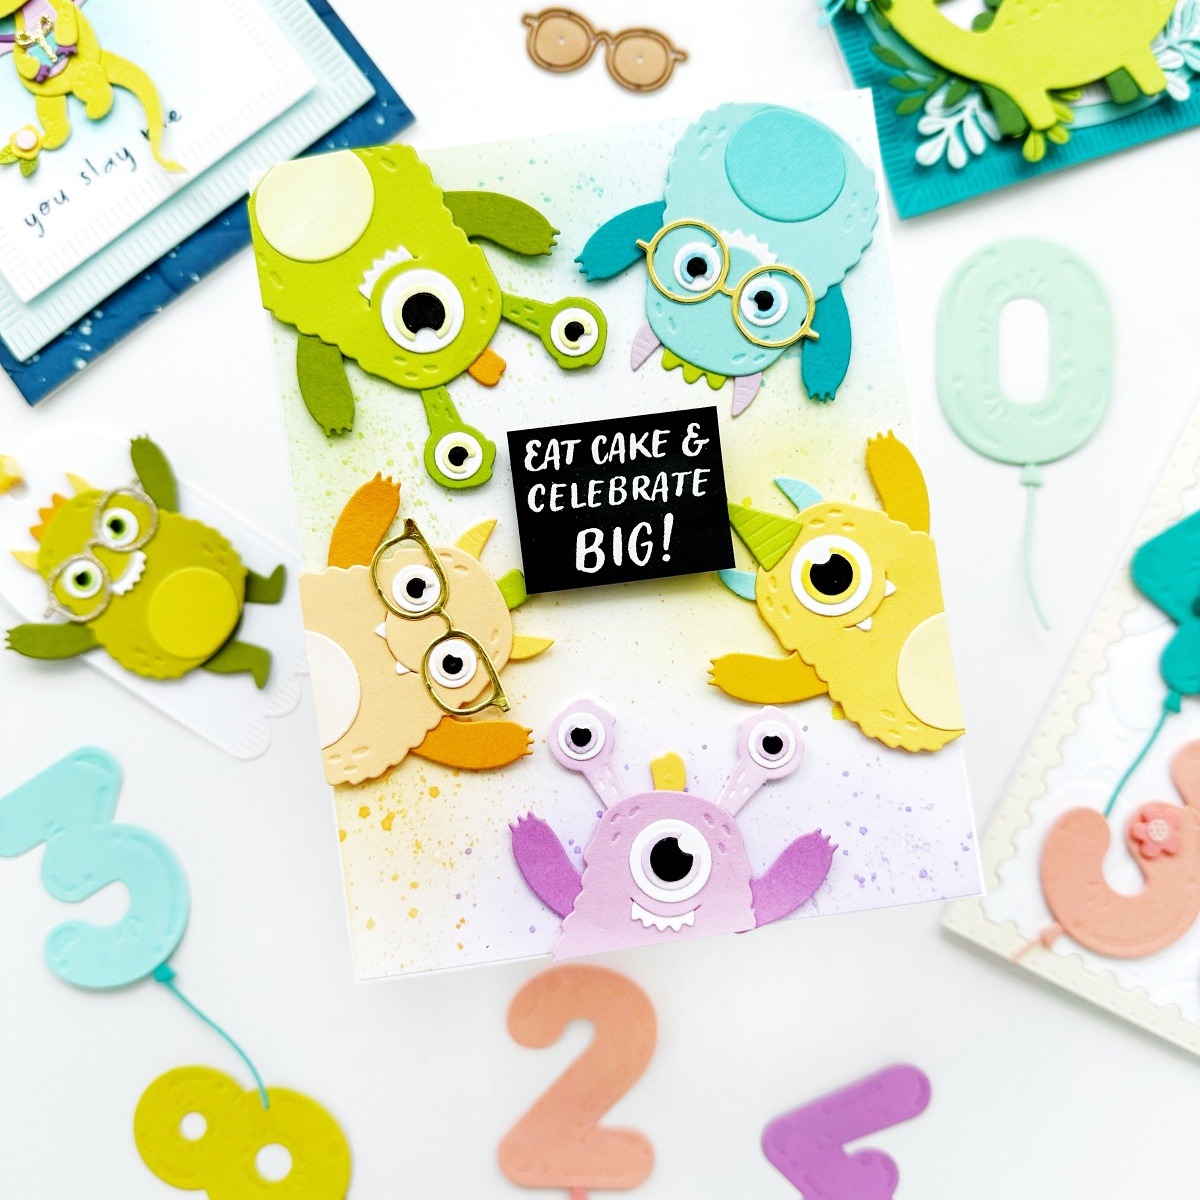
- Die cut the body of the Dancin’ Birthday Monster five times using colored cardstock.
- Die cut the Dancing monster, arms, horns, Tuft hair, hat base, and Monster Body tummy using darker colored cardstock.
- Ink blend your front panel with the same colors that you used for your Monster body and splatter some ink on top.
- Mix and match all these pieces and assemble the monsters around this inked front panel.
- Die cut all the parts of the eyes out of white cardstock and color the large and small iris parts with an alcohol marker.
- Assemble all the eyes depending on the design you want. I created one-eyed monsters, two-eyed monsters, and monsters with horn eyes.
- Choose a sentiment from the Monster Birthday Sentiments stamp set and place it on the center of your card.
I hope these projects inspire you to create and have fun playing with these cuties.
I’d love to see what you create with these amazing products so feel free to tag me on Instagram, I’m @rachelrdesigns.
Thank you so much for stopping by!
Raquel
Spellbinders Supplies:

Joyful Christmas Collection Introduction with Simon Hurley
Postage Edge Shapes Collection – Card Inspiration with Annie Williams