-
Merry Mug & Circle Delights Holiday Cards & Ornaments with Rachel Alvarado
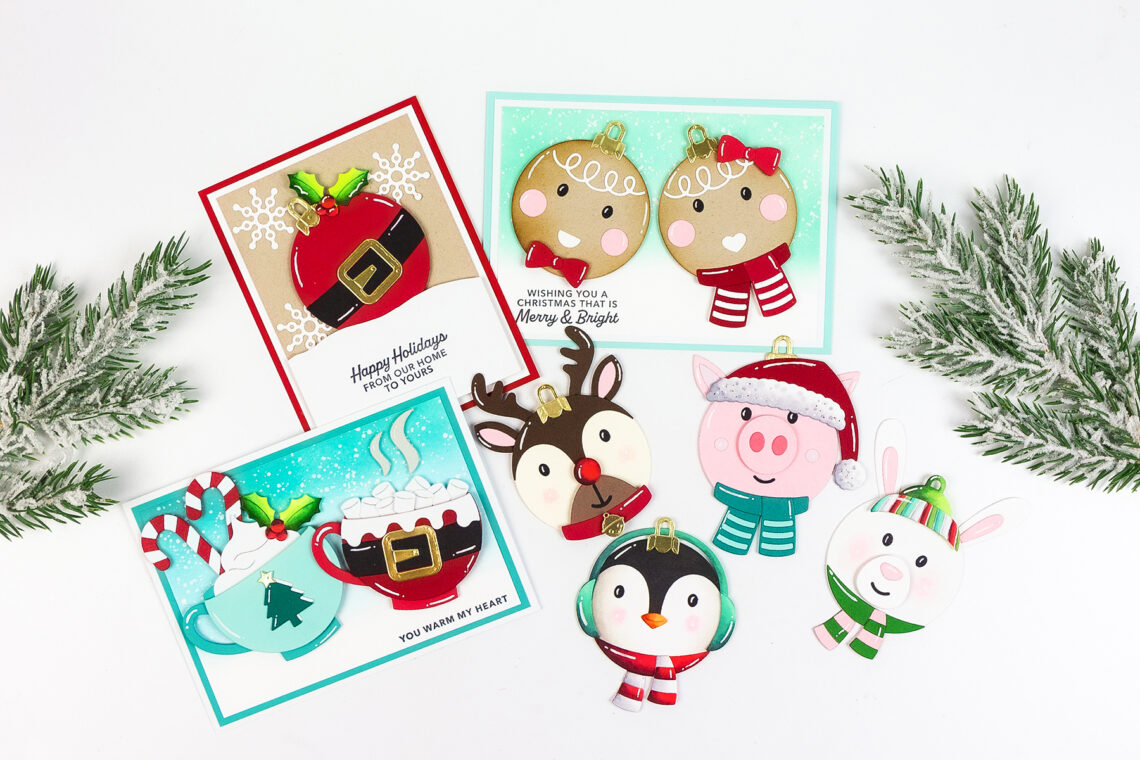
Hello crafty friends! It’s Rachel Alvarado from RachelAlvaradoDesigns.com. I have some fun holiday-themed cards and ornaments to share with you today featuring items from the adorable new Merry Mug & Circle Delights Collection designed by Nichol Spohr. Festive Ornaments and Gift Tags I absolutely love this entire collection! These cute little ornaments/tags don’t necessarily have to be used for holidays only, but rather can be used for any time of the year depending on how you decorate them! If you don’t want to use them as an ornament, you can use them as gift tags or as stationary designs on your card fronts. To create my ornaments/tags, I die-cut my…
-
Merry Mug & Circle Delights Inspiration
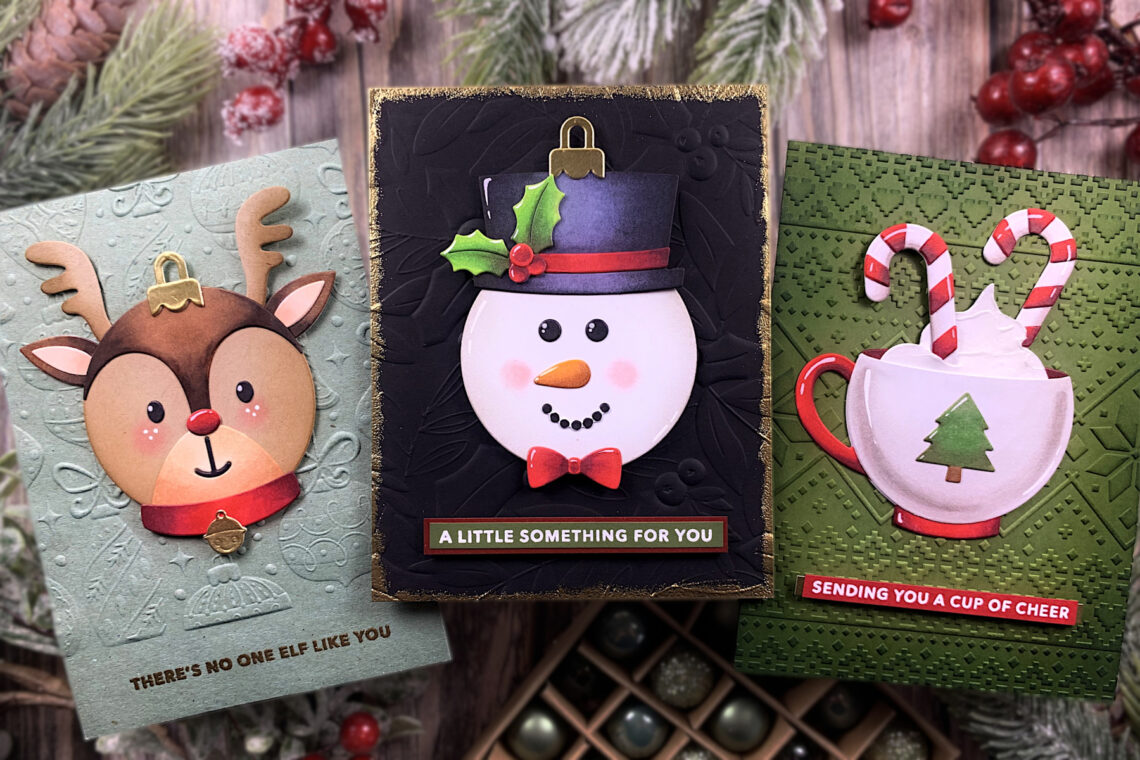
Hello everyone! This is Jennifer Rustioni from @armieritagli! I’m so happy to be here today on the Spellbinders Blog! I want to share with you three Christmas cards I created featuring the new amazing Merry Mug & Circle Delights Collection! RUDOLPH The first card I realized is featuring the super fun Festive Ornaments and Santa’s Festive Circle Crew Etched Dies! I die-cut the circle base for my reindeer using kraft card stock, and then I blended the edges with some Distress Ink. After that, I die-cut the other parts and colored them with Copic Markers. At this point, I assembled the reindeer. I realized the base of my card by…