-
Everyday City Holiday Cards: Creative Ideas with Yana Smakula’s New Collection
Hi, crafty friends! Lea Lawson is popping in today with three lovely cards to share! There’s something magical about a card that feels like a little world of its own — a tiny doorway, a cheerful storefront, a cozy window scene that invites you to step inside. The brand new Everyday City Holiday collection by Yana Smakula captures that feeling beautifully, bringing the charm of her beloved City Holiday series into fresh, everyday themes you can use all year long. Whether you’re crafting a warm housewarming note, a friendly hello, or a “wish you were here” moment, these dies and press plates make it easy to build scenes that feel…
-
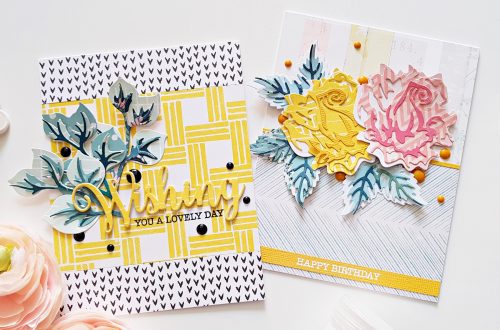
Funny Birthday Card Ideas Using the Spellbinders Aged to Perfection Collection
Hello Spellbinders Fans! It’s Amy Tsuruta, and I’m so happy to be back on the Spellbinders blog sharing these three cards featuring the Aged to Perfection Collection. I thoroughly enjoyed working with these witty and fun products. They’re full of personality and perfect for celebrating birthdays with humor. I know several people, myself included, who will be celebrating milestone birthdays this year, and these designs felt like such a fun and lighthearted way to mark those special moments. OLD PEOPLE Chuckling, I was reminded of a holiday window display at Le Bon Marché in Paris, France, that featured chattering teeth toys. Maybe it’s a new trend, but it’s definitely a…
-
Shaped Scene Cards Using The On The Farm Collection
Hello! Jen Kotas here today with three cards featuring the On The Farm Collection. There are five different very detailed animal die sets that include sentiment stamps perfect for that animal. Die cut the largest shape die twice to create the card base. Score at about 1/4” from top and adhere together above the score line only. I used Make a Wish Arch Labels, Emerald Cut Labels and Tag and Perfect Touch Arches Etched Dies. To create the embossed background, cut the same card shape from blue, white and green cardstock. I used the second largest that I used for the card bases. Next die cut the grass from the…
-
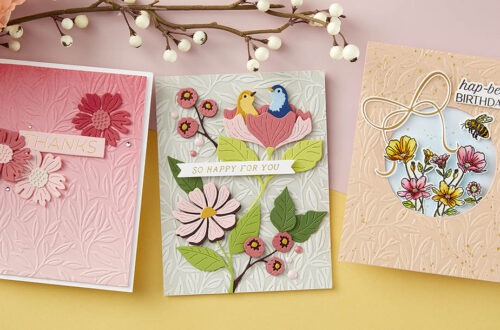
Texture Backgrounds and Spanish Sentiments
Hello Friends! It’s Raquel here again. Today I’m excited to share some easy to make cards with lots of texture. I’ve also used the new Spanish sentiments Betterpress Plate & die set and the Spanish everyday sentiments etched dies, both of them from the International Sentiment collection. I was born in Spain so and I have to admit I was so happy when I knew these sentiments were released. I adore the font of both the Betterpress sentiments and the dies that come with a shadow die. For my first project I used the Fresh Picked Buttercups. I wanted to create a simple yet eye-catching design where the flowers and…
-
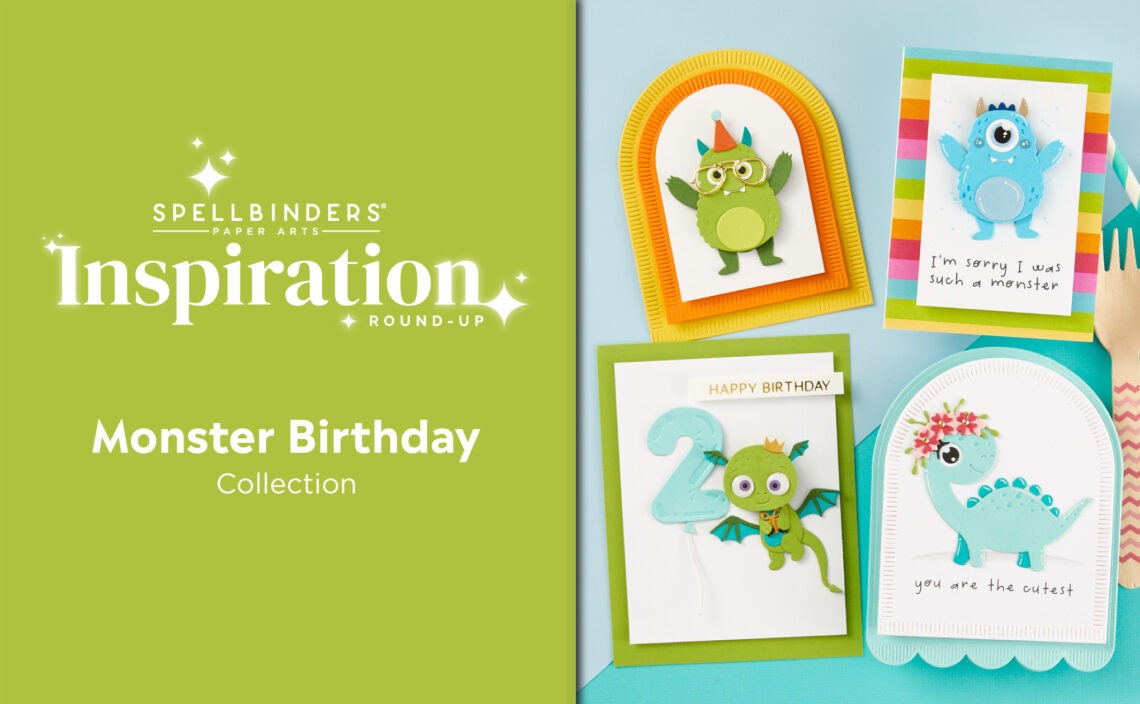
Monster Birthday Collection Inspiration Round-Up
Hey there, Spellbinders fans! We’re thrilled to welcome you back on our blog for another edition of “Inspiration Round-Up” series. We hope to fuel your creative juices with handmade projects, and showcase the stunning ideas our talented community created with our products. Get ready for an unbelievable lineup of beautiful inspiration featuring the Monster Birthday Collection. We’re hoping this will be a valuable source of inspiration for all of your card-making and paper crafting! You are invited to the Inlinkz link party! Click here to enter But that’s not all! We invite you to dive even deeper into the festive magic by exploring the incredible projects and ideas featured on our…
-
Monster Birthday Collection and the Simple Stories Birthday
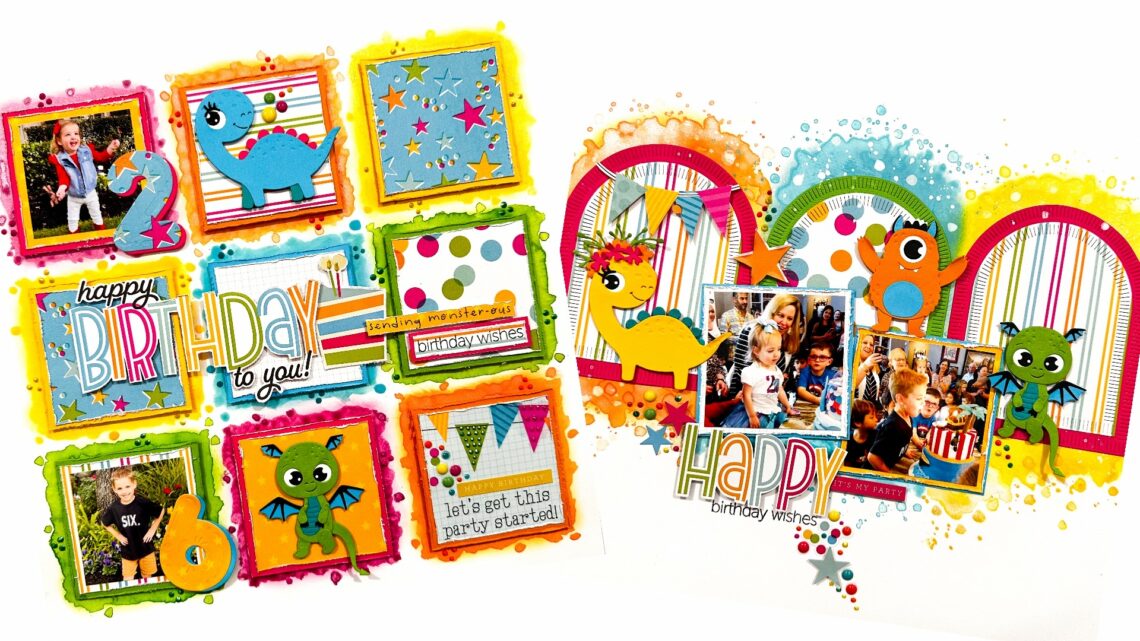
Hello, creative friends! I am Sarah Millerhouse, and I loved creating these layouts combining the beautiful Spellbinders Monster Birthday Collection and the Simple Stories Birthday Collection! For this grid design, I started by cutting nine 2 ¾ inch squares of patterned paper from the Simple Stories collection. I then cut nine 3-inch squares of solid cardstock in coordinating colors. I layered a patterned paper square on top of a solid cardstock color. I placed these on the layout where I wanted them to go and traced the placement lightly with a pencil. I then added mixed media to the background in coordinating colors with the cardstock color. I placed the…