-
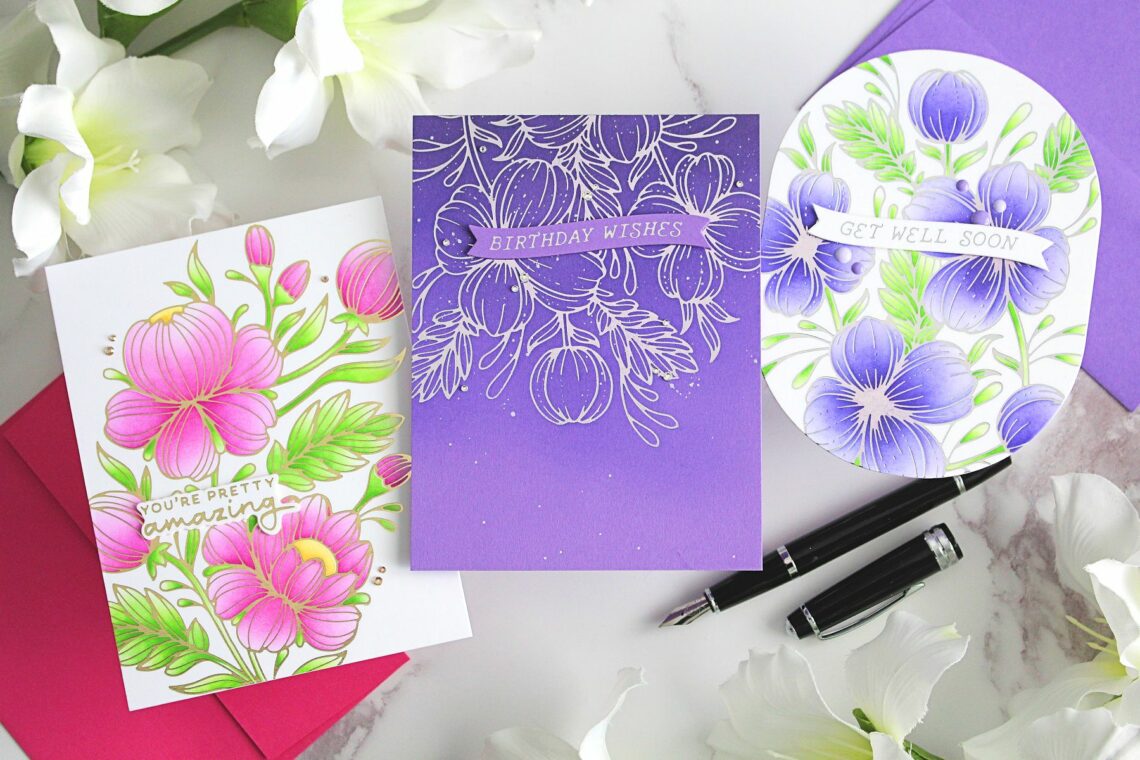
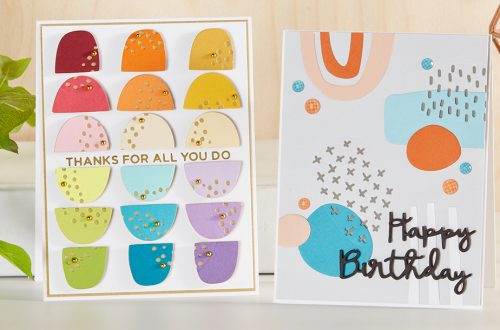
(Almost!) One Layer Wonders
Hello there, Michelle Short here and I am delighted to be back on the Spellbinders blog sharing inspiration using the Glimmering Flowers collection. Today I have three cards to share that are (almost) one-layer cards. Whilst I love adding dimension on my cards, for mailing purposes, it is easier having less dimension! GET WELL SOON For my first card, I wanted to create a shaped card. I find that shaped cards add more interest to clean and simple cards. To make this card: I took a panel of white cardstock and placed a piece of Silver Foil shiny side up on top. I placed the Glimmering Buttercups Glimmer Plate on…
-
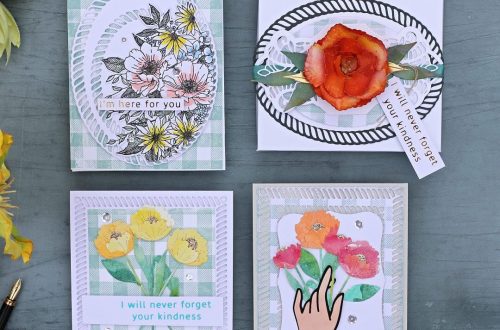
Fun Ideas for Die Cutting With Patterned Paper Featuring Doodlebug
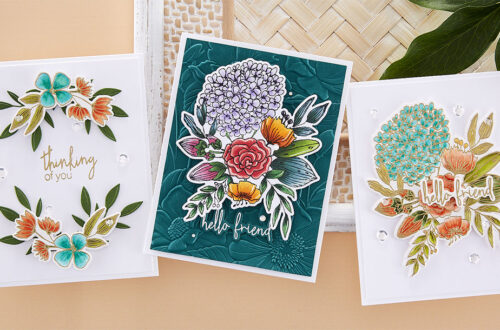
Hello, crafty friends! This is Emily Leiphart and I’m thrilled to be back on the Spellbinders blog, featuring Doodlebug’s Gingham-Linen Rainbow Petite Prints 12×12” Cardstock Paper. Spellbinders is now carrying the entire line of Doodlebug’s Rainbow Petite Prints and it was such a difficult choice because I love them all. Linen is always a must-have for me because it’s so subtle and I love that I can easily stamp on it. Gingham is another fun and versatile choice. After choosing the color palette for my cards and making sure that I had both the Doodlebug prints and coordinating solid cardstock, I went to work on my designs. Spellbinders has so…
-
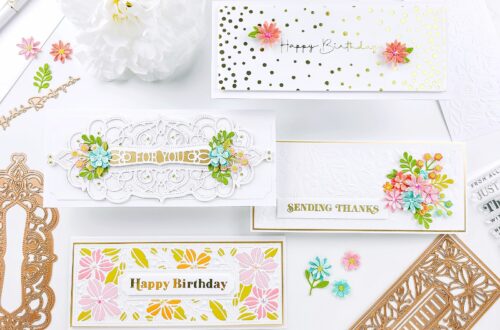
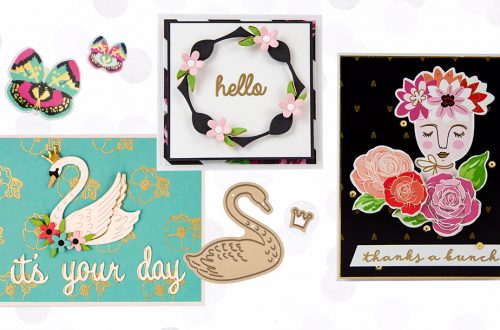
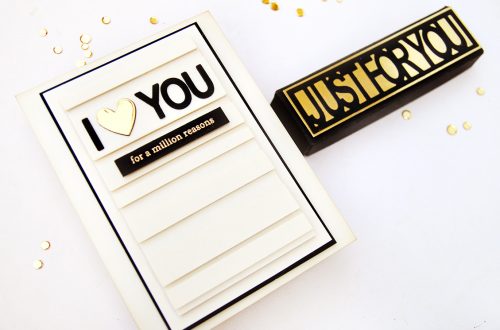
Stretching Your Stash: Pairing Dies with the New Card Maker’s Kit!
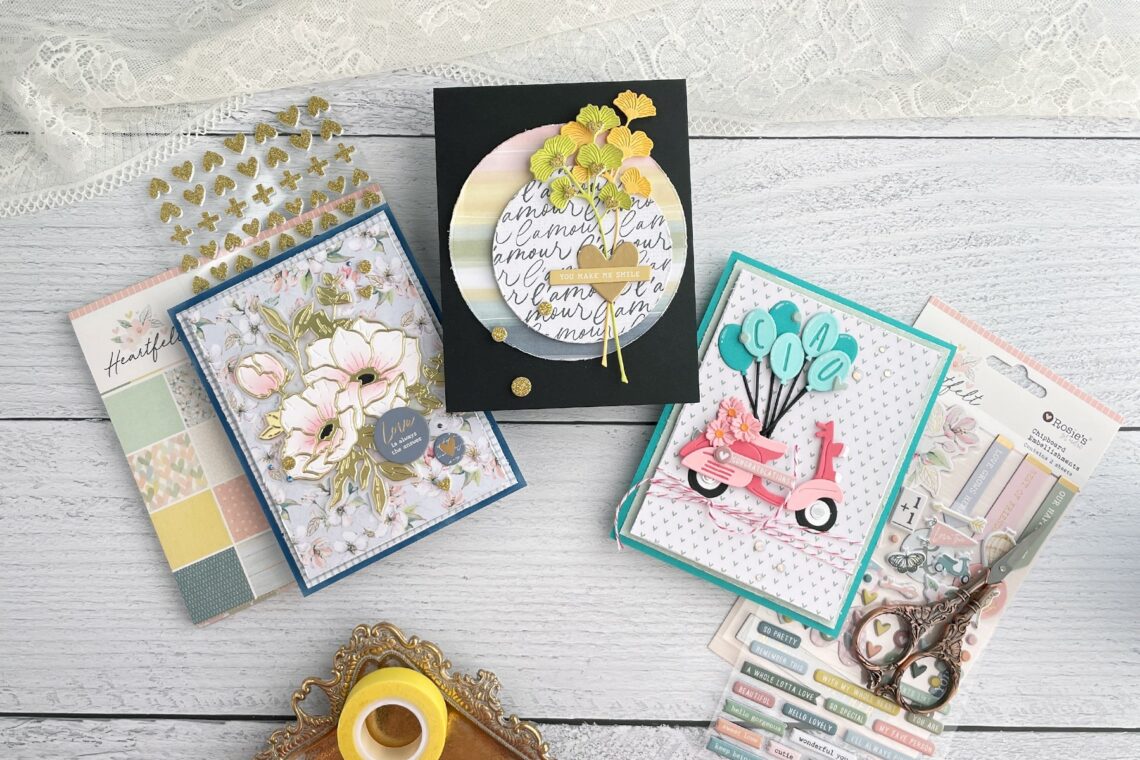
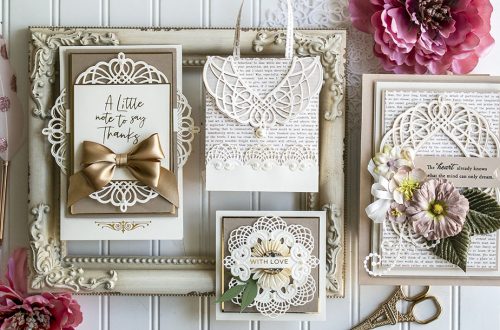
Hello, crafty friends, I’m Adrienne Boese, better known as Alice Scraps Wonderland online, and I’m thrilled to be on the Spellbinders blog for my first guest post! I’m known for my love of florals—I try to tuck in at least one floral element into every project I create. Today’s project features three cards made with Rosie’s Studio Heartfelt Card Maker’s Kit and the Ciao die. Each card is designed with some shabby chic touches and either features florals at the center, or has a few tucked in. This collection offers some fun opportunities to pull out Spellbinders dies you already have in your collection that allows you to match or…
-
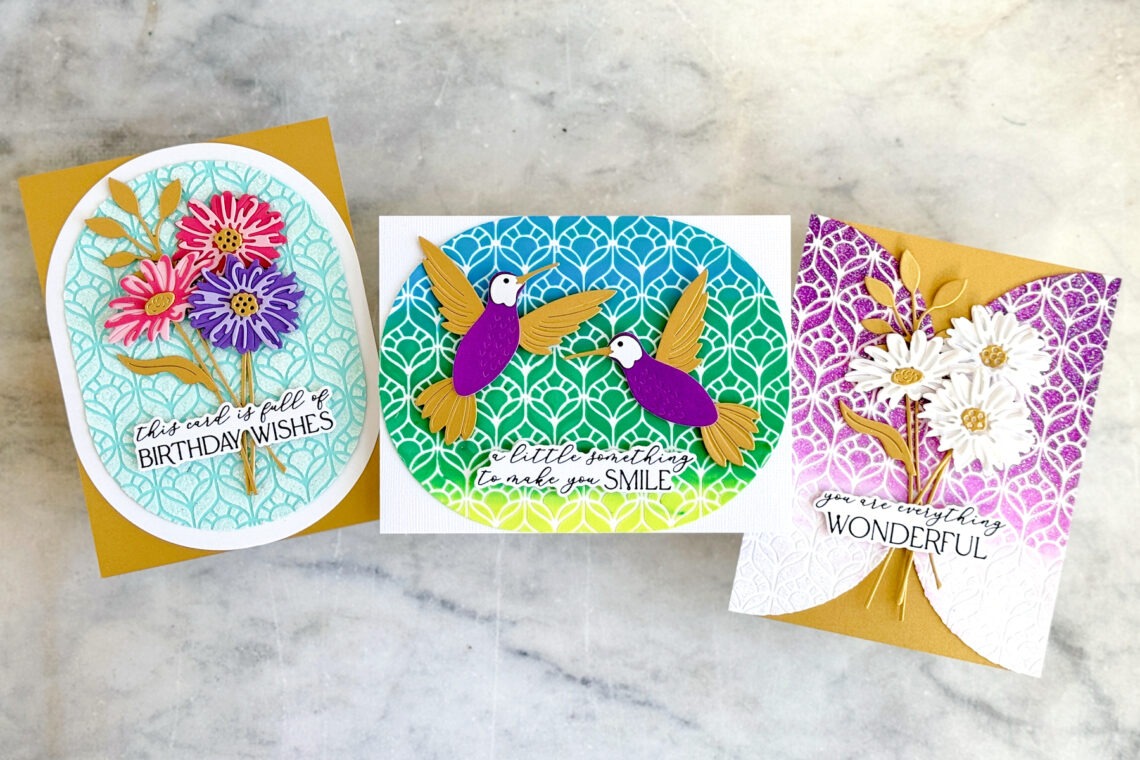
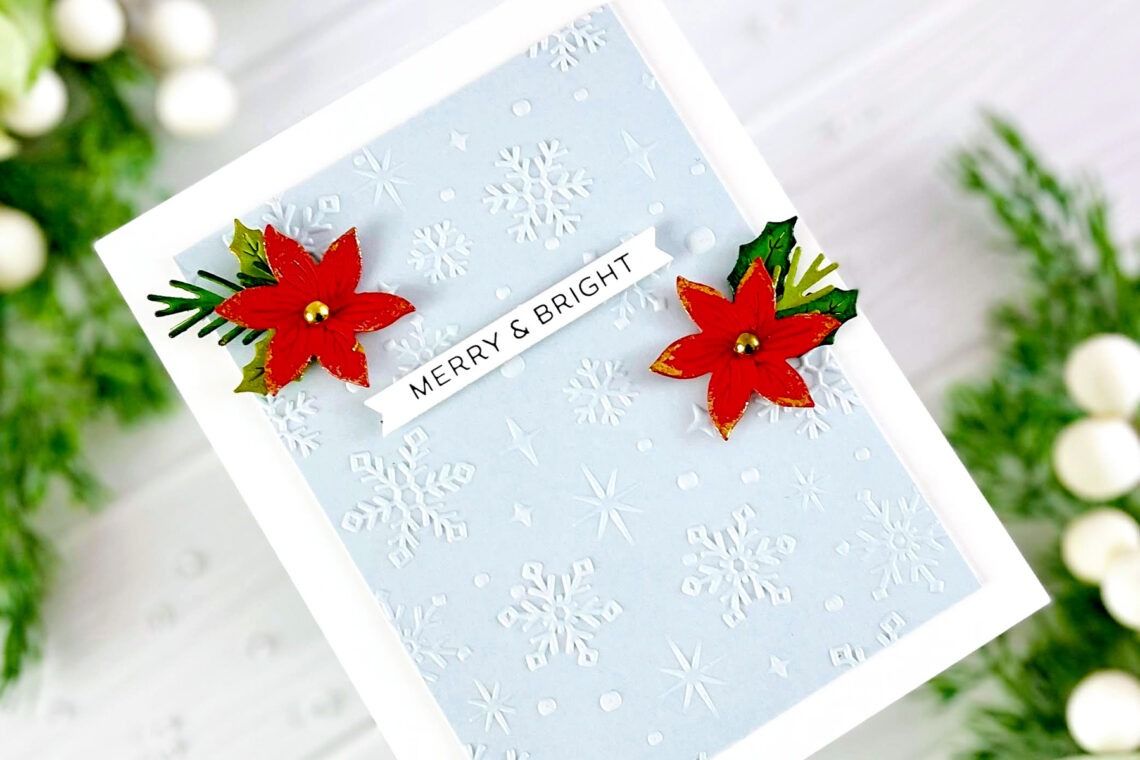
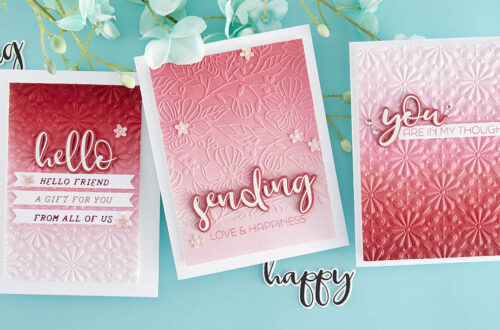
Exploring Modeling Paste and White Glitter Magic
Hello! Jean Manis here to share inspiration for impactful stenciled card backgrounds using the Light & Fluffy Modeling Paste and Baby Baubs White Glitter. Let’s take a look at the transformative magic of modeling paste on three cards–from the elegant sparkle of glitter-infused paste to a mesmerizing ombré effect and finally to the impact of blended watercolor hues. Modeling Paste and White Glitter For subtle, understated shimmer on a stenciled background, add white glitter to modeling paste. The reflective properties of the glitter enhance the overall visual appeal and create a captivating finish. Create an A2-size card base from Brushed Gold Mix the Baby Baubs White Glitter in with the…
-
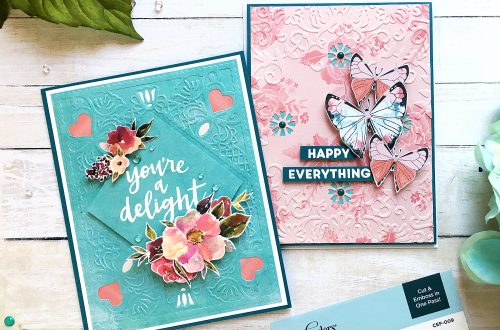
Let’s Get Realistic … With a Modern Twist!
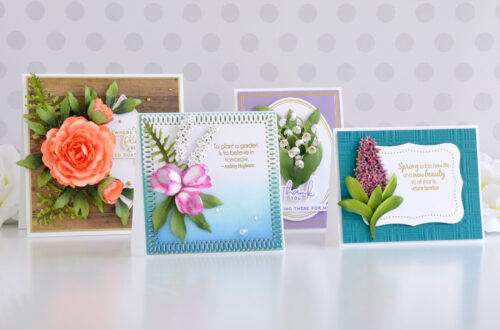
Hello there, Michelle Short here and I am delighted to be back on the Spellbinders blog to share three projects with you using the Through the Arbor Garden Collection by Susan Tierney-Cockburn. I love how realistic these flowers are. You can create them in a few different ways. I went with traditional, but with a modern twist! TAKE CARE DELPHINIUMS These delphiniums are so pretty! I love blue and purple tones, so have always loved these flowers! To make this card: I cut the Bamboo Trellis Background four times from Alabaster Cardstock. I added ink blending on top using Distress Inks and Blending Brushes. The pieces were assembled (two base…
-
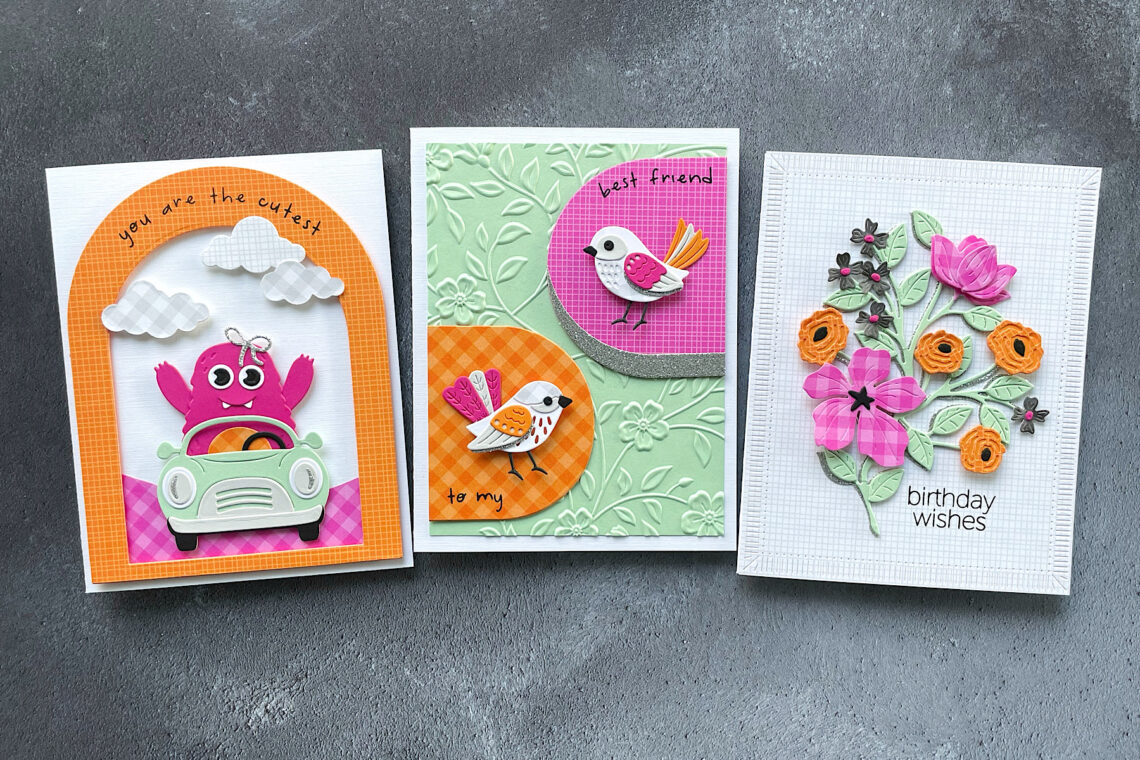
Monster Birthday Cards
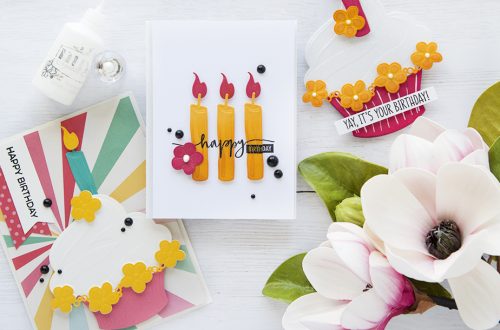
Hello crafty friends! It’s Rachel Alvarado from RachelAlvaradoDesigns.com. I have a few cards to share with you showcasing the new Monster Birthday Collection. I absolutely love this collection! It’s versatile enough to make cards for individuals of all ages, and the designs are super adorable! For my first project, I created a mini slimline card measuring at 3.5” x 6.5”. I then used the Dancin’ Birthday Monster Etched Dies to die-cut three little monsters from a variety of colored card stock. The fun part about this card is that the monsters’ legs swing back and forth when you tilt the card from side to side. For my card background, I…
-
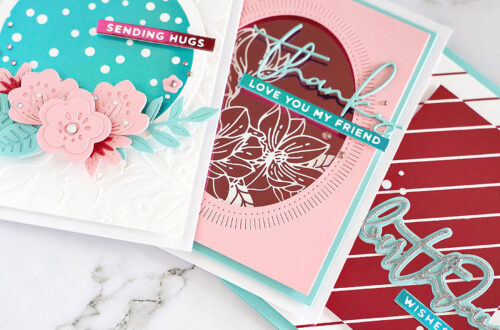
Three Ways To Use Cosmic Shimmer
Hello everyone! I’m Mindy Eggen from Mindy Eggen Design and I’m excited to be back on the Spellbinders blog to share with you three different ways to use cosmic shimmer in your card projects. Before I begin, if you haven’t worked with Cosmic Shimmer Polish before it is kind of like a creamy paste that has tons of shimmer and shine. The top of the lid contains a flat sponge applicator and the jar contains the polish. TECHNIQUE 1: Backgrounds One of the easiest ways to use the polish is to apply it directly to your cardstock. You can use colored cardstock or white for this technique. One thing to…
-
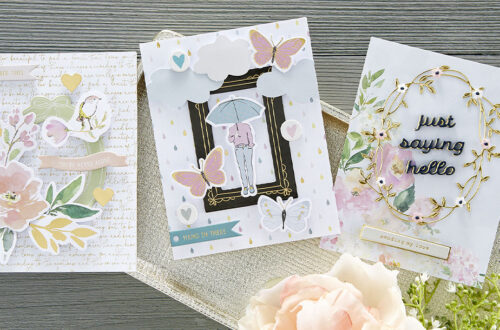
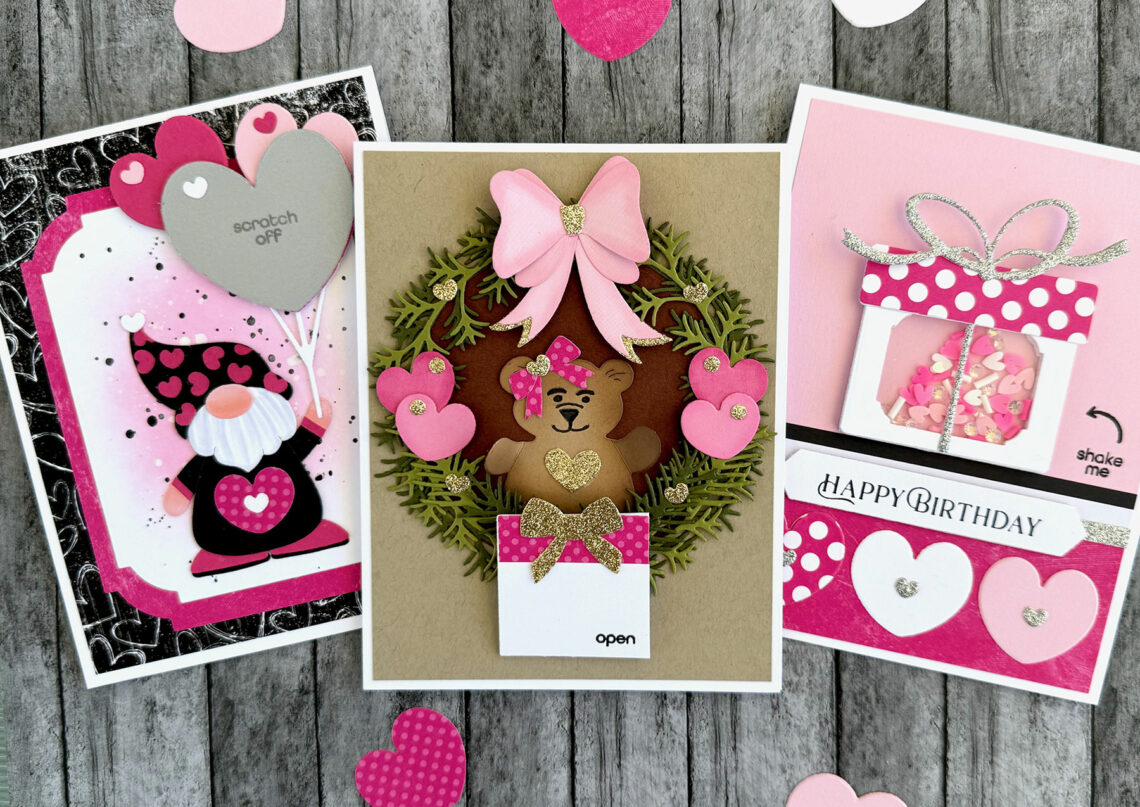
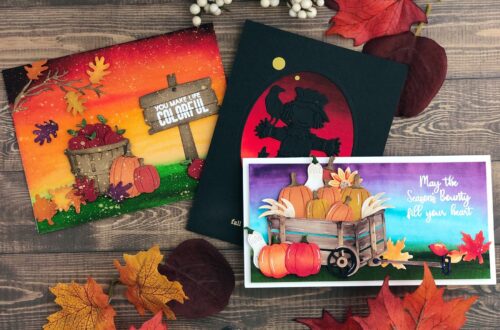
Love-Inspired Interactive Cards
Hello Crafters! Nancy Leppek here from Scrapper at Heart.com and I could not be more excited to be a guest here on the Spellbinder’s Blog today! I am sharing three different Love-inspired cards using the Interactive set called, Take Action Sentiments. It certainly is easy enough and I think it adds a bit of a WOW factor when you add an action element to your handmade cards. I hope my cards inspire you to try some of your own. You Make Me Smile Gnome Matter What I don’t know about you, but I am such a gnome fan because you can tailor them to any Holiday and dress him/her for…
-
Simple Techniques with Karin Brushmarker Pro Markers
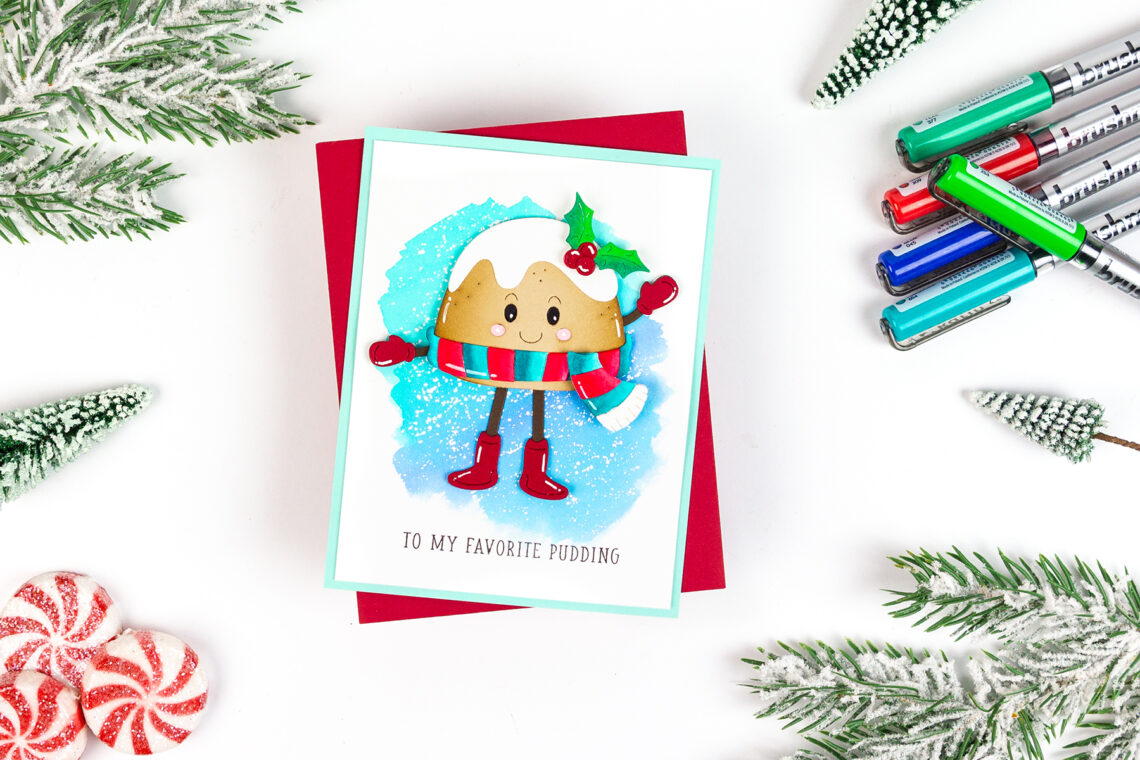
Hello crafty friends! It’s Rachel Alvarado from RachelAlvaradoDesigns.com. I am here to show you a few simple ways that you can use Karin Brushmarker Pro markers when card making and/or crafting. My card today features the Karin Brushmaker Pro 12 Piece Basic Color Set along with the adorable Dancin’ Figgy Pudding Etched Dies Set. If you’ve never tried using these markers before, I highly recommend them because they’re fairly simple to use. They are water-based markers with a brush-like tip, making them easy to control where you want your color (ink) to go. They also blend very well, therefore making them possible to mix together to make a variety of…
-
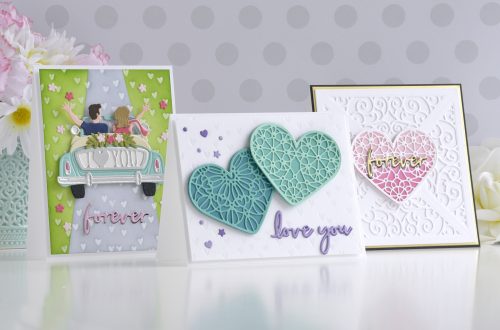
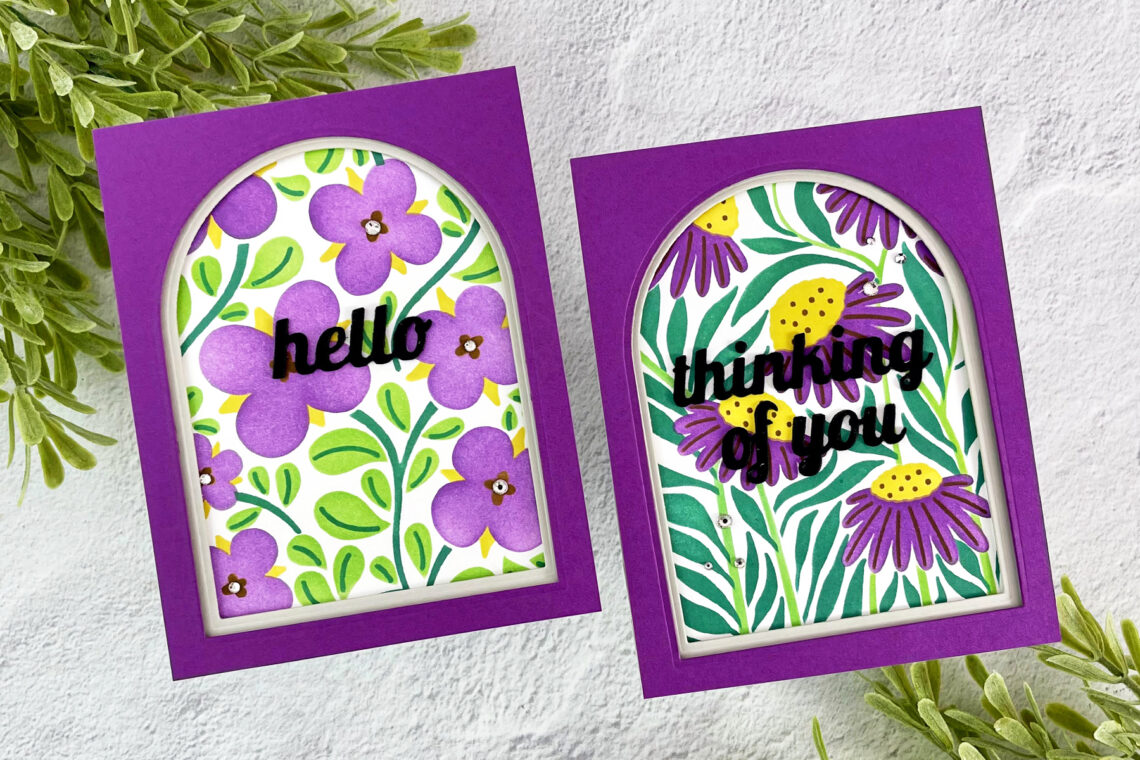
Flower Market Stencils with Mindy Eggen
Hello crafty friends! This is Mindy Eggen and I’m excited to be back on the Spellbinders blog to share some inspiration with you featuring the Flower Market Stencil collection. This collection is a nice break from all of the Christmas inspiration that is in full swing! When starting my project, I wanted to keep things simple by sticking to one color palette. I will use these chosen colors throughout both cards. The design of the stencils fills up an entire card front and I wanted to tone that down a bit so I created a layered frame for the front of the cards. I’m using the Essential Arches die set…