Card Club Kit Extras! December Edition
Hello-hello, Spellbinders’ fans! We’re so glad you are LOVING our December kits! To bring you even more inspiration with our Card Kit of the Month products we are sharing monthly inspiration featuring Card Club Kit Extras!
Did you know, you can get awesome extra products to go along with your Card Kit of the Month? Or maybe you are not a Club member yet, but would like to give our extras a try – you can do so here.
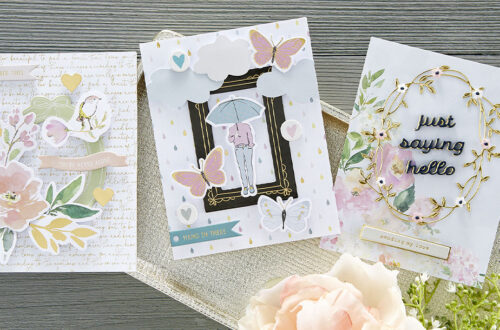
Today we have 3 projects to share featuring the awesome Gold Glitter Alphabet Stickers, Winter Wishes Mason Jar Stamp Set and Winter Wishes 6×6 Paper Pad.
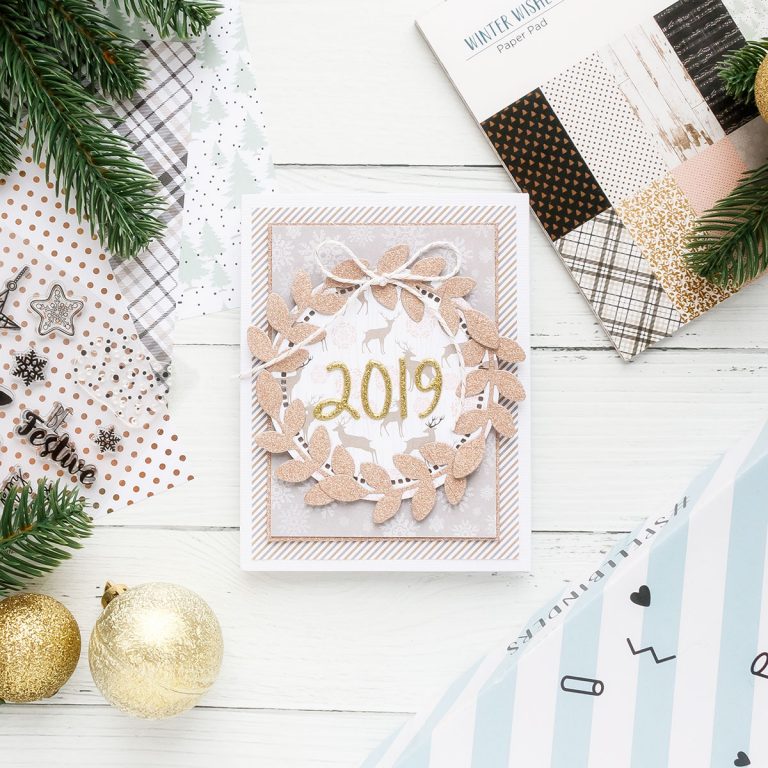
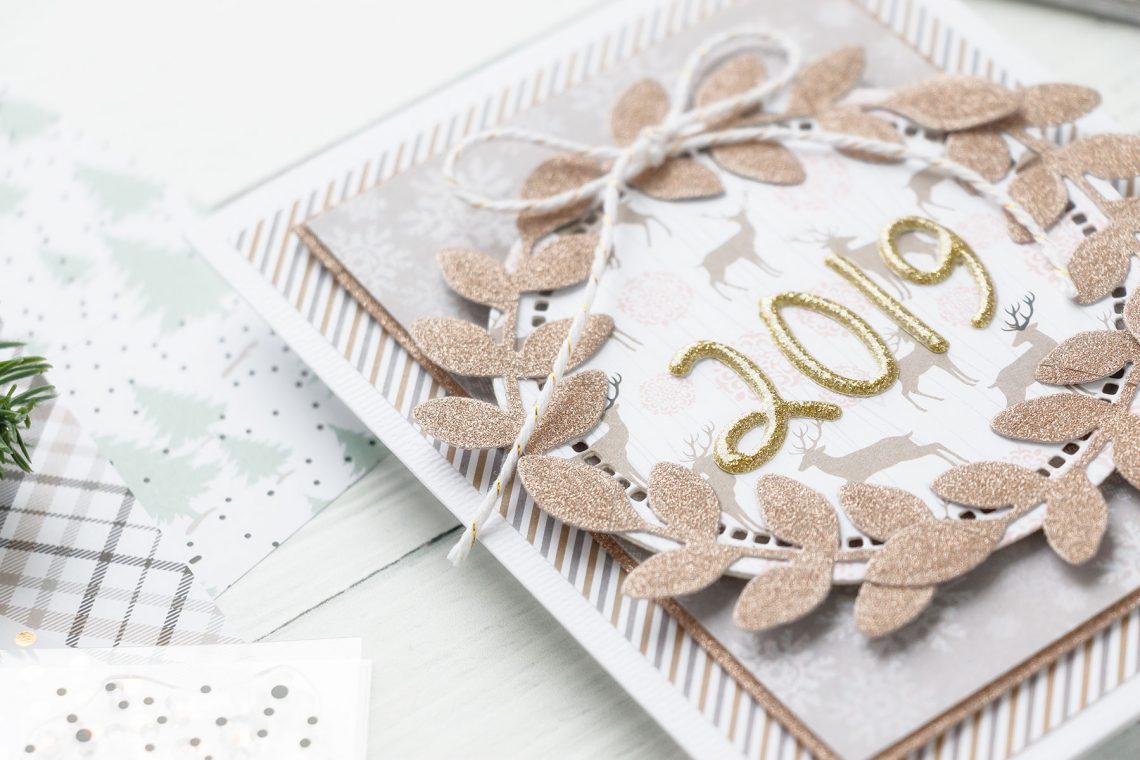
2019 Card
2019 Card – Instructions
- Create A2 side folding card base using white cardstock.
- Cut diagonal stripe patterned paper to 3 3/4 x 5″. Adhere onto the card.
- Cut snowflake paper to 3 1/4 x 4 1/2 “, mat with glitter paper, adhere onto the card.
- Die-cut Hemstitch Circle out of “deer” paper. Foam mount onto the card.
- Die-cut several branches out of glitter paper, adhere onto the card forming a wreath.
- Tie twine into a bow, adhere onto the card.
- Add 2019 using gold glitter stickers.
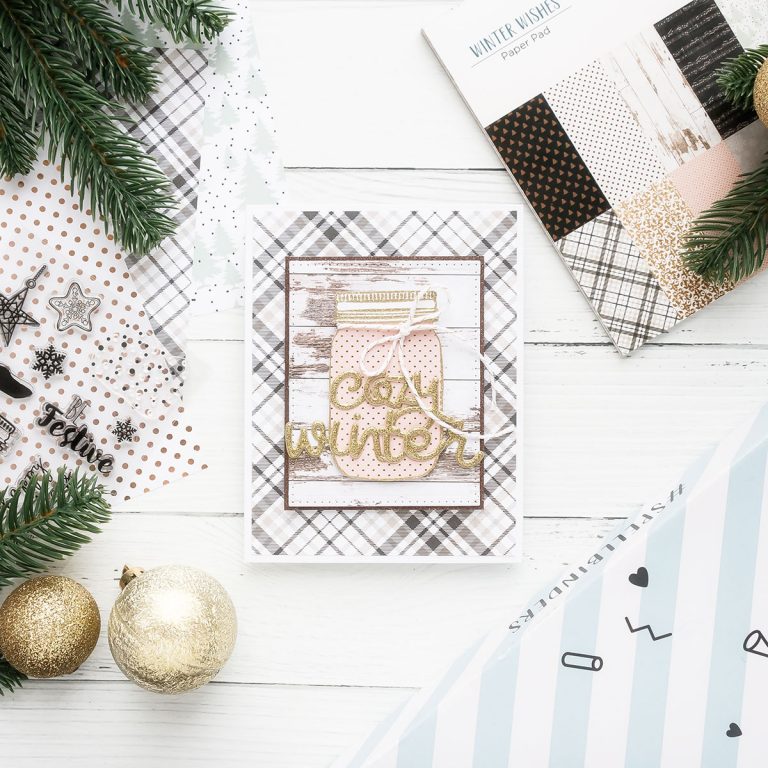
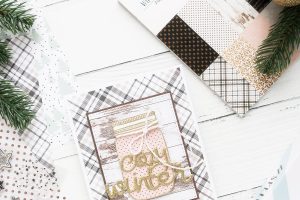
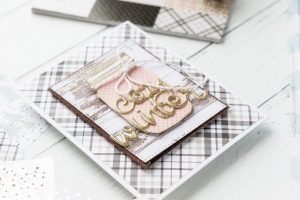
Cozy Winter Card
Cozy Winter Card – Instruction
- Create A2 side folding card base using white cardstock.
- Cut plaid paper to 4 x 5 1/4″. Adhere onto the card.
- Die-cut woodgrain paper using pierced rectangle die. Mat with glitter paper, foam mount onto the card.
- Gold heat emboss mason jar onto white cardstock and pink polka dot paper. Cut out. Adhere white lid onto pink jar. Tie twine. Foam mount onto the card.
- Add “cozy winter” using gold glitter stickers.
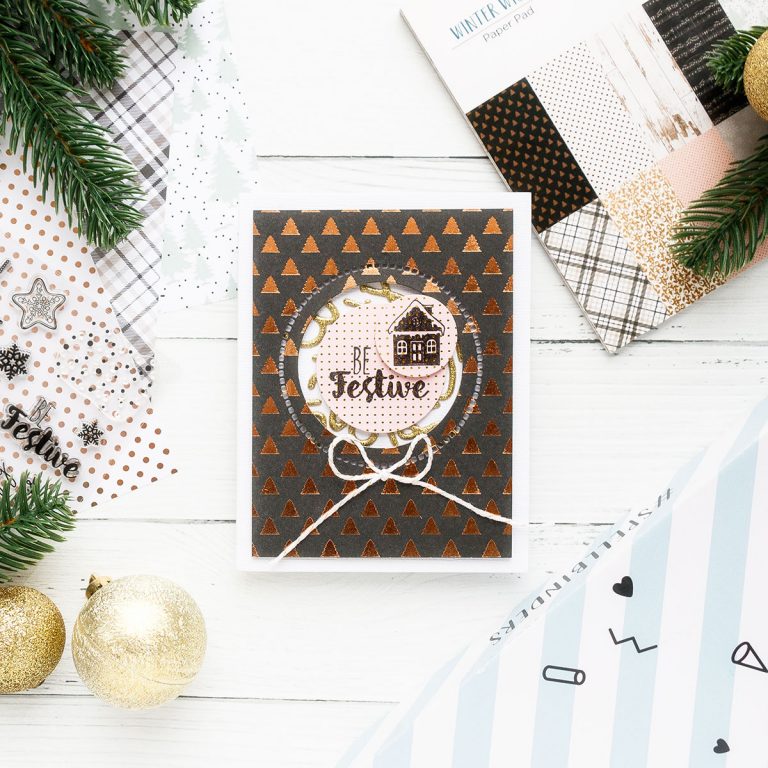
Be Festive Card
Be Festive Card – Instructions
- Create A2 side folding card base using white cardstock.
- Cut gray patterned paper to 3 3/4 x 5″. Die-cut circle and hemstitch detail in the center. Foam mount onto the card.
- Fill card opening with left over glitter stickers.
- Stamp “Be Festive” and a house in black on pink polka dot paper. Die-cut using circle dies. Foam mount onto the card
- Tie a bow, adhere onto the card.

