Die D-Lites Inspiration | Trio of Cute Cards with Jung AhSang
Hello crafty friends! My name is Jung AhSang, and I am so excited to be sharing my first guest post on the Spellbinders blog. I love paper crafting; I started out scrapbooking, and in the last few years I have started cardmaking as well. I have a loving husband, and 3 daughters, who I’ve given the crafty bug to also. If you’d like to follow my crafty projects, my blog is jungahsang.wordpress.com. I will have a coordinating YT process video linked on my blog if you’re interested!

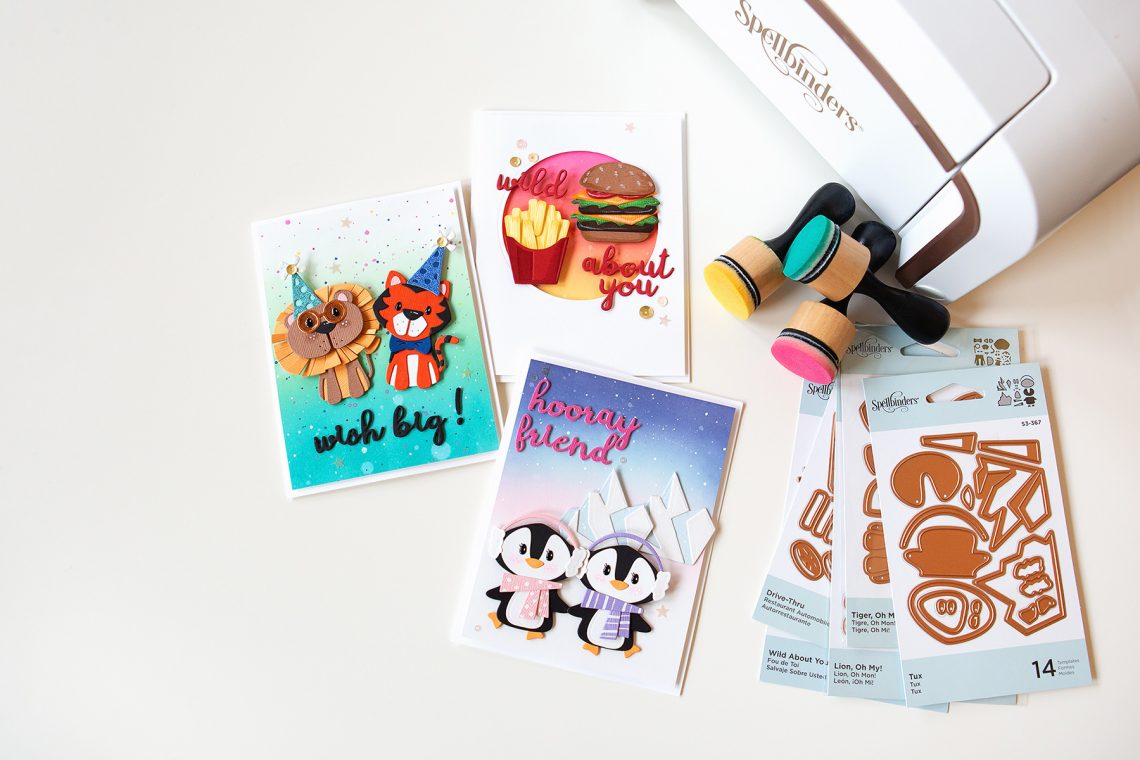
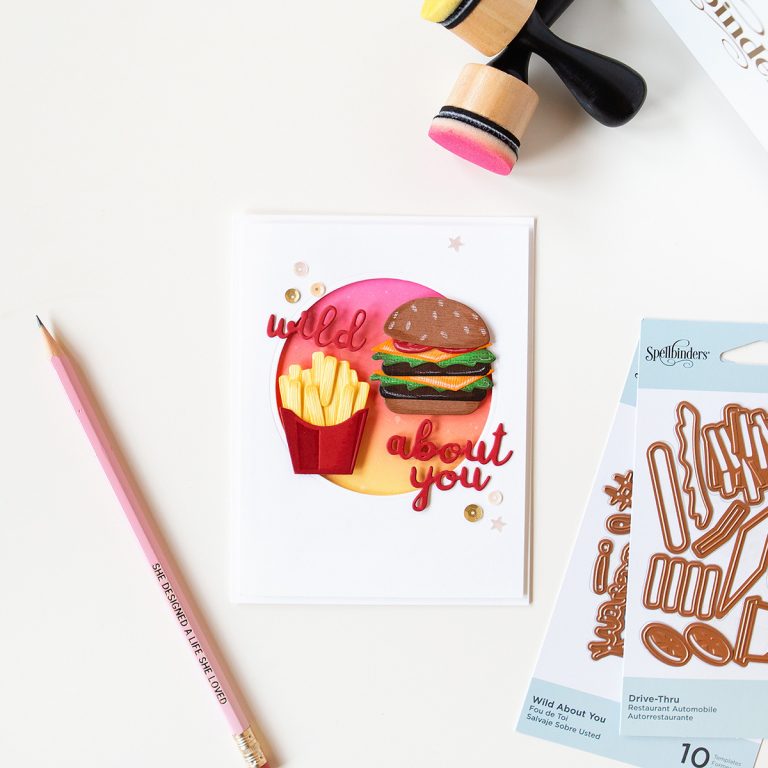
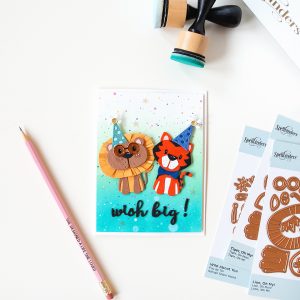
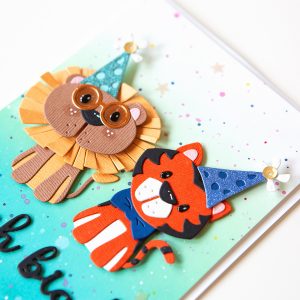
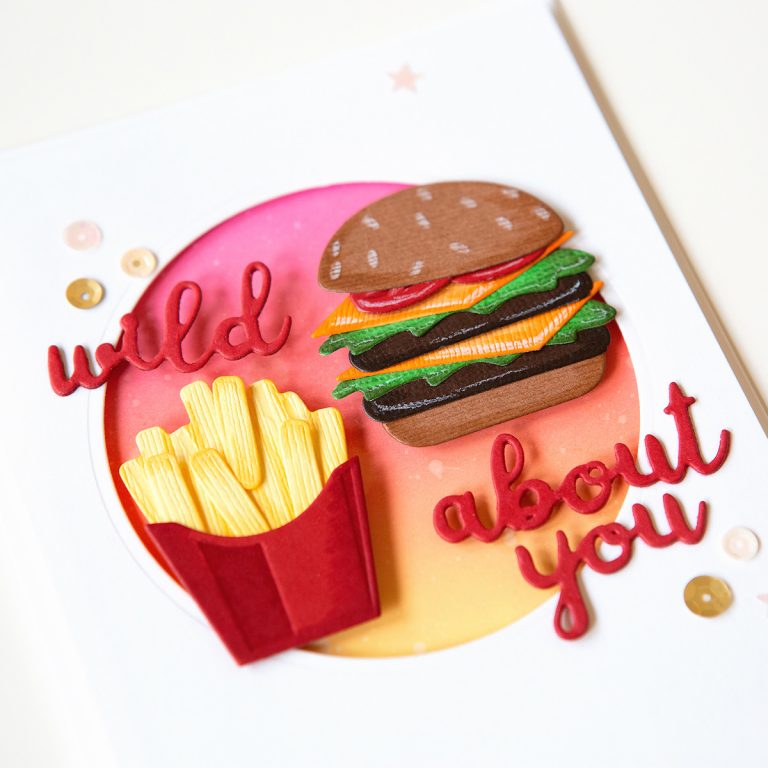
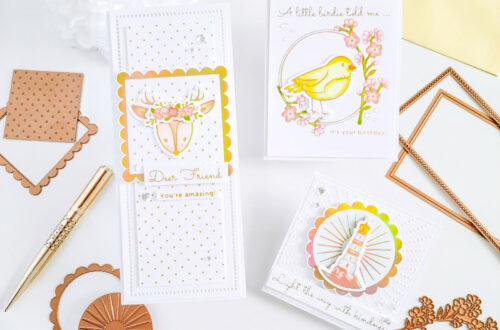
Today, I’m working with some cute Die D-Lites. All the little animals are the perfect size for a card. They are so cute, and their accessories are just the cherry on top. I decided to make a few birthday cards. I also love a good cheeseburger and fries, so I made another card as well with the Drive-Thru set.
My favorite technique for the background has always been ink blending, so that is what I did for all three of my cards. The 2 animal cards are made the same way, so I will briefly go over how I made these cards.

Instructions:
- Step 1: Die cut all the pieces for the animals, including the accessories from cardstock.
Tip: Use the back of the packaging to help you differentiate what all the pieces are for.
- Step 2: Assemble the animals, saving the accessories for last. I used liquid glue, as well as foam squares for the heads for dimension.
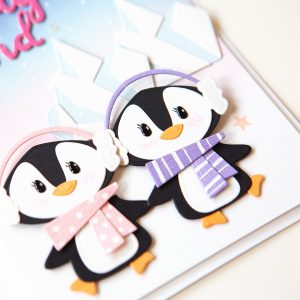
- Step 3: Add details to the die cuts. I used a white gel pen for the cheeks of my animals, to give a highlight to their eyes, and patterns for the penguins’ scarves. I also used glossy accents for their eyes, and the glasses on the lion. Set aside to dry.
- Step 4: On white cardstock, start ink blending with a foam tool. I like to use at least 3 colors for a smooth blend. Add splatters to the background for added interest. Set aside to try.
- Step 5: Die cut the sentiments for cardstock. I die cut each 3 times, and glued them together for added dimension.
- Step 6: Assembly. I trimmed the ink-blended background panel slightly smaller than an A2 sized card base. I adhered the panel to the card base with fun foam. Then I adhered the die cuts with foam squares, and the sentiments with liquid glue.
- Step 7: I added some sequins for the finishing touch.
I made my third card very similarly. The only differences is that I added an extra layer; I die cut a circle from white cardstock, and layered it over the ink blended layer.
Spellbinders Supplies:
Other Supplies
Colored Cardstock, Distress Oxide inks in Spun Sugar, Tumbled Glass, Chipped Sapphire, Cracked Pistachio, Peacock Feathers, Squeezed Lemonade, Abandoned Coral, and Picked Raspberry, Dr. Ph Martin’s Pen White, Ranger Glossy Accents, Sakura Gelly Roll White Gel Pen, Spectrum Noir Sparkle Pen, Lucy’s Little Things sequins, Fun Foam, Foam Squares
I love the way my cards turned out…they are so cute! I’m sure my 8 year old will steal them to give to her friends. I have loved working with Spellbinders metal dies, and I hope you are inspired to get crafty.
Thank you so much for stopping by, and have a lovely day!
2 Comments
Judy Hubbard
Hi,design team,I have bought a couple of thinlets dies, why don’t you give instruction or offer an utube instruction video,?
Yana Smakula
Hello, Judy! We have video tutorial featuring Die D-Lites coming to our Youtube channel soon. Stay tuned! Also, Jung mentioned in her post she filmed a process video using these dies, you can watch it on her Youtube channel https://www.youtube.com/watch?v=o1iJWMTEbdU