Paul Antonio Holiday 2019 Inspiration | Gift Giving Ideas with Niki Coursey
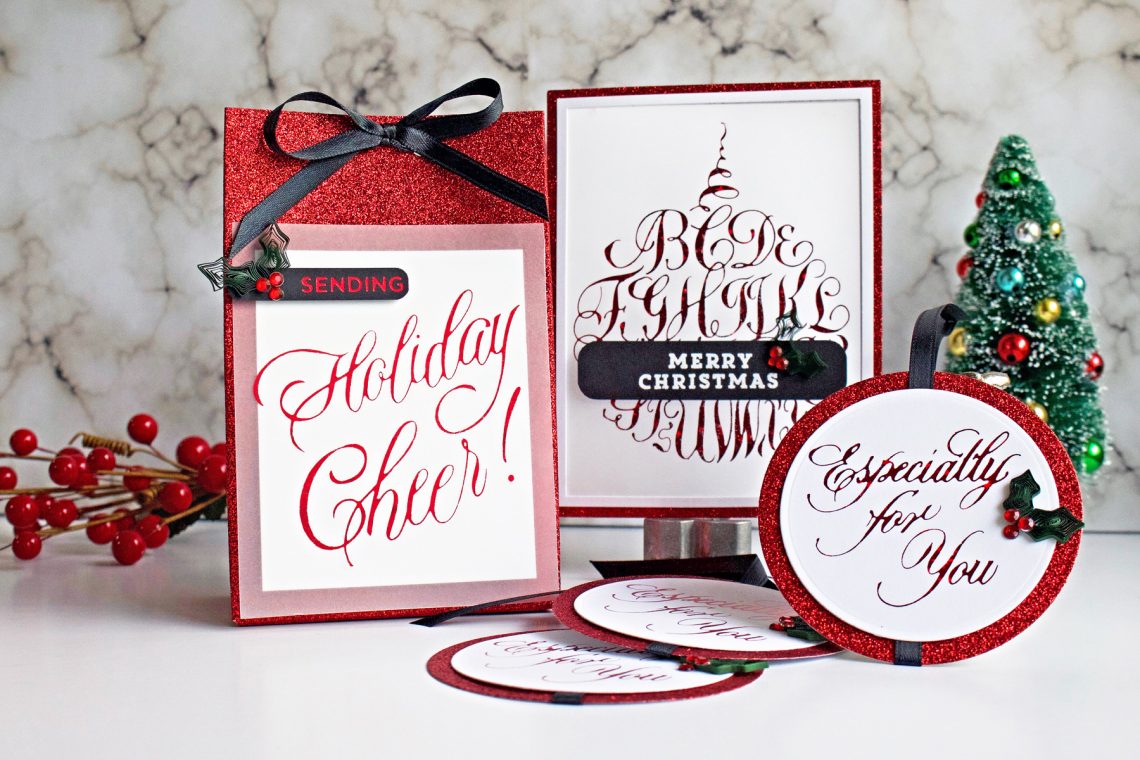
Hey y’all! I’m Niki, the chicky behind Cardstoq Blog, and I’m SO happy to be guest designing here on the Spellbinders Blog. Today’s fun is all about the Holiday 2019 Collection by Paul Antonio, and I’ve put together a matching trio of projects to help get your creativity flowing for the upcoming holiday season.
I like making matching sets like these because it helps me dress up a gift like a pro, and it will help you too: picture a matching tag and card on a gorgeous white embossed wrapping paper and an extra little gift bag tied on with a sweet treat inside! Stunning, I tell ya. Let’s get to how I put these together.
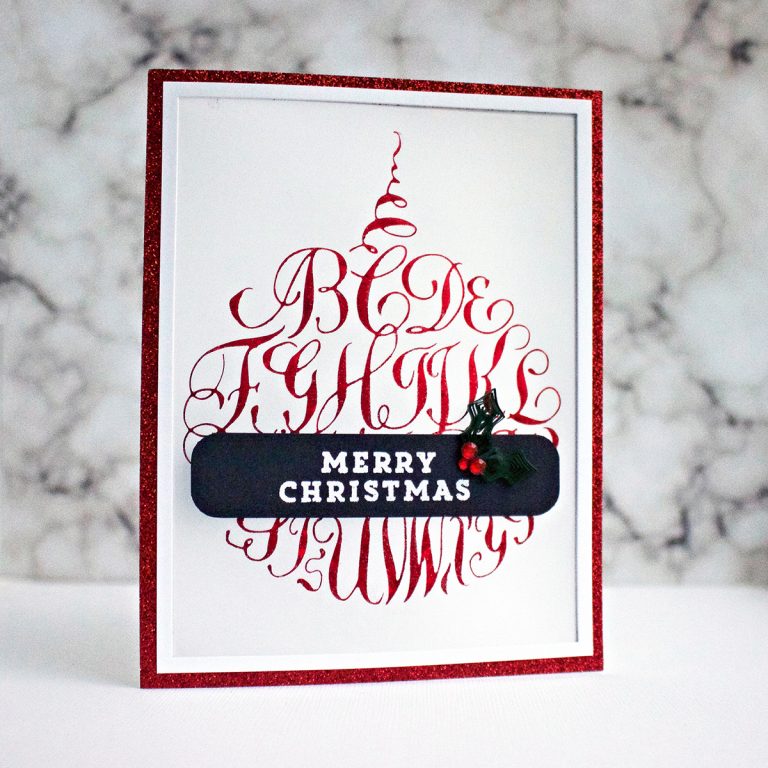
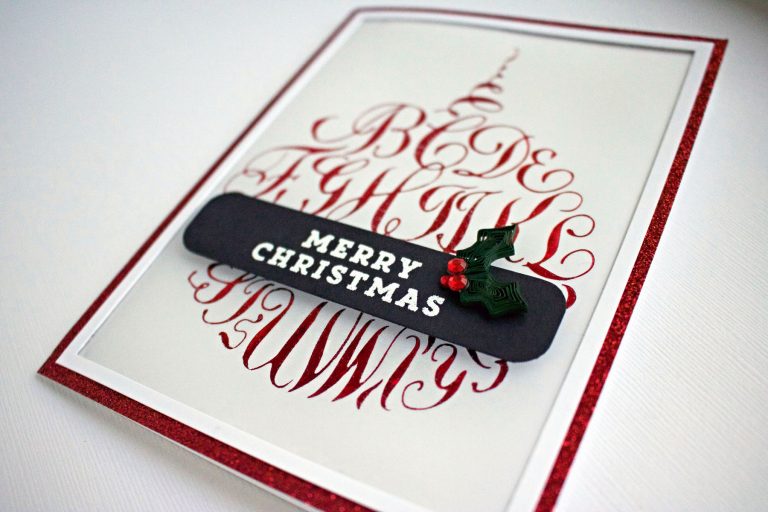
For the first project of this fabulous trio, I made a card. This card was my jumping-off point for the other two projects, as I planned to pull elements from it to fancy up the rest of the set. The red glitter paper from Core’dinations was a perfect match to the Crimson Stars Hot Foil!
Using a Fiskars trimmer, I cut out a window in the front of my card and also created the frame to sandwich the vellum neatly in place. It’s not as hard as you think to get everything measured up since the trimmer has lots of handy marks and measurements you can use for alignment.
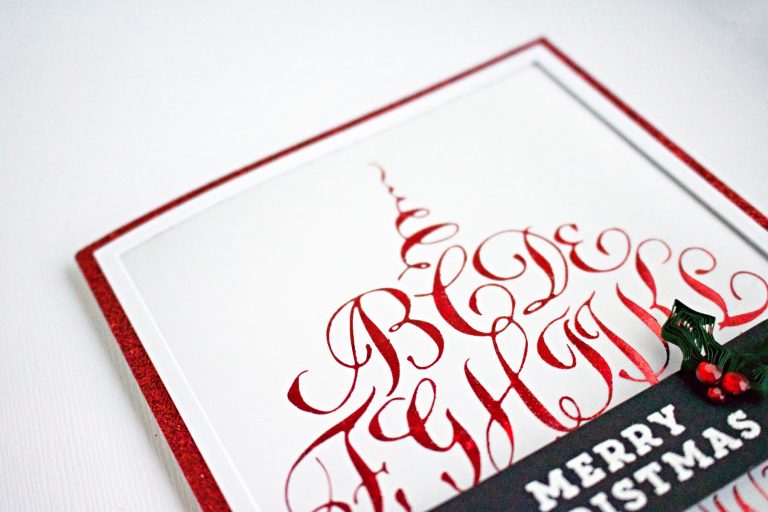
I ran the vellum through my die cut machine using the Glimmer Hot Foil System, Crimson Stars Foil, and the Calligraphy Alphabet Ornament Glimmer Plate. Isn’t it gorgeous?! Because vellum has a somewhat non-stick surface, you want to roll slowly to ensure the foil transfers. Once it’s on there, though, it won’t rub off. That’s the beauty of hot pressing!
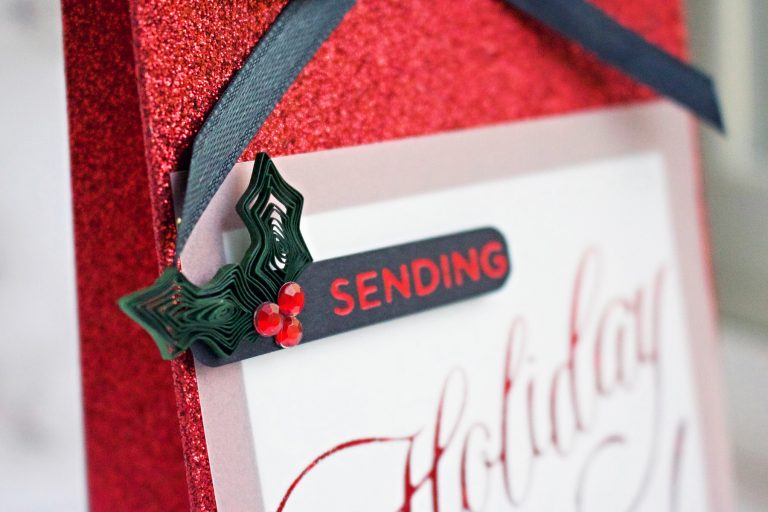
To embellish the card, I used a stamp set to heat emboss the sentiment on black cardstock with white embossing powder and a heat tool. Then, I rounded the corners and attached it in place with some foam squares. Then, I added a little quilled holly embellishment with red adhesive gems.
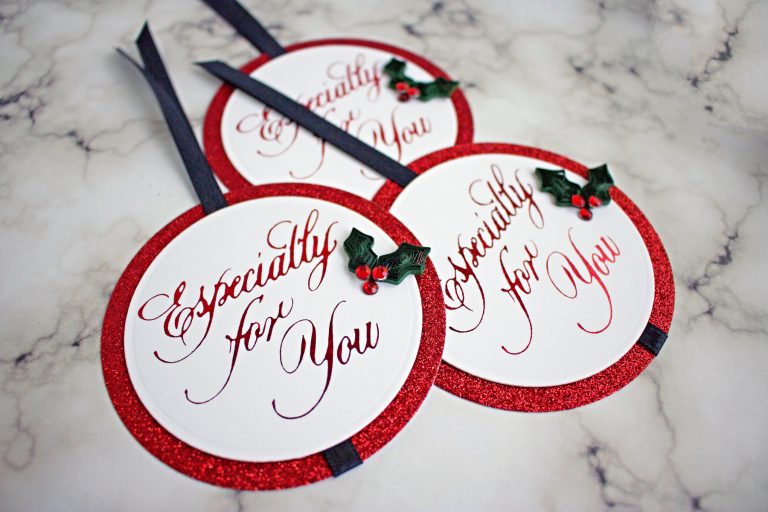
For the tags, I opted not to use the vellum since it would be challenging to adhere without some visible glue spots. Instead, I used the Copperplate Script Happy Christmas plates and the same red foil on a piece of white cardstock.
Then, I die-cut each sentiment with a nesting circle die and used a slightly larger circle to cut the red glitter paper. To get my cute ribbon secured, I sandwiched it behind the white layer with Glue Dots. And of course, I added the little quilled holly embellishment to each tag.
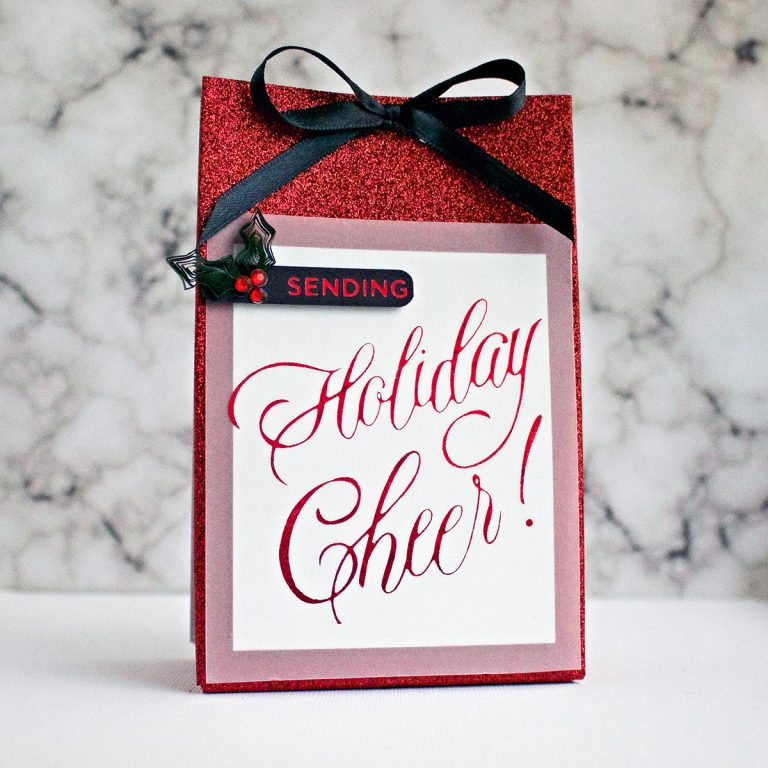
Finally, I used a punch board to create this cute little gift bag to go with the card and tags. It measures about 4” wide by 6” tall and is perfect for a couple of cookies, candy, or holiday spiced teas (my favorite tiny gift bag stuffer).
Glue Dots are the way to go when adhering this project together; they hold onto the glitter finish nicely and make it easy to add embellishments… or to, ahem, straighten up an unruly bow 🙂 .
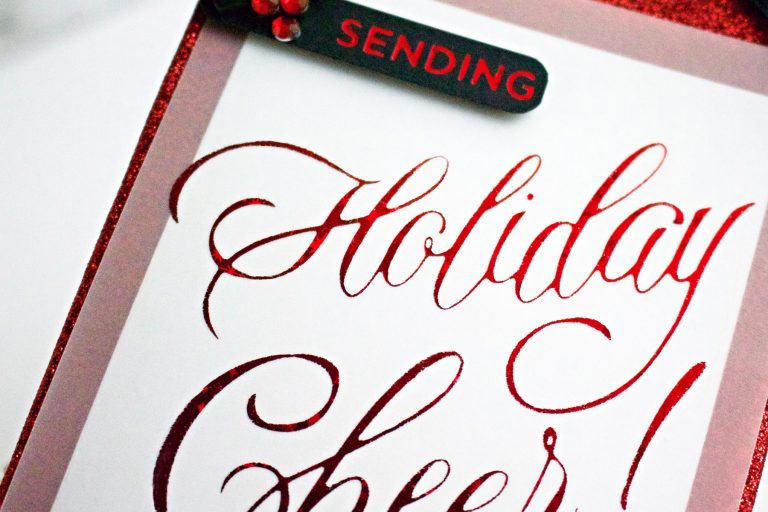
I went back to the vellum again for the sentiment on the gift bag and used the Faux Script Holiday Cheer plate to make the foiled layer. It needed a little something to make it stand out better, so I added a layer of white cardstock underneath to give it a lovely photo frame look. To hide how I layered these, I used a full sheet clear adhesive over the white cardstock and pressed the vellum down over it.
After foiling it onto black cardstock, I trimmed the word “sending” from one of the plates in the Everyday Sentiments II set and rounded the corners. Next, I added my little quilled embellishment with a dab of glue, then attached it to the vellum with foam squares. To finish up, I punched holes for the ribbon, added my favorite teas, and tied it shut with an elegant black bow.
Spellbinders Supplies:
Other Supplies
Core’dinations Glitter Cardstock in Red Flash, Neenah White Cardstock, Basis Black Cardstock, Bazzill Basics 40lb Vellum, Fiskars – 9 Inch Card Making Paper Trimmer, SSS Clear Stamps Happy Christmas, We R Memory Keepers Gift Bag Punch Board, Black 1/4” Ribbon, Heat Embossing Tool, White Embossing Powder, VersaMark Ink, We R Memory Keepers Quilling Tool Set, Red and Green Quilling Paper, Red Adhesive Gems, Nuvo Deluxe Adhesive, Stick It Adhesive Sheets, 1/4” Corner Rounder.
Thank you so very much for stopping by to read today! Stay tuned to the Spellbinders Blog for more great ideas & inspiration.
Get crafting!
Niki

3 Comments
Surekha Galagoda
It is functional and bautiful as well.Love it all. I am planning on buying a gift bag punch board.
Cardstoq
You’ll love it – there’s so many pretty ways you can decorate the little gift bags you make!
Annette Reed
These are beautiful! I just love the fonts. They are so elegant and lovely in foil.