Take Time for You By FSJ Project Kit | Cardmaking Inspiration With Sandi MacIver | Video
Hello Spellbinders’ and FSJ fans! Our FSJ Take Time For You Project Kit is here!
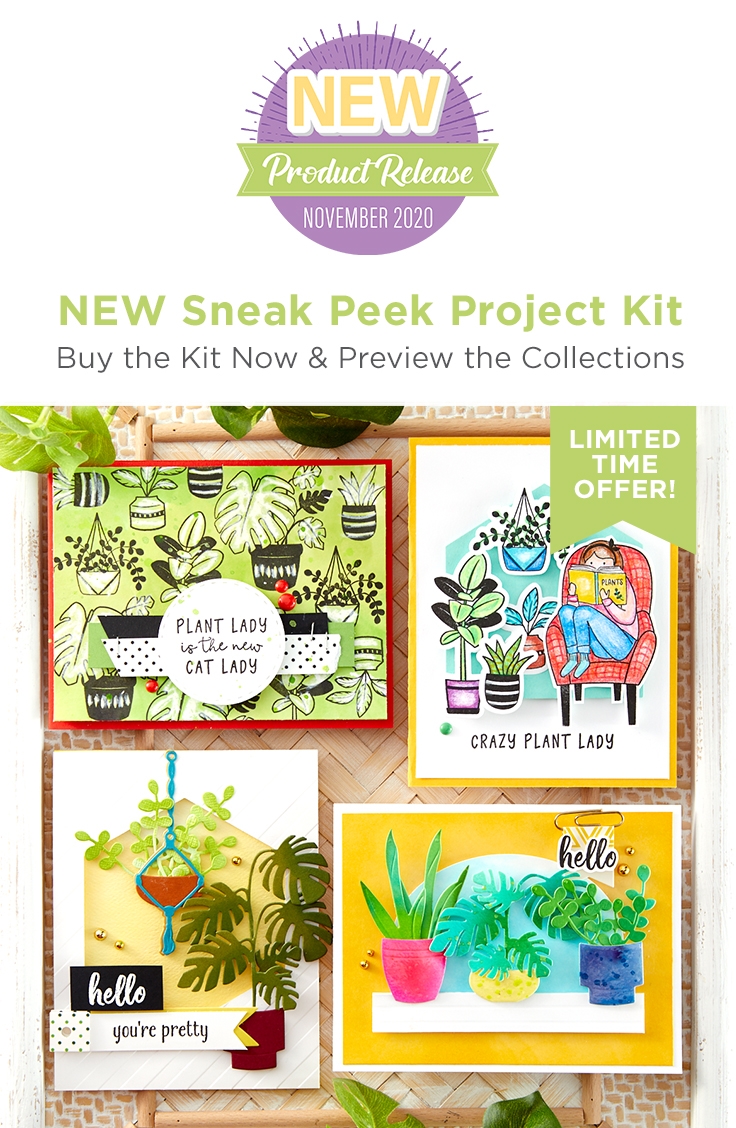
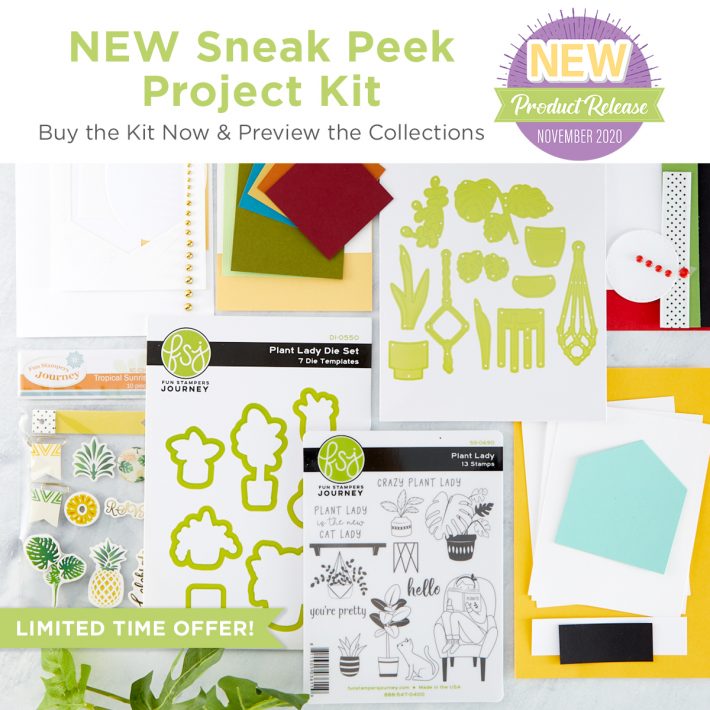
The Take Time for You by FSJ Project Kit is the perfect way to snag select products from the collection a bit early. This kit features ONE Stamp Set, TWO Die sets, and Stickers. This kit also includes the supplies to create FOUR fun cards. The kit is a $55.80 Value for just $48.00!
Join designer Sandi MacIver as she shares 6 beautiful cards created using this kit. Watch video below or on Youtube:
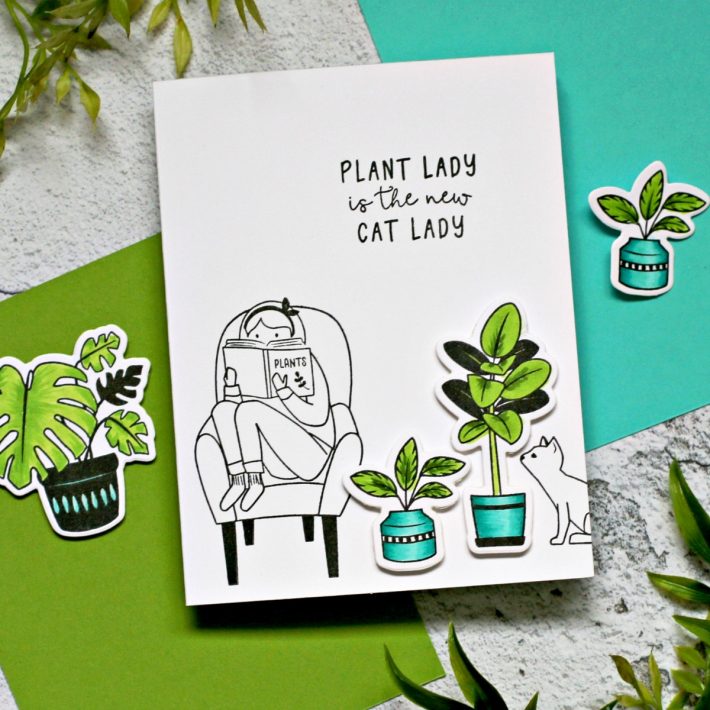
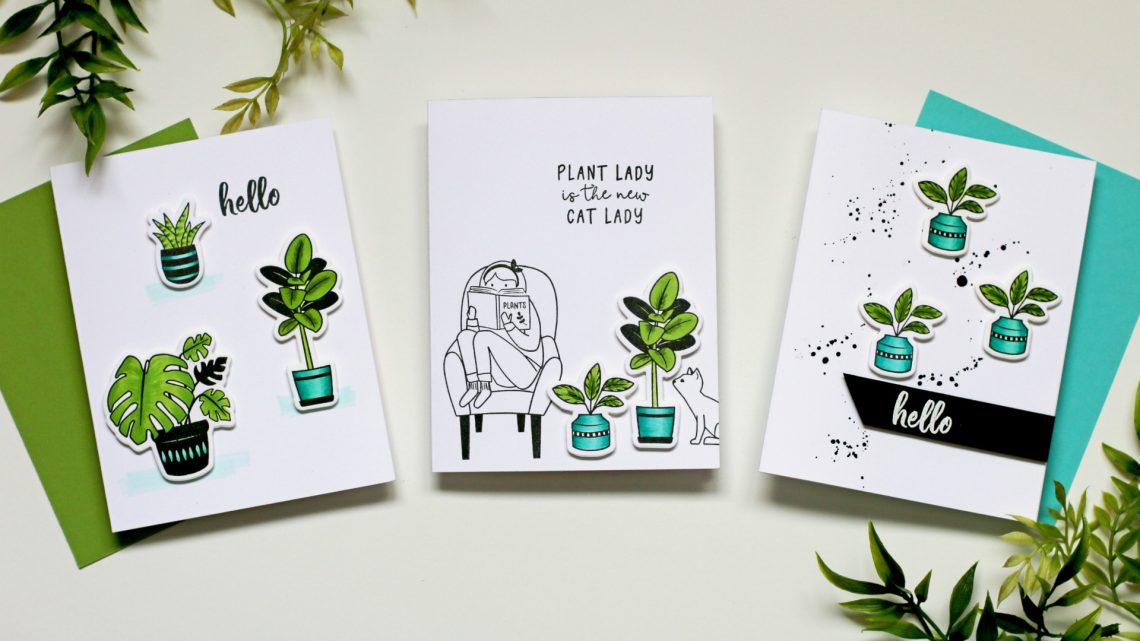
Plant Lady Card
- Score and fold a 5-1/2 x 8-1/2 piece of white card at 4-1/4.
- Place into a stamping platform and using black ink stamp the lady in the chair on the left and half the cat on the right.
- Stamp the sentiment near the top between the two images.
- On a separate piece of white card stock 4-1/4 x 5-1/2, stamp the prayer plant and the rubber tree in alcohol ink friendly black ink.
- Color with Copic Markers:
- Blue: BG11, BG13, BG49
- Green: YG03 Yg23 YG67
- Use the coordinating dies to cut out the plants and then use foam squares to attach them to the card front between the lady and the cat.
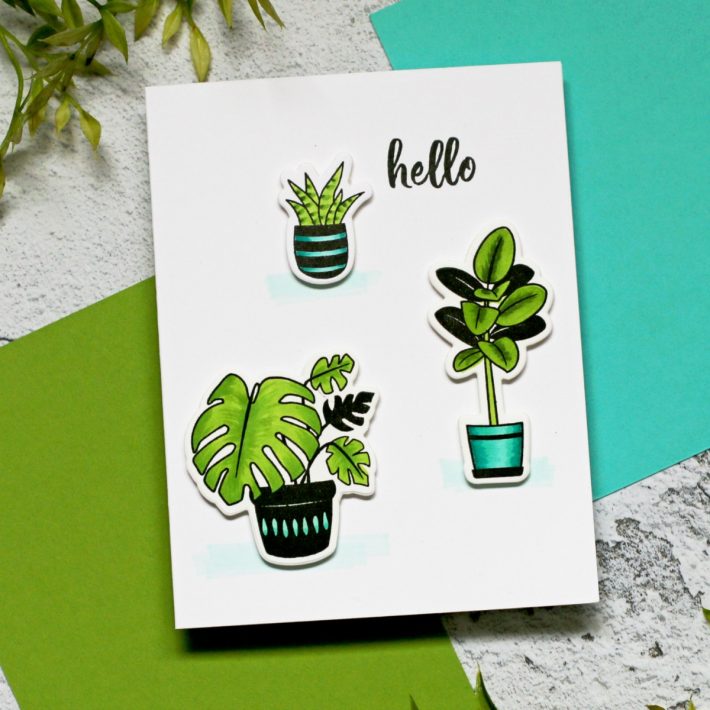
Plant Lady Card #2
- Score and fold a 5-1/2 x 8-1/2 piece of white card at 4-1/4.
- Using an Alcohol ink friendly black ink pad, stamp all three images onto a piece of white cardstock.
- Color with the Copic Markers and cut out with the coordinating dies.
- Place the card base into the stamping platform and lay the plants in without adhering, to position where to stamp the sentiment.
- Stamp the sentiment in black ink.
- Add a scribble line of the blue BG11 copic marker behind where each plant will be positioned on the card.
- Add foam squares to the back of each plant image and attach to the card
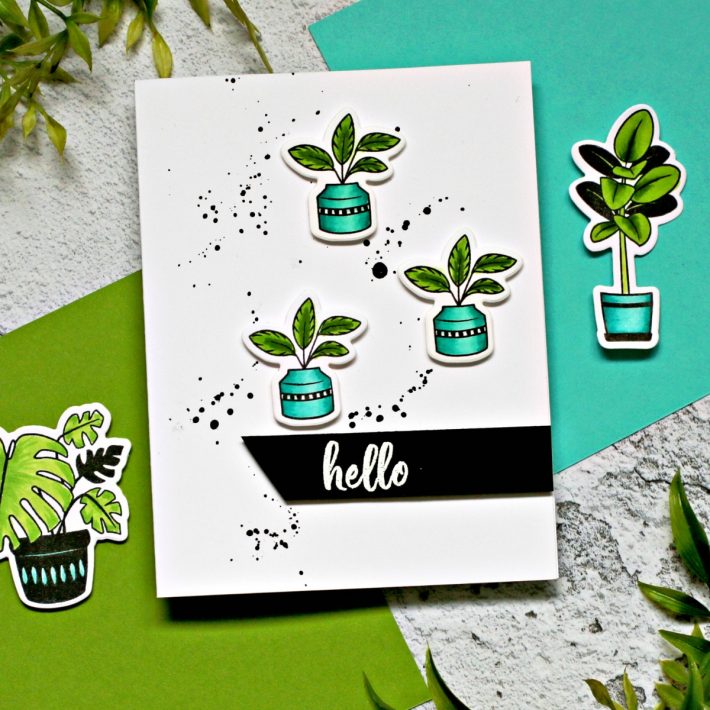
Plant Lady Card #3
- Score and fold a 5-1/2 x 8-1/2 piece of white card at 4-1/4.
- Mix a small amount of black acrylic paint with water and use a brush to splatter the card front.
- Set it aside to dry.
- Use the stamp platform to stamp the prayer plant 3 times onto white card stock.
- Stamp the Hello Sentiment in embossing ink onto a scrap of black Licorice card stock.
- Cover with white embossing powder, shake off excess and heat set.
- Angle cut the left side with scissors and trim the right side straight before attaching with foam squares near the bottom section of the card front.
- Color the prayer plant images with the copic markers and then cut out with the coordinating dies.
- Use foam squares to attach to the card front.
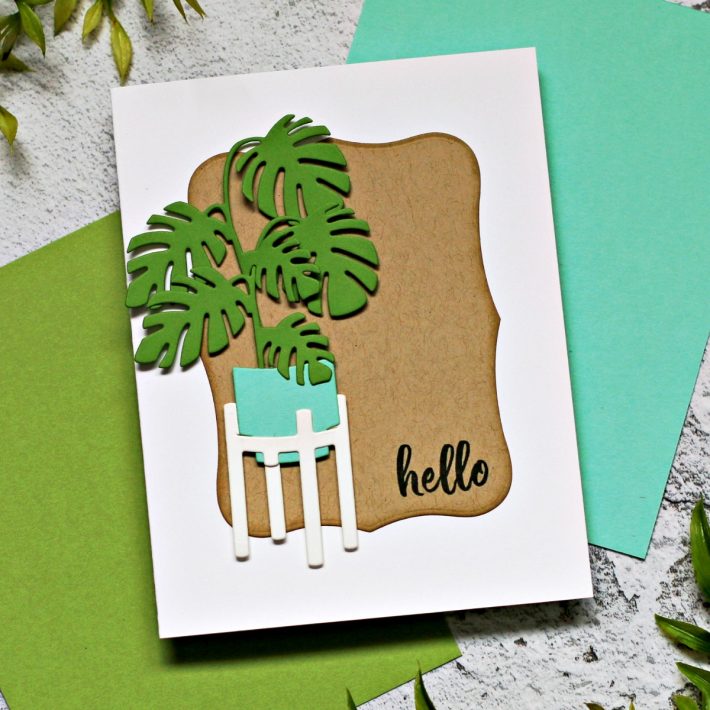
Happy Plants Card #1
- Score and fold a 5-1/2 x 8-1/2 piece of white card at 4-1/4.
- Die cut the plant leaves from the green card stock twice.
- Die cut the plant pot from the blue card stock
- Die cut the plant stand from the white card stock
- Die cut the background piece with the Essential Labels Die from Oatmeal Cookie card stock.
- Blend a small amount of Oatmeal Cookie ink around the edge of the die cut
- Attach the background piece to the center of the card base.
- Use the stamping platform to stamp the sentiment in the bottom right corner of the oatmeal piece.
- Glue the plant pot inside the plant stand
- Intertwine the two leaf die cuts and glue to the back of the plant pot.
- Use small pieces of foam squares behind all the pieces to attach to the left side of the center die cut.
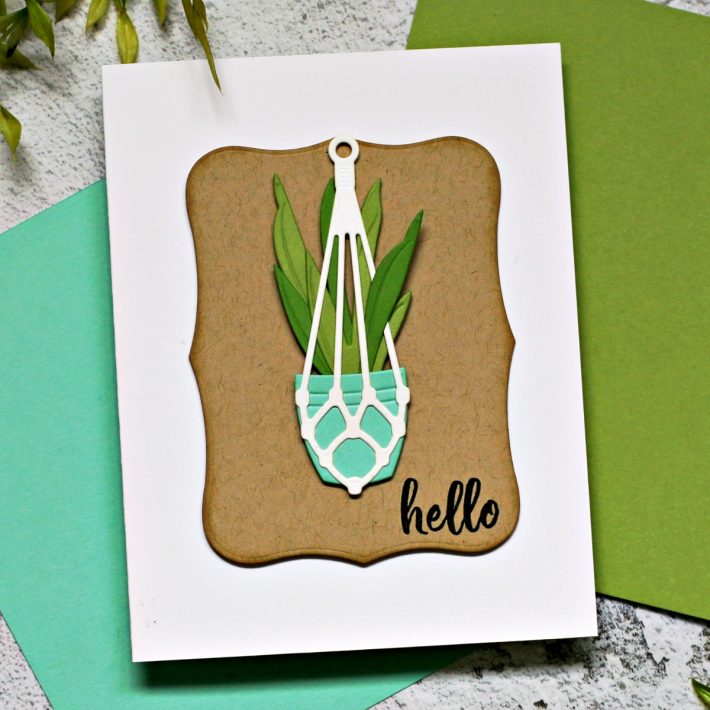
Happy Plants Card #2
- Score and fold a 5-1/2 x 8-1/2 piece of white card at 4-1/4.
- Die cut the leaves three times from two colors of green card stock
- Die cut the macrame hanger from white card stock
- Die cut the plant pot from the blue card stock
- Use the Essential Squares Etched Dies to cut the oatmeal cookie card stock
- Blend a small amount of Oatmeal Cookie ink around the edge of the die cut before attaching it to the top section of the card base.
- Place the card into the stamping platform and stamp the sentiment in black ink.
- Use white glue to attach the plant pot behind the macrame hanger
- Weave in the plant pieces and use white glue to attach them
- Use small pieces of foam squares on the back of the whole piece and attach it to the left side of the Oatmeal cookie die cut
Happy Plants Card #3
- Score and fold a 5-1/2 x 8-1/2 piece of white card at 4-1/4.
- Die cut the leaves three times from two colors of green card stock
- Die cut the macrame hanger from white card stock
- Die cut the plant pot from the blue card stock
- Use the Essential Labels dies to cut the oatmeal cookie card stock
- Blend a small amount of Oatmeal Cookie ink around the edge of the die cut before attaching it to the center of the card base.
- Place the card into the stamping platform and stamp the sentiment in black ink.
- Use white glue to attach the plant pot behind the macrame hanger
- Weave in the plant pieces and use white glue to attach them
- Use small pieces of foam squares on the back of the whole piece and attach it to the left side of the Oatmeal cookie die cut
Spellbinders Supplies:
