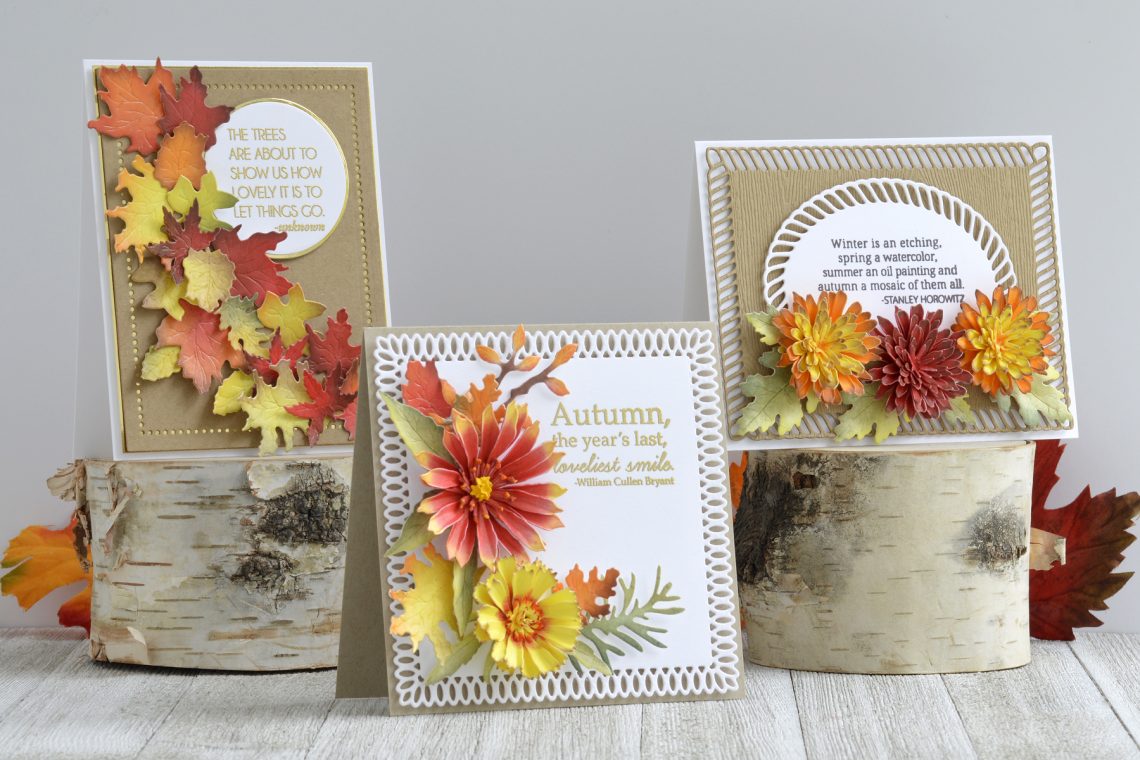
Susan’s Autumn Flora Collection – A Trio of Autumn Cards with Annie Williams
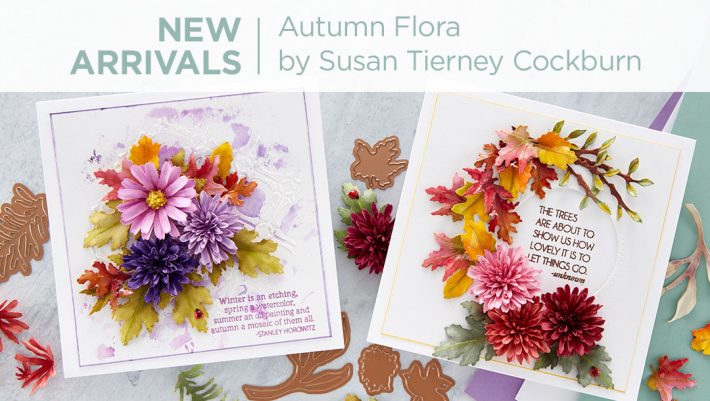
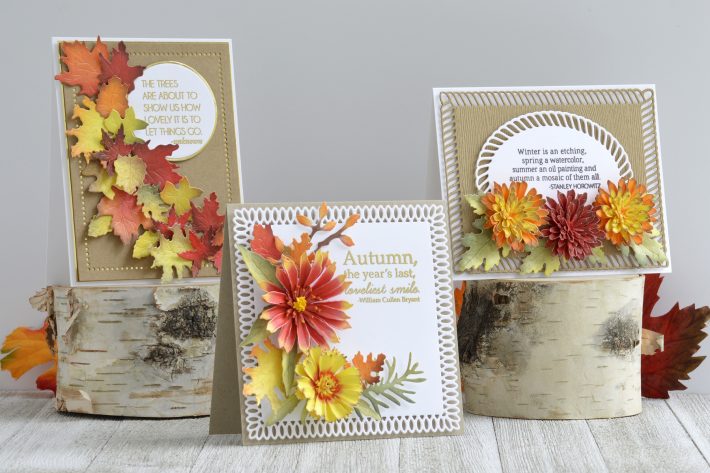
Hi there, this is Annie Williams and I’m so excited to have the opportunity to share a couple of projects using the new Susan’s Autumn Flora Collection by Susan Tierney-Cockburn. There is really something magical about turning plain white cardstock into a beautiful and realistic bloom. After working with several of the die sets to build a variety of flowers, leaves, and foliage, I arranged them into three bright bunches to create these autumn cards.
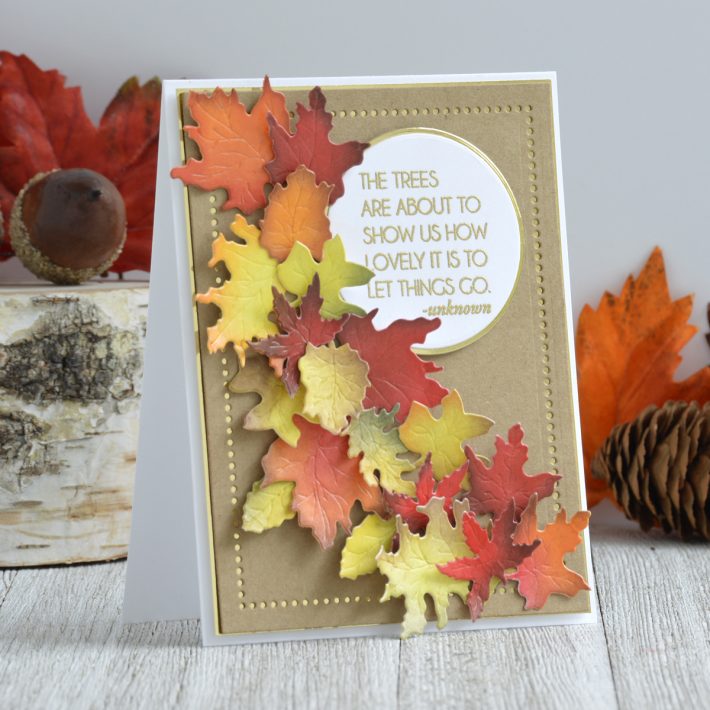
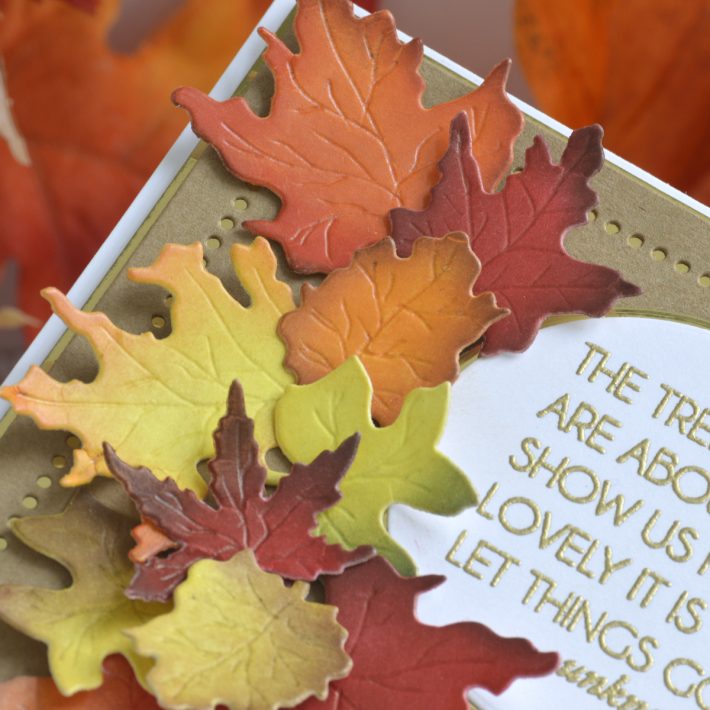
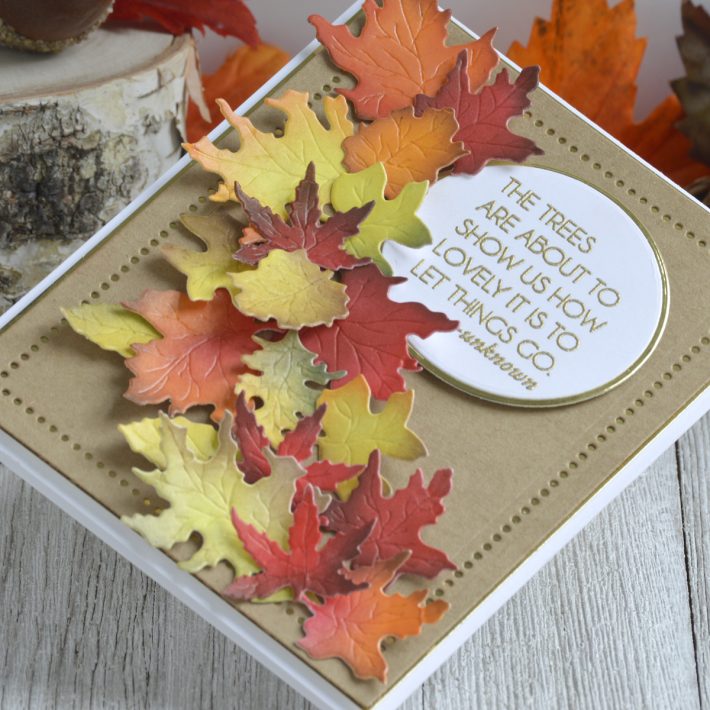
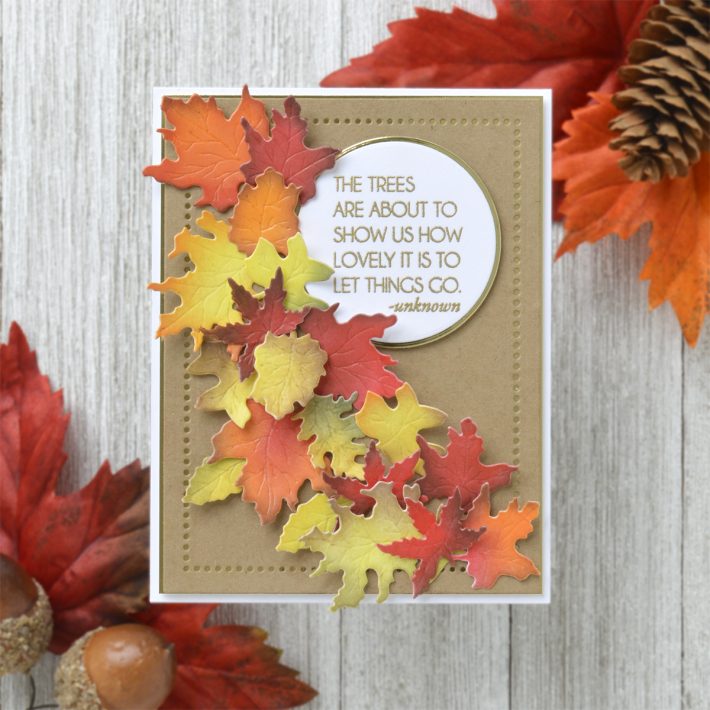
This first card is the simplest of the three and perfect if you are new to paper flower crafting. Using the Woodland Garden Leaves die set, I created a pile of leaves in bright colors and arranged them like a swash around that beautiful autumn quote.
- Die cut white cardstock three times using all of the dies in the Woodland Garden Leaves die set.
- Blend different combinations of the red, orange, yellow, green, and brown shades of Pan Pastels from the Party Pop and Mother Nature Palettes over the die-cuts using sponge tools to create brightly colored autumn leaves.
- Draw veins on each leaf using a small ball stylus or leaf shaper tool.
- Stamp a sentiment from the Autumn Quotes Clear Stamp Set onto white cardstock using Versamark Ink, cover it in gold embossing powder, and melt with a heat tool.
- Die-cut the sentiment out using the Circle Shape Medium die from the Essential Circles Die Set.
- Mat the die-cut sentiment with gold foil cardstock.
- Die cut kraft cardstock using the Extra Large Rectangle Shape and Pattern dies from the Essential Rectangles Die Set.
- Mat the kraft cardstock with gold foil cardstock and adhere to a top-folding A2-sized white card base with foam adhesive.
- Adhere the matted sentiment to the upper right corner of the card front with foam adhesive.
- Arrange the leaves in a swash around the sentiment in and adhere down with strong liquid glue.
Spellbinders Supplies:
Other Supplies
kraft cardstock, white cardstock, gold foil cardstock, Versamark Ink, gold embossing powder, heat tool, ball stylus, foam adhesive, tape runner, liquid glue
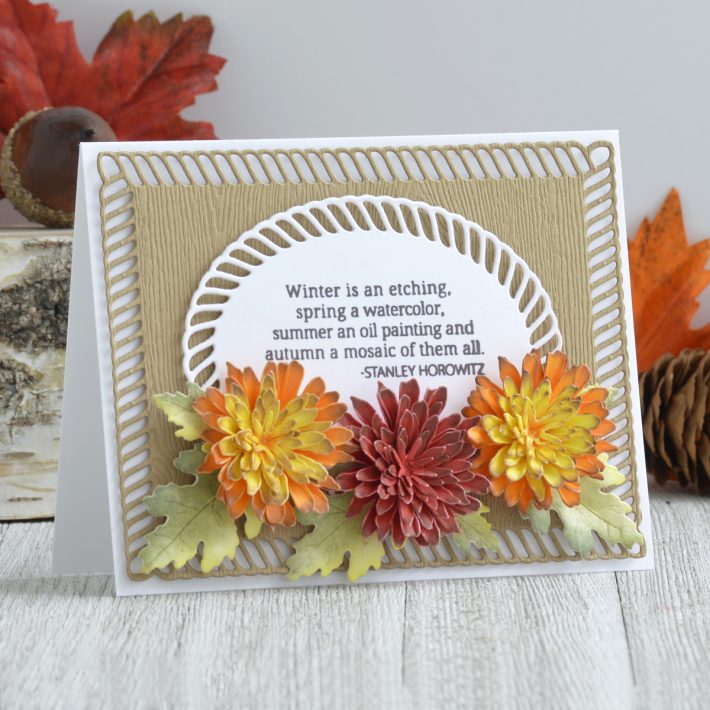
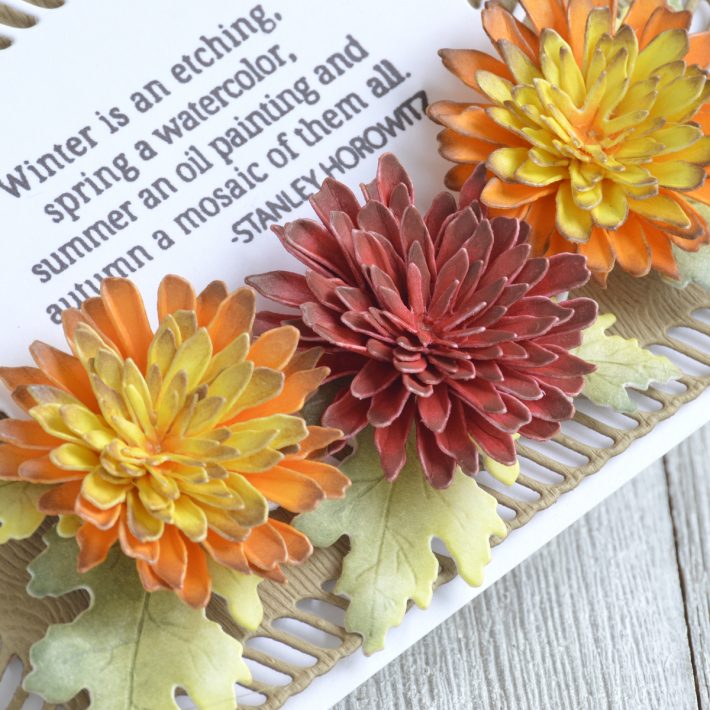
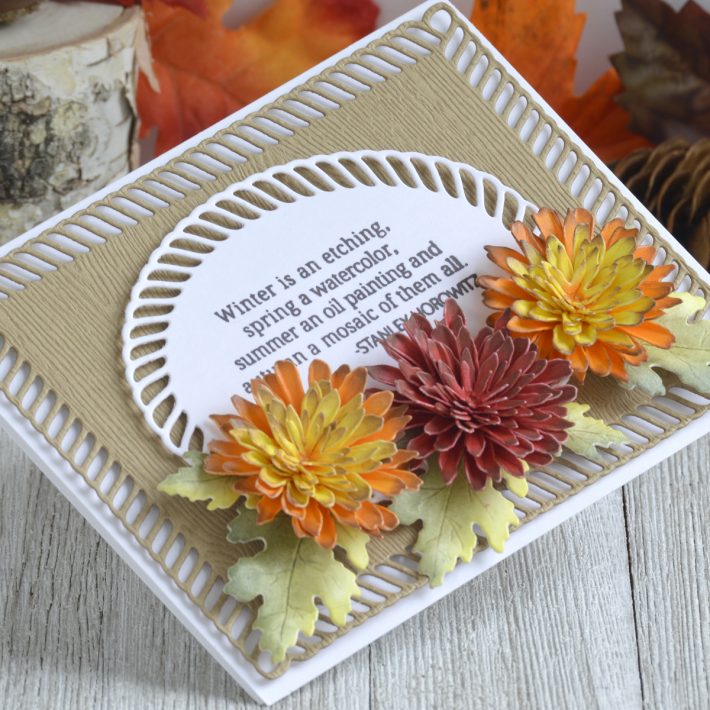
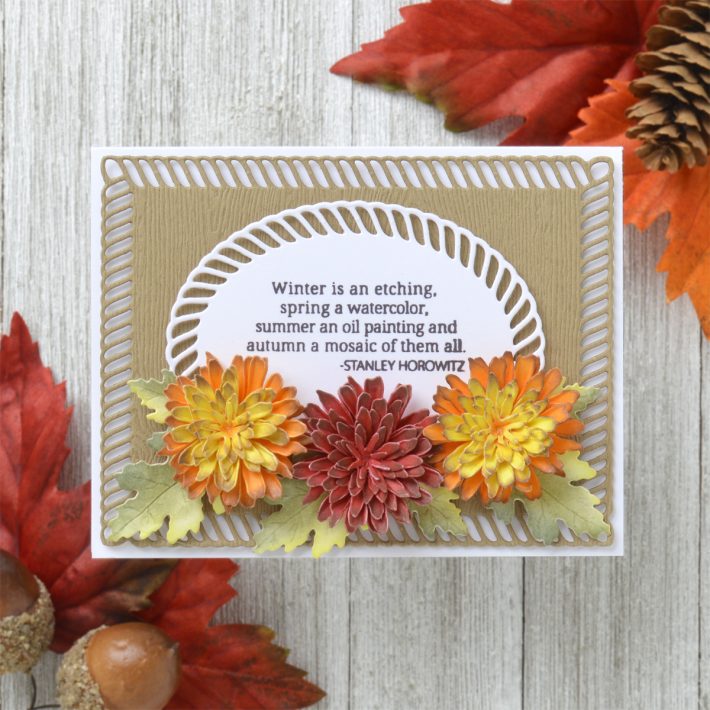
My favorite autumn flowers are red and orange mums, so I couldn’t pass up the chance to create my own paper version! I kept the background on this second card pretty simple to keep the attention on those big, bold blooms.
- Die cut white cardstock using the Petal Layer 2, 3, and 4, and the Leaf dies in the Button and Daisy Chrysanthemum Die Set. Repeat until you have enough sets of petals and leaves for three flowers.
- Blend the red and brown shades of Pan Pastels from the Mother Nature Palette over one set of die-cuts using sponge tools to create the red mum.
- Blend the orange and yellow shades of Pan Pastels from the Party Pop Palette over two sets of die-cuts using sponge tools to create the orange mums. Larger petal die-cuts should be more orange, while smaller petal die-cuts should be mostly yellow. Add a bit of brown Pan Pastel to the tips if desired.
- Blend yellow and green shades of Pan Pastels over the leaf die-cuts and draw veins in with a ball stylus or leaf shaper.
- Hold each mum petal with a pair of fine-tip tweezers and bend them up around the pincher lengthwise to shape the petals.
- Adhere the petal layers together with strong liquid glue.
- Stamp a sentiment from the Autumn Quotes Clear Stamp Set in brown ink onto white cardstock.
- Die cut the sentiment out using the Medium Oval Outer Rim and Pattern dies from the Elegant Twist Ovals Die Set.
- Die cut a piece of kraft woodgrain cardstock with the Large Rectangle Outer Rim and Pattern dies from the Elegant Twist Rectangles Die Set.
- Adhere the kraft die-cut to the front of a top-folding A2-sized white card base with foam adhesive.
- Pop the die cut sentiment panel up on top in the center of the kraft panel using foam adhesive.
- Arrange the flowers and leaves around the bottom of the sentiment panel and adhere down with hot glue or strong liquid glue.
Spellbinders Supplies:
Other supplies
white cardstock, kraft woodgrain cardstock, Versafine Clair Pinecone Ink, ball stylus, foam adhesive, liquid glue, hot glue
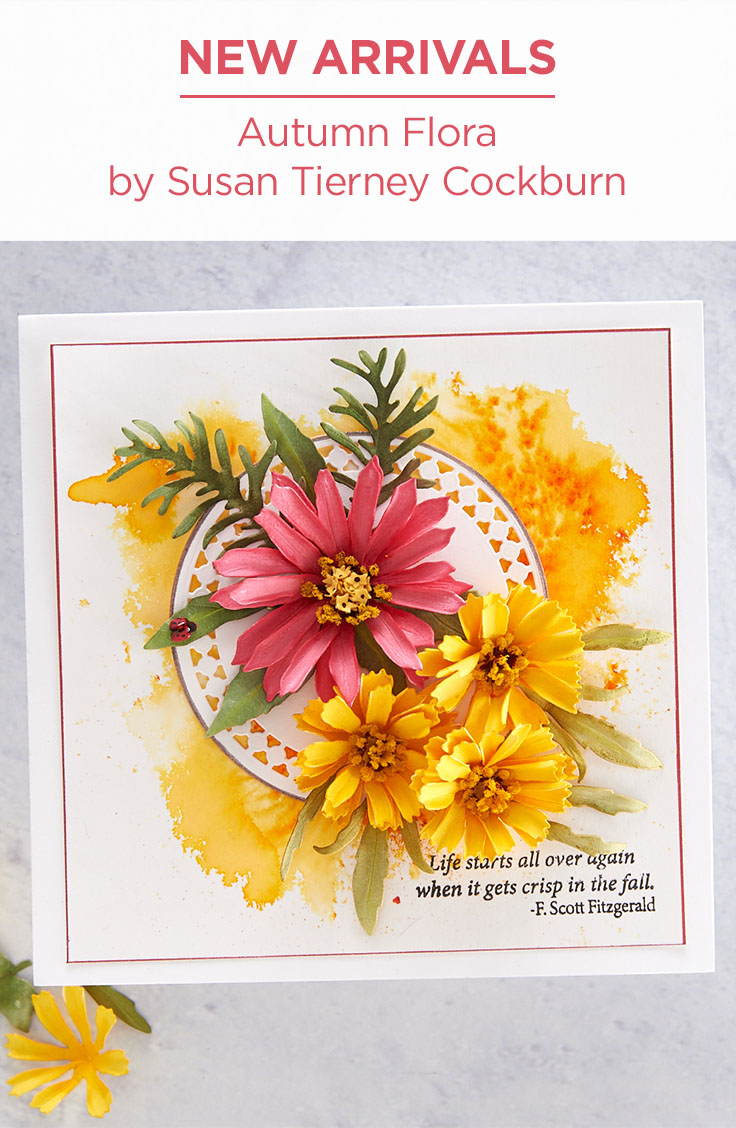
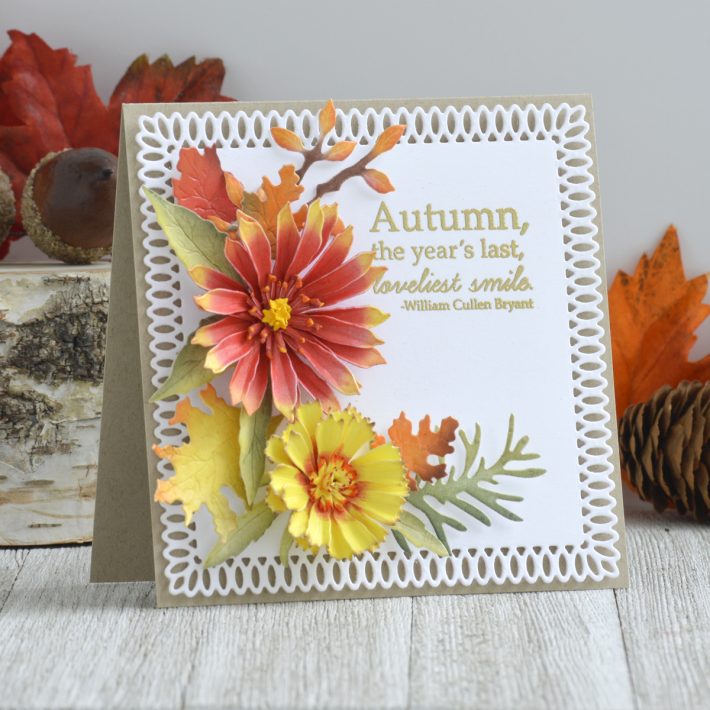
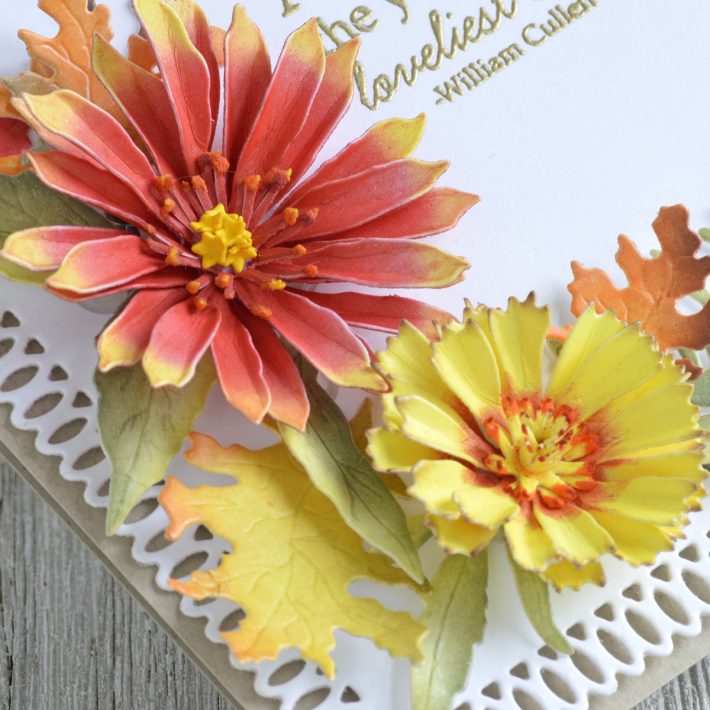
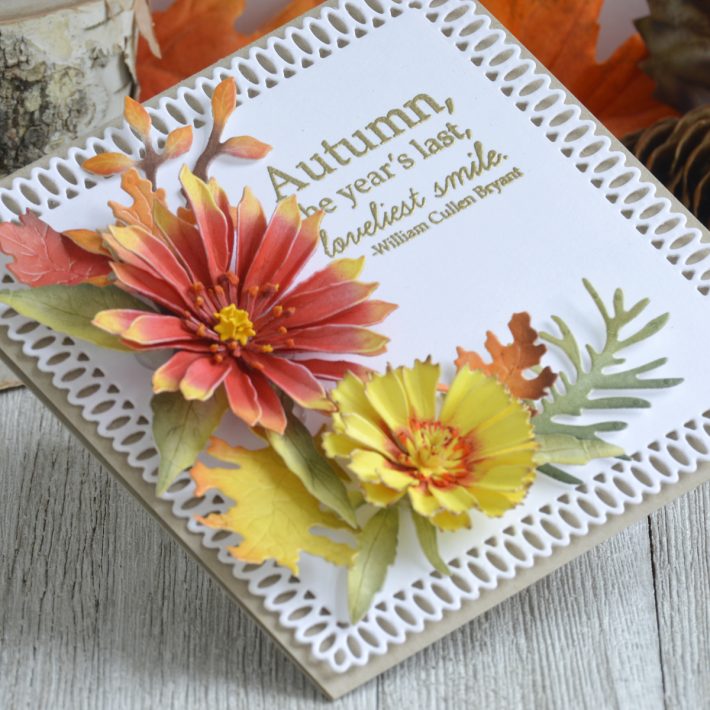
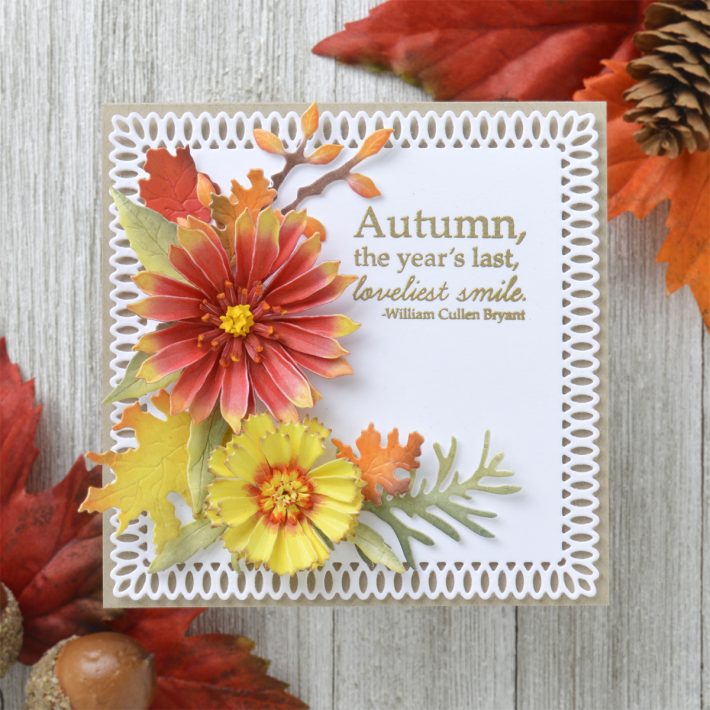
This last card is my favorite because the flowers look so realistic, you can almost smell them! Combining flowers and foliage from several different die sets in the collection, I created a bright autumn floral arrangement that complements this beautiful gilded quote nicely.
- Die cut white cardstock with the Gaillardia, Coreopsis, and Foliage and Ladybugs die sets.
- Blend the yellow and orange shades of Pan Pastels from the Party Pop Palette over the Coreopsis die-cuts using sponge tools. Keep the petals mostly yellow with orange concentrated in the centers, and add a bit of brown Pan Pastel to the tips.
- Blend the red and yellow shades of Pan Pastels from the Party Pop Palette over the Gaillardia die-cuts using sponge tools. Keep the larger petals mostly red with yellow just on the tips. Color the flower centers all red and the florets all yellow.
- Blend green and yellow shades of Pan Pastels over the leaves and foliage die-cuts using sponge tools. Add veins to the leaves with a ball stylus or leaf shaper.
- To create the “pollen” on my flower centers, I mixed orange ink into white embossing paste and dipped the tips of the centers into it before allowing it to dry.
- Hold each Gaillardia and Coreopsis petal with a pair of fine-tip tweezers and bend them up around the pincher lengthwise to shape the petals.
- Adhere the petal layers together with strong liquid glue.
- Stamp a sentiment from the Autumn Quotes Clear Stamp Set onto white cardstock using Versamark Ink, cover it in gold embossing powder, and melt with a heat tool.
- Die-cut the sentiment out using the largest die from the Picot Petite Squares Die Set.
- Adhere the white die-cut panel to a top-folding kraft card base measuring 5” x 5” with foam adhesive.
- Arrange the flowers and leaves around the sentiment and adhere down with hot glue or strong liquid glue. I added a few extra autumn leaves that I had left over from my first card as well.
Spellbinders Supplies:
Other supplies
white cardstock, kraft cardstock, Versamark Ink, gold embossing powder, heat tool, white embossing paste, Ripe Persimmon Distress Ink, ball stylus, foam adhesive, liquid glue, hot glue.
I hope you enjoyed this trio of autumn floral cards and thanks so much for stopping by today. You can find more inspiration over at my blog AnnieBWills.com.

2 Comments
Vicki
Love the beautiful fall cards! Also like the dies used for the card background.
Dorothy Mutafopulos
These cards are all so beautiful and your flowers are stunning too!