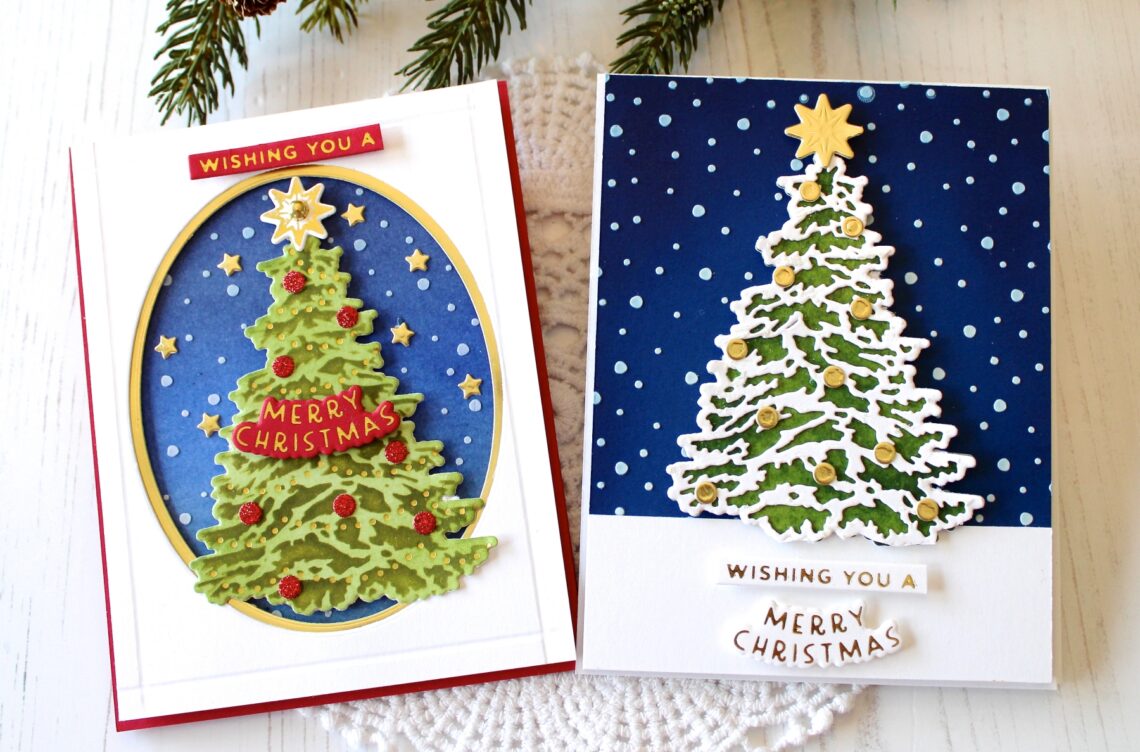
Trim A Tree Collection Inspiration with Melody
Hello! It’s Melody here on the blog today. This is my first time as a Guest Designer on the Spellbinders Blog and I am excited to be here. I have two projects to share with you that I created with the new Trim A Tree Collection. The collection included a Layered Christmas Tree Stencil, O Christmas Tree Etched Dies, and the Shining Christmas Tree Glimmer Hot Foil Plate & Die Set.
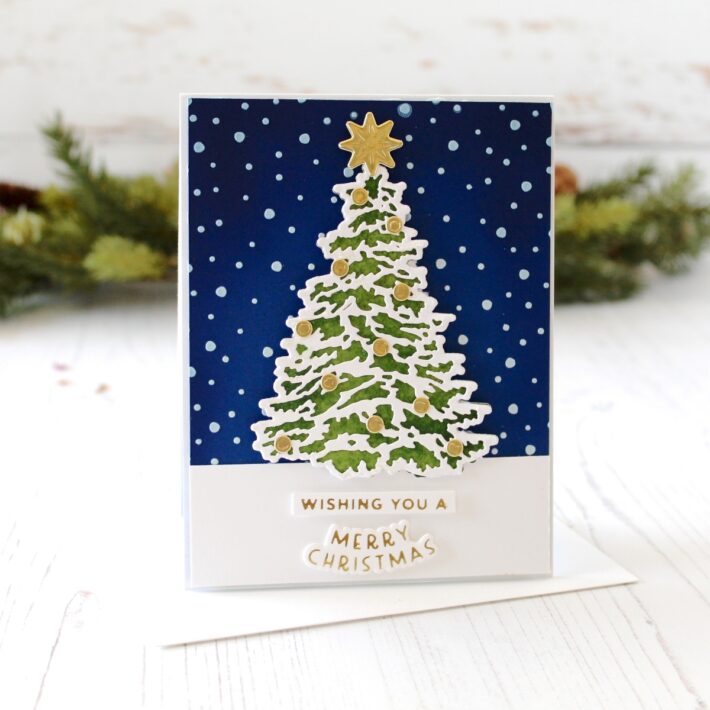
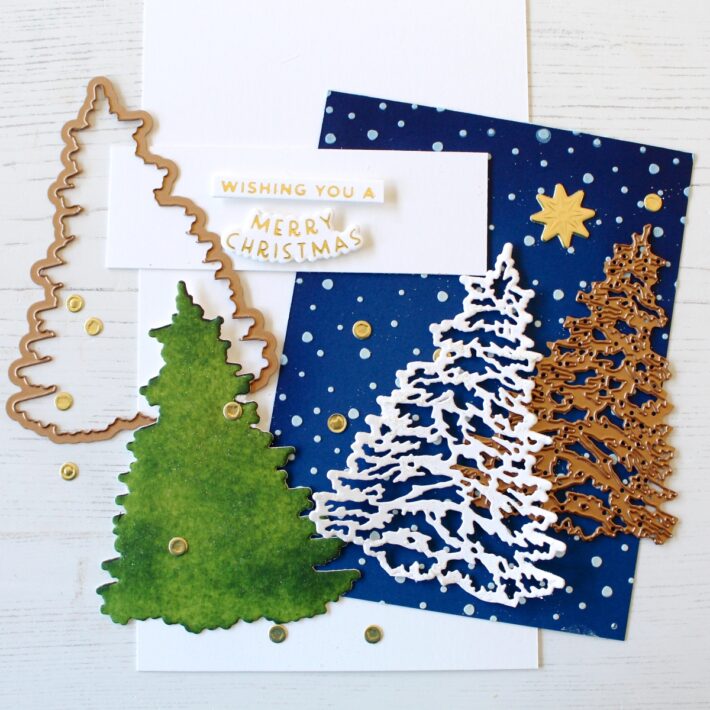
To create the background I cut a piece of dark blue cardstock to fit the card front and blended Chipped Sapphire Distress Ink on the outside edges. Then I used the Layered Christmas Tree Stencil with Journey Modeling Paste to add the snow to the background.
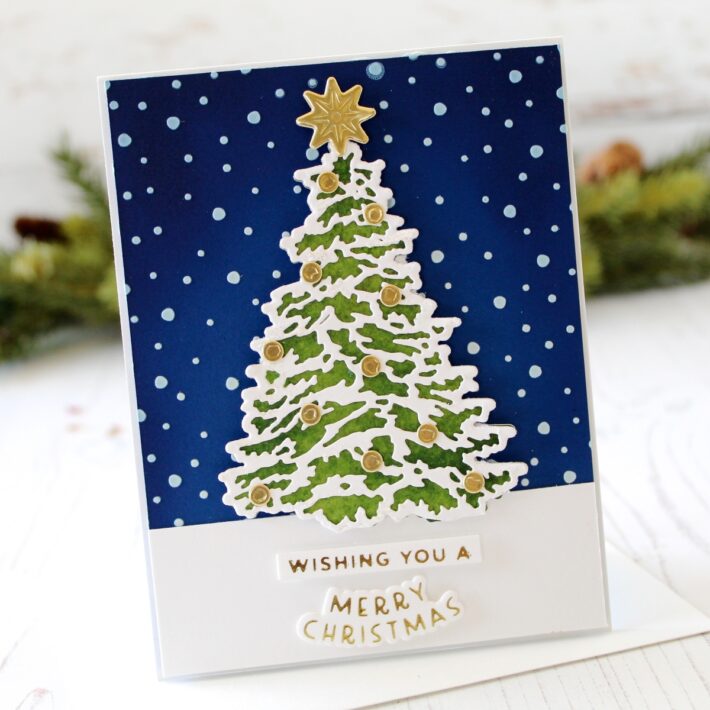
Next I created the other elements to create the scene. I die cut the snow for the tree, added a little Journey Modeling Paste to the edges, and sprinkled the paste with glitter. I used the Shining Christmas Tree Glimmer Hot Foil Plate & Die Set, with Gold Glimmer Foil, to create the sentiments. The star and ornaments are die cut from Mirror Gold Cardstock.
Here’s a closer look at the finished project. I used foam tape to attach the tree to the card front to just add a little dimension.
Spellbinders Supplies:

Other supplies
Tim Holtz Distress Ink in Chipped Sapphire and Rustic Wilderness, Scotch Foam Mounting Tape, Bearly Art Craft Glue, Taylored Expressions Blender Brushes
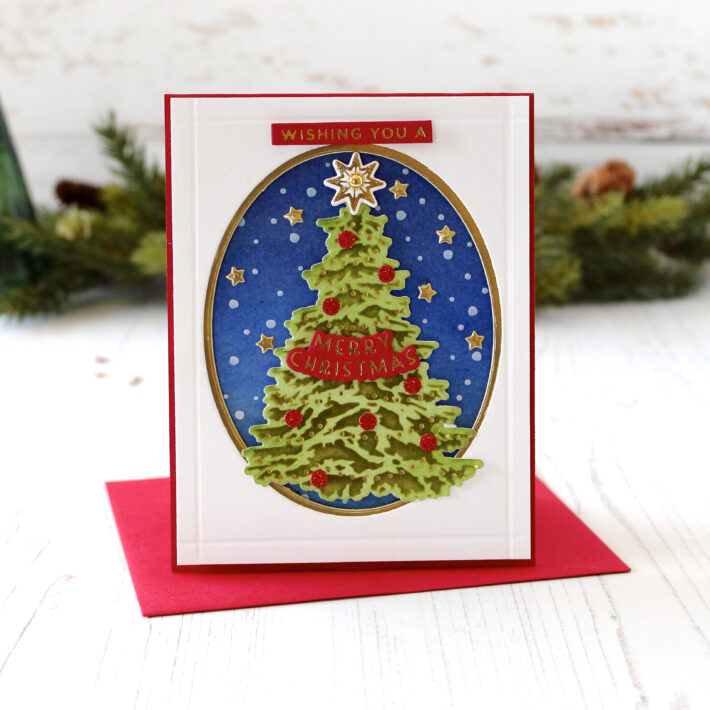
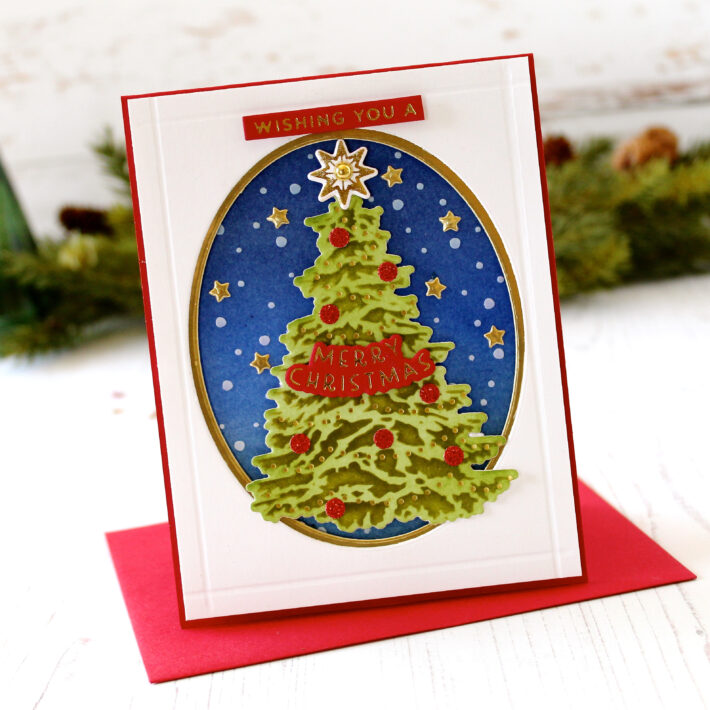
Here is my second card I created with all the same products. On this card I used the stencil and dark green ink to add the detail to the tree. I cut a piece of white cardstock to fit the card front and the die cut an oval directly into the card front. I cut a slightly smaller oval from Mirror Gold Cardstock to use as a mat.
I used the Shining Christmas Tree Glimmer Hot Foil Plate & Die Set to add the gold foil to the tree garland, sentiment, and star. I finished off the card with a few score lines around the edges of the card.
Spellbinders Supplies:

Other Supplies
Tim Holtz Distress Ink in Blueprint Sketch and Chipped Sapphire, Taylored Expression Sweet Basil Ink, Taylored Expression Red Glitter Cardstock, Scotch Foam Mounting Tape
Thanks for stopping by today! Stop back by soon for more inspiration and new products. You can stop by my blog at A Paper Melody and follow me on Facebook and Instagram.


2 Comments
MaryH
Really like the score line edging on the card as it brings your eye to the pièce de résistance – that lovely tree!
DebZ
What ovals did you use? I cannot get the oval ratio correct. Thanks.