Add To Cart Collection – Card Inspiration with Annie Williams
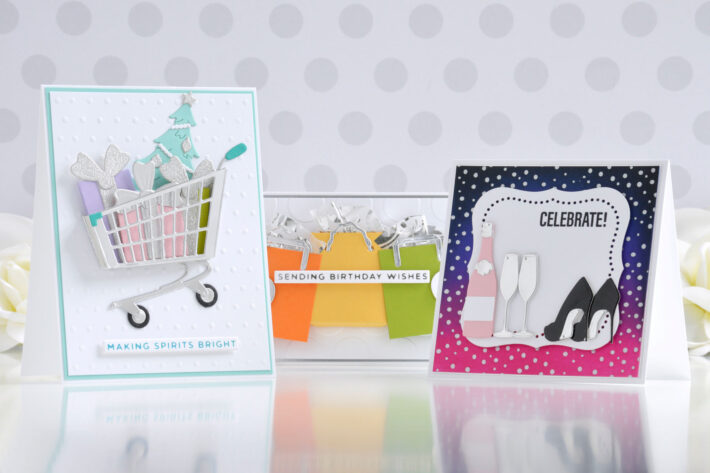
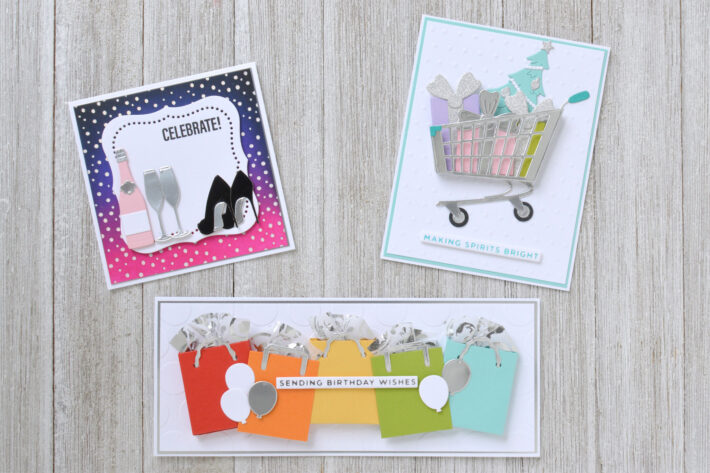
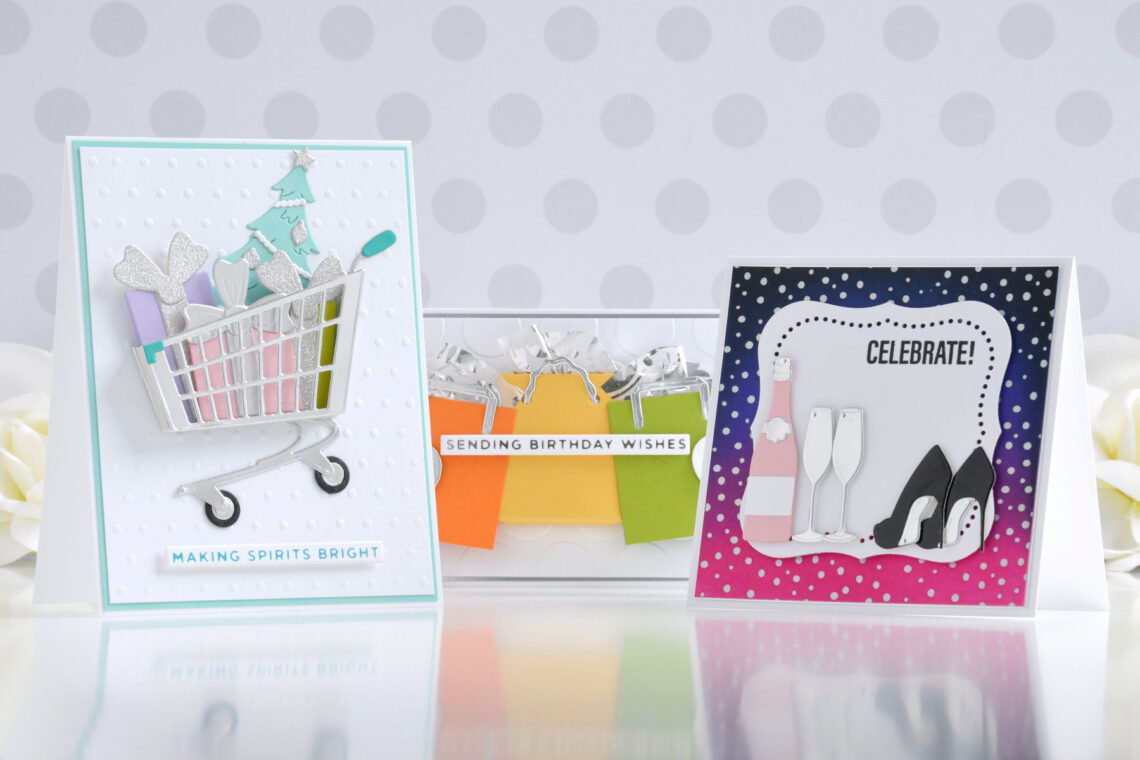
Hi there, this is Annie Williams and I’m thrilled to be back on the blog today to share a couple of projects using the new Add To Cart Collection by Becky Roberts. The fun and feminine designs and pretty sentiments in this collection inspired me to create three bright and dimensional cards celebrating different occasions.
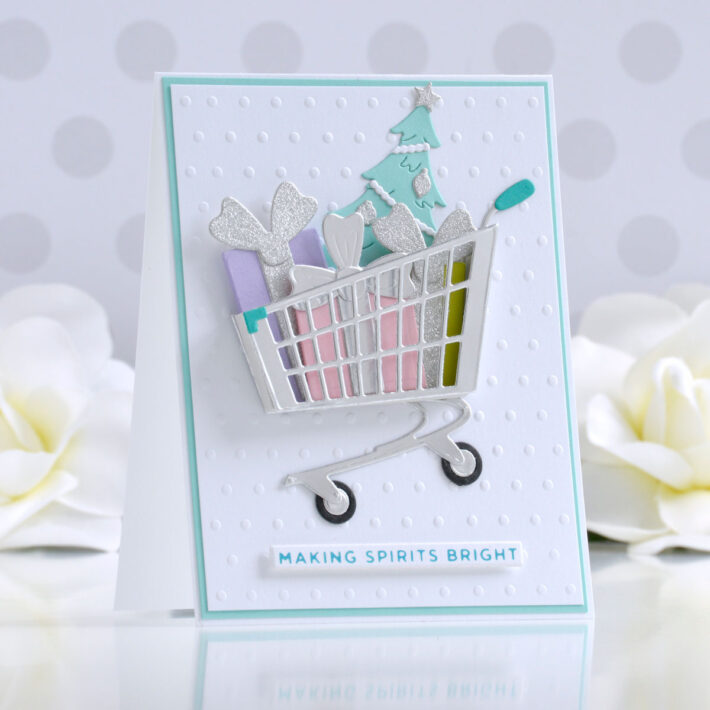
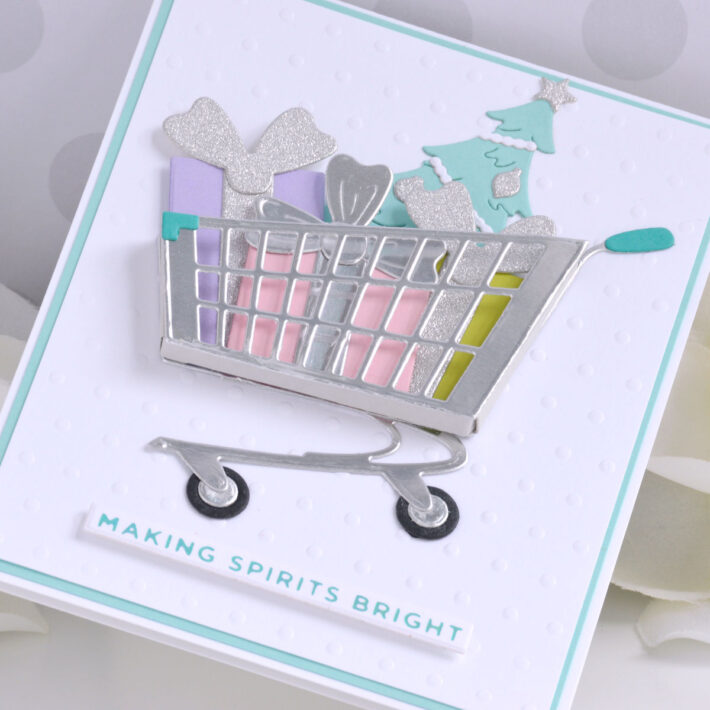
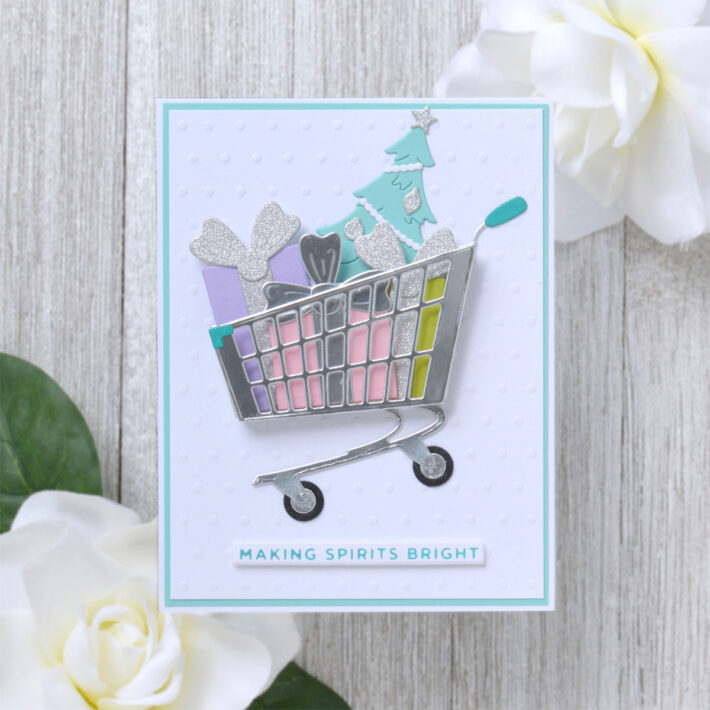
How much fun is the 3D Shopping Cart Die Set? You can fill your cart with whatever you like and never have buyer’s remorse! I created a simple and pretty Christmas card by filling it heaps of presents and a festive tree.
- Trim a piece of white cardstock to 4” x 5.25”. Emboss the panel using the Tiny Dot Embossing Folder.
- Mat the embossed panel with Waterfall Cardstock and adhere it to a top-folding A2-sized white card base with tape runner.
- Die cut the components of the shopping cart out of Mirror Silver, Teal Topaz, and Onyx Cardstock using the 3D Shopping Cart Die Set and assemble with liquid glue.
- Die cut the tree and presents out of Pink Sand, Peridot, Waterfall, and Purple Mist using the Shopping Cart Holiday and Presents Die Set. Add Mirror Silver, silver glitter, and white bows and ornaments with liquid glue.
- Apply Moondust Hot Foil to white cardstock using one of the sentiments from the Mini Christmas Sentiment Strips Plate Set and the Glimmer Hot Foil Machine. Cut it out using the coordinating die.
- Adhere the shopping cart to the front of the card with liquid glue.
- Add the tree to the back of the cart with liquid glue, then pop the presents on top using foam adhesive.
- Add the sentiment to the bottom of the card with foam adhesive.
Spellbinders Supplies:

Other Supplies
Heavyweight white cardstock, silver glitter cardstock, tape runner, foam adhesive
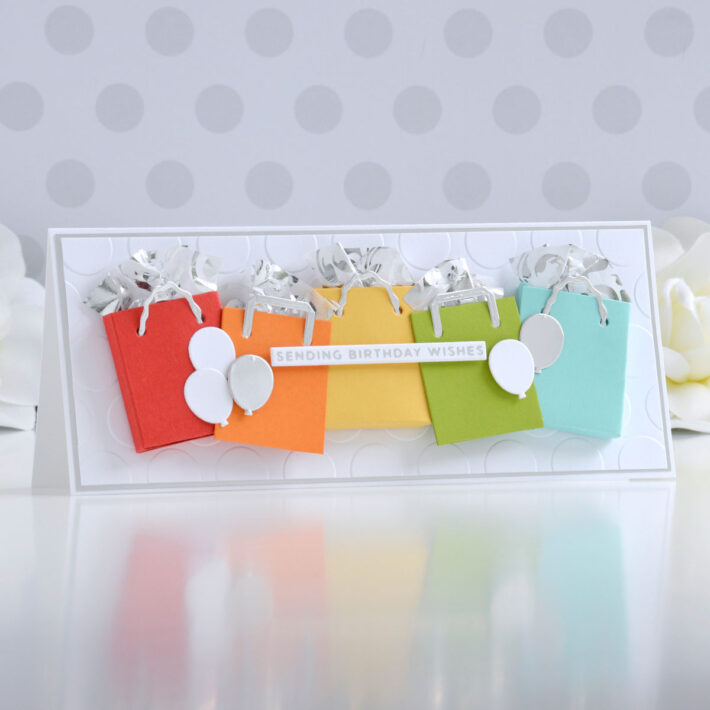
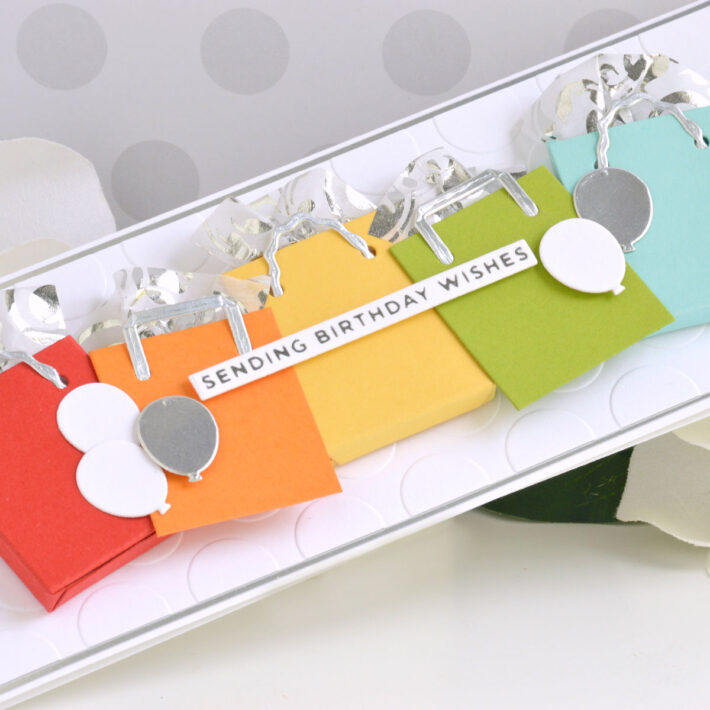
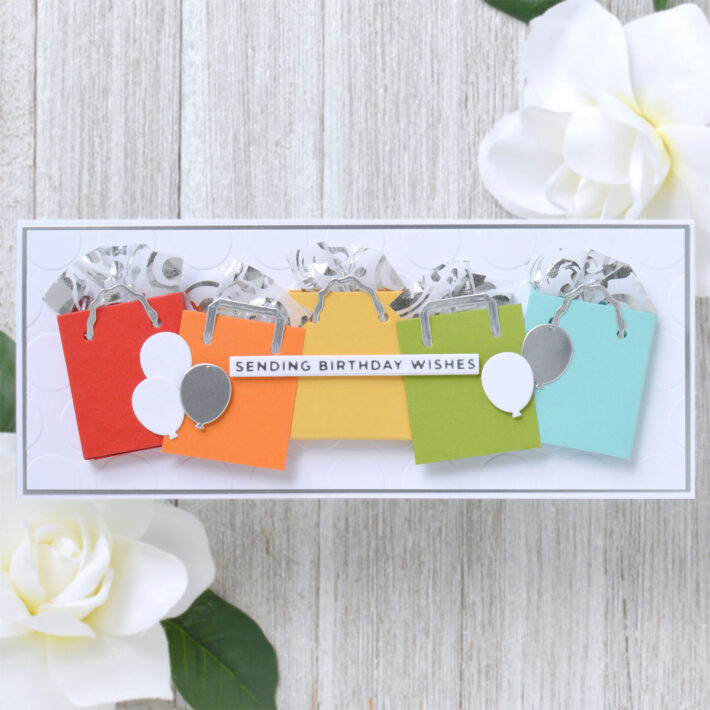
I wanted to create a birthday card with tons of those adorable bags from the Shopping Bags Die Set, and thought a long row of rainbow-colored gifts would be fun. This simple slimline card is perfect for showering a loved one with birthday wishes.
- Trim a piece of white cardstock to 3.25” x 8.25”. Emboss it using the Big Dot Slimline Embossing Folder.
- Mat the embossed panel with Mirror Silver Cardstock and adhere it to a top-folding slimline-sized white card base with tape runner.
- Die cut the small shopping bag from Poppy Field, Persimmon, Beeswax, Rainforest, and Waterfall Cardstock using the Shopping Bags Die Set. Die cut Mirror Silver Cardstock for the handles.
- Trim off just the front panel of the orange and green bags with scissors and adhere the handles into the holes (this allows you to easily overlap the bags on the card).
- Assemble the rest of the bags with liquid glue. Add a small piece of silver-foiled tissue paper inside each bag.
- Apply Silver Hot Foil to white cardstock using one of the sentiments from the Mini Everyday Sentiments Plate Set and the Glimmer Hot Foil Machine. Cut it out using the coordinating die.
- Die cut white and Mirror Silver Cardstock using the balloon die from Shopping Cart Party On Die Set.
- Adhere the shopping bags to the front of the card with liquid glue.
- Pop the sentiment up in the center of the card with foam adhesive.
- Add the balloons around the sentiment strip with a mix of liquid glue and foam adhesive.
Spellbinders Supplies:

Other supplies
Heavyweight white cardstock, silver-foiled tissue paper, scissors, tape runner, foam adhesive
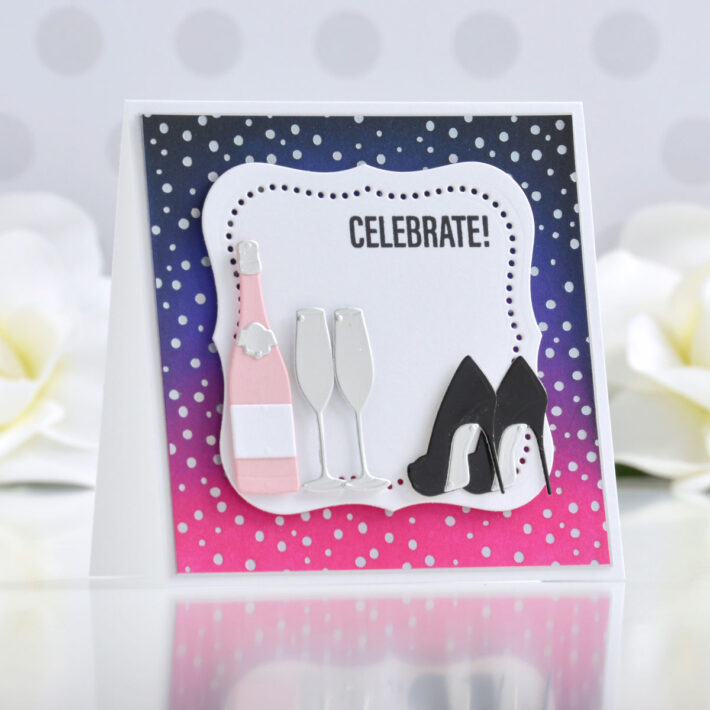
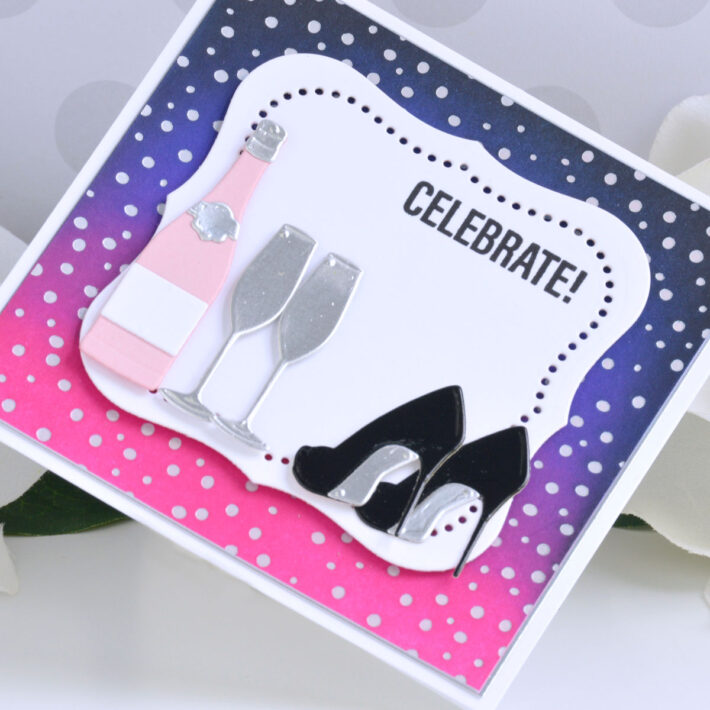
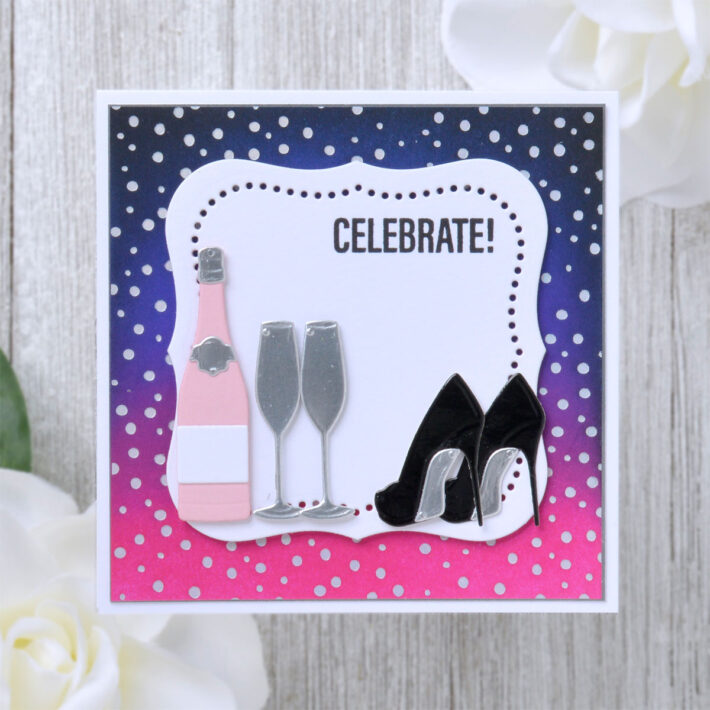
I love all of the feminine icons in the Shopping Cart Party On Die Set and wanted to created a fun card focusing on them. With a bright confetti background, this mini square card is perfect for sending a little note of congrats.
- Trim a piece of white cardstock to 4” square.
- Apply Silver Hot Foil to the panel using the Twinkle Lights Glimmer Plate and the Glimmer Hot Foil Machine.
- Blend Picked Raspberry, Wilted Violet, and Black Soot Distress Ink over the foiled design with a blending tool.
- Mat the panel with Mirror Silver Cardstock and adhere it to a top-folding 4.25” square white card base with tape runner.
- Die cut white cardstock with the Large Label and Insert from the Essential Classic Labels Die Set.
- Stamp a sentiment from the Shopping Bag Sentiments Stamp Set onto the panel using black ink.
- Die cut the champagne bottle, flutes, and heels out of Pink Sand, Mirror Silver, white, and black metallic cardstock using the Shopping Cart Party On Die Set. Assemble with liquid glue.
- Add the sentiment background panel to the card front with foam adhesive.
- Arrange the die-cuts on top of the panel and adhere them down with more foam adhesive
Spellbinders Supplies:

Other supplies
White heavyweight cardstock, Picked Raspberry, Wilted Violet, and Black Soot Distress Ink, Versafine Clair Nocturne Ink, metallic black cardstock, blending tool, tape runner, foam adhesive
I hope you enjoyed this trio of bright and fun cards and thanks so much for stopping by today. You can find more inspiration over at my blog AnnieBWills.com.

