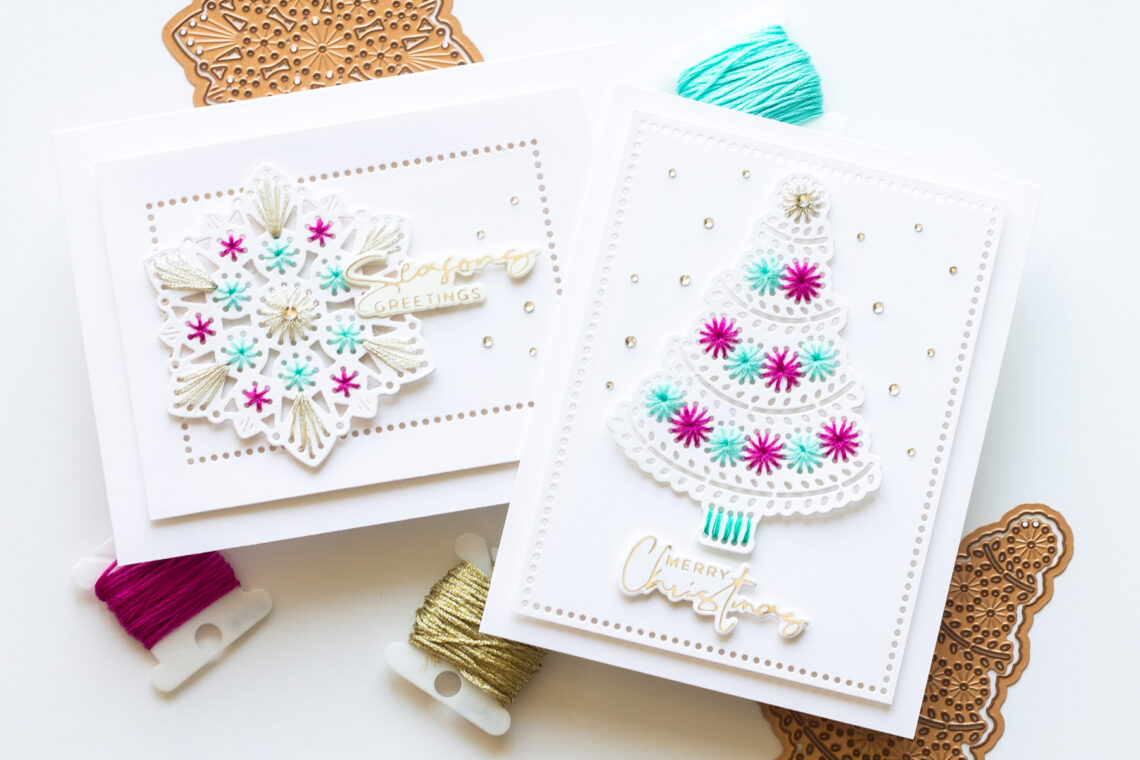
Merry Stitchmas Coordinating Card Duo with Angela Simpson
Hi there, Spellbinders friends! My name is Angela and I’m honored to be guest posting here on the Spellbinders blog. Recently I’ve been playing with some new dies from the Merry Stitchmas collection, and today I’ve got a couple of holiday cards to share.

If you’re brand new to stitching dies, don’t worry at all, because I am too! Having only made a few stitched cards prior to the launch of this collection, I certainly consider myself a beginner. That said, these are super easy to work with and I know you’ll get the hang of them very quickly!
Here’s a quick step-by-step for each card:
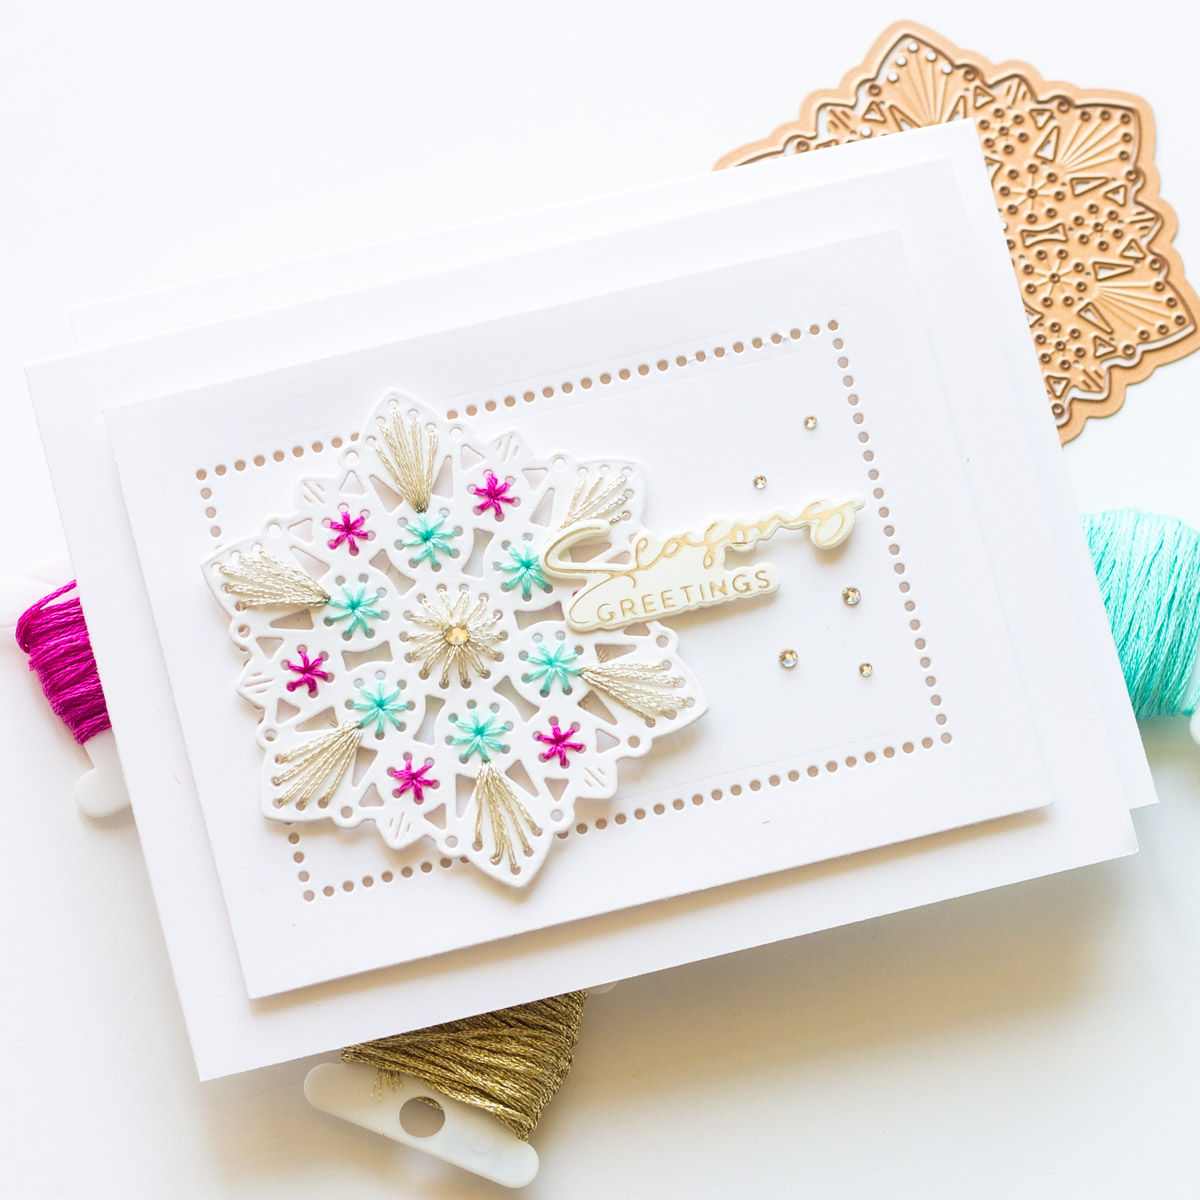
Sparkling Mandala
The Sparkling Mandala stitching die was one I grew to love more and more as I stitched. The color combinations are endless, and it really does catch the eye without much need for other elements on the card!
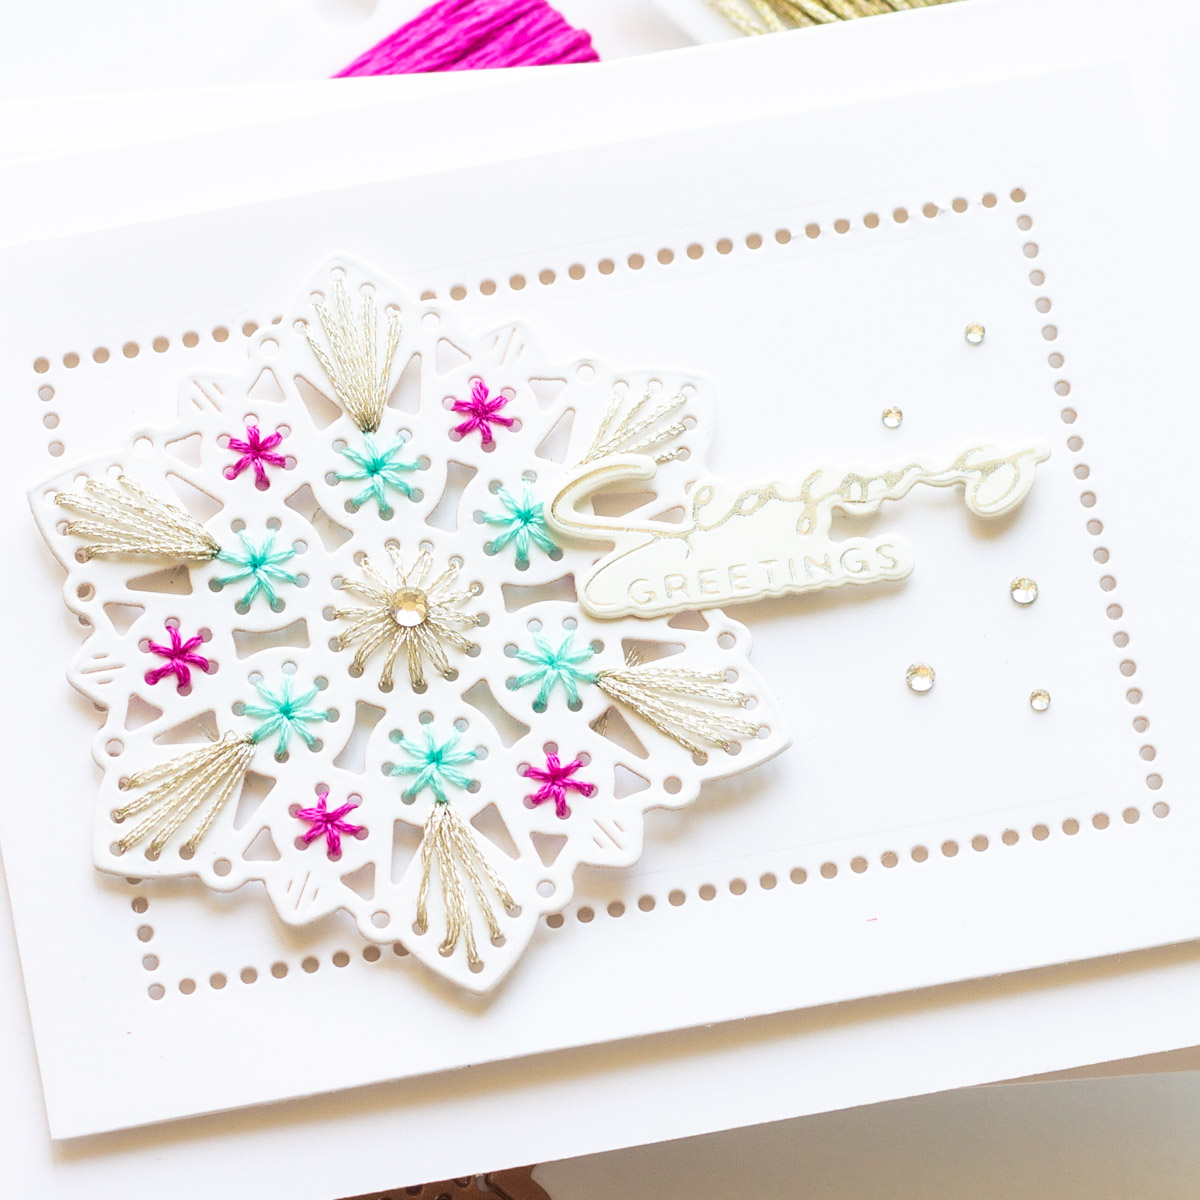
- Die cut the Sparkling Mandala using both pieces in the set.
- Choose 3 colors of embroidery floss – I used DMC floss, including metallic silver for the outer edges of the mandala.
- Split the floss in half so that the 6 strands become 3, thread a needle, and begin stitching. I worked from the silver area in the middle out to the edges, but you could really stitch in whatever order you like!
- Trim a white cardstock panel to 3.5 x 4.75″
- Use one of the Essential Rectangles Etched Dies to cut a dotted border into the panel
- Adhere the finished mandala onto the left side of the panel with liquid glue.
- Foil and die cut a sentiment from Yana’s Christmas Sentiments Glimmer Hot Foil Plate & Die Set. I used silver foil and chose the Seasons Greetings sentiment, but there are heaps to choose from!
- Adhere the sentiment with foam tape, partially overlapping with the mandala die cut.
- Back the entire panel with foam tape and adhere it to an A2 card base.
- Embellish with Silver Mix Color Essentials Gems.
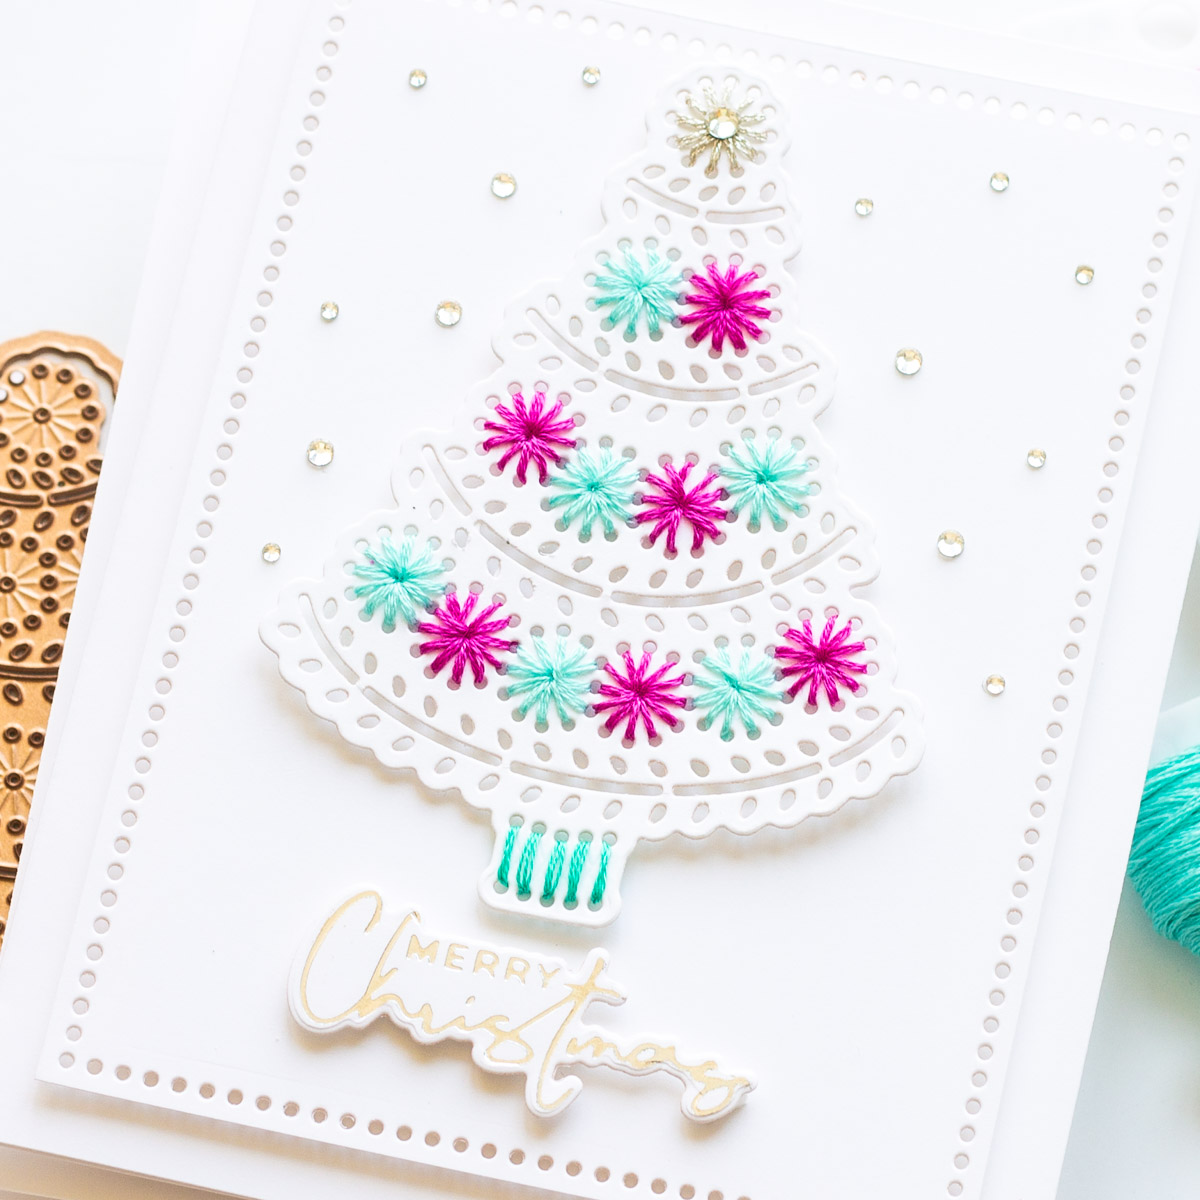
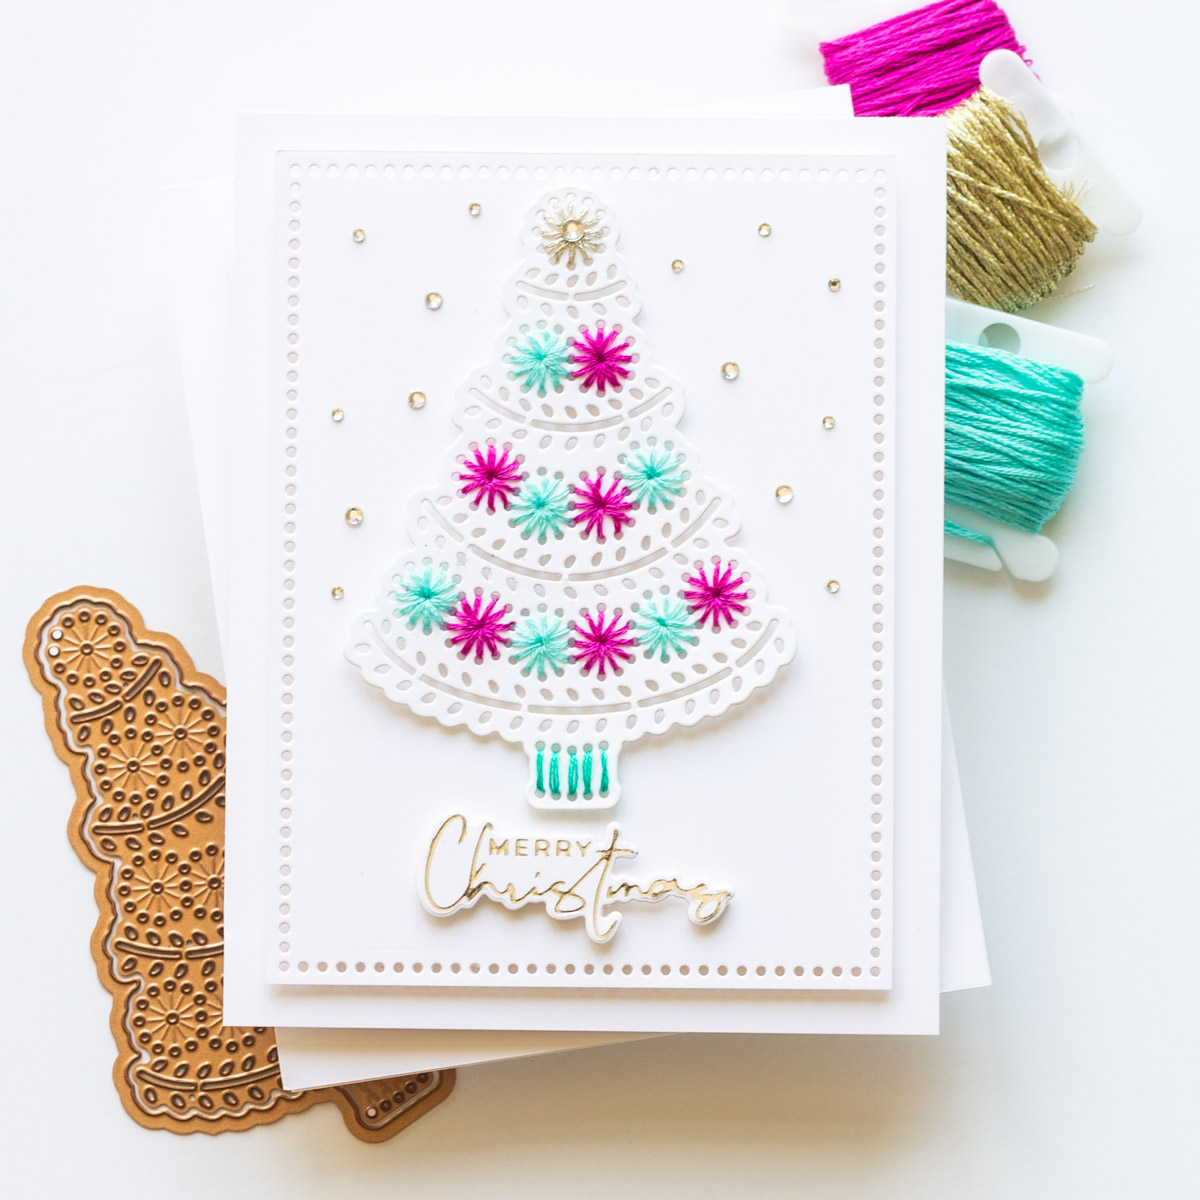
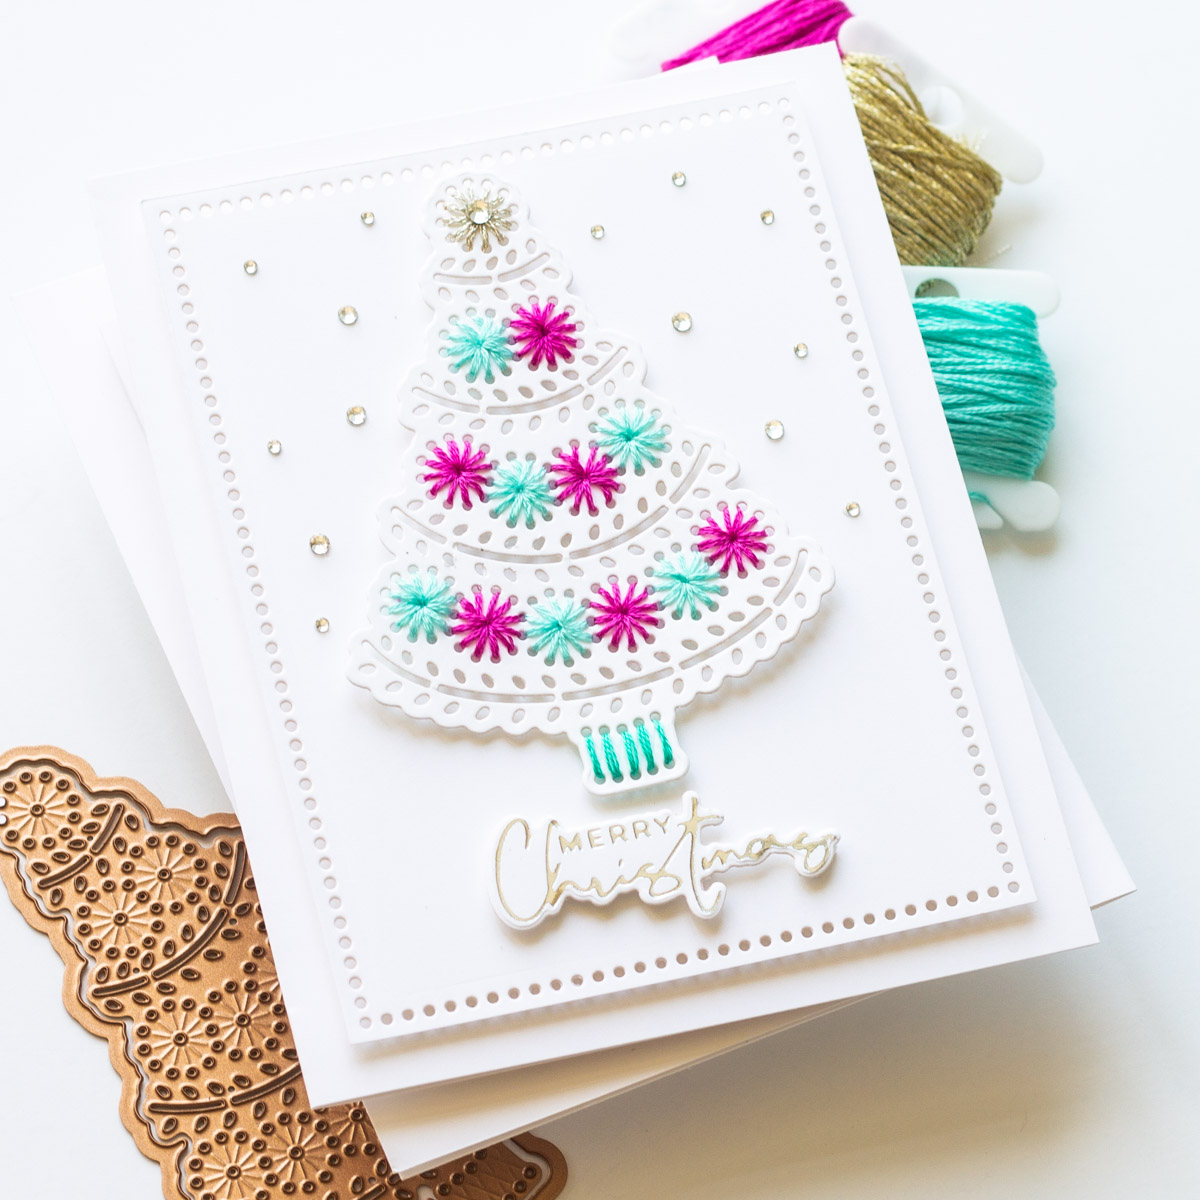
Stitchmas Tree
Like the Sparkling Mandala, it’s super easy to add color to this tree with whatever colors of embroidery floss your heart desires. I decided to make my two cards coordinate, and continued using the same floss selections as in my first card.
- Die cut the Stitchmas Tree using both pieces in the set.
- Again, select your embroidery floss colors and separate the floss so that the pieces you’re stitching with are only 3 strands thick.
- Trim a white cardstock panel to 3.75 x 5″ (this panel is a bit bigger than the previous because the tree is slightly larger.)
- Use one of the larger Spellbinders Essential Rectangles Etched Dies to cut a dotted border into the panel
- Adhere the fully stitched tree die cut onto the center of the panel.
- Foil and die cut a sentiment from Yana’s Christmas Sentiments Glimmer Hot Foil Plate & Die Set. This time I chose Merry Christmas, and again, used silver foil to coordinate with my first card.
- Adhere the sentiment with foam tape beneath the tree die cut.
- Back the entire panel with foam tape and adhere it to an A2 card base.
- Embellish with Silver Mix Color Essentials Gems
Spellbinders Supplies:

Other Supplies
Neenah Solar White cardstock, 110 pound; foam tape adhesive, liquid glue pen, DMC embroidery floss
I hope these two cards have inspired you to give stitching a go, perhaps for your upcoming holiday projects. Thank you so much for stopping by, and if you’d like to be virtual crafting buddies, I’d love to “meet” you! You can find me on Instagram at @mycraftyperspective, and you’ll find my blog here.
3 Comments
MaryH
I bought floss for previous sets and they are beautiful. Yours are so well made and are gorgeous!
Susie Sonnier
Love all the stitching dies from Spellbinders
Jenny Lloyd
Thank you for the inspiration. These are breathtaking. So pretty 💗