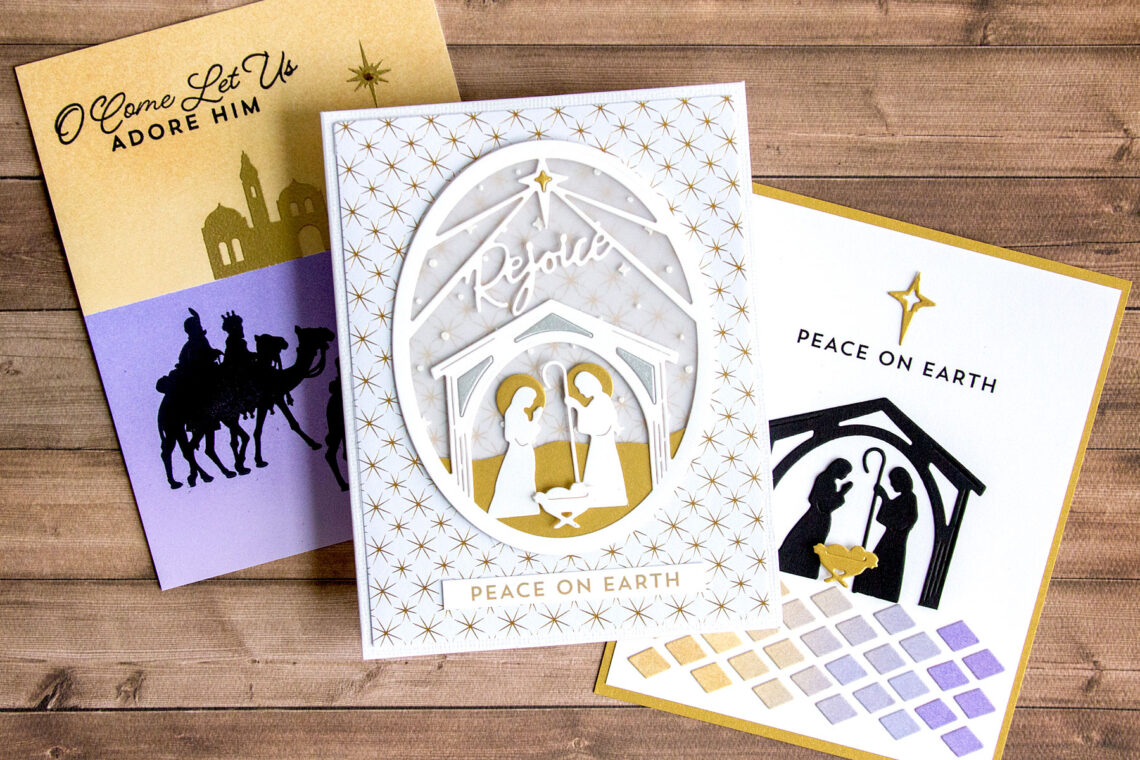
The Christmas Traditions Collection – Three Takes on the Nativity Scene
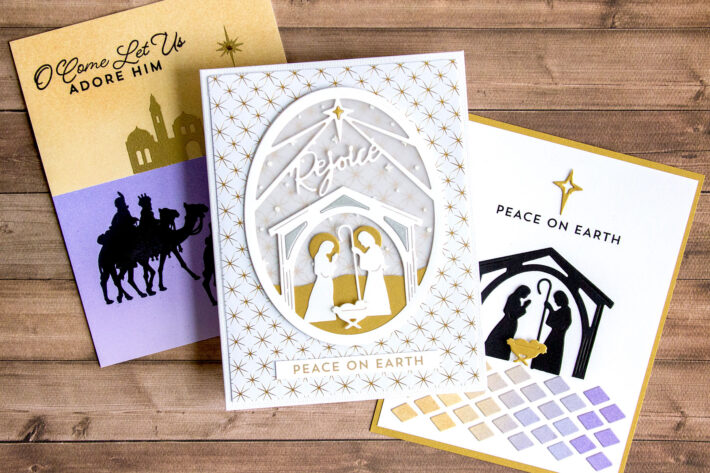
Hello crafty friends! It’s Jean here sharing holiday cards created with the Christmas Traditions Collection at Spellbinders. The nativity products in this collection caught me eye, as I vividly remember a Christmas card depicting the Wise Men that I saw as a young child. With that inspiration in mind, I used the Three Kings stamp set and the Rejoice Nativity dies in three different ways. Let’s take a look.
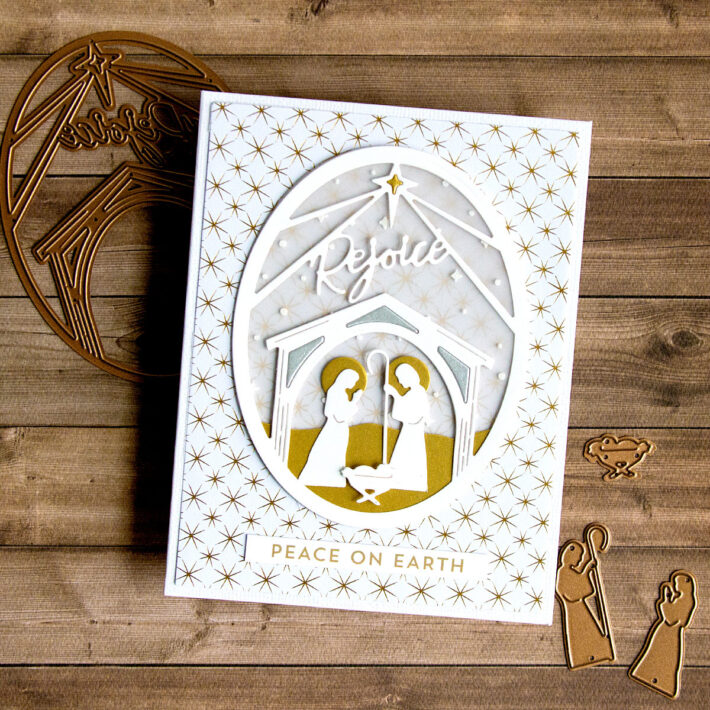
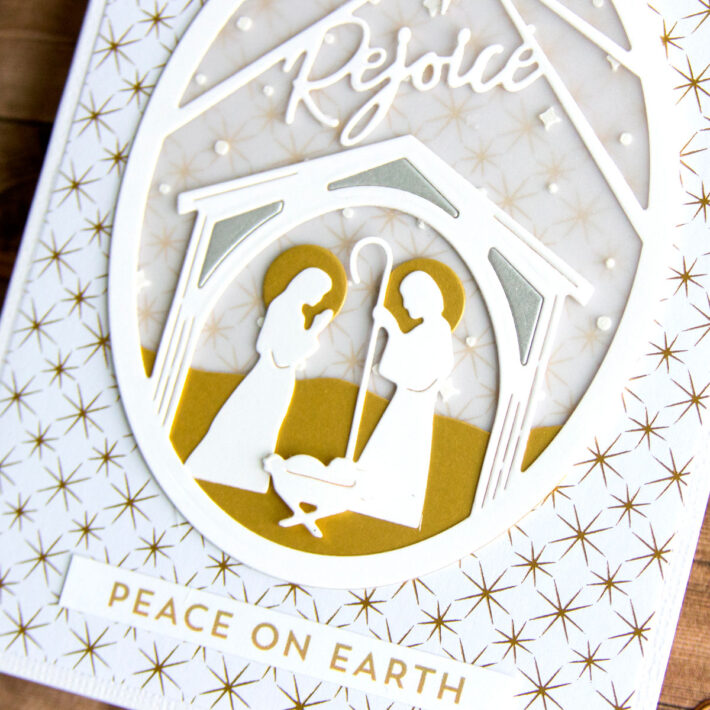
A color palette of white, gold, and a touch of silver put the emphasis on the nativity focal point.
- Create a 4 inches wide by 5¼ inches tall background with Christmas Traditions Paper Pad Attach to A2-size card base.
- With the Rejoice Nativity set, cut oval from vellum and apply white embossing paste through the All the Stars Stencil. Set aside to dry.
- Cut the manger and sentiment oval from Snowdrift cardstock using detail and outline dies. Cut inlay pieces from Brushed Gold cardstock (star) and Brushed Silver cardstock (manger). Attach inlay pieces to oval with tape on the back.
- Cut Mary, Joseph, and the creche from Snowdrift Punch two ½ inch circles from Brushed Gold cardstock and glue behind Mary and behind Joseph.
- Die-cut Rejoice Nativity hill from Brushed Gold cardstock and adhere to the back of the manger and sentiment oval. Adhere vellum oval to back.
- Stamp the Three Kings sentiment in gold metallic ink on Snowdrift Cut with die in the Yana’s Tiny Sentiments set.
- Adhere elements to card base. Add creche with foam adhesive.
Spellbinders Supplies:

Other Supplies
Vellum, white embossing paste, ½-inch circle punch, gold metallic ink, foam adhesive
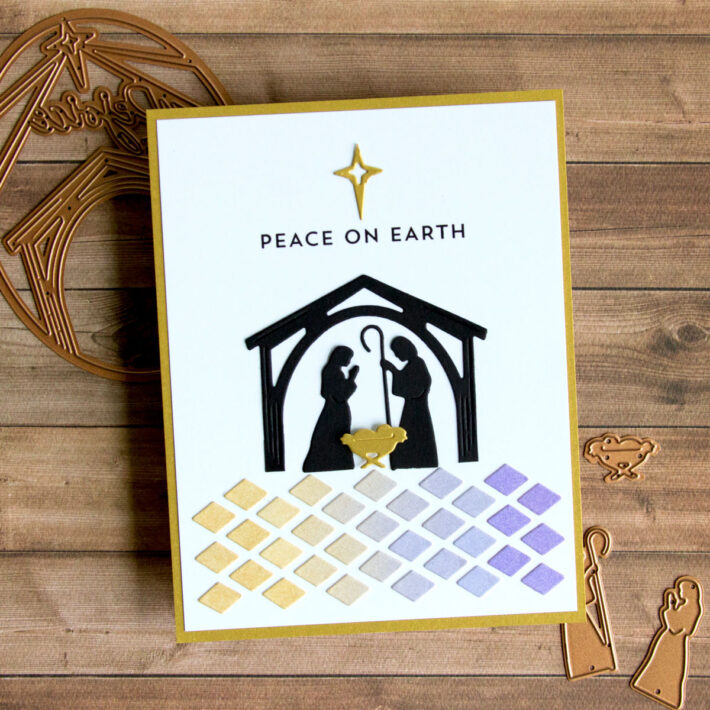
Stretch your die set by cutting apart die-cut pieces.
- Create A2-size card base from Brushed Gold
- Stamp the Three Kings sentiment in black ink on a Snowdrift cardstock panel measuring 4 inches wide by 5¼ inches tall. Adhere panel to card base.
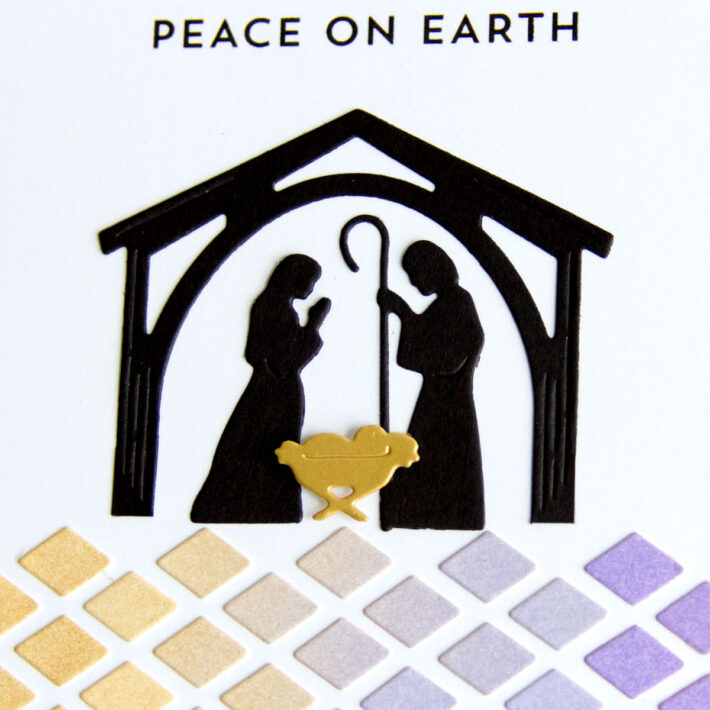
- Die-cut the Rejoice Nativity manger and sentiment oval from Onyx cardstock and Brushed Gold On the Onyx piece, trim the manger portion away from the sentiment layer. On the Brushed Gold piece, trim away the star. With the same set, die-cut Mary and Joseph from Onyx cardstock and the creche from Brushed Gold cardstock. Set pieces aside.
- Apply Shaded Lilac Distress Oxide Ink and gold ink to Snowdrift cardstock from opposite ends. Allow the two colors to blend in the center. Die-cut inked cardstock with the die in the Diamonds Glimmer Hot Foil Plate & Die Set.
- Create a guide by die-cutting the Diamonds from vellum. Using vellum guide, adhere diamonds to lower portion of panel.
- Adhere manger, star, Mary, and Joseph to panel with adhesive. Adhere creche with foam adhesive.
Spellbinders Supplies:

Other Supplies
Vellum, black ink, gold metallic ink, foam adhesive
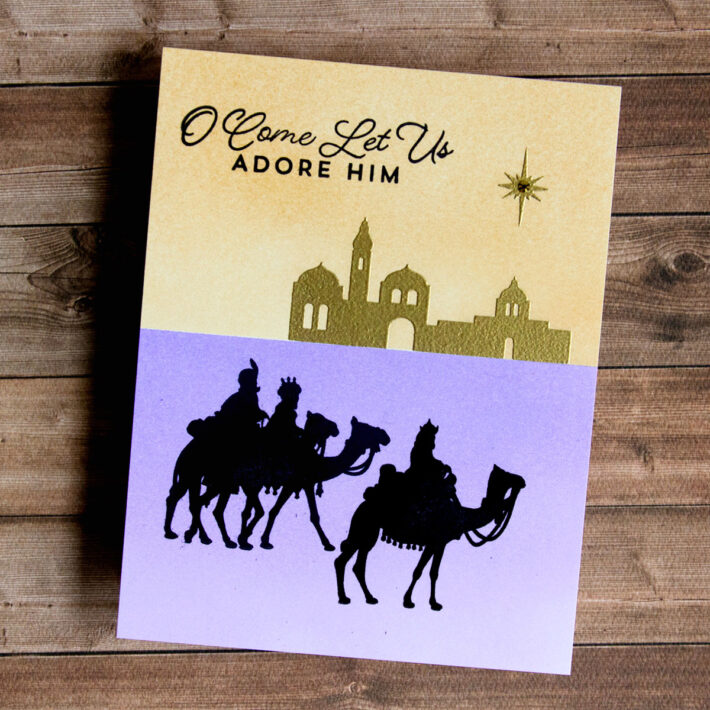
Although card scenes often include layers, they don’t have to. Color and heat-embossing define the scene on this one-layer card.
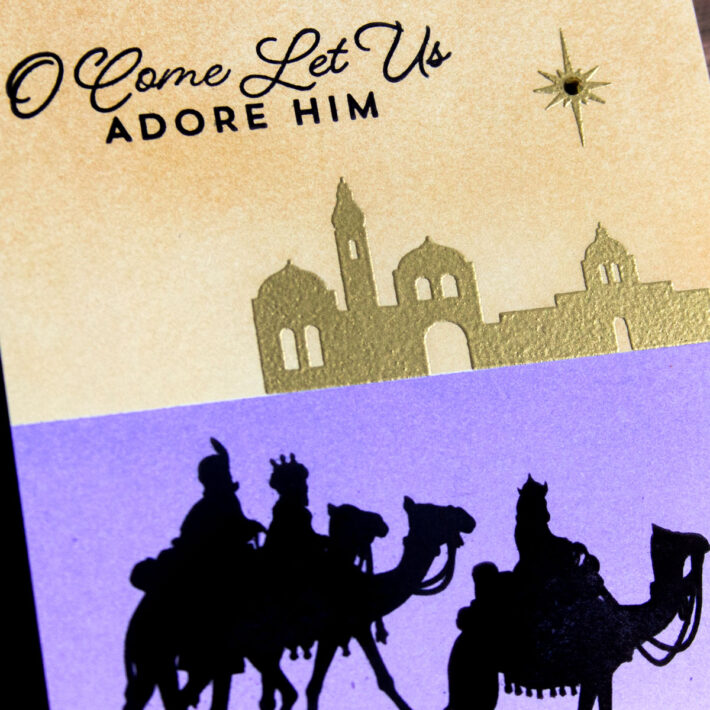
- Heat-emboss, in gold, the Three Kings building and star on an A2-size Snowdrift cardstock base.
- Mask the top of the cardstock panel with a vellum sheet along the bottom of the building. Apply Shaded Lilac Distress Oxide Ink
- Mask the inked lower portion with a vellum sheet. Position another mask 2½ inches above the horizon and apply gold metallic ink downwards, allowing a heavier concentration of gold metallic ink at the top.
- Stamp Three Kings sentiment in upper-left corner with Ranger Archival black ink.
- Stamp Wise Men in the Shaded Lilac section in Ranger Archival black ink.
- Add Gold Mix Gem to center of embossed star.
Spellbinders Supplies:

Other Supplies
Vellum, Ranger Archival black ink, gold metallic ink, gold embossing powder, VersaMark ink
Thank you for stopping by today. I hope you see how the nativity-themed sets in the Christmas Traditions Collection at Spellbinders can be used in a multitude of ways and are inspired to create with the collection!

3 Comments
MaryH
These cards certainly put me in the spirit of Christmas. All are exquisite!
Stampin2day
Absolutely stunning cards. I love you made it so simple for us by giving us step by step directions! Thank you for sharing your creativity with us and for all the work you put into it!
slangnv
All the cards are amazing. But the one with the lilac diamonds across the bottom is absolutely beautiful! Jean does magic when it comes to the design of her cards. Thanks for all the great instructions so I can now try this technique!