Santa Paws Unboxing 3 Ways with Jung
Hello crafty friends! It’s Jung, and I am so happy to be returning for another guest post on the Spellbinders blog. If you’d like to follow my crafty projects, my blog is jungahsang.wordpress.com, and my Instagram is @junglebarrya. Today, I’m working with the Holiday Cheer Enclosed collection. I will specifically be showcasing 3 ways to use the Santa Paws stamp set.

For my first card using the Holiday Cheer Enclosed collection , I made a dimensional card. I used the stamp set as it was meant, for the 3D surprise box. I used a couple of stamps on the 3D box, and I also added a sentiment on the card.
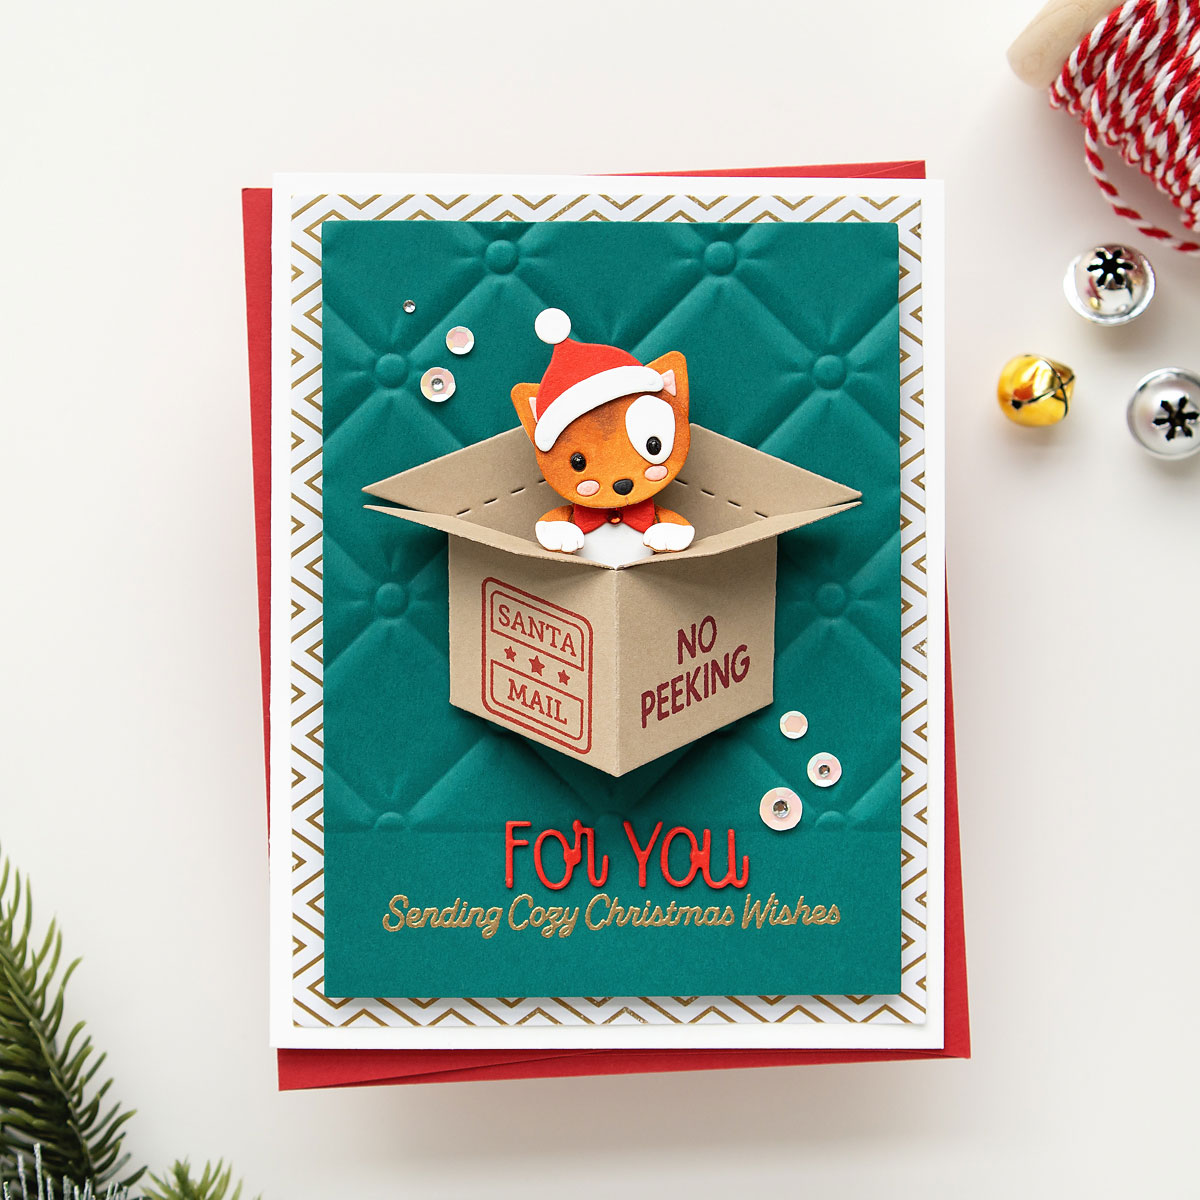
To begin my card, I started diecutting. I die-cut all the pieces for the cat from the Special Pet Delivery die set with white cardstock so I could color the pieces with Copic markers. I did diecut the Santa hat and bow with red cardstock, as well as the “for you” sentiment from the It’s Not a Puppy die set. I also die-cut the pieces for the 3D box. Next, I colored all the die-cut pieces for the cat and assembled him. I stamped a couple of the surprise box stamps on the box with red ink. Then I assembled the box.

I used a precision A2 layering die to die-cut a piece of cardstock in the color blue spruce. I stamped, and gold heat embossed the “Sending Cozy Christmas Wishes” sentiment at the bottom of the card. I wanted to add some subtle detail to the cardstock, so I used the tufted embossing folder, and sent it through my Platinum 6, making sure to leave about an inch from the bottom out of the embossing folder because of the sentiment.
I used a pattern paper from the Cheerful Occasions paper pad, die cut it with one of the precision A2 layering dies, then glued it to a white A2 card base. Next, I adhered the green tufted panel to the pattern paper with foam tape. I glued on the “for you” die cut sentiment on top of the gold heat embossed sentiment. Then, I adhered the 3D box, and then the cat. To finish off the card, I added some sequins and gems.
For my next card, I used sentiment stamps to create a background panel.
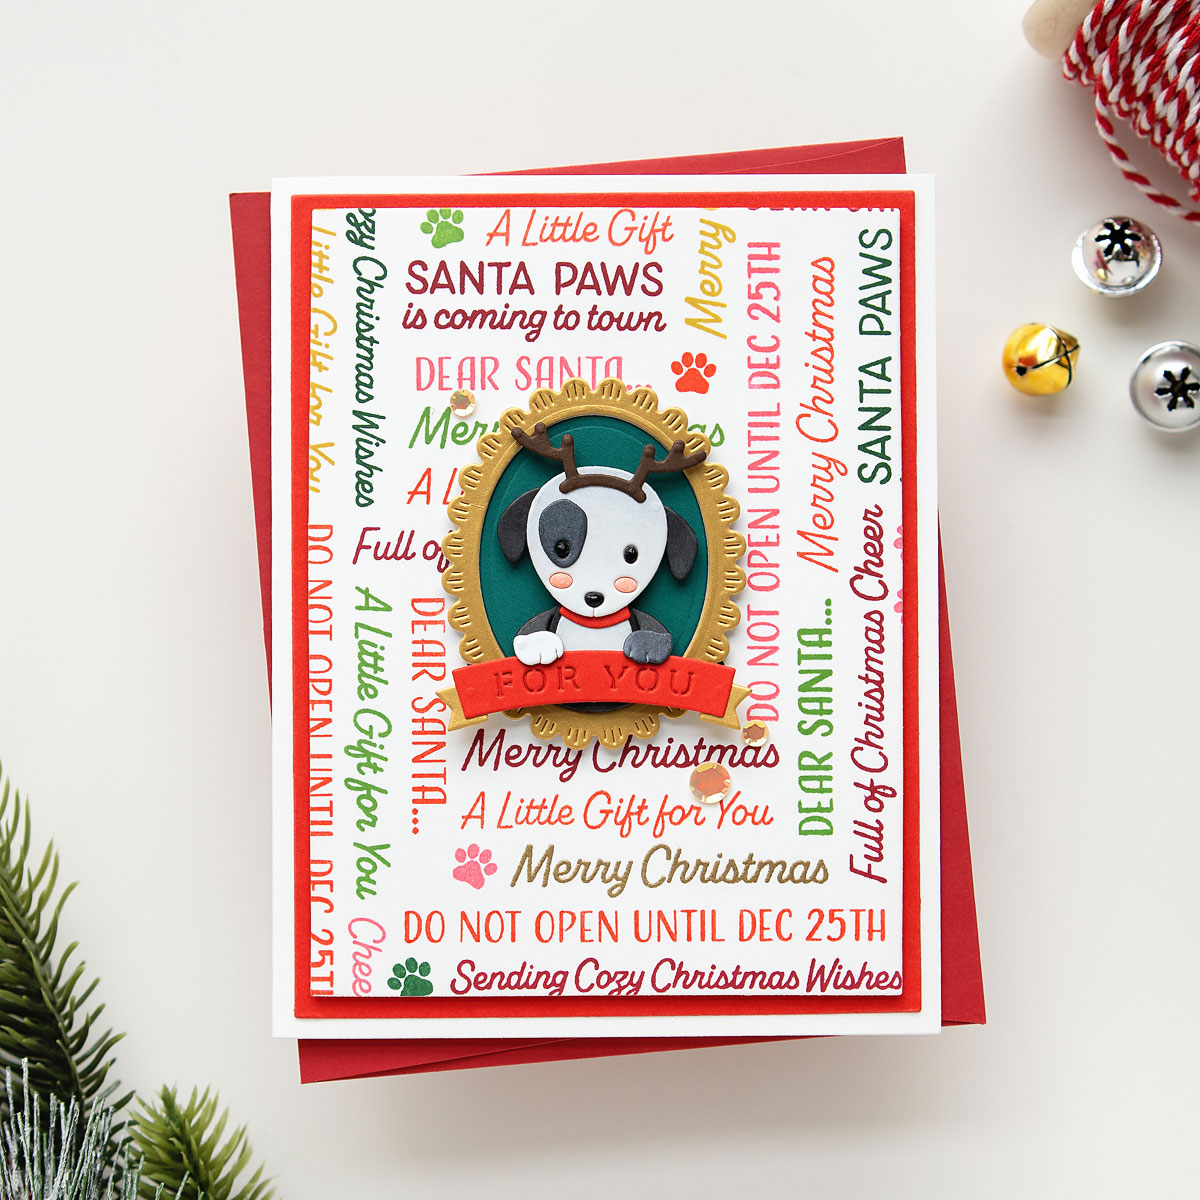
I stamped the sentiments one at a time, using different colors of inks, creating a fun background. My tip for you would be to start at the bottom right corner, then keep building one sentiment at a time. You could stamp them all horizontal, but I wanted to mix it up and stamp them in different directions. I trimmed down the sentiment background panel using a precision A2 layering die.
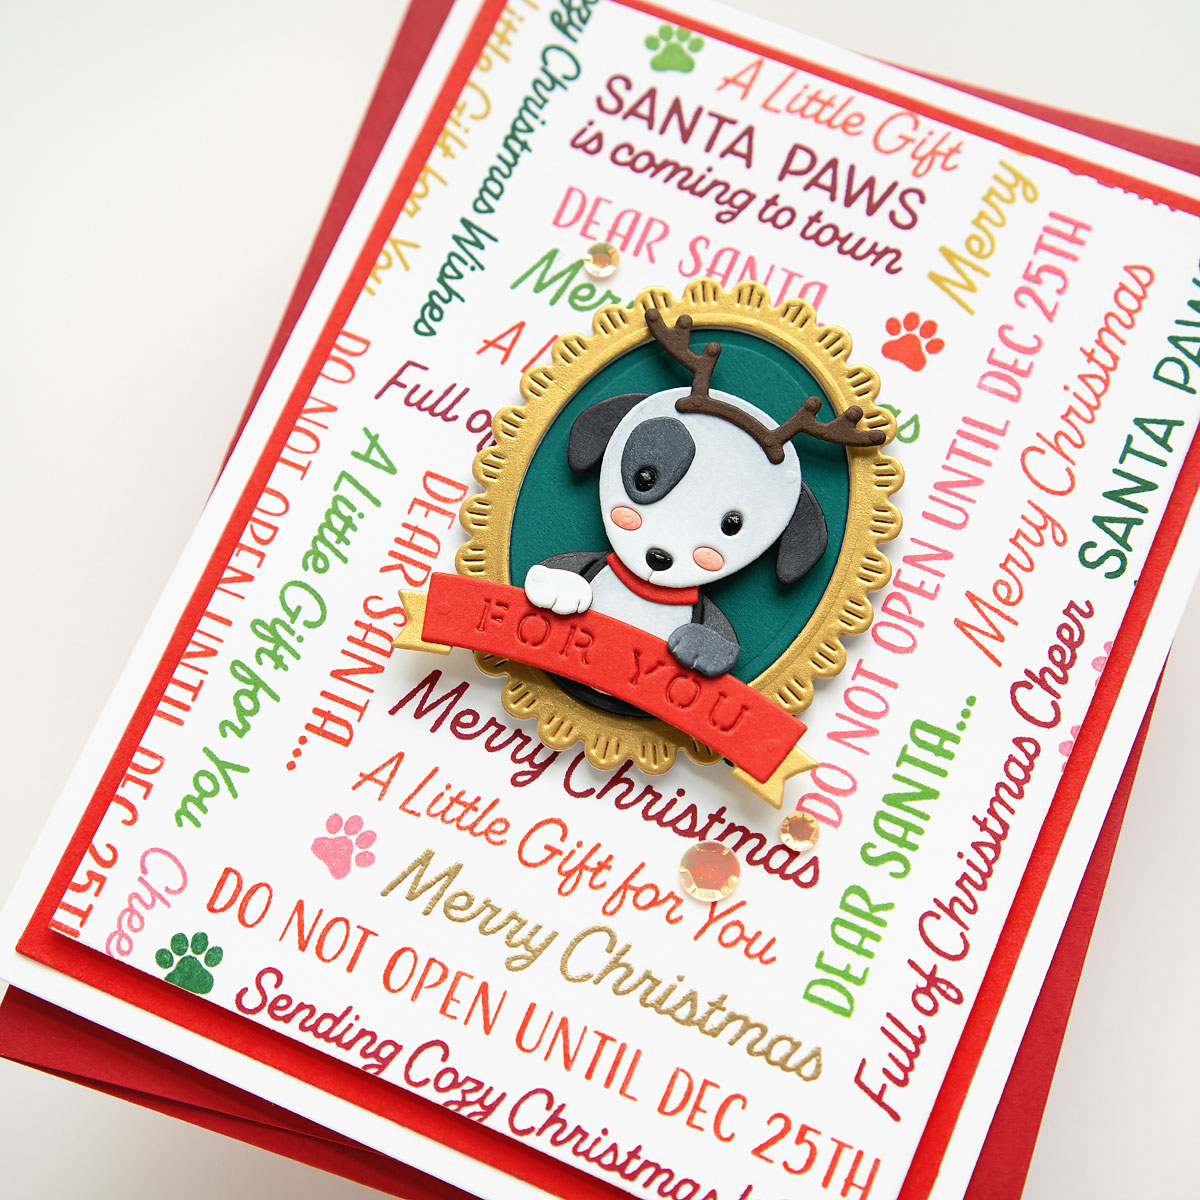
Next from the Holiday Cheer Enclosed collection, I die-cut all the pieces for the dog from the Special Pet Delivery die set with white cardstock. I die cut the antler ears from brown cardstock, the frame with gold cardstock (and 2 more times with white cardstock to glue stacked for added dimension), the oval with green cardstock, and the sentiment banner pieces from red and gold cardstock. I colored the dog pieces, then adhered them together. I glued the oval frame pieces together and the sentiment banner.
I die-cut a piece of Poppy Field red cardstock using another precision A2 layering die, and adhered it to a white A2 card base. Then, I adhered the sentiment background panel to the red cardstock with foam tape. I glued on the oval frame to the center of the sentiment background. Then, I inlaid the green inner oval. I adhered the puppy with foam tape, then the sentiment banner with thin foam tape. I added a few sequins to finish off the card.
For the next card, I used the stamp set as a coordinating sentiment to support another stamped sentiment.
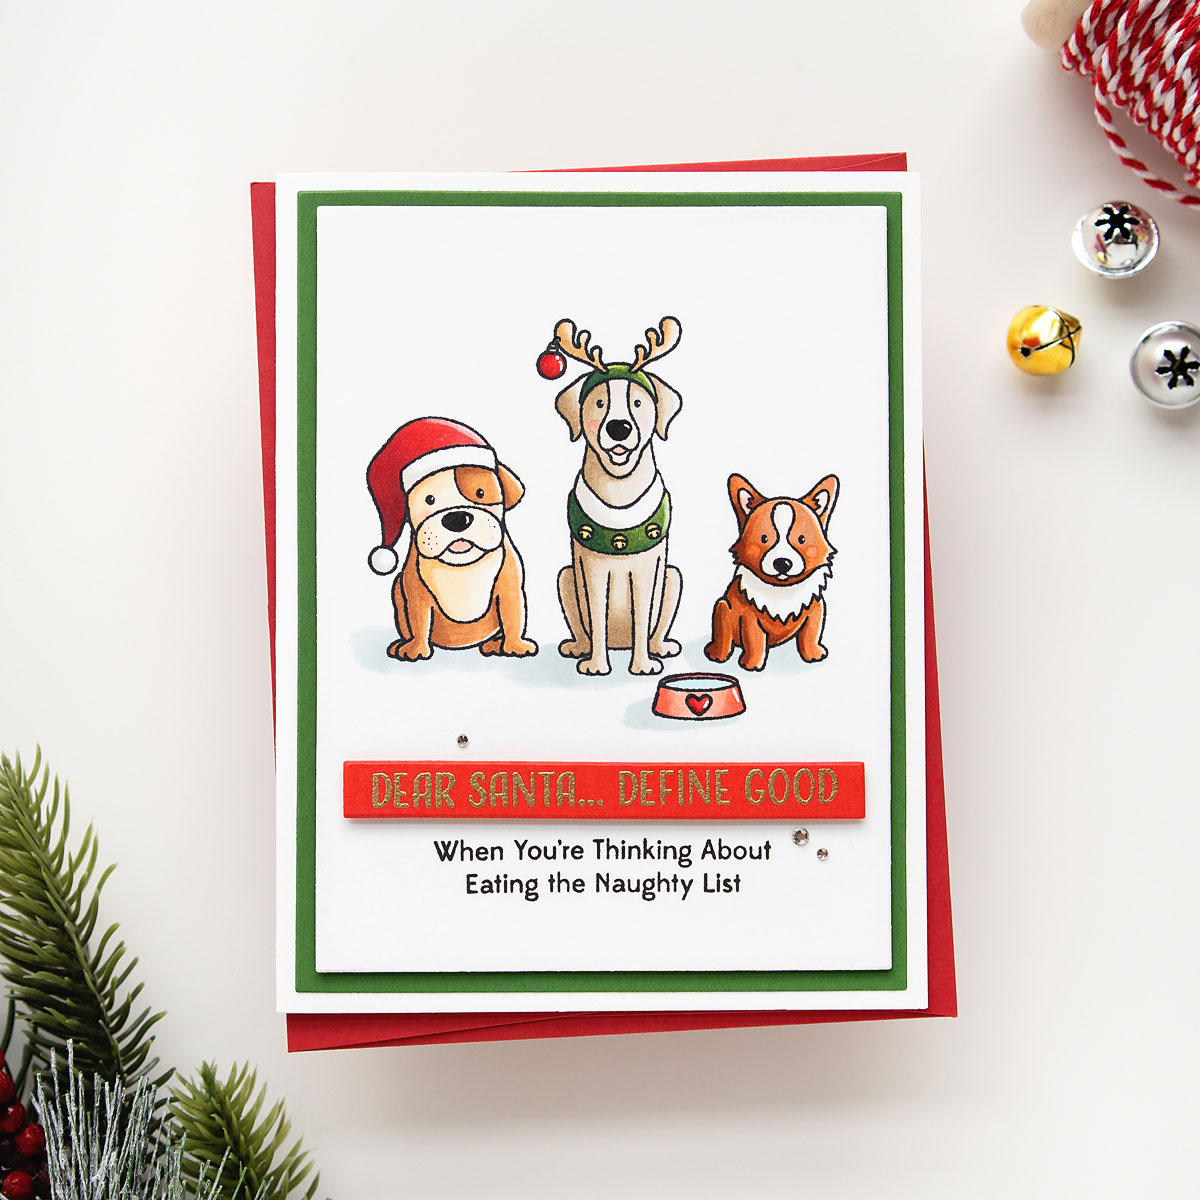
I stamped 3 of the dog images and bowl from the Christmas pups stamp set on a piece of white cardstock with black ink. I colored the images with Copic markers. Then, I thought about which sentiments I wanted to use on my card.
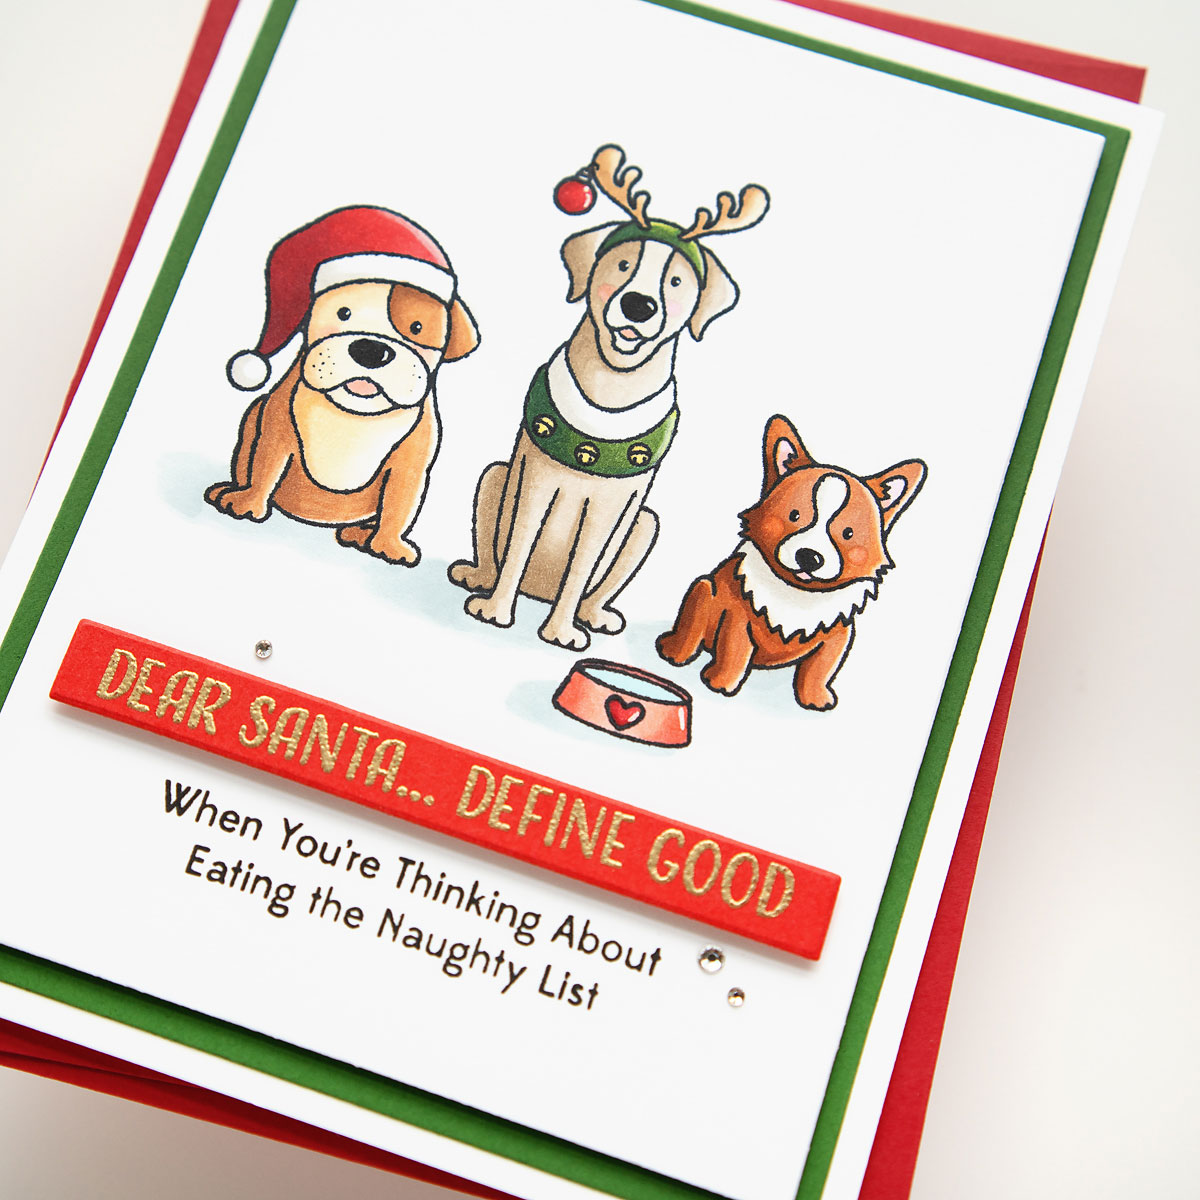
I chose the “When You’re Thinking About Eating the Naughty List” from the Christmas pups stamp set. Then, I looked through the sentiments in the Santa Paws stamp set, and chose the “Dear Santa…Define Good” sentiment. It coordinated perfectly with the other sentiment. I stamped the first sentiment directing to the white cardstock with the dogs, towards the bottom of the panel. I stamped the Dear Santa sentiment on red cardstock, then heat embossed with gold embossing powder. I used a die to cut out the sentiment, then adhered it on top of the other sentiment with foam tape.
I die-cut a piece of Fern cardstock with an A2 layering die, then glued it to a white A2 card base. I adhered the Dog panel on top with foam tape. To finish off the card, I added some gems.
I loved making these cards. It was so fun to get creative and come up with different ways to use the Santa Paws stamps. I hope you were inspired by my cards, and you can think of more ways to use these products. Head over to the Spellbinders site and check out the Holiday Cheer Enclosed collection…the products are just too cute! Thanks so much for stopping by.
Spellbinders Supplies:

Other Supplies
Copic Markers, colored inks, gold embossing powder, foam tape.
Floral Birthday Cards with Elena
February 2018 Small Die of the Month is Here!