-
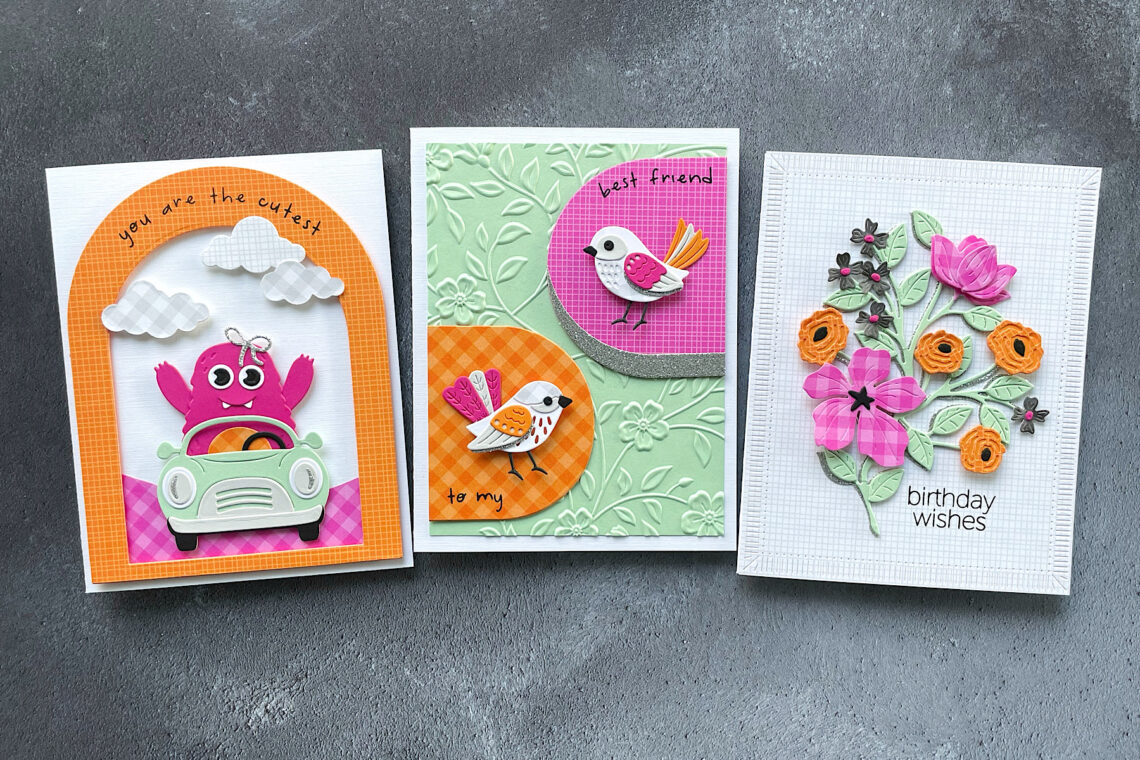
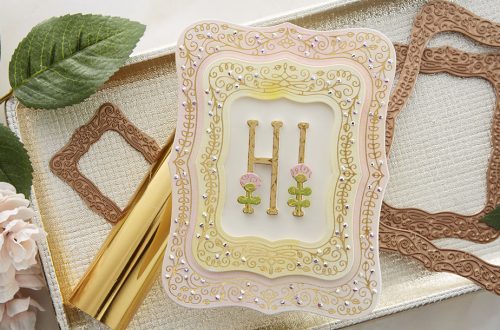
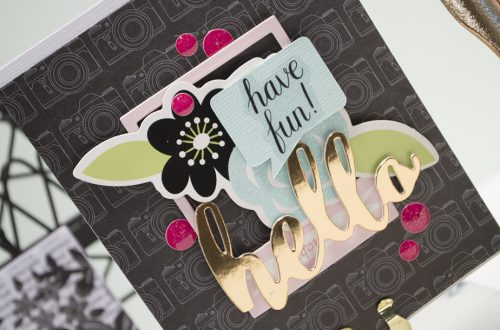
Fun Ideas for Die Cutting With Patterned Paper Featuring Doodlebug
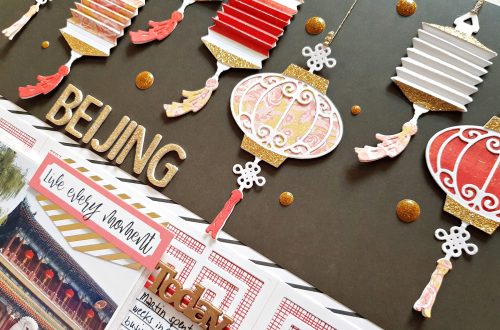
Hello, crafty friends! This is Emily Leiphart and I’m thrilled to be back on the Spellbinders blog, featuring Doodlebug’s Gingham-Linen Rainbow Petite Prints 12×12” Cardstock Paper. Spellbinders is now carrying the entire line of Doodlebug’s Rainbow Petite Prints and it was such a difficult choice because I love them all. Linen is always a must-have for me because it’s so subtle and I love that I can easily stamp on it. Gingham is another fun and versatile choice. After choosing the color palette for my cards and making sure that I had both the Doodlebug prints and coordinating solid cardstock, I went to work on my designs. Spellbinders has so…
-
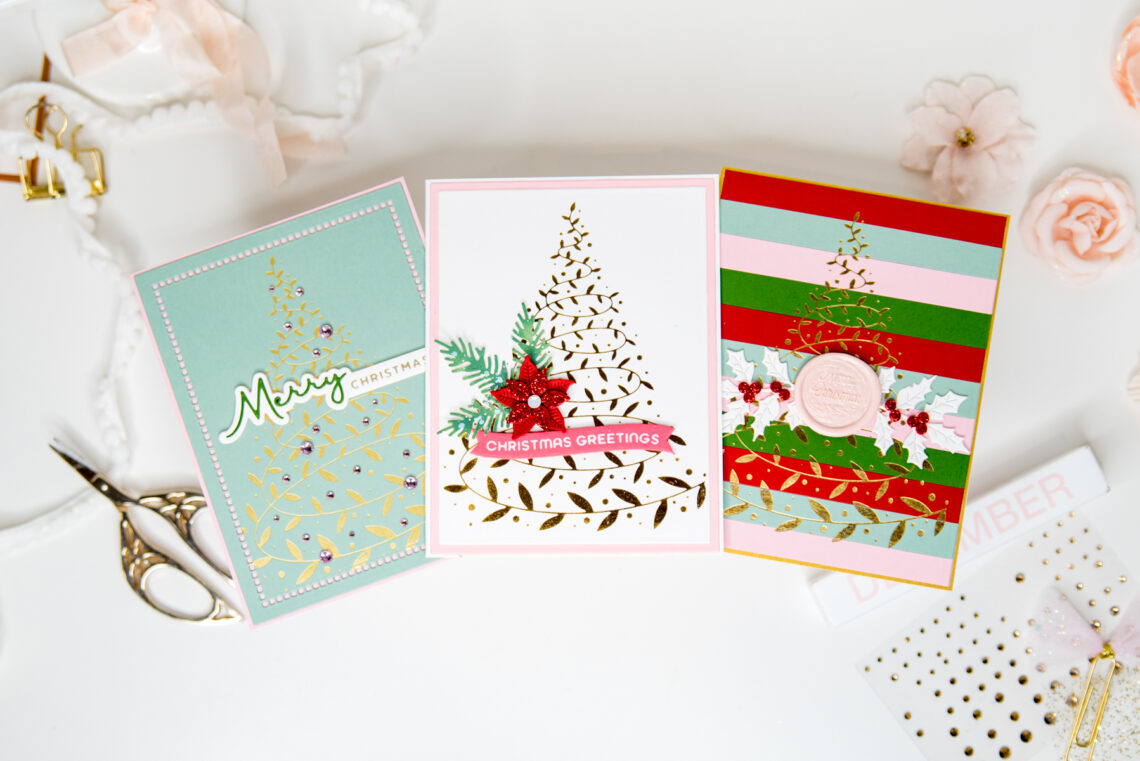
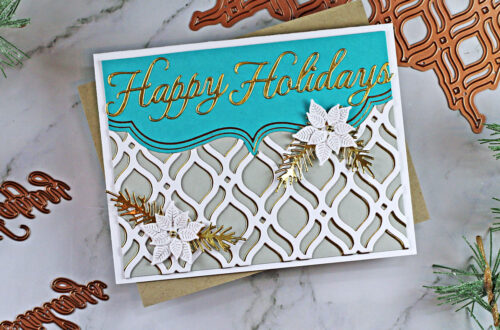
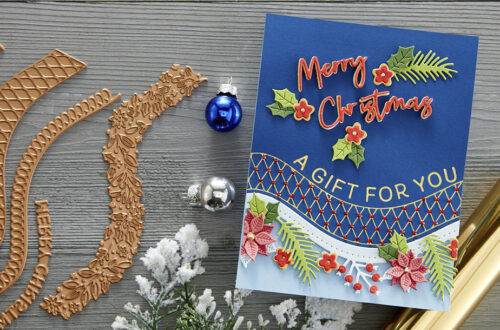
Swirling Foliage Tree 3 Ways
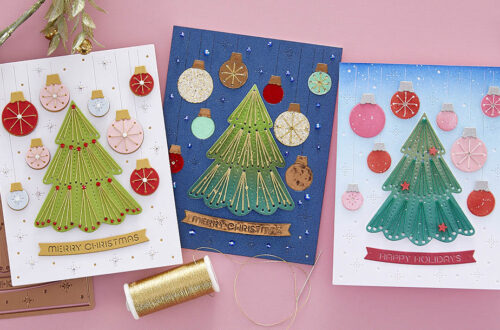
Hello, dear friends! It’s Leica, and today I want to share three fun ways to use the Swirling Foliage Tree from the Glimmer for the Holidays collection. This hot foil plate creates a beautiful swirling foliage design that’s perfect for making stunning Christmas cards. Let’s dive in! For my first card, I cut up strips of colorful cardstock and glued them onto white A2-sized paper. Then, I hot-foiled the Swirling Foliage Tree in gorgeous gold foil and trimmed it down, adding a gold border around it. The result was absolutely stunning! To complete the look, I added some white foliage, red berries, and topped it off with a pink Merry…
-
Layered Joy Tree Stencil How-To
Hey there, crafty friends! It’s Leica, and I have a super fun and simple Christmas card idea to share with all of you. Today, I want to show you how to use the Layered Joy Tree Stencils from the Layered Christmas Stencils Collection. Trust me, it’s really quick and easy to make! I’ll guide you through the process with step-by-step photos and instructions below. Let’s dive in! The stencils have numbers on the bottom left corner, so you can easily figure out the order in which to use them. They also have marks on all sides, making it a breeze to align them perfectly. To start, grab a white piece…
-
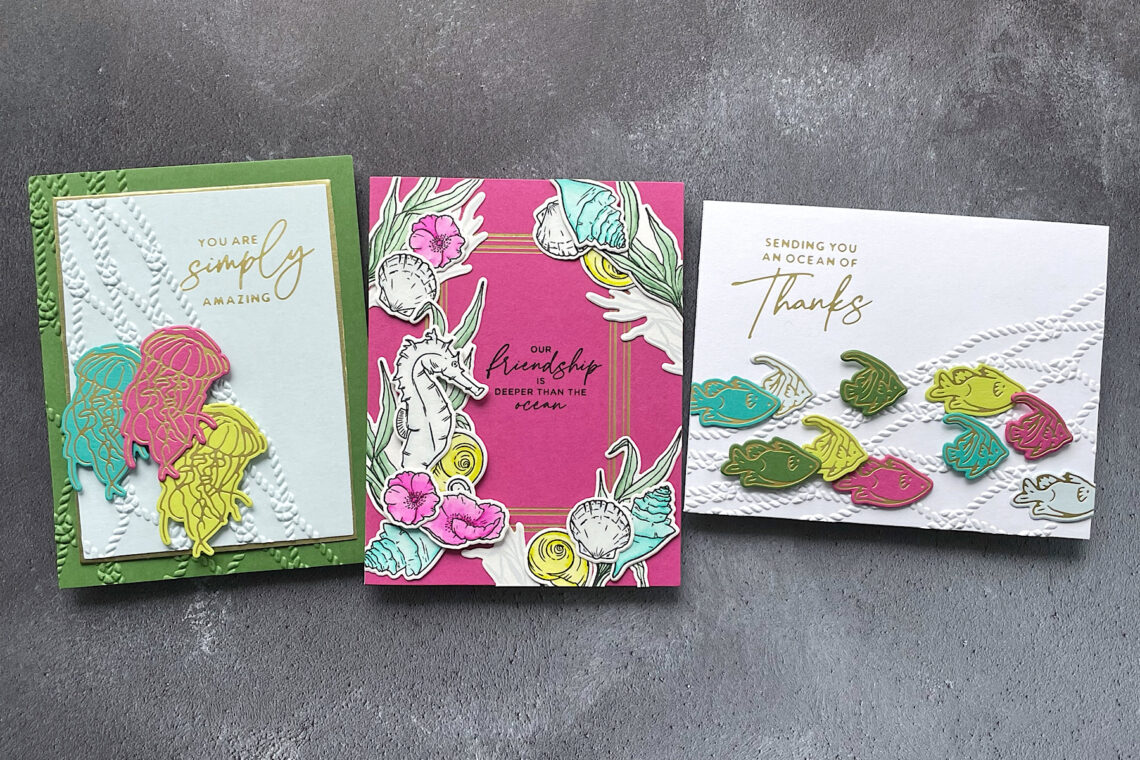
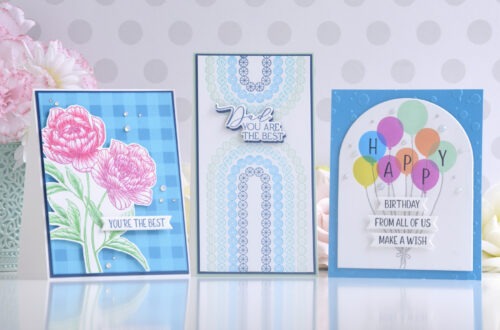
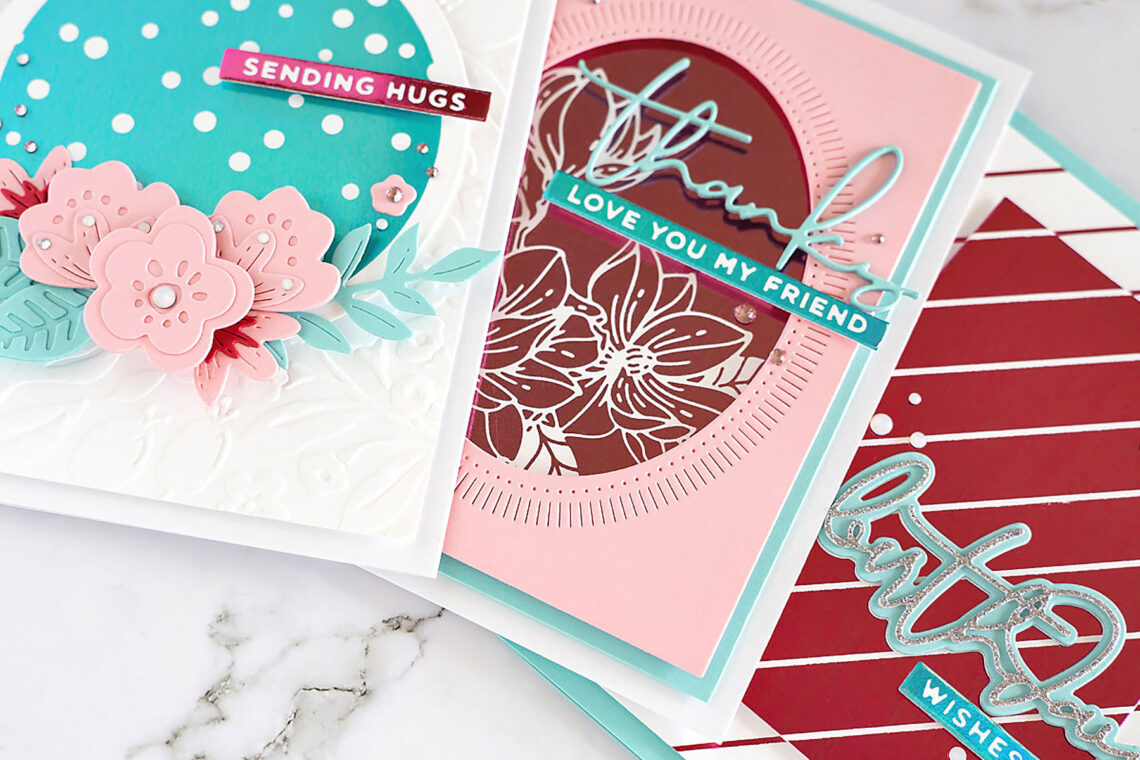
Vibrant Aquatic Cards Featuring Seahorse Kisses Collection with Emily Leiphart
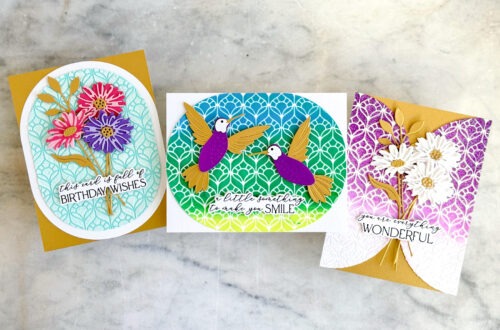
Hello, crafty friends! It’s Emily Leiphart here and I’m thrilled to be guesting on the Spellbinders blog, featuring the Seahorse Kisses Collection by Dawn Woleslagle. I’m a long-time fan of Dawn’s artistry and jumped at the chance to work with her first collection for Spellbinders. I love the aquatic theme of Seahorse Kisses and the beautiful images and sentiments. I chose five colors, plus gold, to feature on all three of these cards using all five sets from this collection. You Are Simply Amazing Jellyfish Card My first card features a simple design featuring the Seahorse Kisses Sentiments, which I heat foiled with Matte Gold Hot Foil before using the…
-
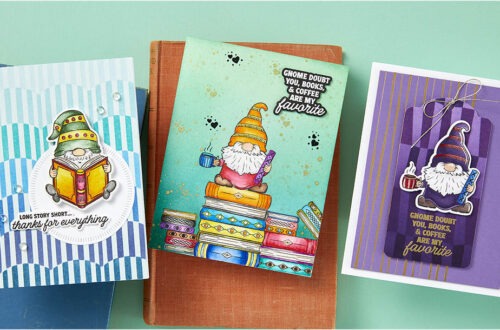
More Masculine Cards Ideas with Toolbox Essentials
Hello, crafty friends! It’s Emily Leiphart here and I’m thrilled to be guesting on the Spellbinders blog, featuring the Toolbox Essentials Collection. When I create sets of cards with a common color theme, I always look at how many colors I would need, then choose my colors accordingly. Once colors are selected, I cut all of the pieces at the same time in every color, then sit down and glue them all together at once. This makes it easy to create several cards at one time with extras for later. If you’re like me and find it hard to make masculine cards, this new collection will make it easy to…
-
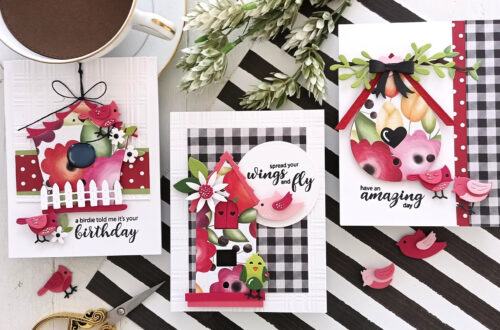
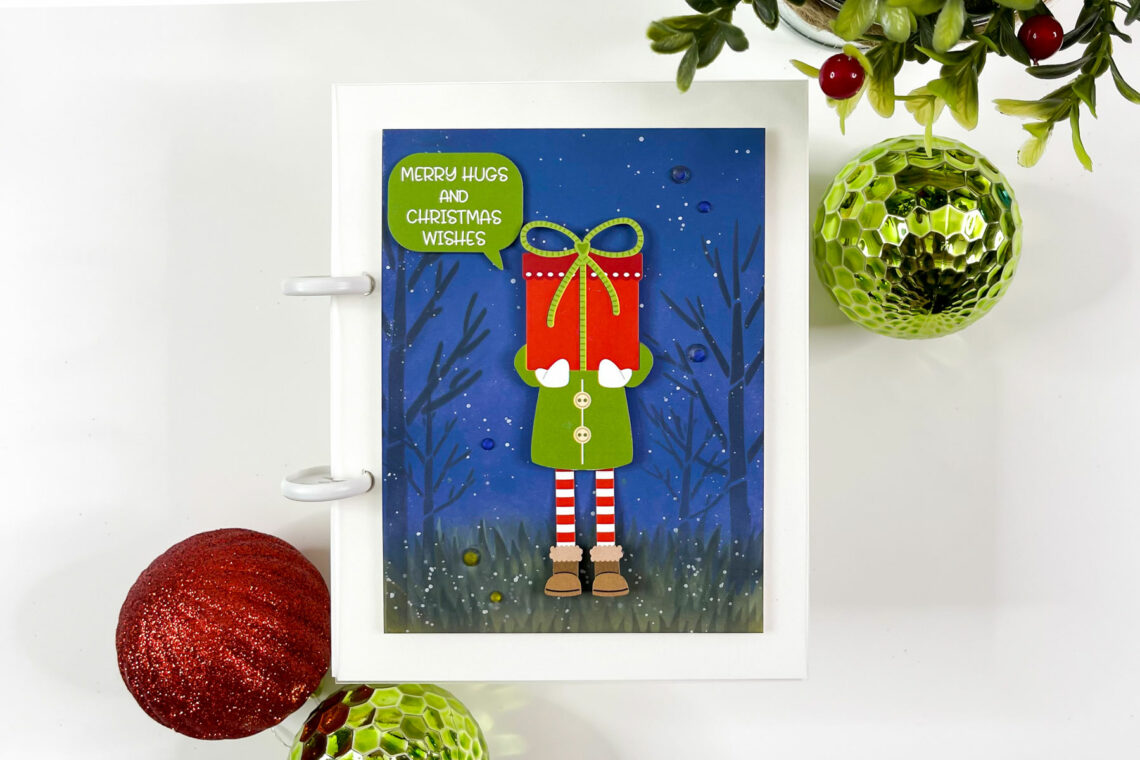
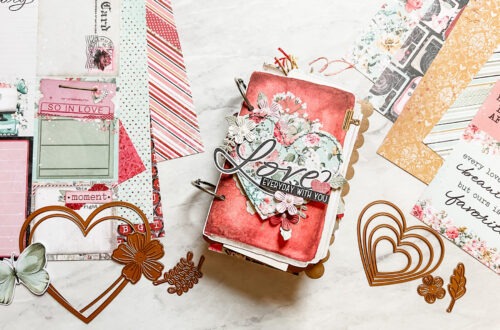
Beginner Easy DIY Christmas Pocket Album with Barbara Kind
Hello crafty friends! This is Babi and I am so excited to share with you a beginner easy DIY Christmas pocket album with What a Fun! collection. Cover Steps Trim white cardstock to 3 ¾ x5 ” to create the main panel. Blend Faded Jeans, Chipped Sapphire and Ground Espresso Distress Oxide over the panel to create the wintery background. Use trees and grass stencil from you stash with Distress Black Soot and Forest Moss to create more contrast with the background. Sprinkle white paint for a snow effect. Attach the die-cut legs with an eyelet to the panel. Place the upper body on top of the legs with…
-
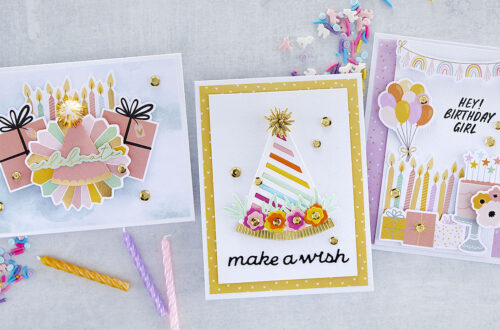
Oh What Fun! Cards for Beginners with Jung
Hello crafty friends! It’s Jung, and I am so happy to be returning for another guest post on the Spellbinders blog. If you’d like to follow my crafty projects, my blog is jungahsang.wordpress.com, and my Instagram is @junglebarrya. Today, I’m working with some die-cuts from the Oh What Fun! collection. I will be showing 3 different and easy ways to use these fun diecuts on cards. For my first card, I made an interactive mini slimline card. To begin my card, I trimmed a piece of Cosmic Sky cardstock using one of the precision layering mini slimline dies. I wanted to add some interest to the background, so I used…
-
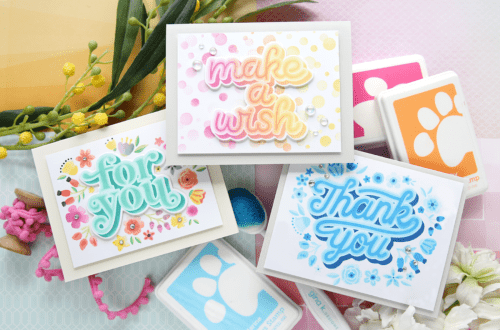
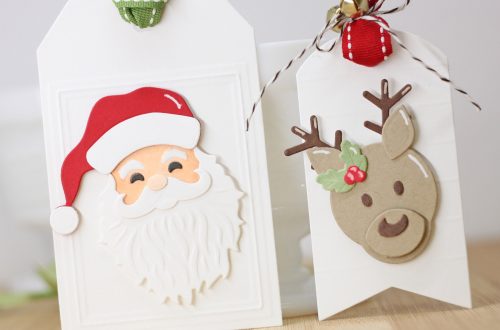
Santa Paws Unboxing 3 Ways with Jung
Hello crafty friends! It’s Jung, and I am so happy to be returning for another guest post on the Spellbinders blog. If you’d like to follow my crafty projects, my blog is jungahsang.wordpress.com, and my Instagram is @junglebarrya. Today, I’m working with the Holiday Cheer Enclosed collection. I will specifically be showcasing 3 ways to use the Santa Paws stamp set. For my first card using the Holiday Cheer Enclosed collection , I made a dimensional card. I used the stamp set as it was meant, for the 3D surprise box. I used a couple of stamps on the 3D box, and I also added a sentiment on the card.…
-
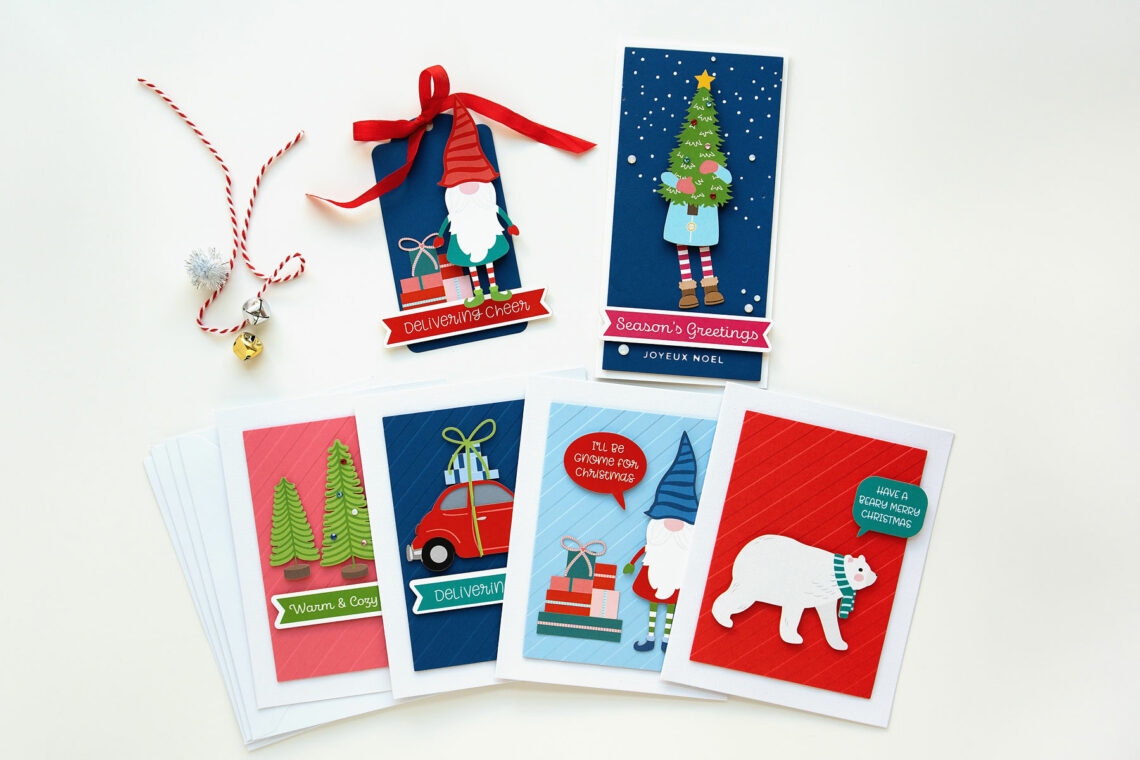
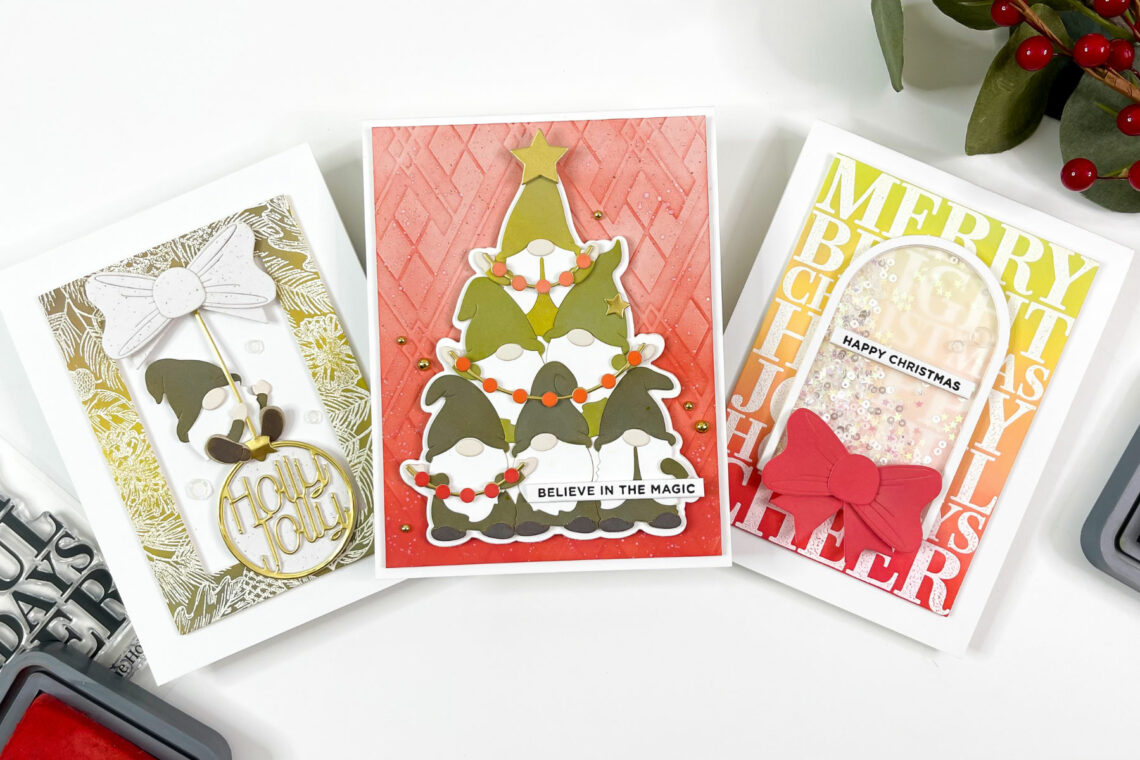
Believe in the Magic cards with Babi
Hello crafty friends! This is Babi and I am so excited to share with you my first Guest Design projects featuring the Gnome for Christmas collection. For the first project, I used Argyle Socks embossing folder and Gnome Tree dies to create a card in traditional Christmas colors. Trim white cardstock to 4×5.25” to create the main panel. Blend Candied Apple and Festive Berries Distress Oxide over the panel. Once the ink dries, emboss the panel using Argyle Socks embossing folder. Die cut Gnome Tree in white cardstock. Blend Forest Moss, Peeled Paint, and Twisted Citron Distress Oxide onto the gnome clothes. Blend Ground Express onto the shoes and Tattered Rose Distress Oxide…
-
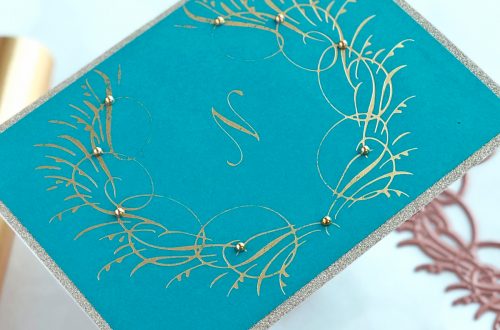
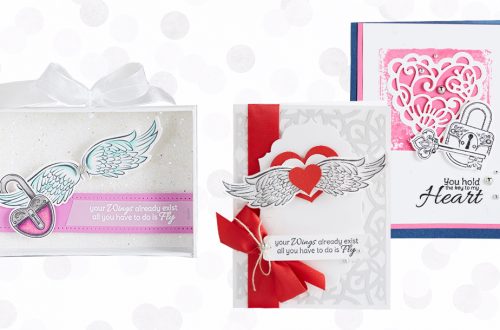
Reverse Foiling with Essential Glimmer Solid Shapes and Jung AhSang
Hello crafty friends! It’s Jung AhSang here, and I am so excited to be returning for another guest post on the Spellbinders blog. If you’d like to follow my crafty projects, my blog is jungahsang.wordpress.com, and my Instagram is @junglebarrya. Today, I’m working with the Essential Glimmer Solid Shapes. I absolutely love the Glimmer Hot Foil system, and I always wanted to utilize the leftover foil from my projects. These glimmer solid shapes allow you to take advantage of that leftover foil. There are 4 shapes: rectangle, square, oval, and circle. Reverse Diagonal Glimmer Stripes For my first card, I used the Essential Glimmer Solid Rectangle. I also used the…