Tiered Tray Collection with Brenda Noelke
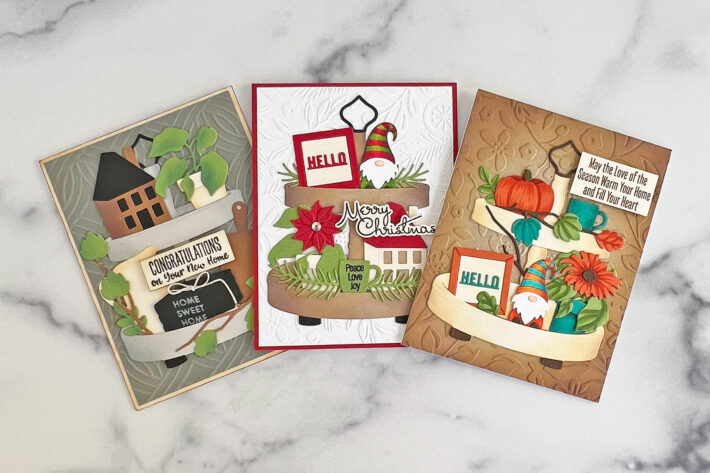
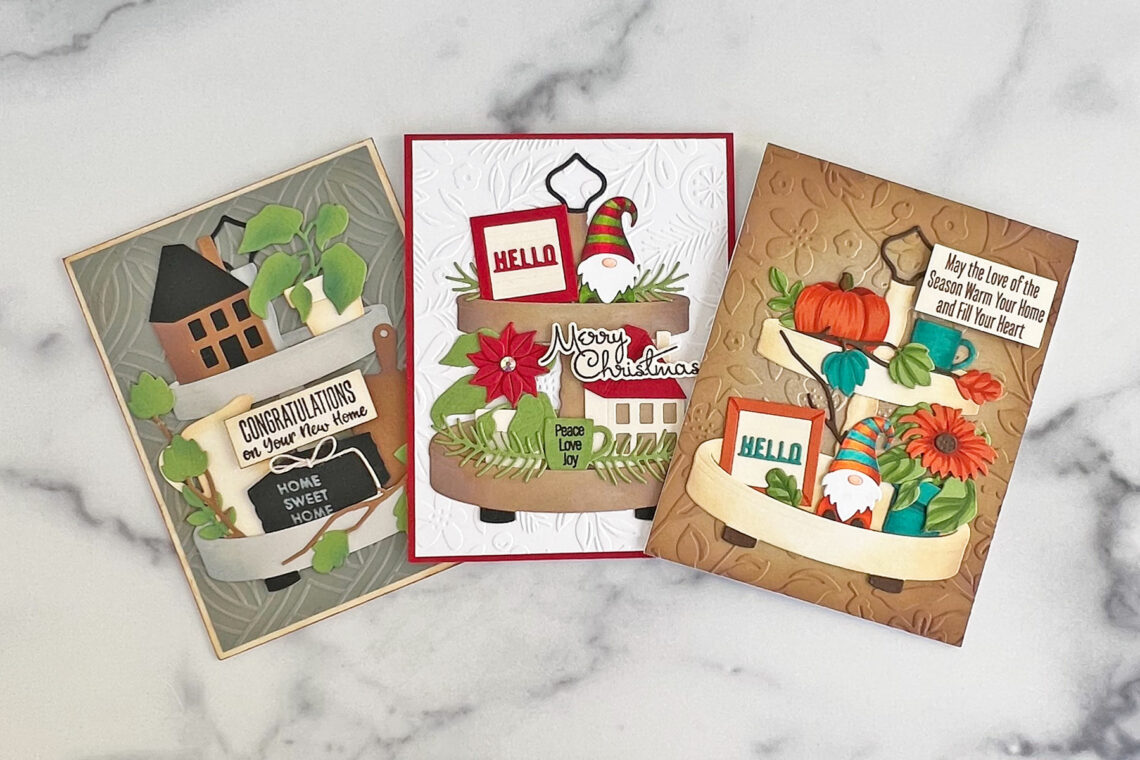
Hello, fellow crafters!! Brenda Noelke here from My PaperCut Creations! I’m super excited to be guest posting on the Spellbinders blog today! I am sharing three cards featuring the Tiered Tray Collection designed by Becky Roberts! I had so much fun creating these cards for three different occasions and seasons!
CONGRATULATIONS ON YOUR NEW HOME-TIERED TRAY
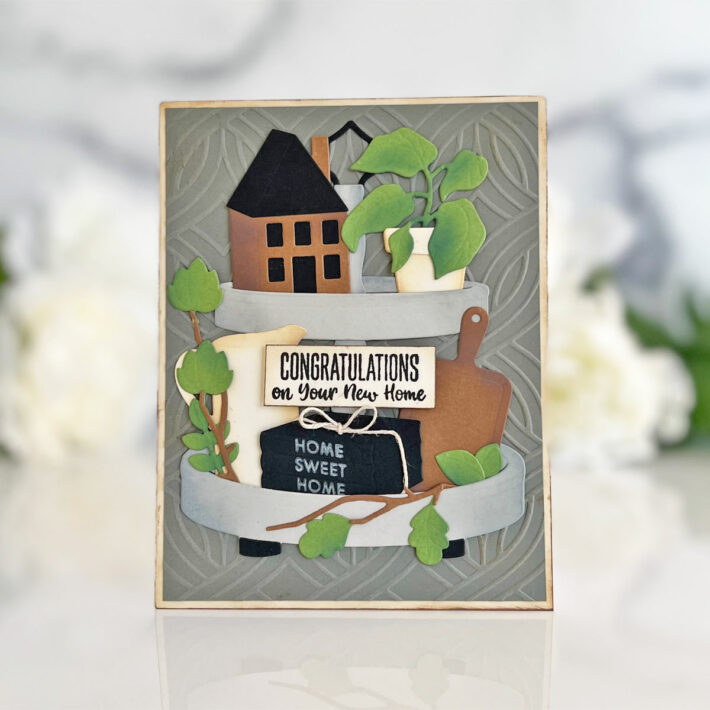
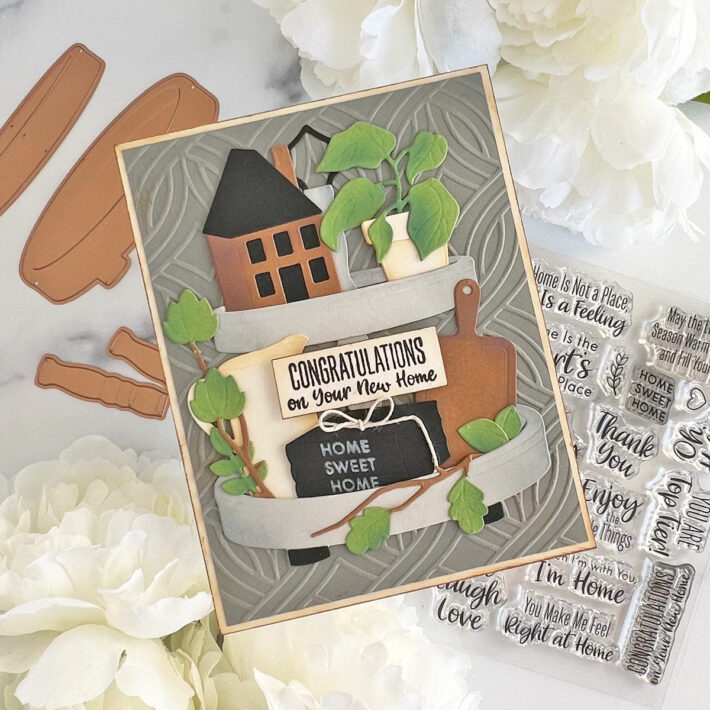
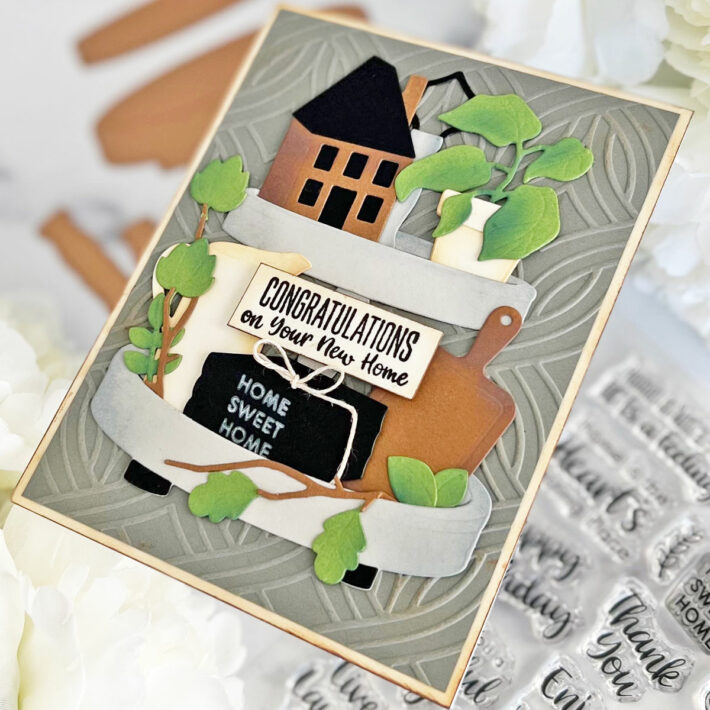
The first card is a “congratulations on your new home” card! I had the modern farmhouse style in mind for this one!
I began by die-cutting all of the elements for the tray from Silver Fox and Onyx Black cardstock using my Platinum 6 and the Tiered Tray Dies. I added a little shading to the tray with ink and a blending brush. The components to fill the tray were cut from Alabaster, Onyx Black, Fern and Timber cardstock with the Tiered Tray Décor Etched Die Set. I blended a bit of ink onto the brown and green dies for dimension. I stamped “home sweet home” onto the spine of the stack of books with white pigment ink using the Tiered Tray Sentiments Stamp Set and tied a piece of twine around it.
For the background, I embossed the August Embossing Folder of the Month- Intertwined Lattice onto Lunar Gray cardstock. I adhered it to a panel of Alabaster cardstock that had brown ink blended onto the edges, then added it to a white card base.
The tray and filler die-cuts were all adhered to the background with liquid glue. The sentiment, also from the Tiered Tray Sentiment Set, was stamped onto Alabaster cardstock with black ink, trimmed into a rectangle, edged with distress ink and popped up onto the front of the card with foam adhesive.
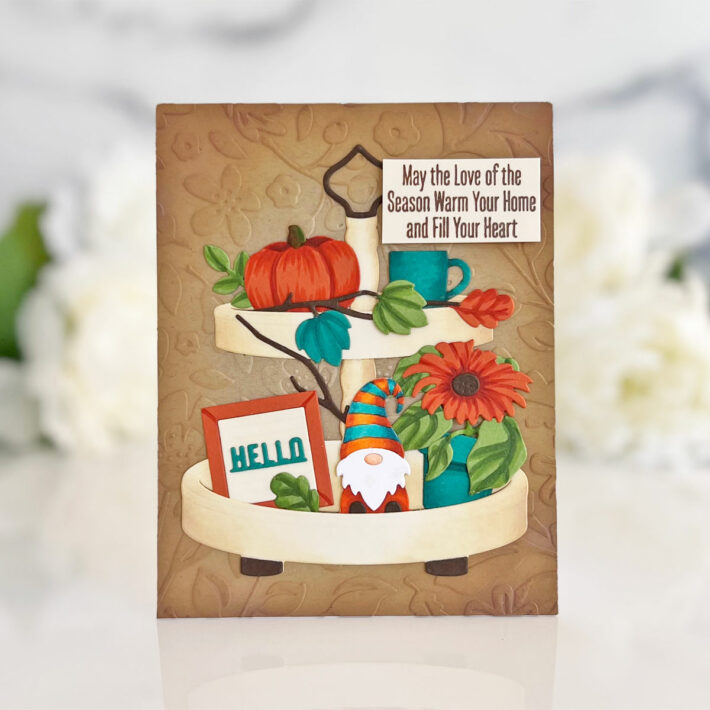
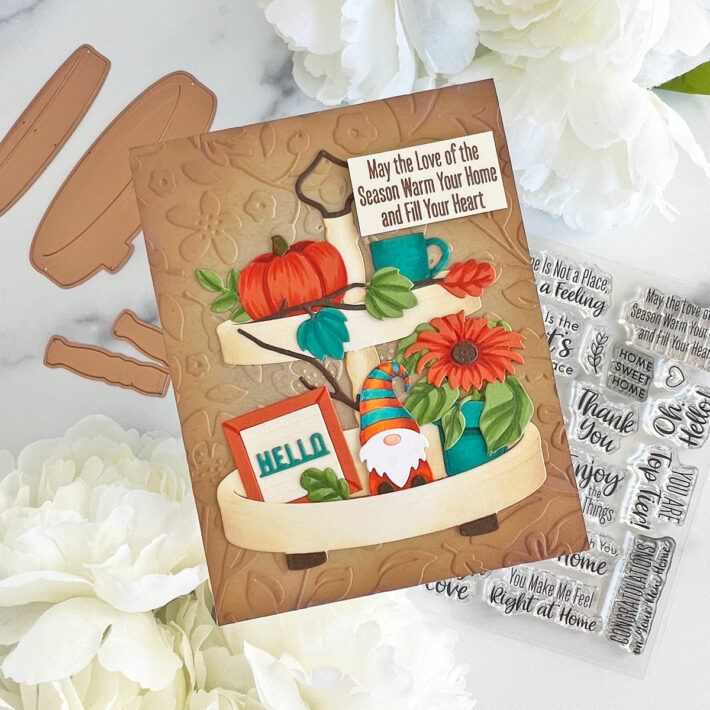
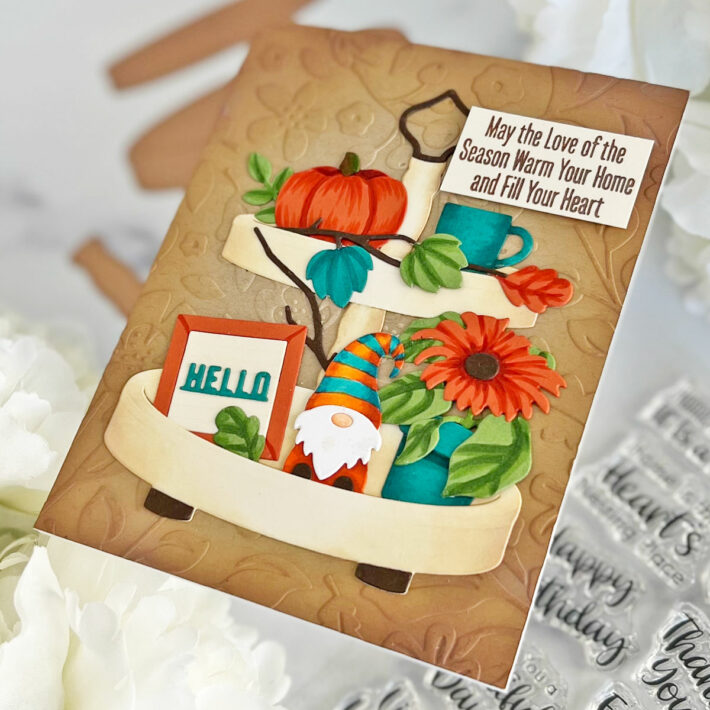
AUTUMN TIERED TRAY CARD
My second card is an autumn-themed card!! It’s so easy to customize these trays for different seasons!
I die-cut the parts for the tray from Alabaster and Timber cardstock using the Tiered Tray Die Set. I blended ink onto the edges of the die-cuts to create some dimension. The fillers were die-cut from Alabaster, Lagoon, Fern, Timber, orange and white cardstock using the Tiered Tray Décor Dies. This time, I used Copic markers to add shading to the die-cuts.
For the background on this one, I used the September Embossing Folder of the Month and embossed it onto Portobello cardstock. I blended ivory and brown inks onto the outside of the panel. The tray and filler die-cuts were adhered as shown with liquid glue.
This sentiment is also from the Tiered Tray Sentiments Stamp Set. It was stamped onto Alabaster cardstock with brown ink, trimmed into a rectangle and popped up with foam tape. I thought it was the perfect sentiment for this cozy autumn card!!
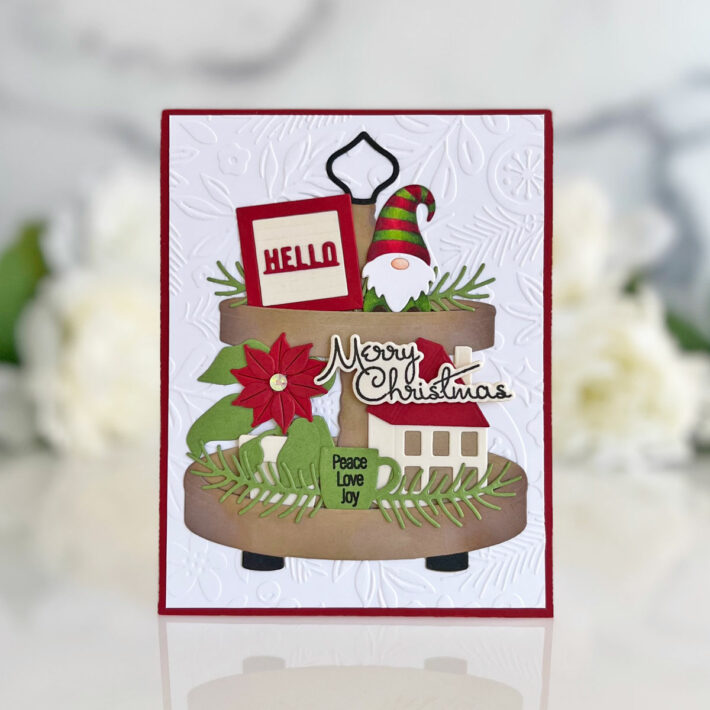
CHRISTMAS TIERED TRAY
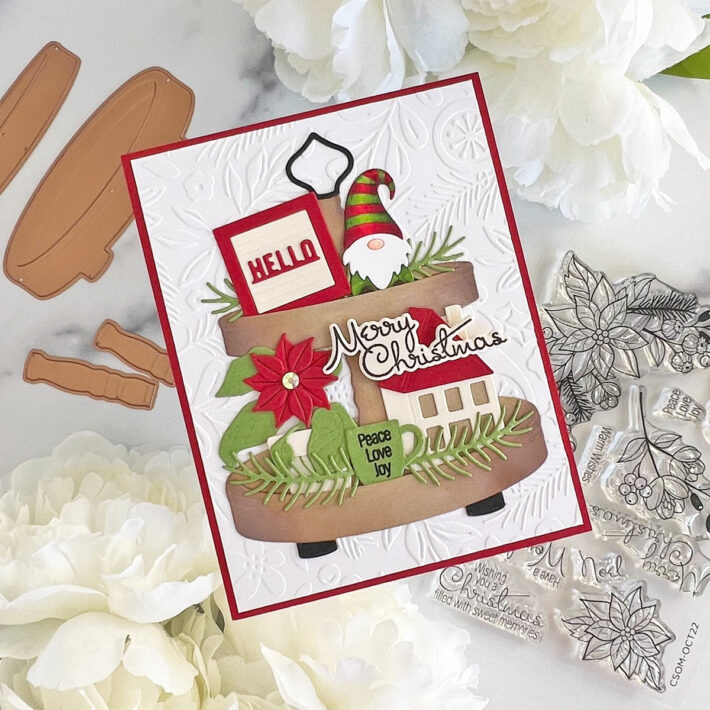
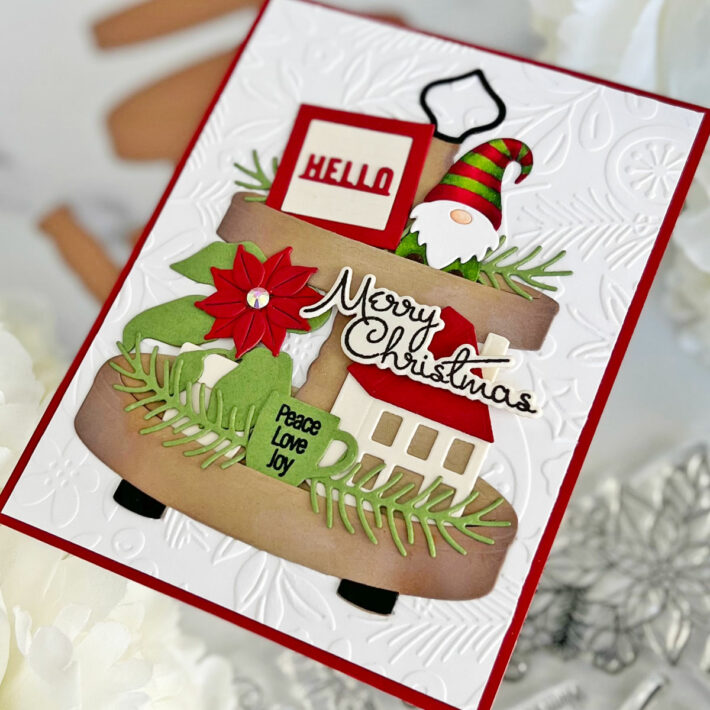
My final card is a Christmas-themed tray!
I die-cut the tray from Portobello and Onyx Black cardstock using the Tiered Tray Dies, then shaded the edges with brown ink. The elements were die-cut from Alabaster, Fern, Phone Booth and white cardstock using the Tiered Tray Décor Etched Dies. The poinsettia was cut from Phone Booth cardstock using a die from the October Die of the Month Kit and the greenery was cut from Fern cardstock using dies from the October Large Die of the Month Kit. I colored the little gnome with Copic markers.
The background from this card was embossed onto white cardstock with the October Embossing Folder of the Month. It was trimmed slightly and adhered to an A2 panel of Phone Booth cardstock, then to a white card base. The sentiment and the words on the mug (I can’t believe how perfectly this fit on the mug) are from the October Stamp and Die of the Month. They were stamped on Alabaster cardstock and the mug with black ink and the sentiment was cut out with the coordinating die. It was adhered with foam adhesive and a single Spectrum AB Color Essential Gem was added to the center of the poinsettia.
Spellbinders Supplies:

OTHER SUPPLIES
Scotch foam tape; liquid glue; 110 & 80 lb. white cardstock; orange cardstock; InkOn3 Shark Tooth Pigment Ink; Versafine Onyx Black Ink; Weathered Wood, Antique Linen, Vintage Photo, Rustic Wilderness Distress Ink; twine; Copic markers
Thank you so much for stopping by today!! You can also find me on my blog at My PaperCut Creations or over on Instagram @mypapercutcreations!!
Happy crafting!

