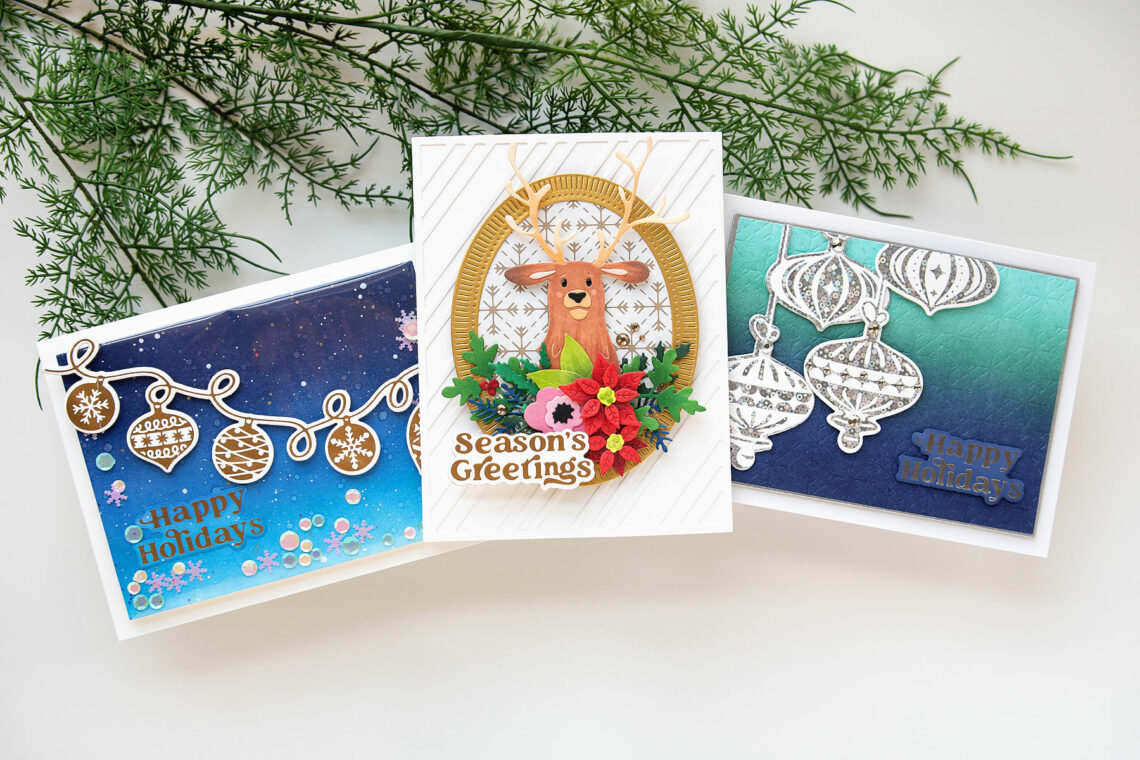
Trio of Joyful Christmas Cards with Jung AhSang
Hello crafty friends! It’s Jung here, and I am very excited to be returning for another guest post on the Spellbinders blog. For my projects today, I’m working with some products from the Joyful Christmas collection by Simon Hurley. I love the variety in this holiday collection.
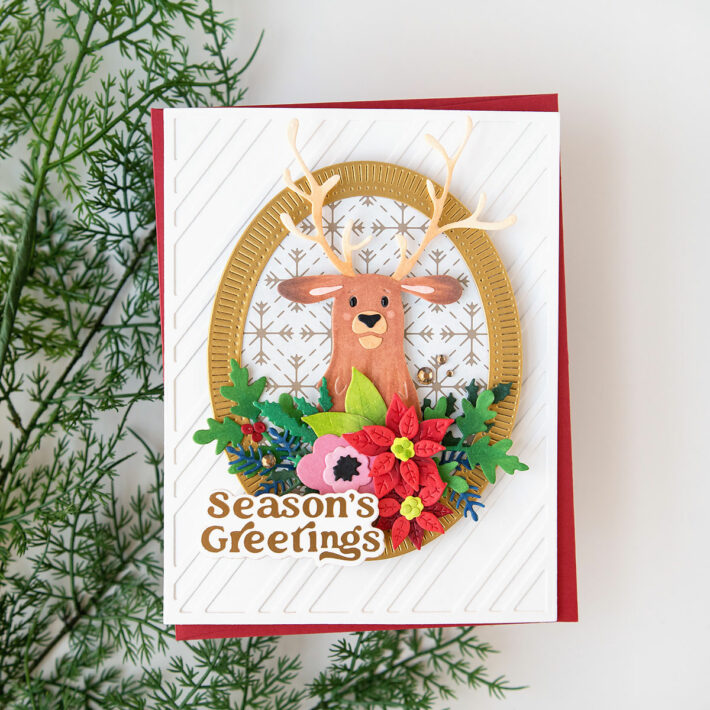
Floral Stag Card
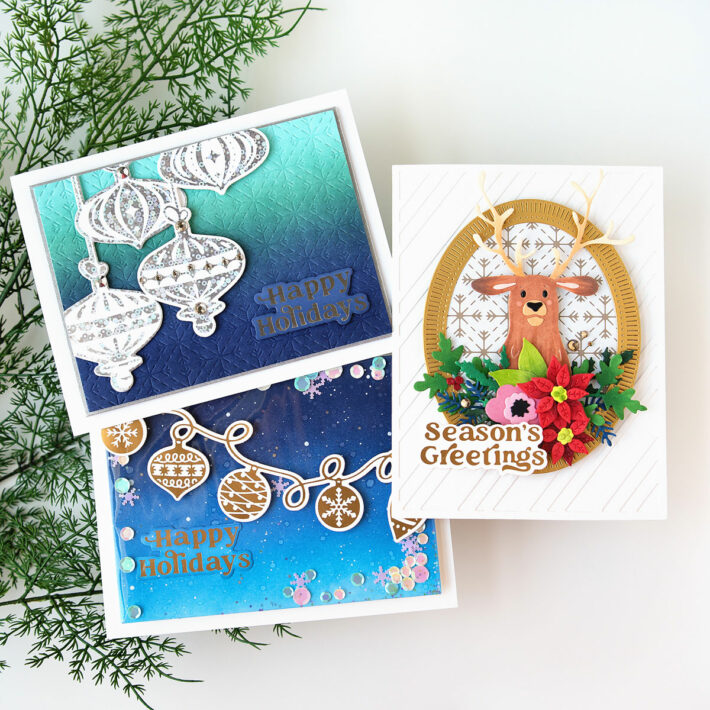
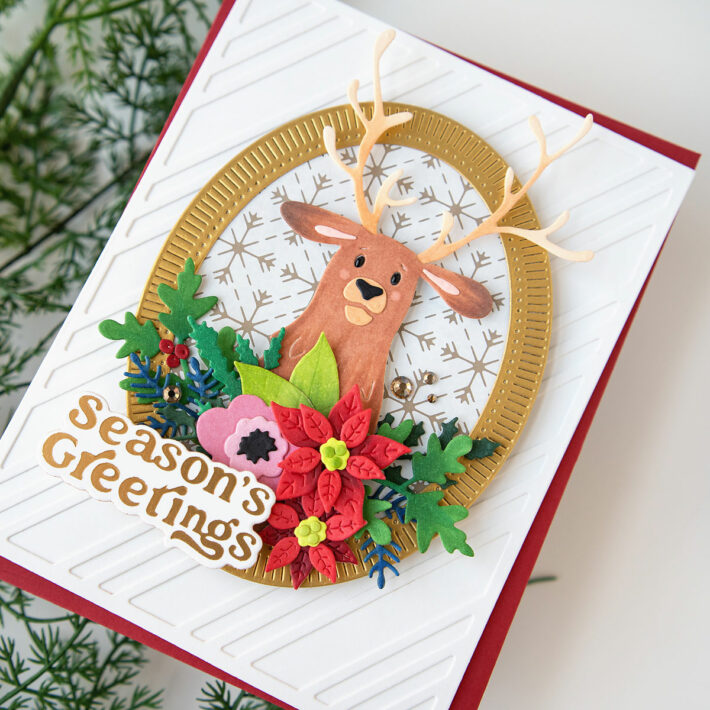
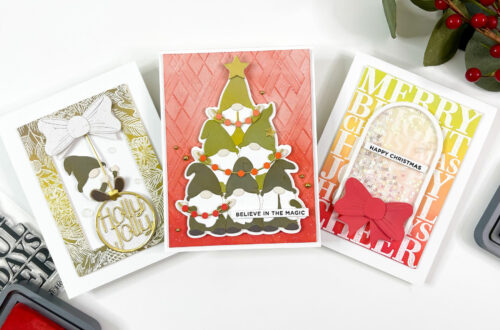
For my first card, I used the Floral Stag etched dies as my focal point. First, I die-cut all of the dies in the Floral Stag die set on white cardstock. I used Copic markers to color the images. Next, I glued together the stag and the flowers. I set the die cuts aside, then worked on the other pieces of my card.
I wanted to create a focal point for the stag, and I wanted it to look like a framed piece. I used some of the fluted oval dies to create a gold frame. For the inner oval, I wanted it to look like wallpaper, so I used the Geo Snowflakes glimmer plate and opaque white glimmer foil. I foiled the geo snowflake background on craft cardstock, then I used my solid rectangle glimmer plate to foil the leftover negative piece of foil on another piece of craft cardstock.
I liked the negative foiled background for my card, and I love the opaque white foil! I adhered the gold oval frame to the negative foiled background. Next, I adhered the stag with foam squares. Then, I adhered the greenery and flowers with both foam tape and liquid glue.
For the background, I die-cut the Candy Stripes etched background die from white cardstock, then glued it to an A2 white card base. I adhered the oval to the background with foam tape. For my sentiment, I foiled the Joyful Christmas sentiments with satin gold glimmer foil, die cut it with the coordinating die, and then adhered it to the card with more foam squares. One of the things I love the most about the Joyful Christmas sentiments glimmer foil plate is it foils all the sentiments on one plate, and the coordinating die diecuts them all together in one pass. To finish off my card, I added a couple of gold gems.
Retro Ornaments
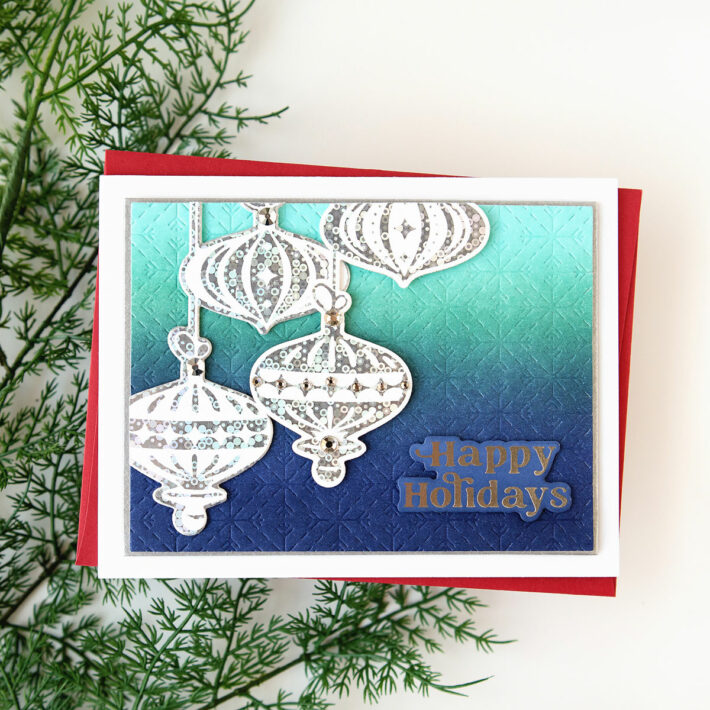
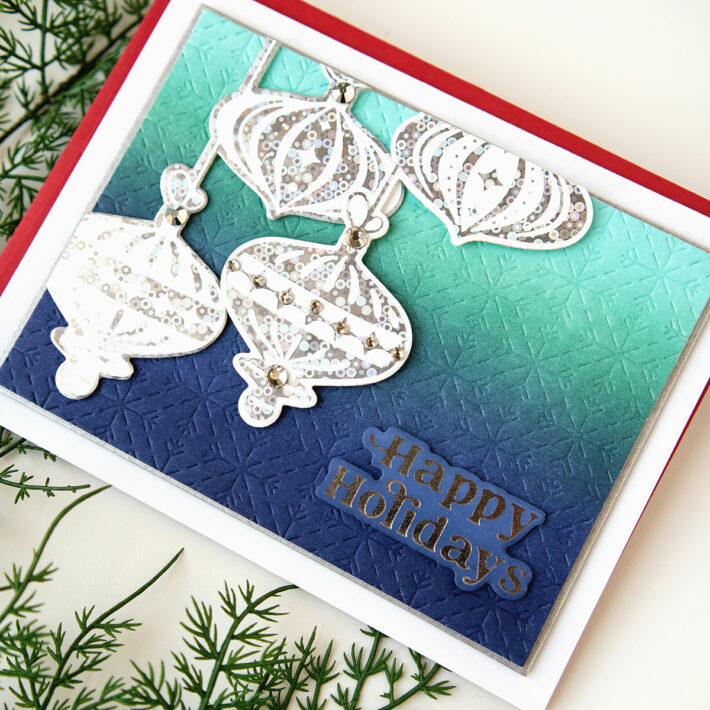
For my second card, I used the Retro Ornaments glimmer plate and die set as my focal point. I foiled the Retro ornaments glimmer plate with Sparkle silver foil on smooth white cardstock. I also foiled the leftover negative foil using my solid rectangle plate. I used the coordinative die to die-cut the ornaments.
For my background, I ink blended a panel of white cardstock with Distress Inks. Then, I used the Geo Snowflakes glimmer plate to emboss the background for a softer look, instead of hot foiling. I used the rubber mat that came with my Platinum 6 die cutting machine, along with a couple of carstock shims in order to use it for embossing. I used one of the precision A2 layering dies to diecut the background panel. I adhered the 2 ornament die cuts to the ink blended panel using foam squares.
Then, I trimmed off the excess. I also used another one of the A2 layering dies to die cut a panel of brushed silver cardstock. I adhered the 2 panels together, with a few pieces of scrap cardstock in between, for a subtle matted look. For my sentiment, I used one of the Joyful Christmas sentiments that I foiled with silver foil on smooth white cardstock. I used the same Distress Ink color to ink blend over the sentiment, so the outline of the sentiment would blend in with the background panel. I adhered the sentiment, then I adhered the entire panel to an A2 white card base. I finished the card with some silver gems.
Ornament String
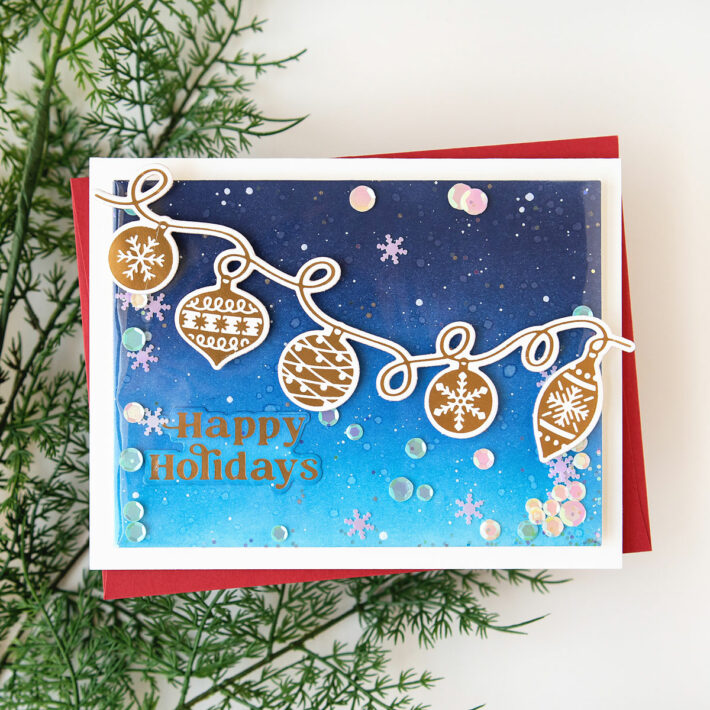
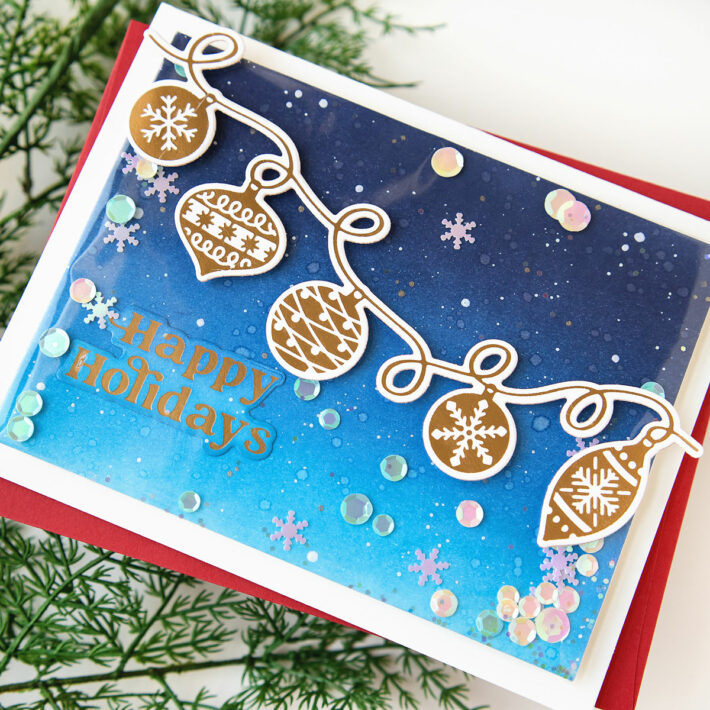
For my third card, I created a flat shaker, and I used the Ornament String glimmer plate for my focal point.
First, I foiled the ornament string glimmer plate on smooth white cardstock with satin gold foil. Then, I used the coordinating die to die cut the ornament string. I love how the die cuts out the hole in the loops of the string. I put the die cut aside and began working on the background for the shaker.
I used Distress inks to ink blend a piece of white cardstock. I die-cut the panel using one of the precision A2 layering dies. Then, I added some splatters of watered-down white paint. I also used a glitter pen to draw on some glitter spatters. I used one of the satin gold glimmer Joyful Christmas sentiments and used Distress ink to color the outline. I glued the sentiment to the background panel. Then, I used a white pen to draw on a few white specks, so the sentiment would blend in with the panel.
To assemble the flat shaker, I used a piece of packaging. This particular piece of plastic was the packaging from a Spellbinders embossing folder. The plastic is thin, easy to work with, and perfect for flat shakers. I cut the plastic down until it was about ¼ inch larger than the ink blended panel on all four sides (so about ½ in bigger overall). I placed the ink blended panel in the middle of the packaging upside down, then folded and adhered the extra ¼ inch sides of the plastic to the back of the ink blended panel on 3 of the 4 sides. I used the open side to fill the flat shaker with sequins. Then, I flipped the panel upside down again and adhered to that final ¼-inch side. I adhered the flat shaker to an A2 white card base with foam tape. Then, I adhered the ornament string to the top with thin foam squares.
I am so happy with how these cards turned out. I had so much fun creating with the Joyful Christmas collection by Simon Hurley. I hope you picked up some inspiration, and I hope you’ll check out these products on the Spellbinders website. Thanks so much for stopping by, and have a great day!
Spellbinders Supplies:

Other Supplies
Distress ink in chipped sapphire, evergreen bough, salvaged patina, prize ribbon, and salty ocean, Copic markers, snowflake sequins, glitter gel pen, white gel pen, white paint.

One Comment
chrystalwycoff
Absolutely Adorable. Love all of your cards. They are very beautiful. Don’t you just love Simon Hurley’s stamps and the way he draws? I have a few of his Stamps too and I have 20 of his inks and I love his lunar pastes too which I have all except one.