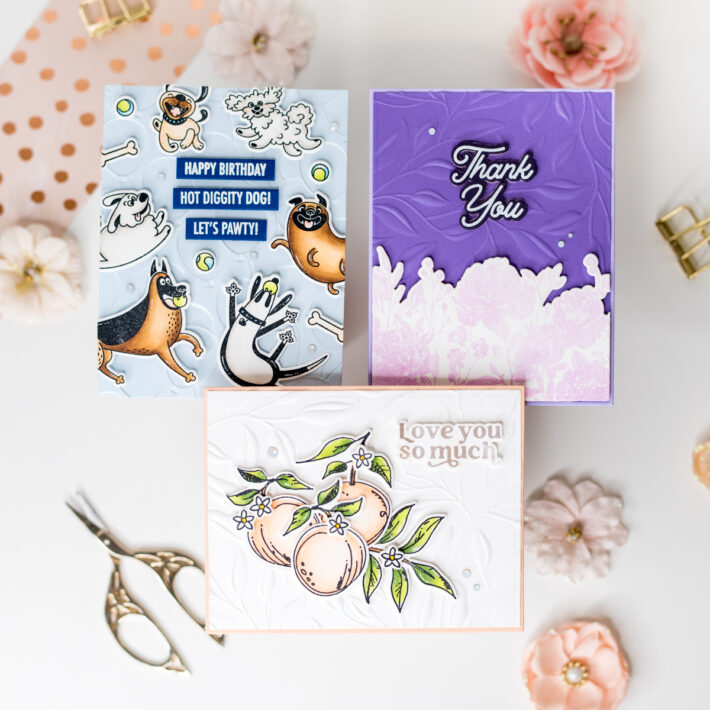
Card Assortment Featuring the New Simon Hurley Collection with Leica Palma
Hey crafty friends! It’s Leica here, and I’m thrilled to be sharing three fantastic cards with you on the Spellbinders Blog. Today, I’ve got some brand-new goodies from the Simon Hurley collection to show you. Each card has its own unique style, and I can’t wait to share them with you.
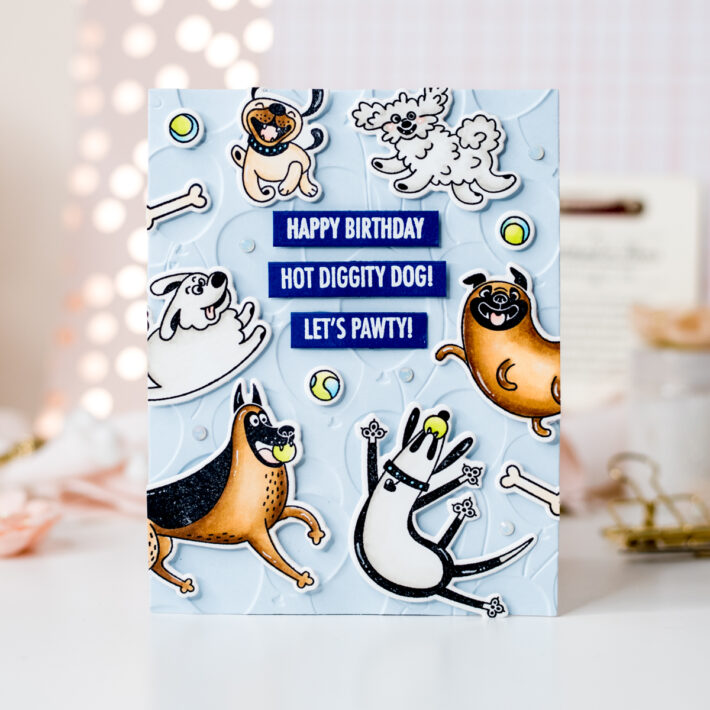
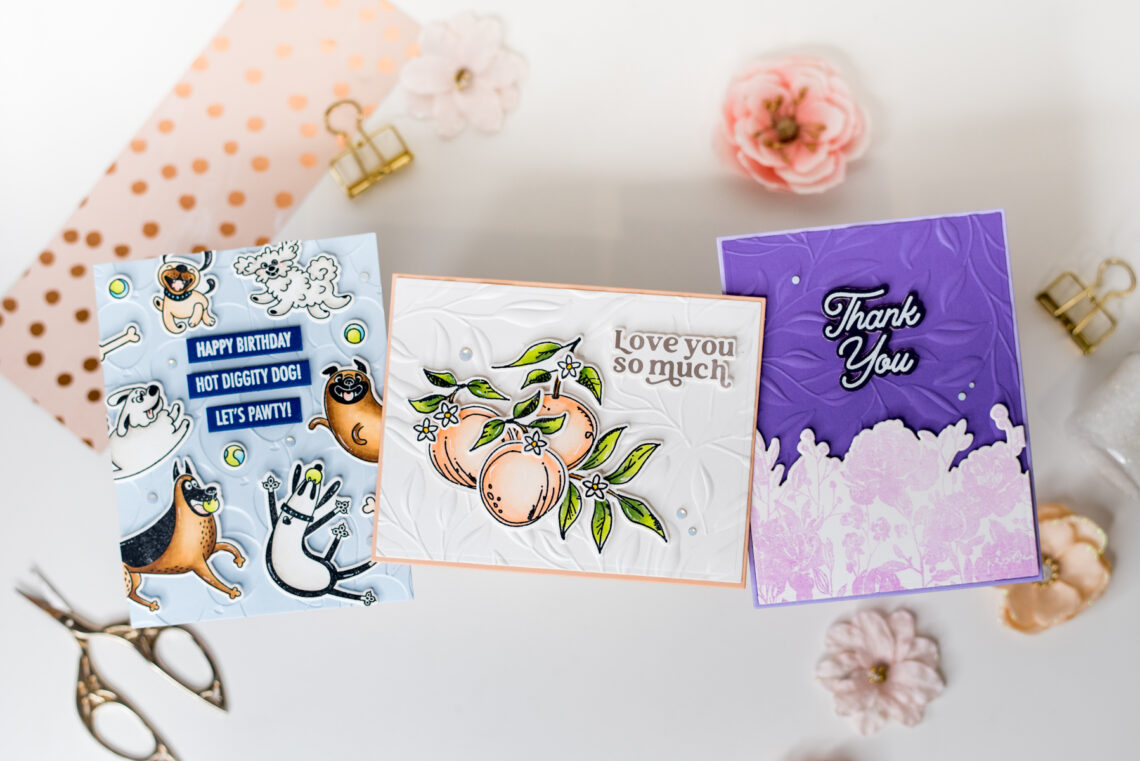
Let’s kick things off with the first card. I started by using an A2-sized Glacier cardstock for the base, and to add some texture, I ran it through a machine using the Floating Balloons 3D Embossing Folder. It gave the card panel such a cool texture! I then stamped, colored, and cut the images from the Hot Diggity Dog stamp set and coordinating dies. I used foam adhesive to attach them to the card panel and trimmed any parts that went over the edges. For an extra touch, I added some sentiments in strips of Cosmic Sky cardstock, raised with foam adhesive to create dimension. And of course, we need a little sparkle and shine, so I added some gems here and there.
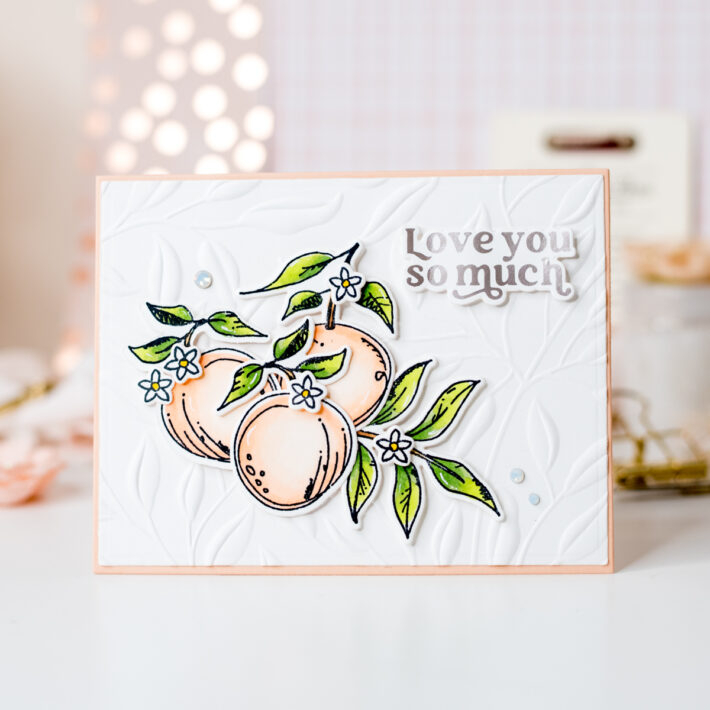
Now, let’s move on to the second card. I started with a white cardstock panel, cutting it using the largest die from the A2 Matting Basics A set. To give it a textured look, I used the Leafy 3D Embossing Folder. Then, I glued this panel to a Peach Sorbet cardstock panel in A2 size. For the main design, I stamped, colored, and cut out fruits, leaves, and flowers from the Sketched Citrus stamp set and coordinating dies. Even though they’re meant to be citrus, I decided to go with softer peachy colors to make them look like peaches. I used foam adhesive to attach the fruits to the embossed card panel. Next, I added a sentiment that was hot-foiled using a previously-released set. And to add that special touch, I included a few gems for some extra sparkle.
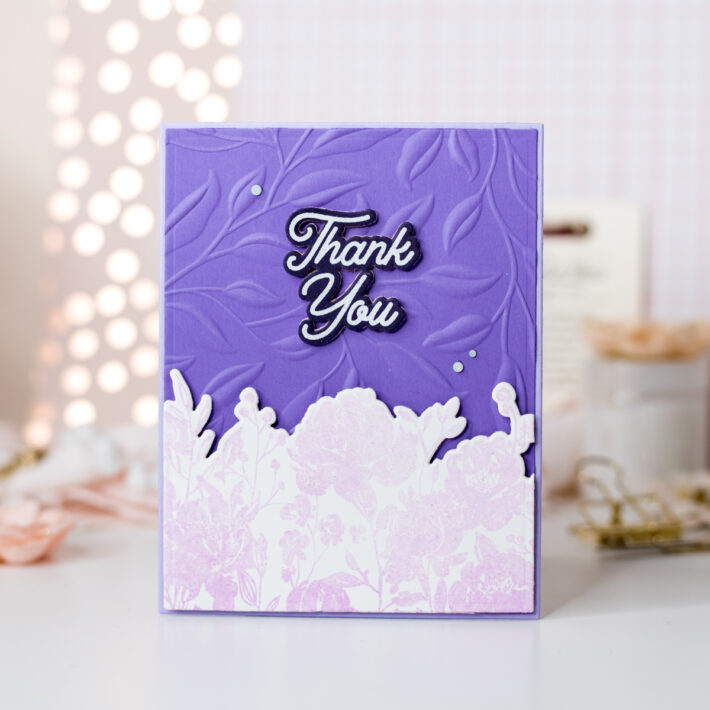
Lastly, let’s talk about the last card. I began by cutting a panel from Lilac Blossom cardstock using the largest die from the A2 Matting Basics A set. Then, I used the Leafy 3D Embossing Folder to create some texture on the panel. I adhered this textured panel to a Purple Mist cardstock panel in A2 size. For the main floral image, I stamped the largest stamp from the Watercolor Flowers set using Distress Oxide Inks. I used a blend of Wilted Violet and Milled Lavender to create a soft ombre effect. After stamping, I cut the image with a rectangle die and trimmed the top portion using the coordinating die. I attached this beautiful floral piece to the card panel using foam adhesive. As for the sentiment, I white heat-embossed it on Plum cardstock and cut it with the coordinating die. To add dimension, I layered a few extra pieces. And to add that final touch of magic, I included some gems for extra sparkle and shine. Lastly, I glued the card panel onto a standard-sized card base.
That’s it for my cards, my dear friends! I absolutely adore this new collection by Simon Hurley. It provides endless options for creating cards suitable for all ages and occasions. Thank you so much for stopping by today. Happy crafting!
Spellbinders Supplies:


