Make It Merry Limited Edition Holiday Cardmaking Kit 2023 Inspiration Take 3!
Welcome back to our mini inspirational series featuring the Make it Merry Limited Edition Holiday Cardmaking Kit! Check out the first post in the series HERE with 5 Christmas Card Ideas from Brenda Noelke and the second post HERE with 5 More Christmas Card Ideas from Leica Palma.
2023 Make It Merry Christmas Kit is packed full of holiday cheer! This mega Christmas offering will have you creating over 25 seasonal cards and more with loads of leftover embellishments, papers and more. This kit also includes sparkly gems, beautiful holiday patterned papers, various kinds of stickers, cardstock, card bases and envelopes. With foam and tape adhesives in the mix, no excuse to get started on your holiday projects! A full retail value of $59.99!
Today we are welcoming Annie Williams with additional Christmas card ideas you can make using your Make it Merry Limited Edition Holiday Cardmaking Kit.
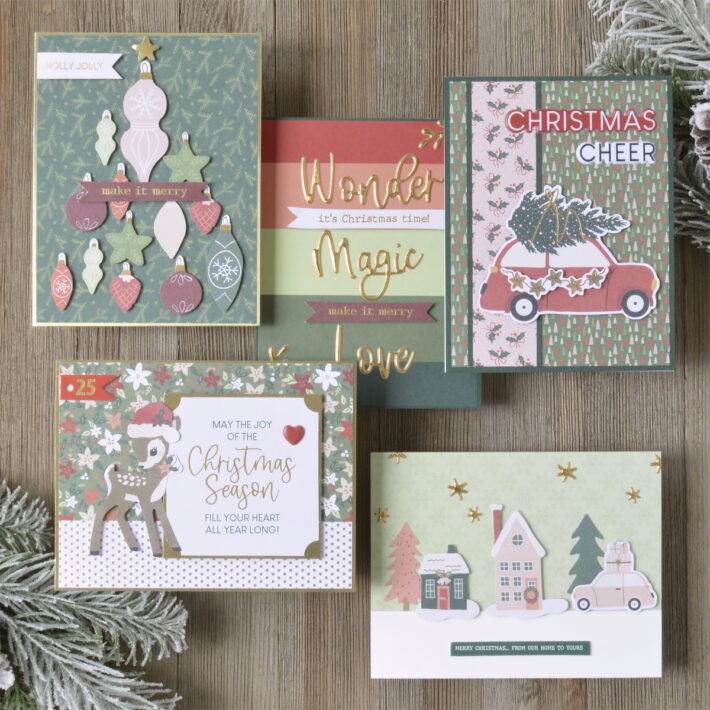
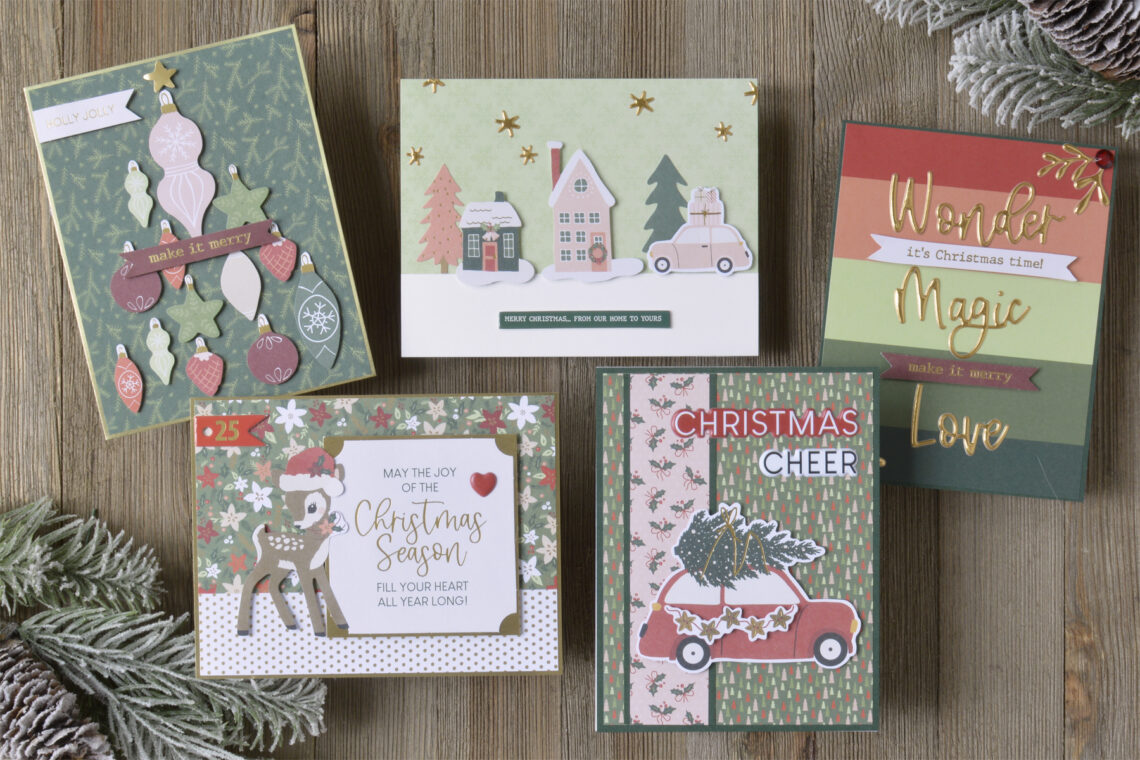
Hi there, this is Annie and I’m thrilled to be back on the blog today to share five simple cards made with the contents of the new Make It Merry Limited Edition Holiday Cardmaking Kit from Spellbinders. The gorgeous color scheme, sweet holiday icons, and beautiful sentiments in this kit make it super easy to create cards in a variety of styles in no time at all.
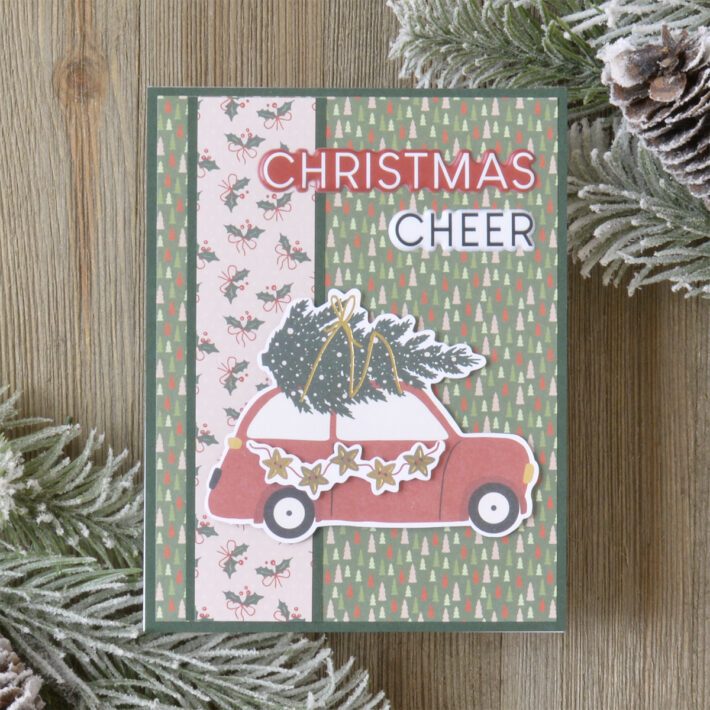
Christmas Cheer Card
I was drawn to this adorable little car right away, so set out to find some cute patterned papers to go with it first. With just a few embellishments and a paper trimmer, I quickly pieced this festive card together.
I started by trimming the holly patterned paper to about 1.25” x 5.25” and the tree patterned paper to 4” x 5.25”, matting both with some of the dark green cardstock in the kit. Once adhered to one of the A2-sized card bases, I popped the car up on top with foam squares. To embellish the car, I added a die-cut garland and finished off the rest of the card with a couple of puffy sentiment stickers.
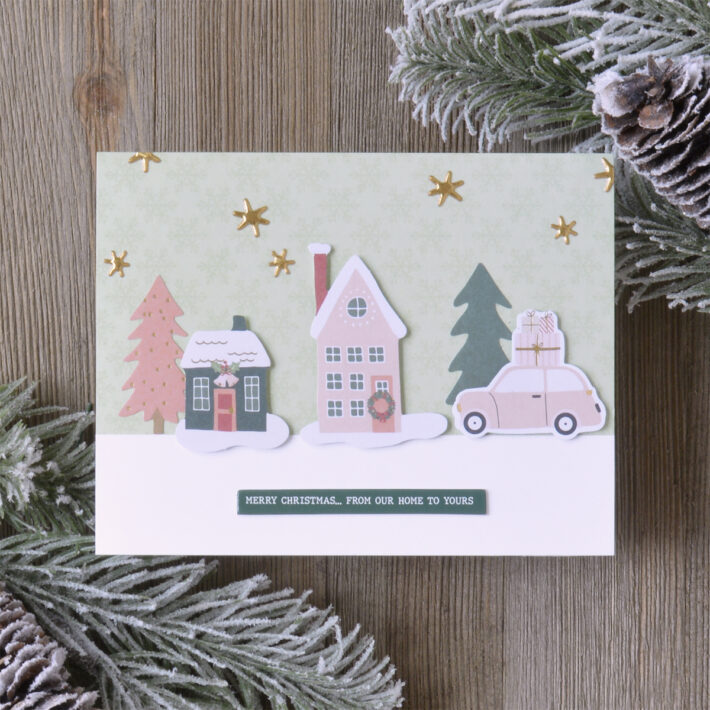
Snowy Village Card
Give me some snowy houses and trees and I’m going to build you a village! I love that so many of the die-cut elements in the kit are sized to make different wintery scenes.
I started by trimming some of the green snowflake patterned paper to 4.25” x 5.5” and adhered it to one of the A2-sized card bases. Then I trimmed a piece of the white cardstock in the kit to about 1.25” x 5.5” and added it to the bottom of the card to create the snowy ground. I adhered the buildings, trees, and car to the front of the card with a mix of foam squares and liquid glue for lots of dimension. To finish off the card, I added some gold puffy star stickers to the sky and a chipboard sentiment.
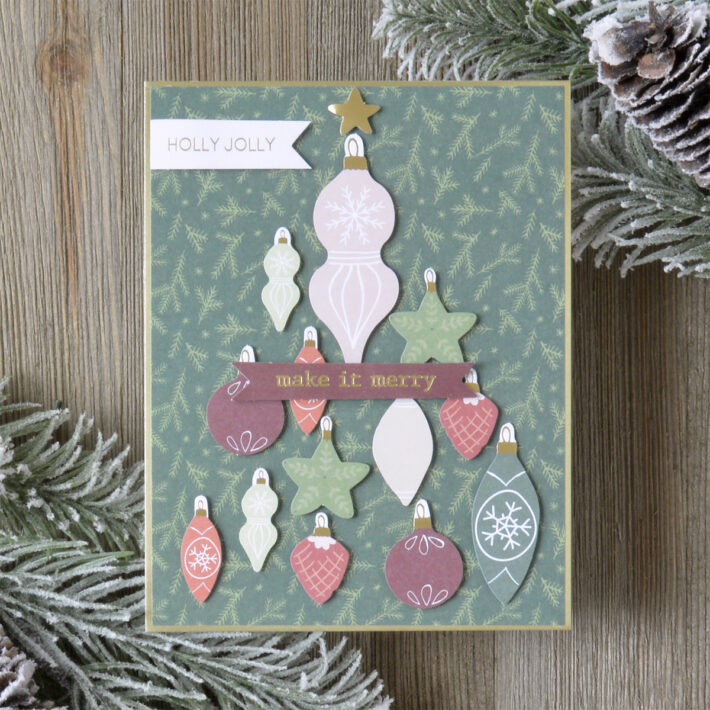
Ornament Tree Card
There are a ton of cute die-cut ornaments in a variety of colors, shapes, and sizes, so I played around with different ways to arrange them next. This simple ornament tree card was the result!
I trimmed a piece of the pine sprig patterned paper to 4.125” x 5.375”, matted it with gold cardstock, and adhered it all to one of the A2-sized card bases. Once I had decided on my arrangement, I added each ornament to the front of the card with foam squares, then popped the two die-cut sentiments up on top with more foam squares.
Santa Deer Card
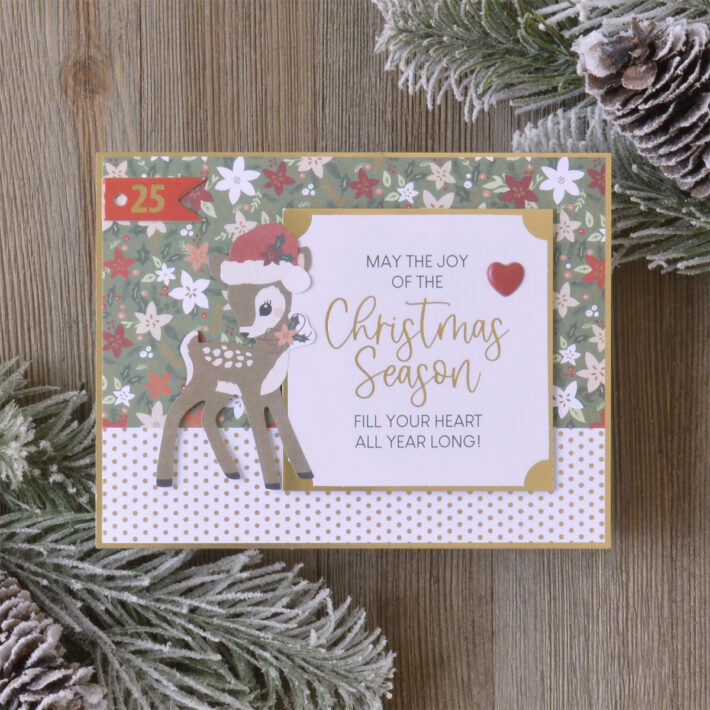
And of course, I couldn’t leave that sweet deer behind! With beautiful sentiment and pretty patterned papers, this quick card is sure to make someone on your holiday card list smile.
I started by matting some of that gorgeous green floral patterned paper with gold cardstock and added it to one of the A2-sized card bases. Then I adhered a strip of the polka dot paper to the bottom of the card to ground the deer. I matted the big beautiful sentiment die-cut with more gold cardstock and popped it up on top of the card next to the cute die-cut deer. A Santa hat, puffy heart, and chipboard flag finish off this sweet card.
Holiday Words Card
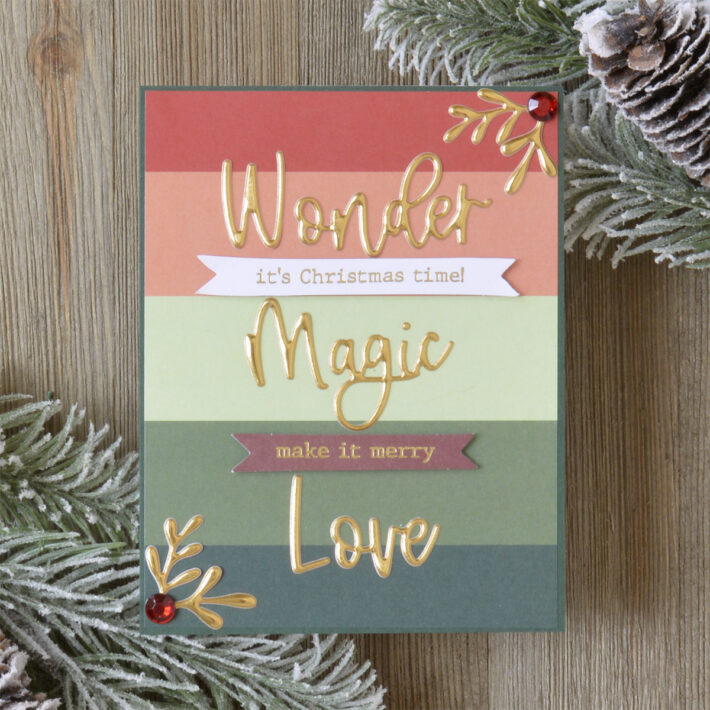
Lastly, there are so many beautiful sentiments and words in the kit that I couldn’t help but devote an entire card just to them.
I matted a piece of that beautiful bold patterned paper with dark green cardstock and adhered it to one of the A2-sized card bases. Then I added three of the gorgeous gold puffy word stickers separated by two die-cut sentiment banners. To complete the card, I placed leafy gold puffy stickers in opposite corners and added a gemstone “berry” to each.
Spellbinders Supplies:

I hope you enjoyed these quick and easy holiday cards and thanks so much for stopping by today. You can find more inspiration over at my blog AnnieBWills.com.

