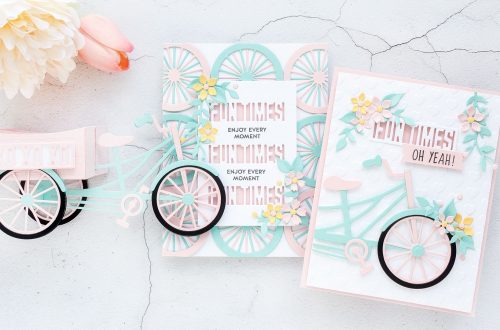
Cardmaking with the Nutcracker Sweet Collection
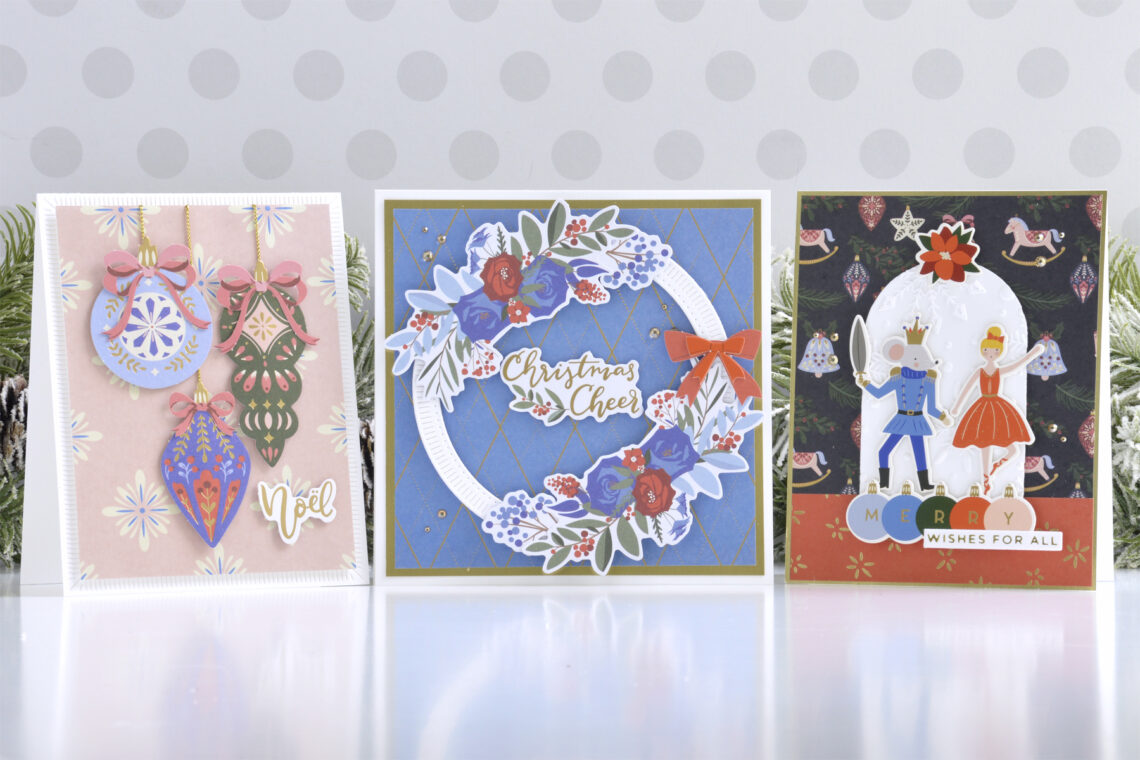
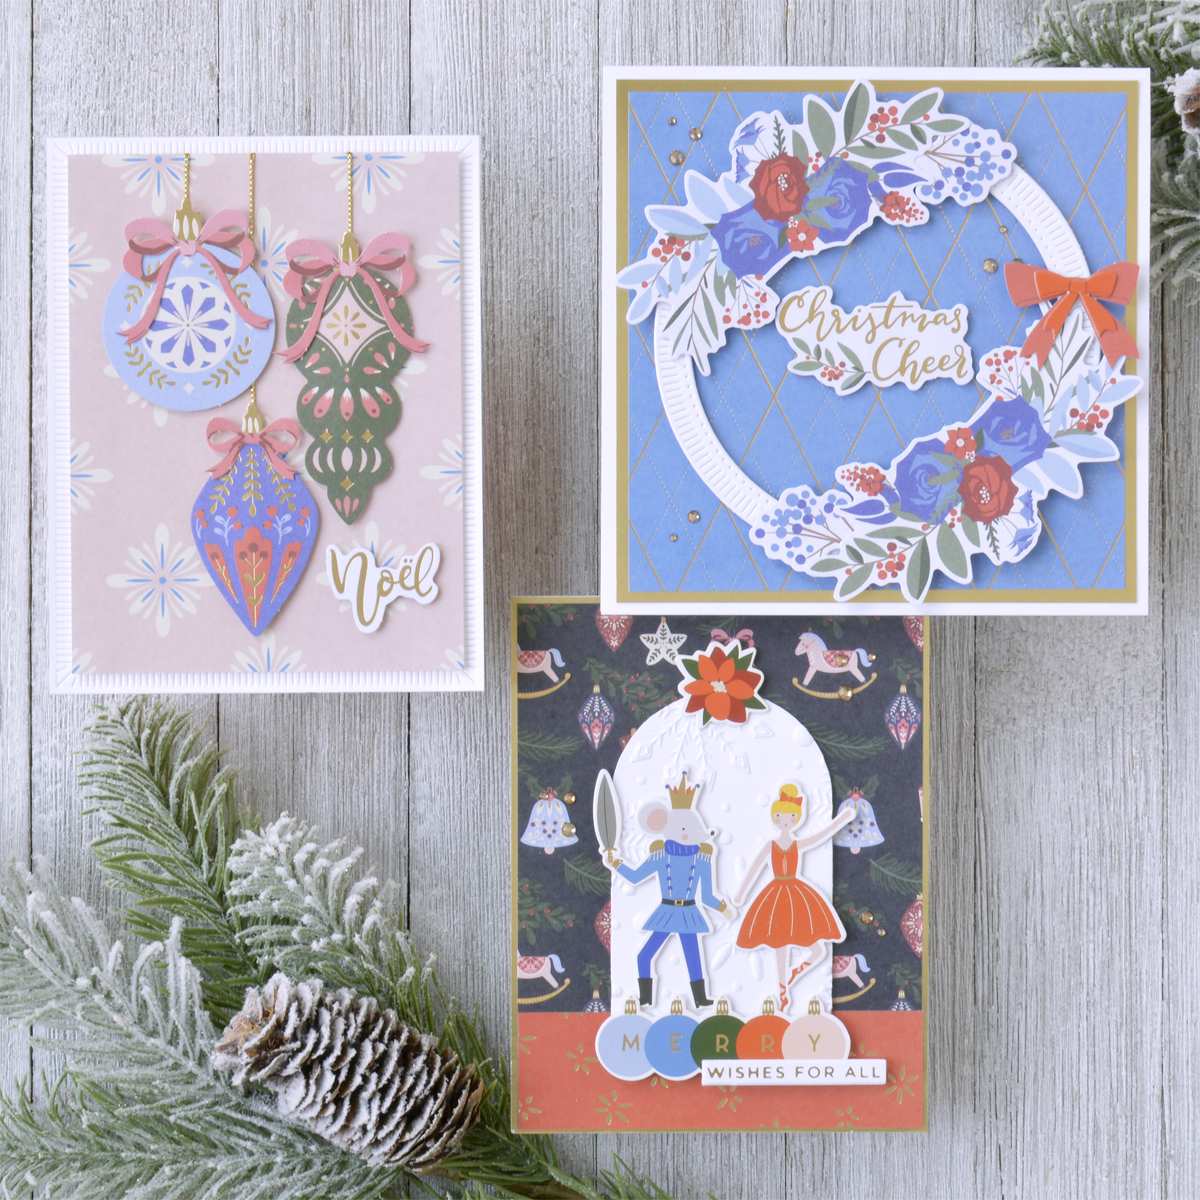
Hi there, this is Annie Williams and I’m thrilled to be back on the blog today to share a couple of projects using the new Nutcracker Sweet Collection from Spellbinders. The gorgeous color scheme and sweet die-cut designs and stickers in the collection inspired me to create three holiday cards that are both easy and elegant.
Ornament Noel Card
There are several folk art ornaments in the Nutcracker Ballet Printed Die-Cuts pack that are just gorgeous, so I wanted to play with these first. Here I arranged them on top of some pretty patterned paper for this easy and pretty holiday card.
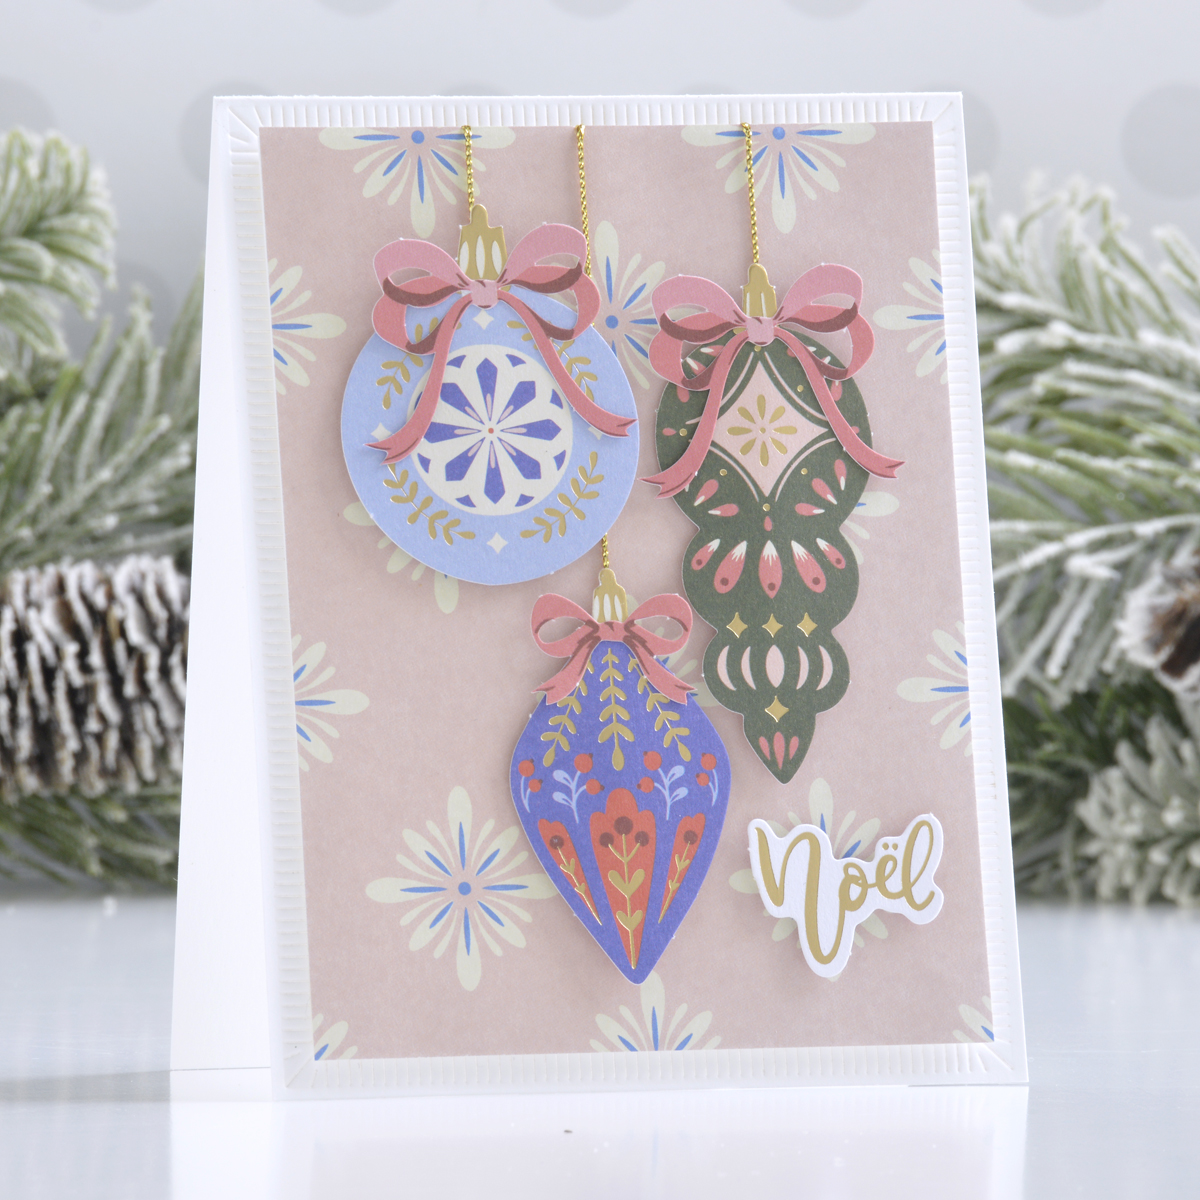
I started by die cutting the front of a top-folding A2-sized white card base with the largest rectangle insert from the Fluted Classics Rectangles Die Set to add a decorative border. Then I trimmed a piece of patterned paper from the Nutcracker Ballet Paper Pad to about 4” x 5.25”.
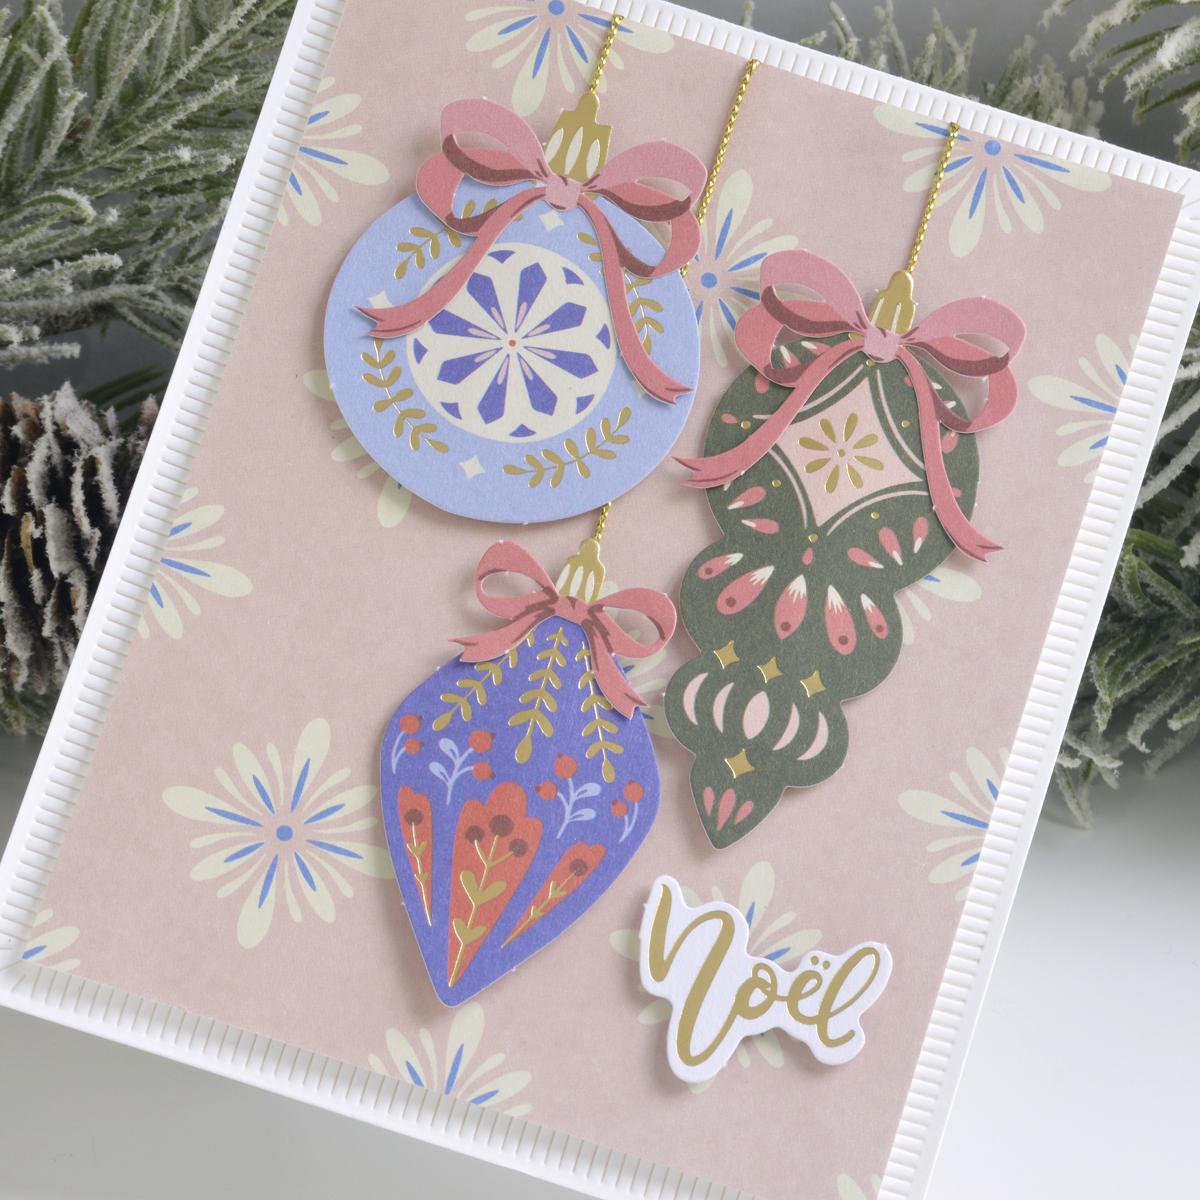
Once I had figured out where I was going to place my ornament die-cuts, I adhered them on top of the patterned paper with foam adhesive, placing a small length of gold metallic cording behind each one. I then added foam adhesive to the back of the pattern paper, pulled the cording taut (adhering it around the backside of the paper), and added the panel to the card. To finish off the card, I added die-cut bows to each ornament and a pretty foiled sentiment to the lower corner.
Christmas Cheer Wreath Card
Next, I chose some of the beautiful florals from the die-cut pack to create a pretty holiday wreath in non-traditional colors.
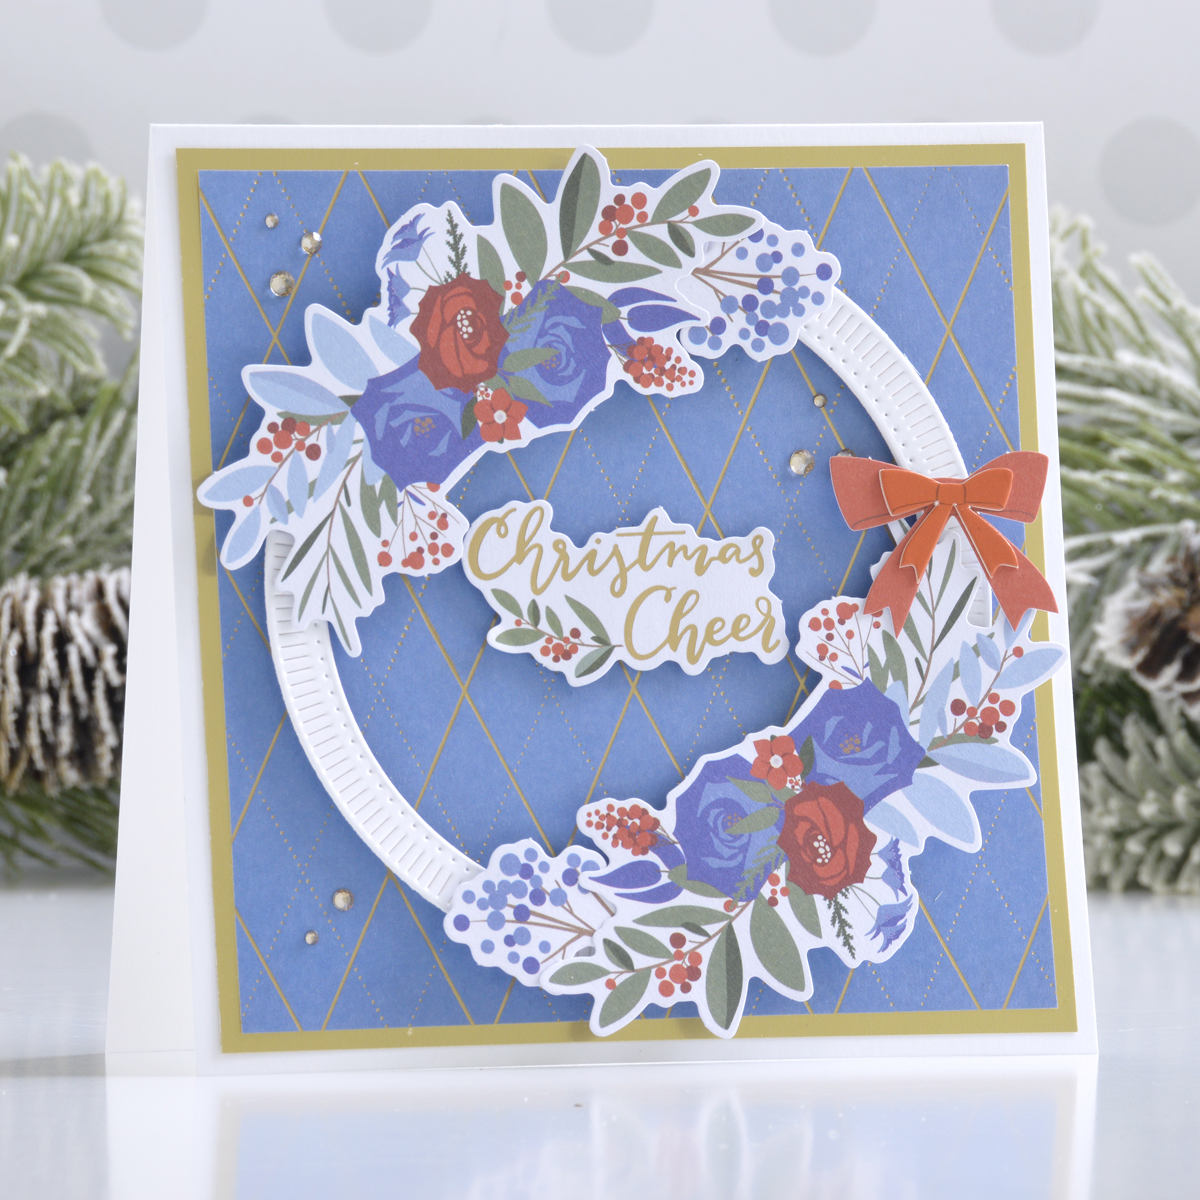
I started by trimming a piece of patterned paper from the Nutcracker Ballet Paper Pad to 5” square, matted it with Mirror Gold Cardstock, and adhered it to a top-folding 5.5” square white card base with a tape runner. Then I cut white cardstock using the large circle outer rim, insert, and inner rim dies from the Fluted Classics Circles Die Set to form an easy wreath form.
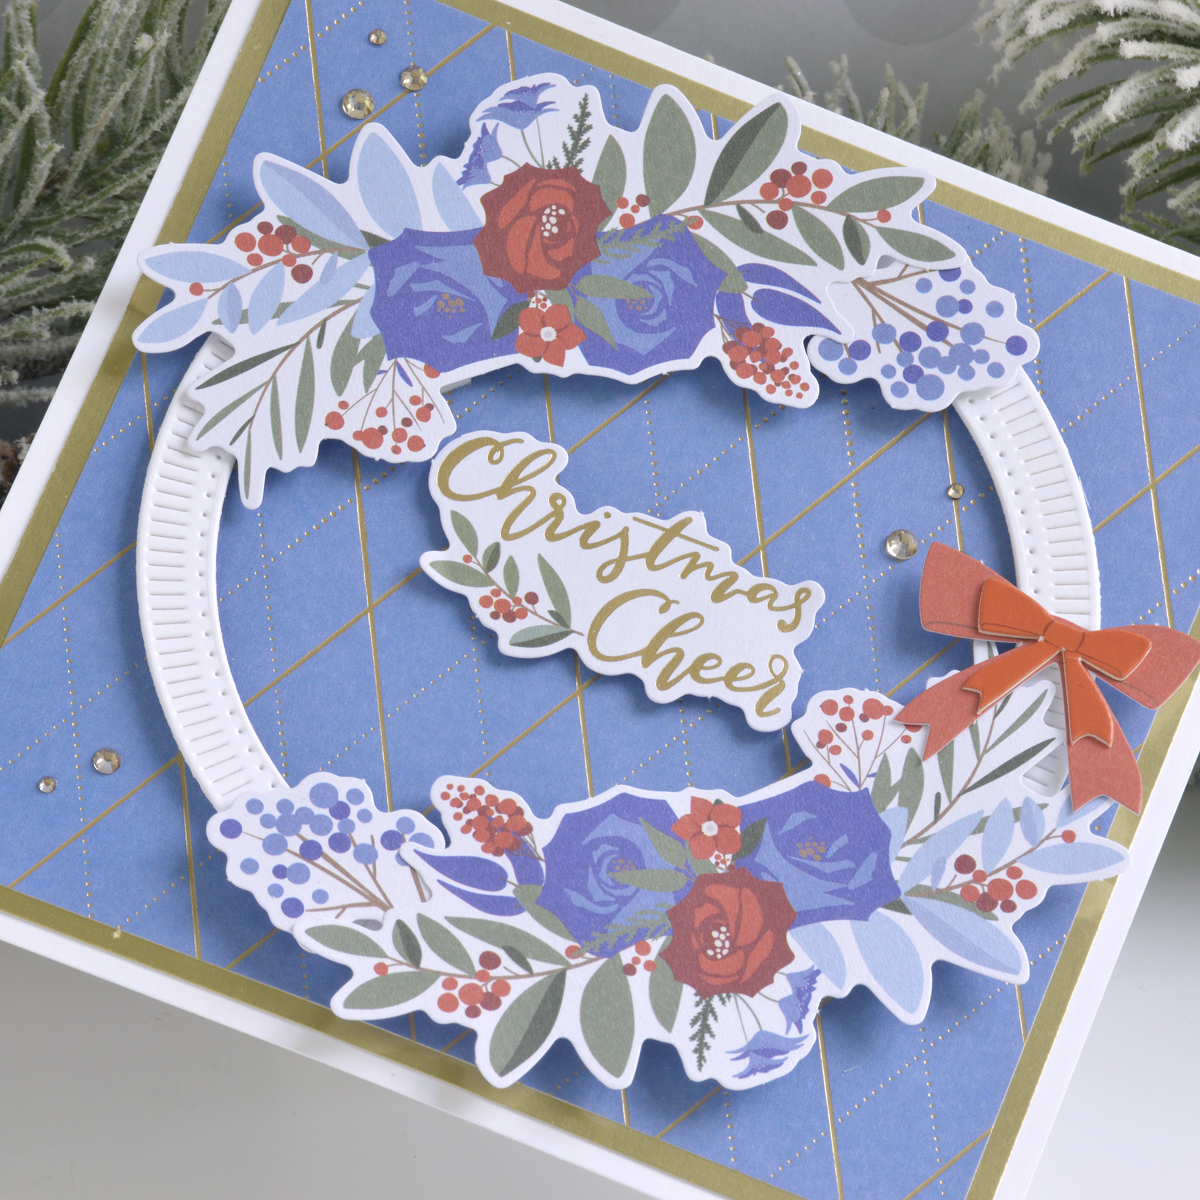
To build the wreath, I simply chose a couple of floral die-cuts from the Nutcracker Ballet Printed Die-Cuts pack and adhered them on either side of the wreath form. I added a little bow from the chipboard sticker pack on top of a slightly larger bow from the die-cuts pack to make the cute layered wreath bow. To finish off the card, I adhered a die-cut sentiment to the center of the card with foam adhesive and embellished it with a couple of Gold Mix Gems.
Nutcracker Ballet Card
Lastly, I couldn’t help but create a card using some of the sweet ballet characters from the collection. Here I created a tiny snow globe-inspired scene for two of the chipboard figures for a cute and festive holiday card.
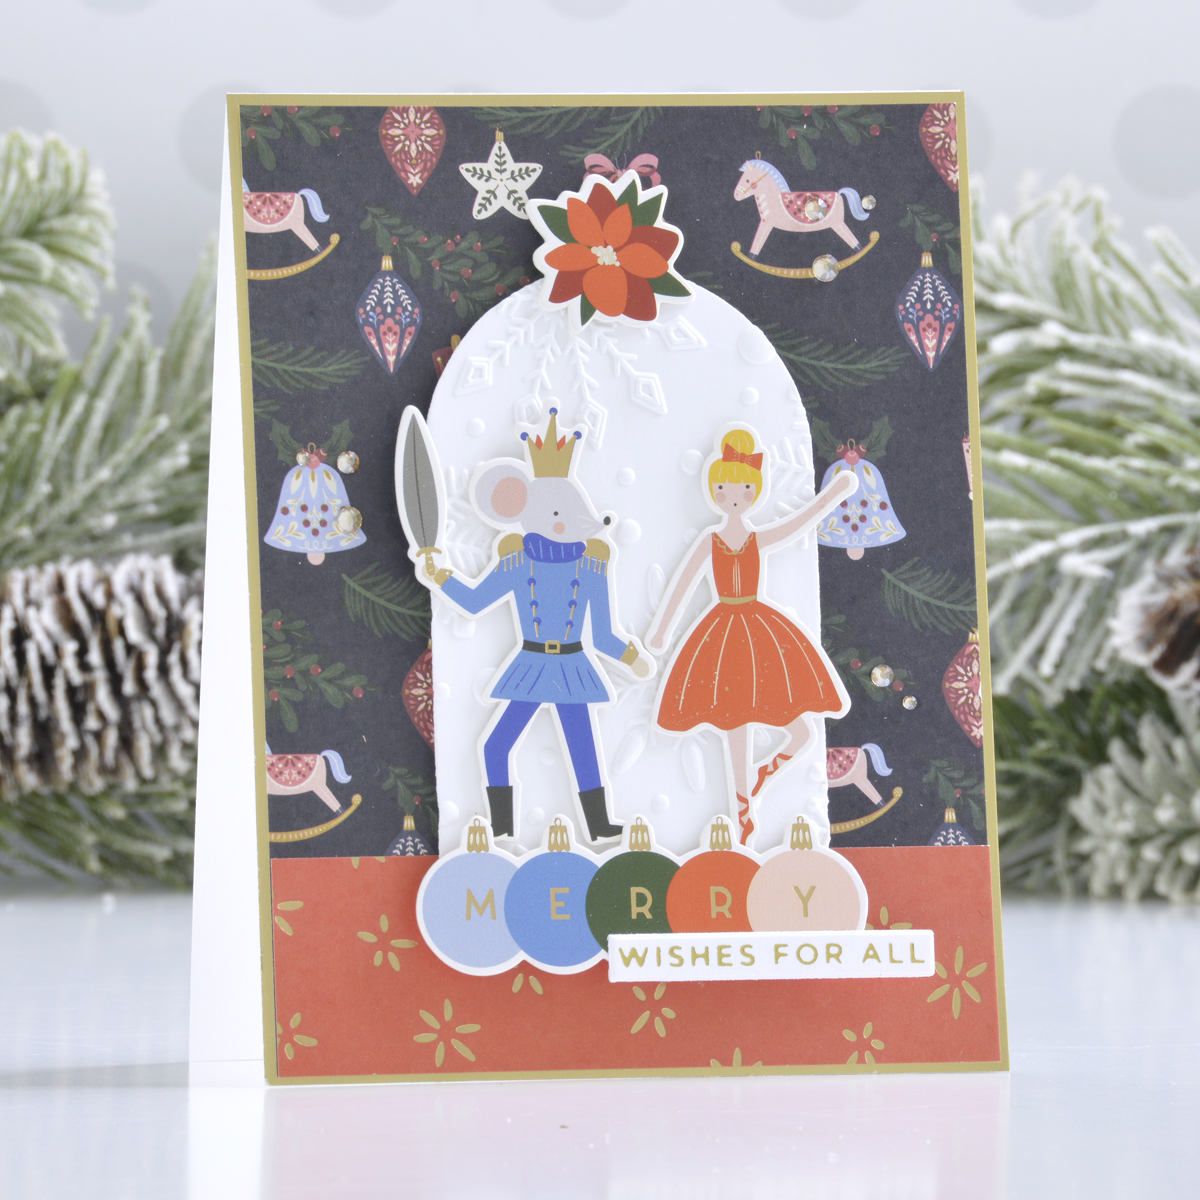
I started by trimming a piece of patterned paper to 4.125” x 5.375”, matted it with Mirror Gold Cardstock, and adhered it to a top-folding A2-sized white card base with tape runner. Then I added a small strip of red patterned paper to the bottom, measuring about 1.25” x 4.125”. After diecutting white cardstock with one of the dies from the Essential Arches Die Set, I embossed it with the Flurry of Snowflakes 3D Embossing Folder and added it to the center of the card with foam adhesive.
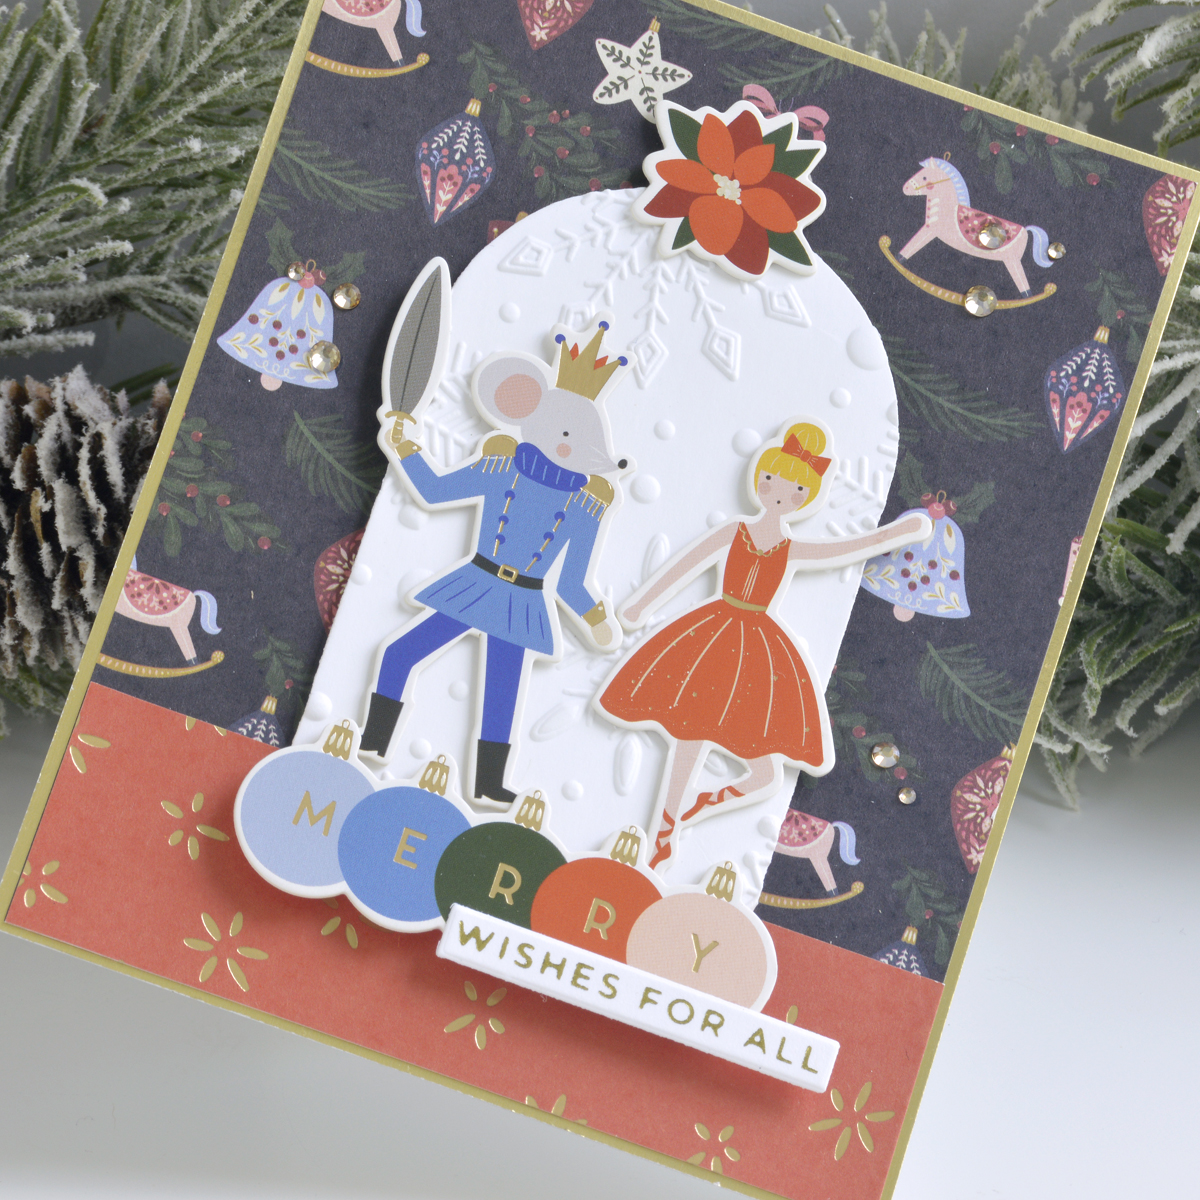
I next added two of the chipboard figures to the archway, as well as a poinsettia to the top and a line of ornaments to the bottom to complete the “snow globe”. To finish off the card, I embellished with a few Gold Mix Gems and added a secondary sentiment foiled in gold using the Glitter Wishes Glimmer Plate Set.
Spellbinders Supplies:

Other supplies
White heavyweight cardstock, metallic gold cording, tape runner, foam adhesive.
I hope you enjoyed these sweet and elegant holiday cards and thanks so much for stopping by today. You can find more inspiration over at my blog AnnieBWills.com.
Shadowbox Collection Roundup!
Exquisite Splendor Inspiration | Spring Cards and Basket Tags with Rebecca