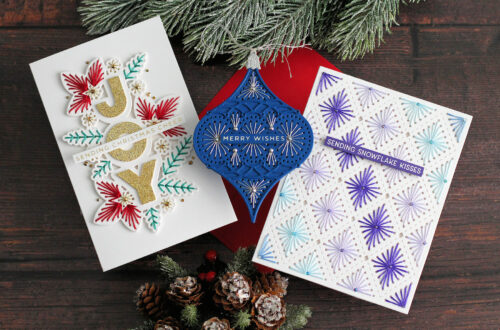
Stampendous Holiday Hugs Cardmaking Ideas
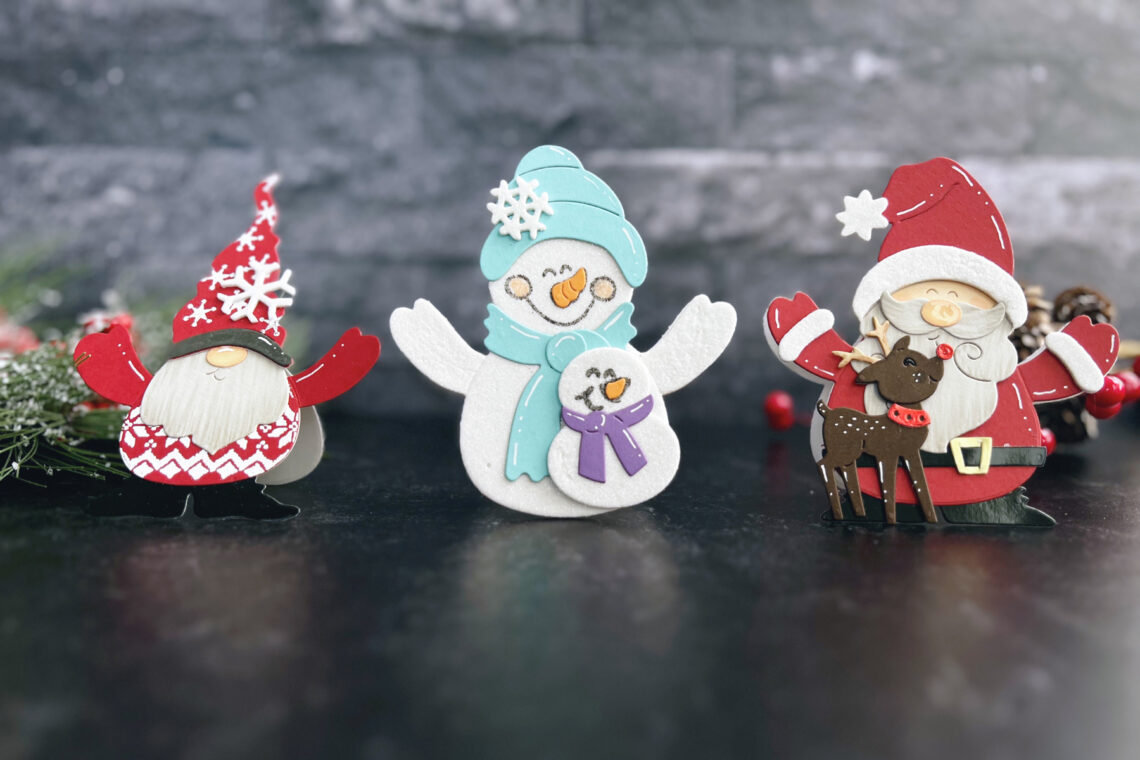
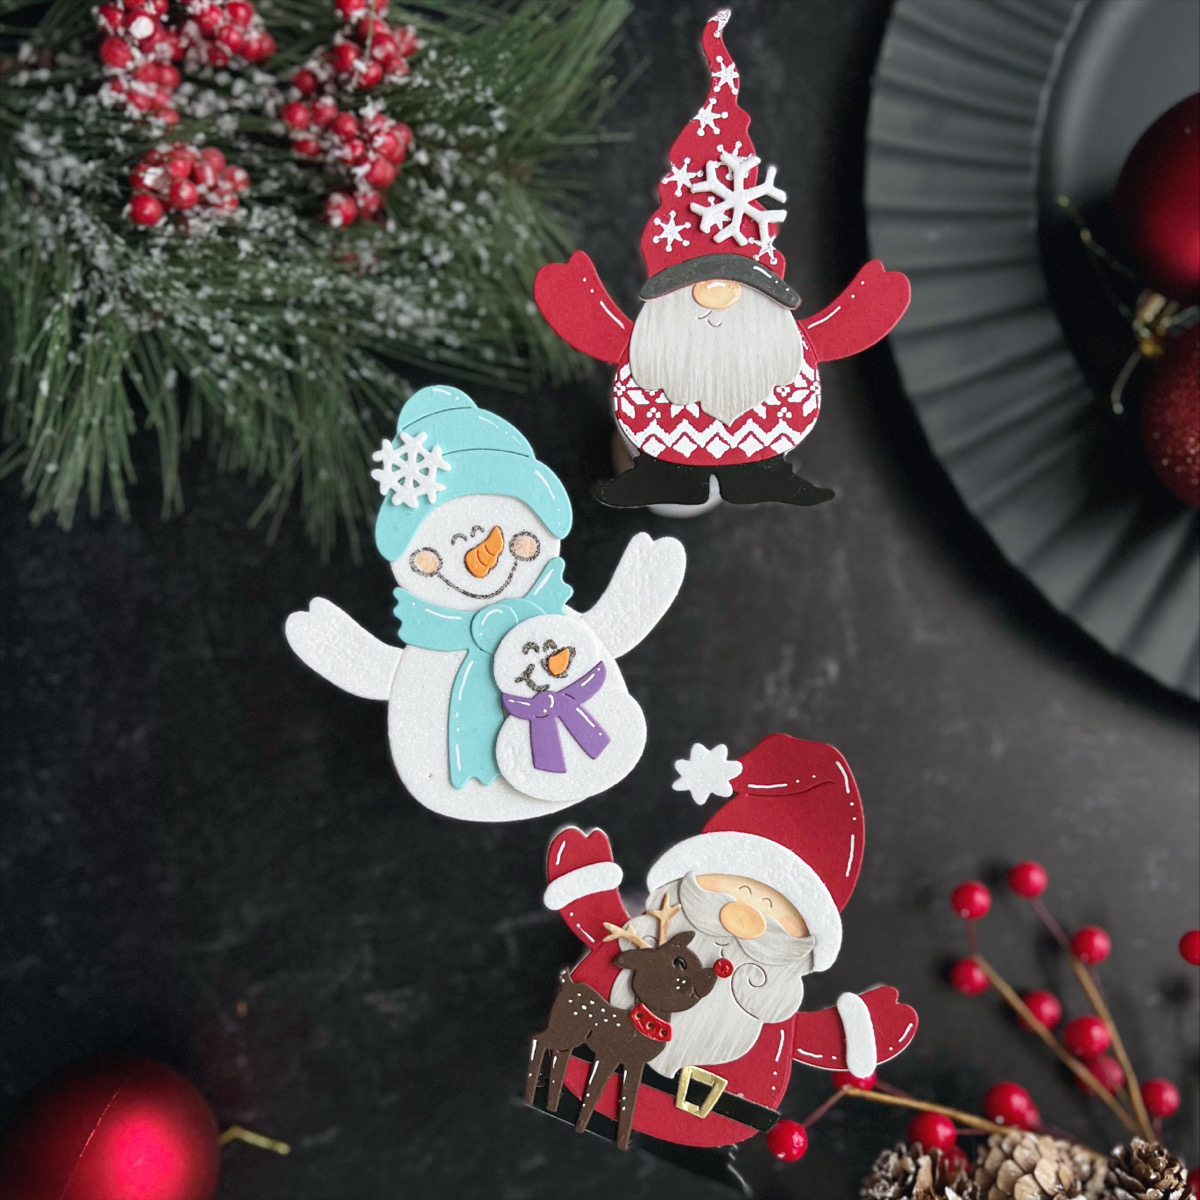
Hello! I’m Jen Kotas from Who Stole My Glitter and I’m happy to be back today to share three cards featuring the Stampendous Holiday Hugs Collection. There are three adorable character die sets in the collection that I’ve turned into shaped cards. There are also coordinating stamp sets to add cute details or sentiments.
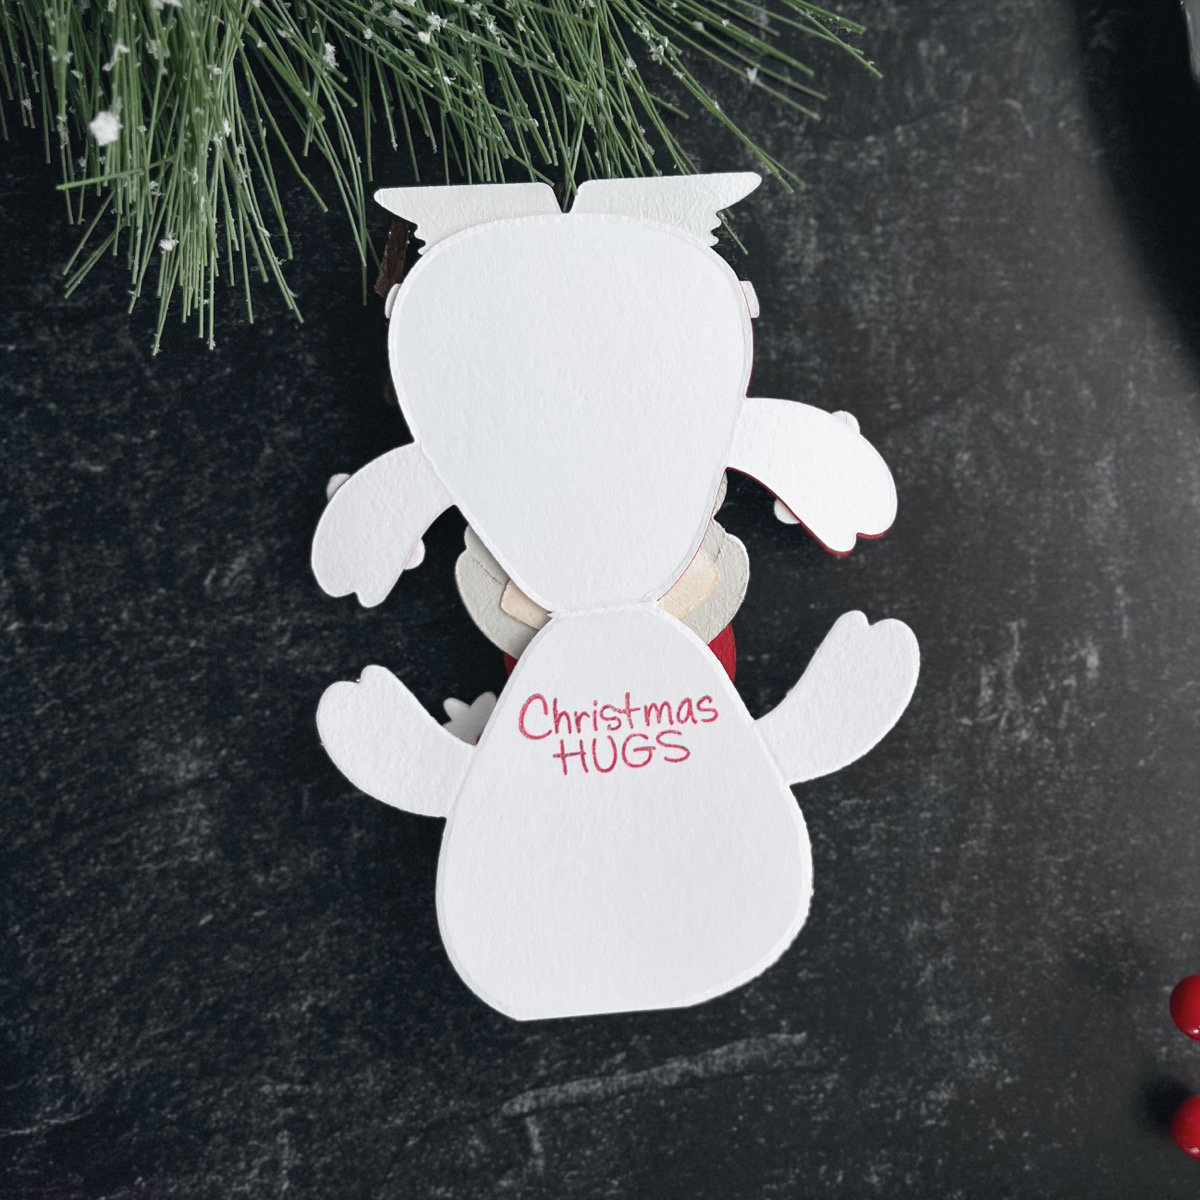
You could turn these shaped cards into tags by punching a hole in the card base and then adding twine or ribbon. To avoid seeing the back of the cardstock colors when the card is open, die-cut pieces out of white to back things like the hat and beard.
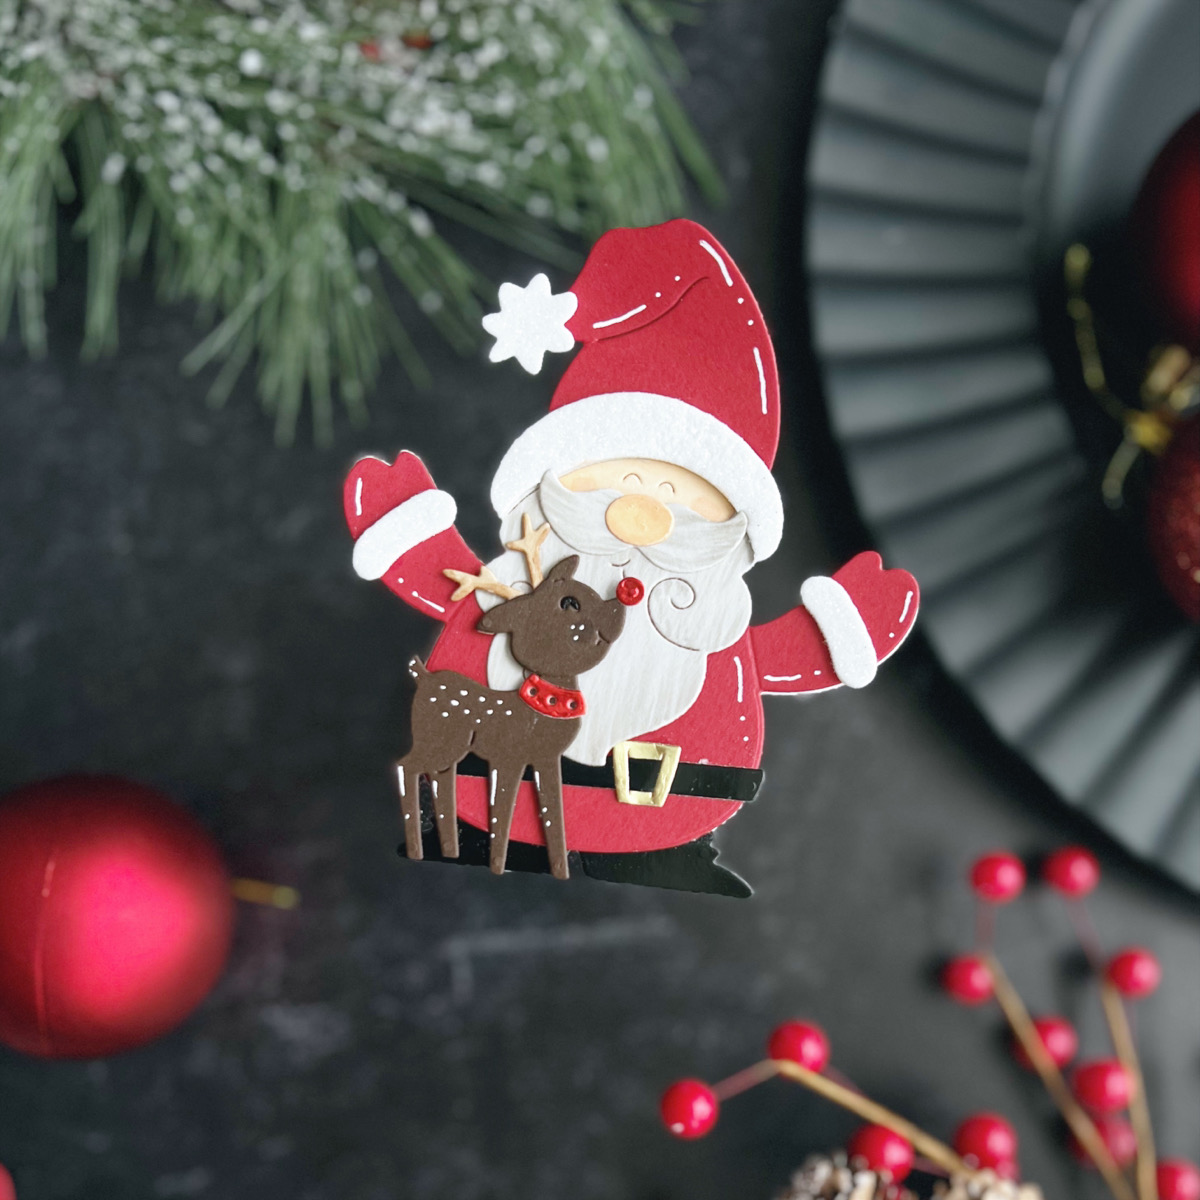
- Die cut the Santa body from Santa Hugs Etched Dies out of a folded A2 card base with a small amount of the die hanging over the fold. You may need a shim or to run it through more than once.
- Stamp sentiment from Holiday Hugs Sentiments Clear Stamp Set inside card with red ink.
- Die cut the Santa and reindeer dies from the variety of cardstock colors. Cut the hat brim a second time from White Glitter Foam.
- Color the face and nose as well as add detail to the beard and mustache using alcohol markers.
- Assemble Santa and adhere to the folded body.
- Assemble the reindeer and adhere with foam squares.
- Add Glossy Accents to the nose and white gel pen highlights.
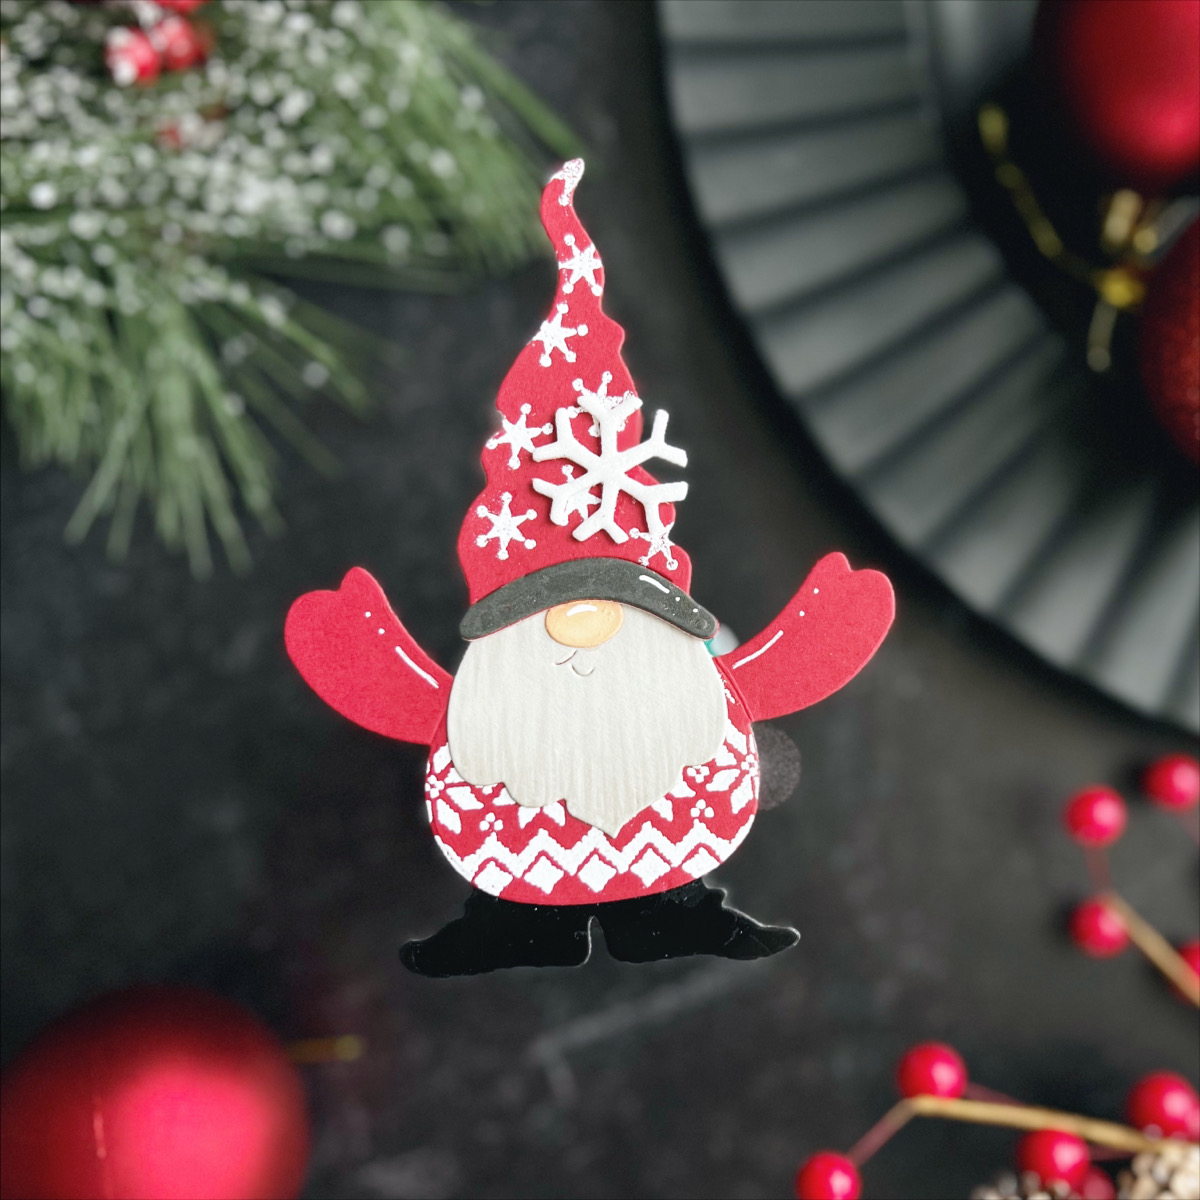
- Die cut the gnome body from Gnome Hugs Etched Dies out of a folded A2 card base with a small amount of the die hanging over the fold. You may need a shim or to run it through more than once. Since the gnome’s arms hit above the fold, I cut them off.
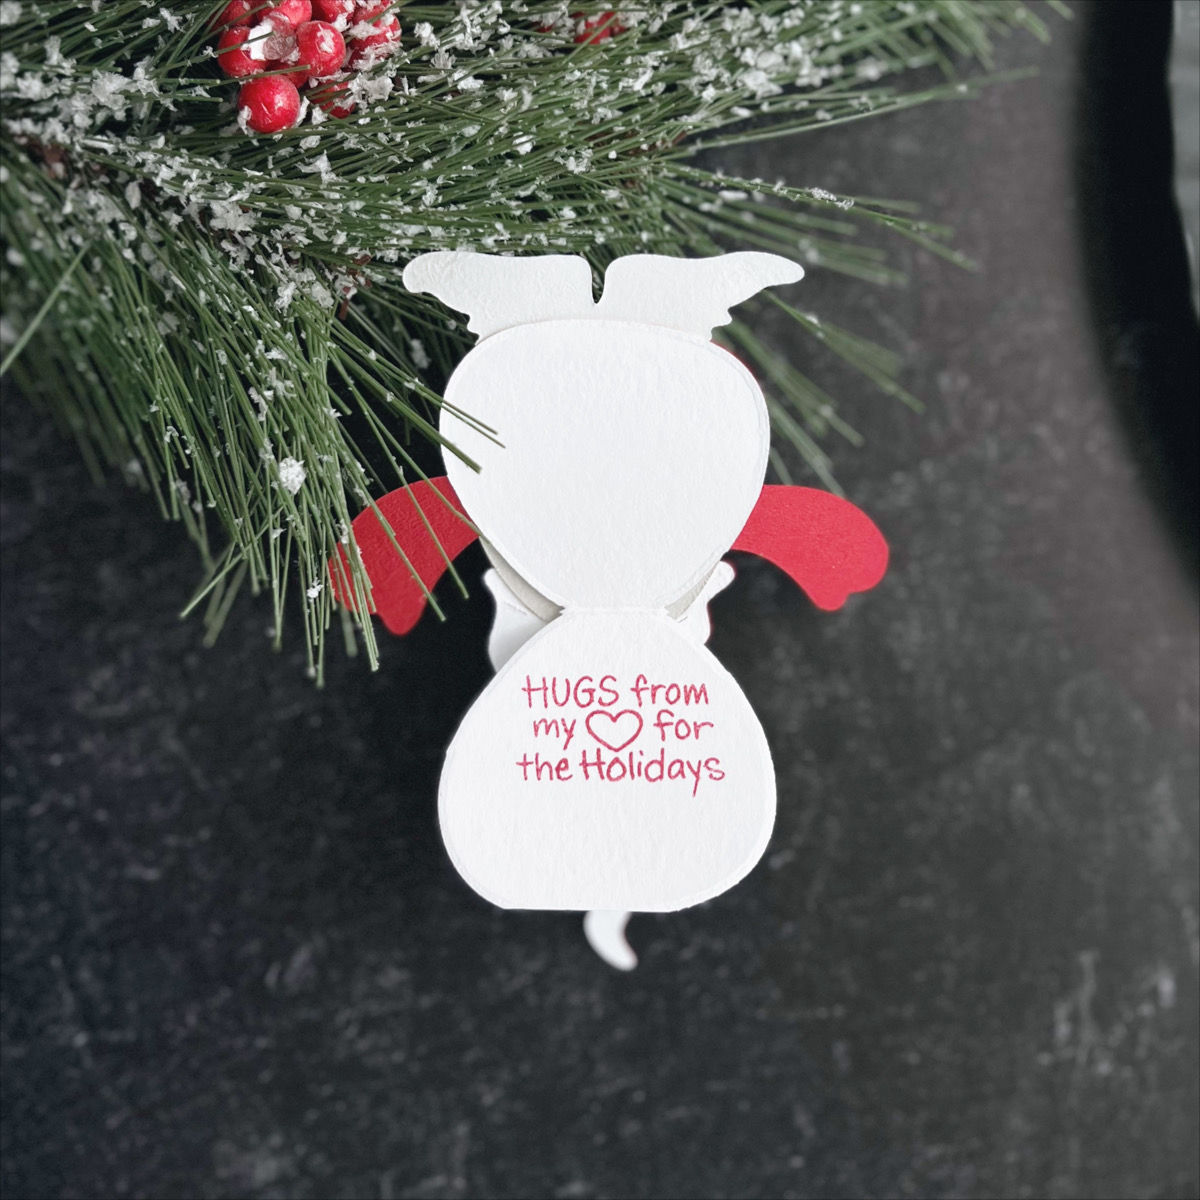
- Stamp sentiment from Gnome Hugs Sentiments Clear Stamp Set inside card with red ink.
- Die cut the gnome dies from a variety of cardstock colors. Cut the hat brim a second time from the desired color.
- Stamp and emboss the pattern on the gnome’s body and a snowflake on the gnome’s hat.
- Color the nose as well as add detail to the beard using alcohol markers.
- Assemble and adhere to the folded body.
- Add Glossy Accents to the nose and white gel pen highlights.
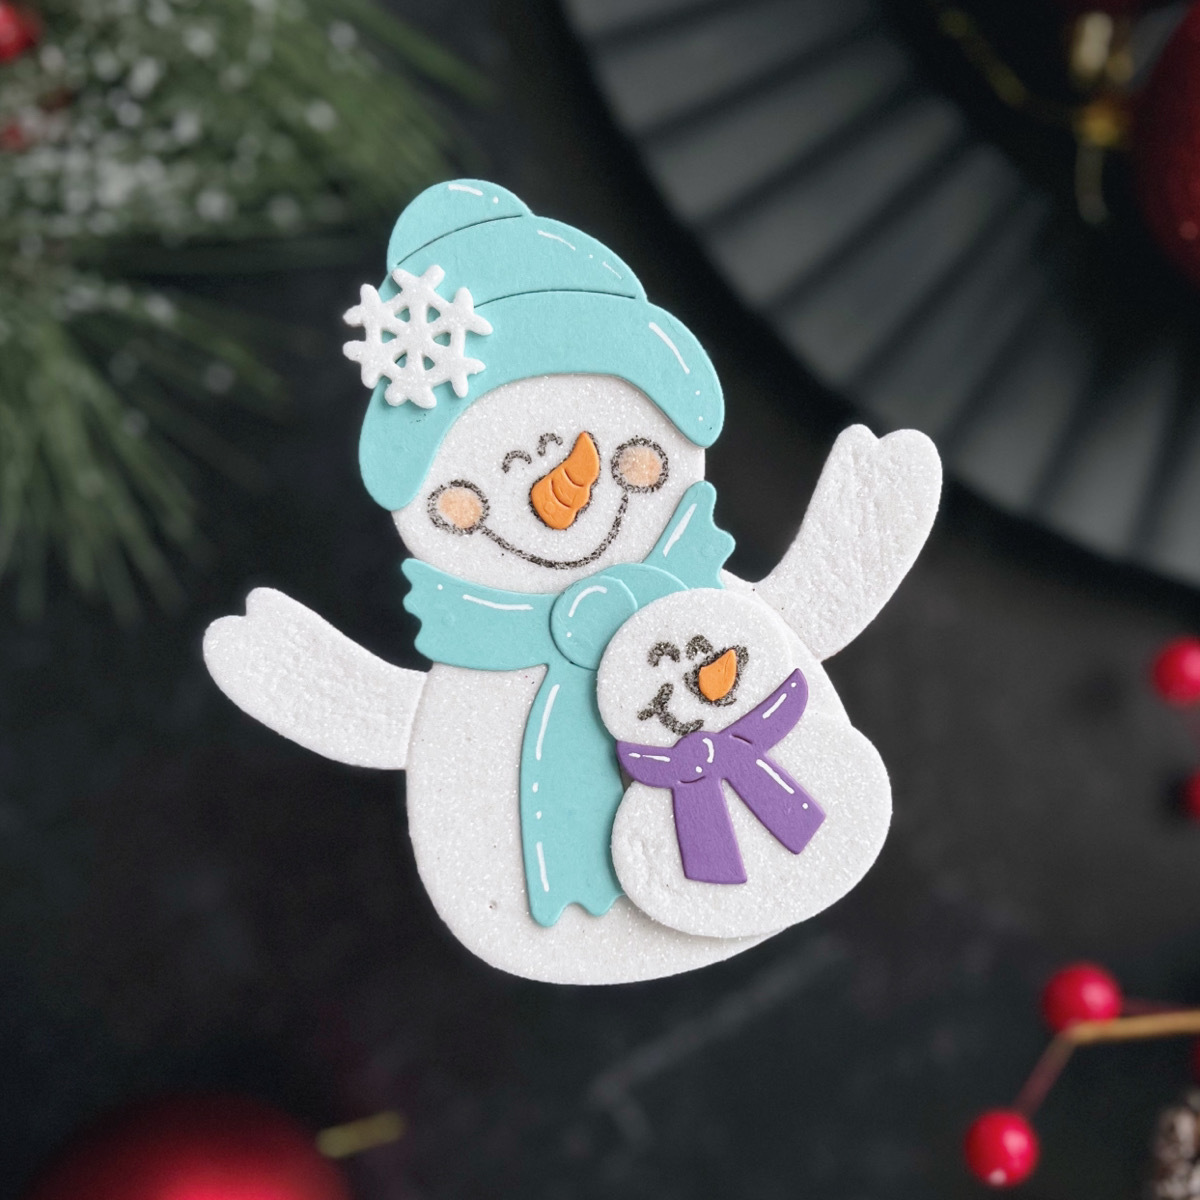
- Die cut the snowman body from Snowman Hugs Etched Dies out of a folded A2 card base with a small amount of the die hanging over the fold. You may need a shim or to run it through more than once.
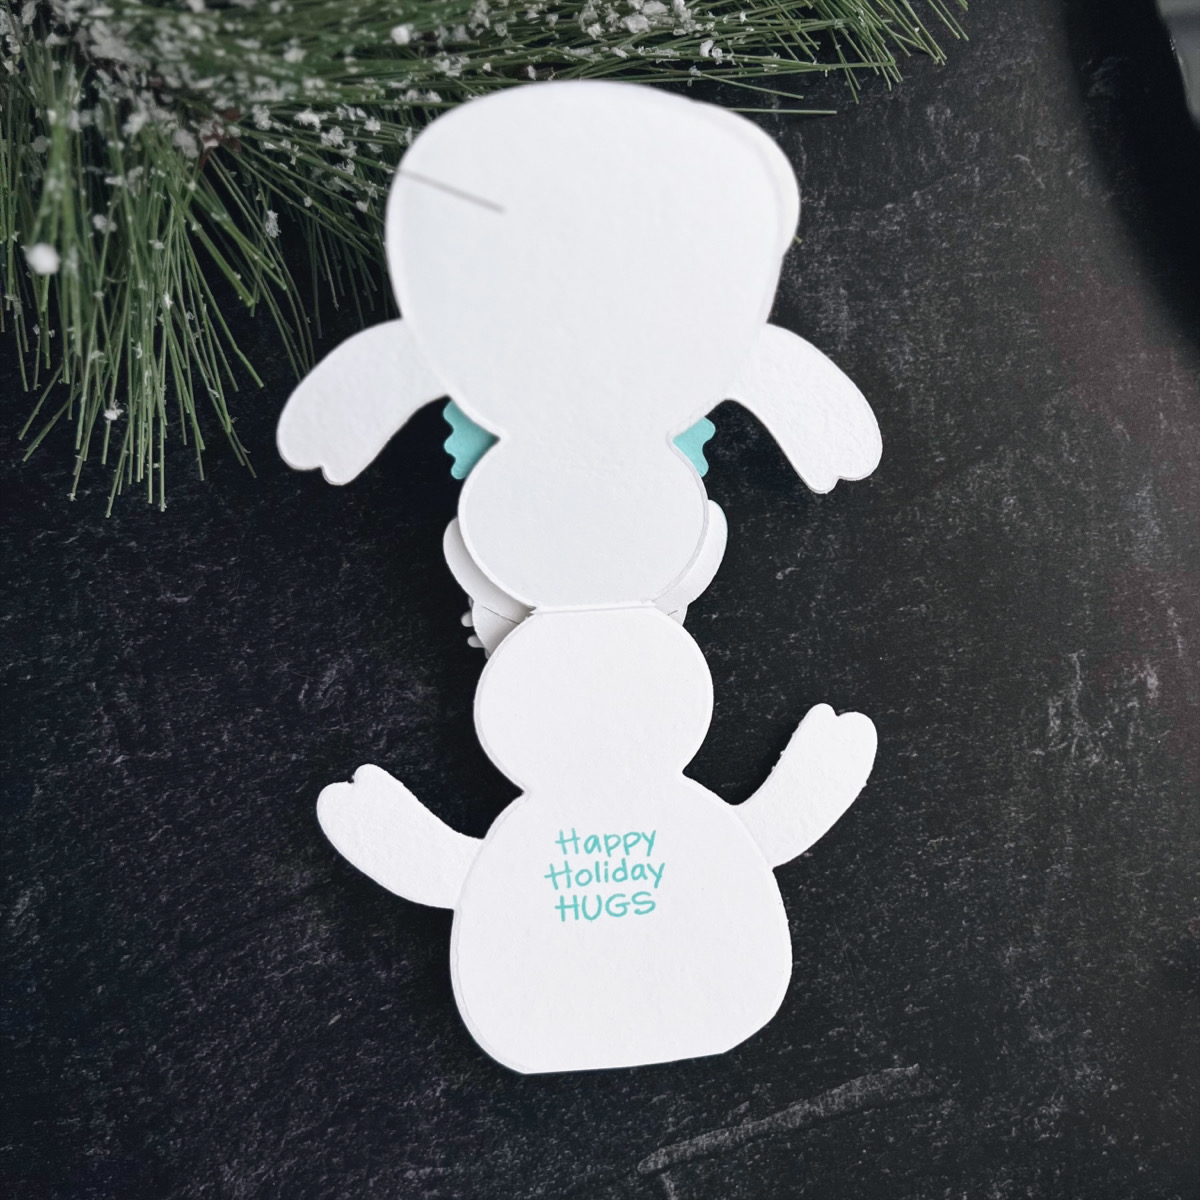
- Stamp sentiment from Snowman Hugs Faces and Sentiments Clear Stamp Set inside card with teal ink.
- Die cut the large and small snowman from White Glitter Foam as well as the accessories for both from the variety of cardstock colors.
- Stamp the faces included in the stamp set using black ink on glitter foam.
- Assemble snowmen and adhere to a folded body.
- Add a snowflake from Gnome Hugs Etched Dies cut out of White Glitter Foam to the hat.
Spellbinders Supplies:

Other Supplies
White cardstock, Bearly Arts Precision Glue, OLO Markers, Sakura White Gel Pen, Hero Arts Mist Core Ink, Altenew Obsidian Pigment Ink, Gloss Black Cardstock, Glossy Accents, Hero Arts Cherry Core Ink, Hero Hues Cranberry Cardstock, Embossing and Watermark Ink, White Detail Embossing Powder, thin foam squares
You can see more card-making tutorials, including shaped cards, on my blog, Who Stole My Glitter or visit my Instagram page for more inspiration. Thanks for visiting!
Stitchmas Christmas Inspiration with Michelle Short
Paul Antonio Glimmer Plates Inspiration | One Layer Cards with Zinia
