-
Playing with Color and the More Freshed Picked Collection
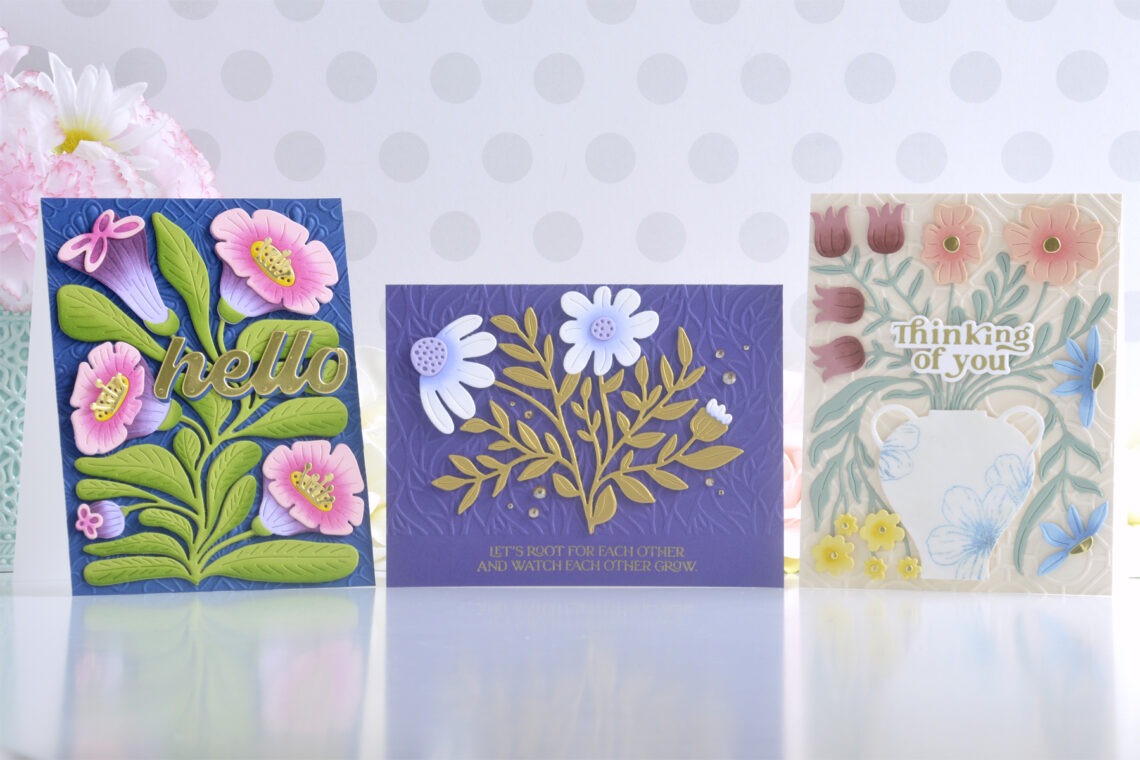
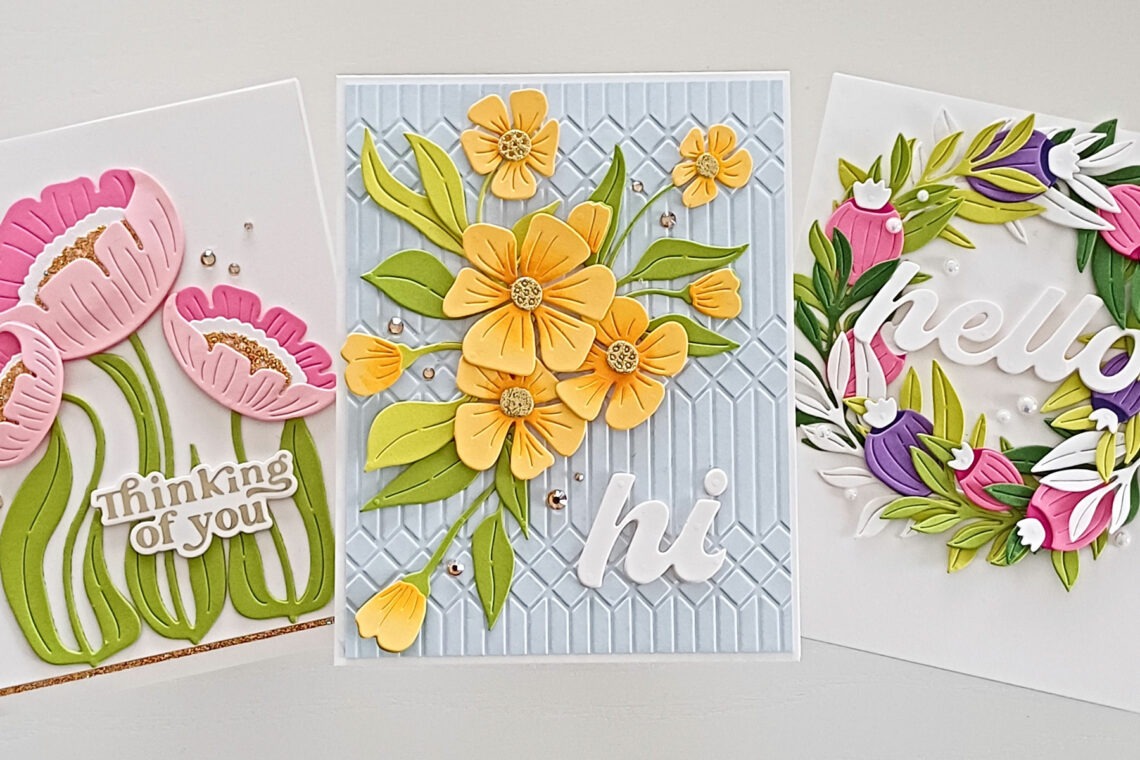
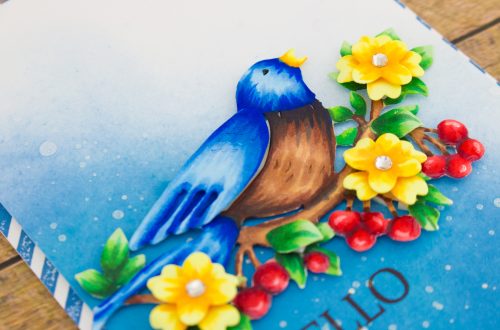
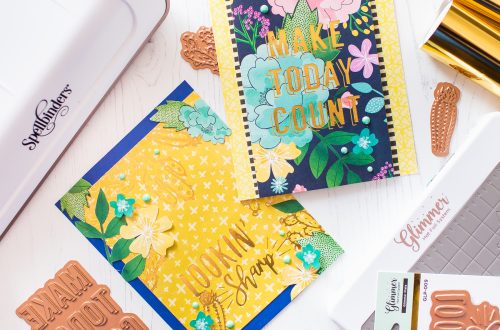
Hi there, this is Annie Williams and I’m excited to be back on the blog today to share a couple of colorful cards made with the new More Fresh Picked Collection from Spellbinders. I love the bold floral designs in the Fresh Picked line, so I tried to pick some fun color combinations to use with them while adding extra touches with ink. Bright Floral Hello Card I normally try to build my floral cards using colors you might actually find in real life, but the Fresh Picked Angel Trumpets Die Set is such a unique design that I decided to pick bold colors and really amp them up with…
-
(Almost!) One Layer Wonders
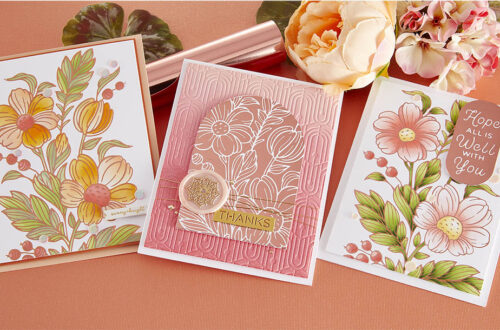
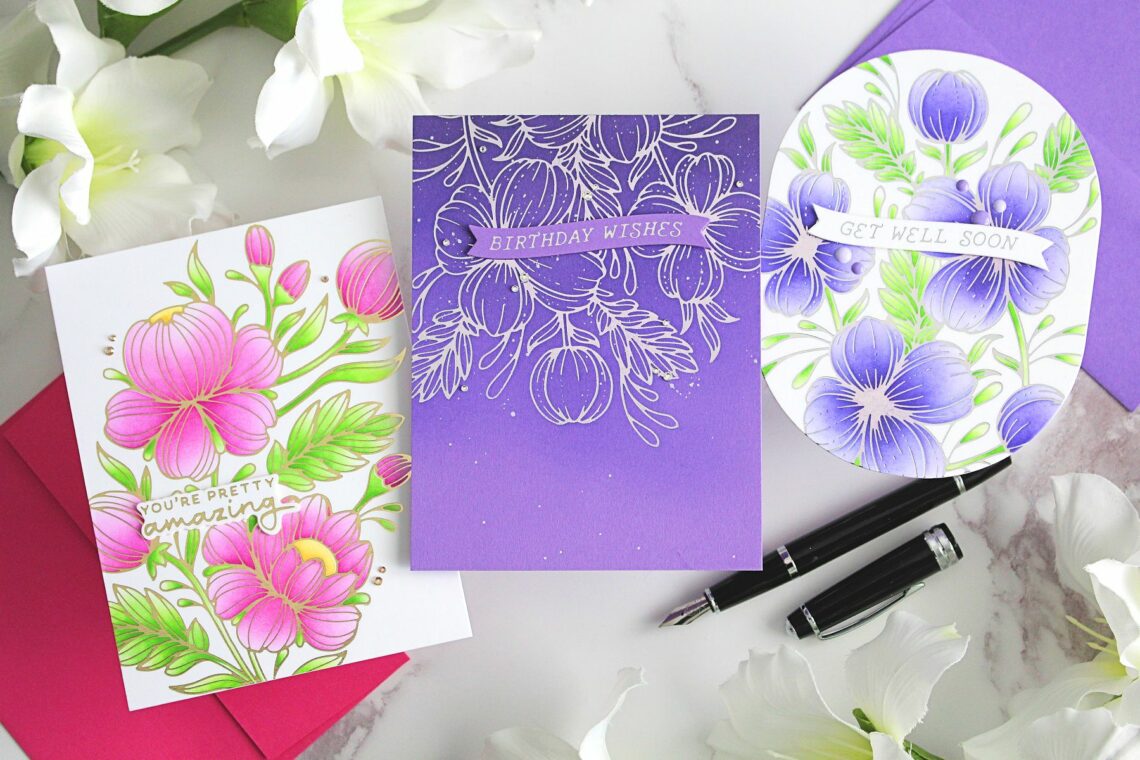
Hello there, Michelle Short here and I am delighted to be back on the Spellbinders blog sharing inspiration using the Glimmering Flowers collection. Today I have three cards to share that are (almost) one-layer cards. Whilst I love adding dimension on my cards, for mailing purposes, it is easier having less dimension! GET WELL SOON For my first card, I wanted to create a shaped card. I find that shaped cards add more interest to clean and simple cards. To make this card: I took a panel of white cardstock and placed a piece of Silver Foil shiny side up on top. I placed the Glimmering Buttercups Glimmer Plate on…
-
As Easy as ABC – Alphabet Plates 3 Ways
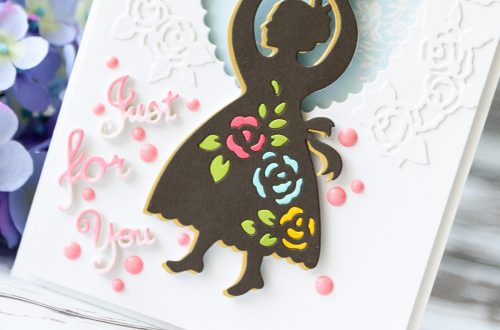
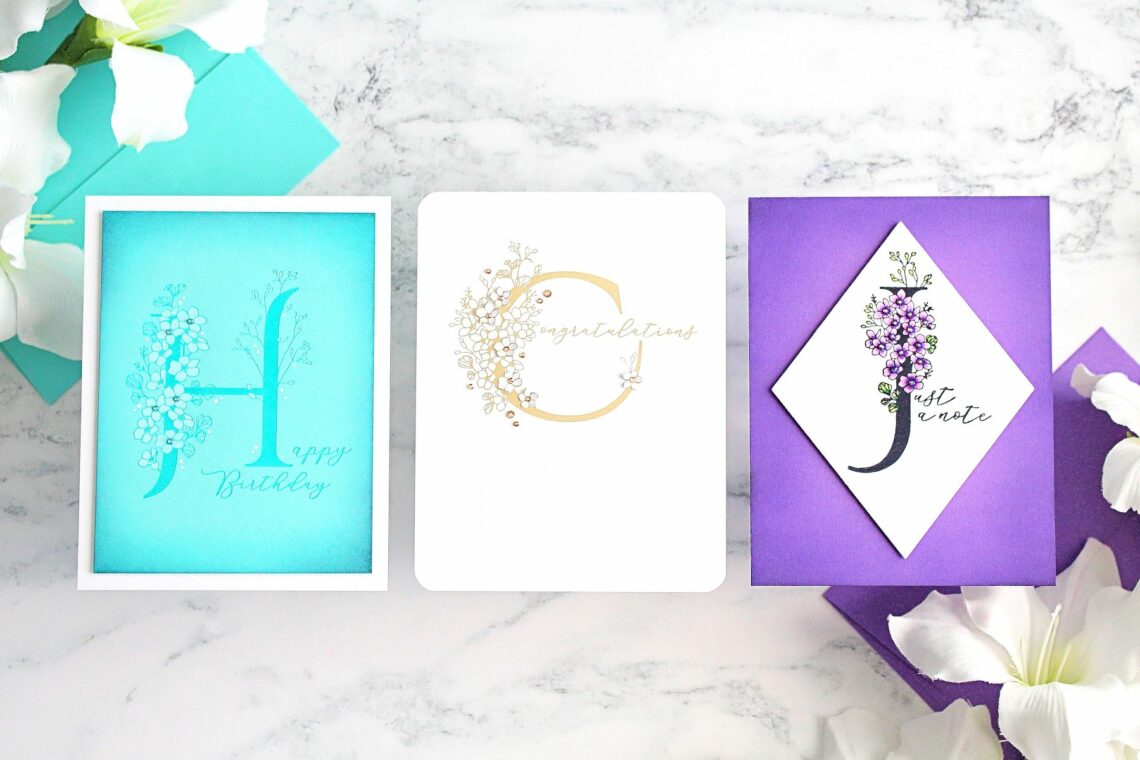
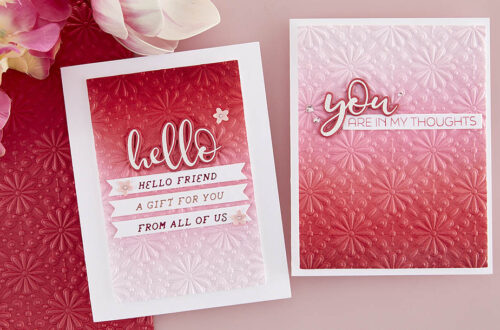
Hello there, Michelle Short here and I am delighted to be back on the Spellbinders blog using the Every Occasion Floral Alphabet collection. You can use these BetterPress plates in lots of different ways. I have three to share with you today, all quick and easy to do. JUST A NOTE There are lots of different coloring mediums you can use with BetterPress plates – pencils, watercolors, markers plus lots more. I used Copic Markers on this card, while not recommended with the BetterPress ink, I had no issues using them. To make this card: Using the packaging as a guide, I placed the Floral J and Sentiment Press Plate…
-
Exploring Modeling Paste and White Glitter Magic
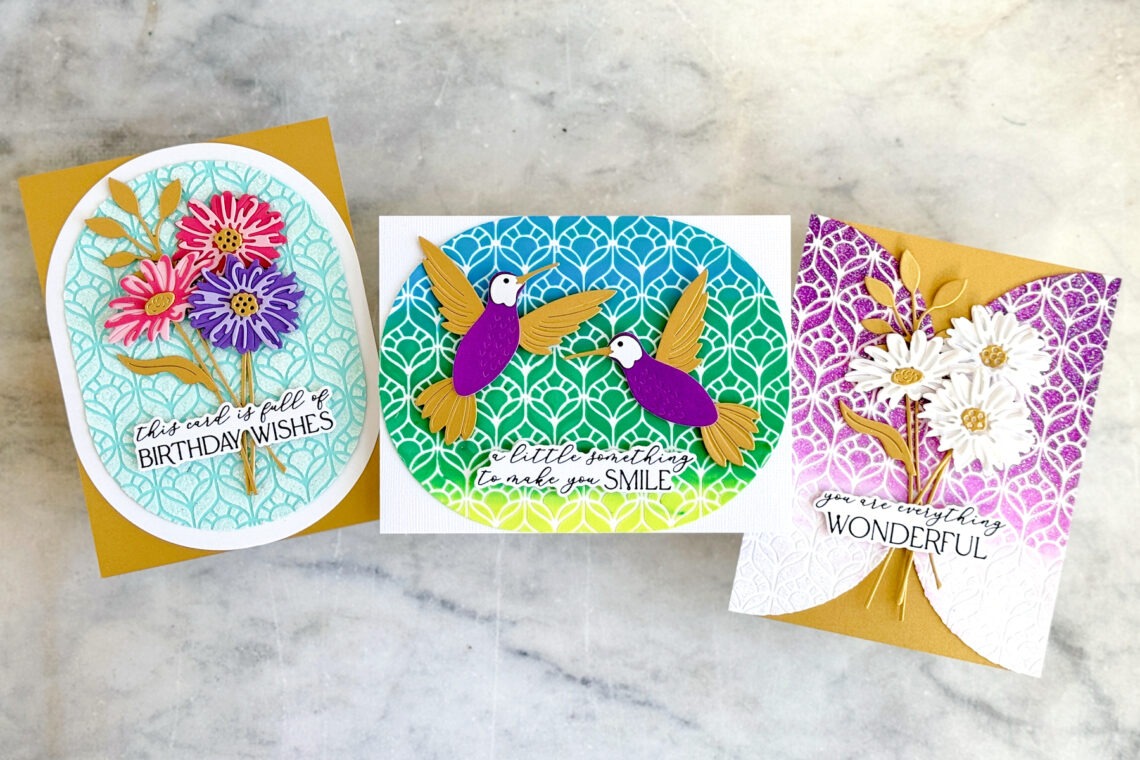
Hello! Jean Manis here to share inspiration for impactful stenciled card backgrounds using the Light & Fluffy Modeling Paste and Baby Baubs White Glitter. Let’s take a look at the transformative magic of modeling paste on three cards–from the elegant sparkle of glitter-infused paste to a mesmerizing ombré effect and finally to the impact of blended watercolor hues. Modeling Paste and White Glitter For subtle, understated shimmer on a stenciled background, add white glitter to modeling paste. The reflective properties of the glitter enhance the overall visual appeal and create a captivating finish. Create an A2-size card base from Brushed Gold Mix the Baby Baubs White Glitter in with the…
-
Monster Birthday Cards
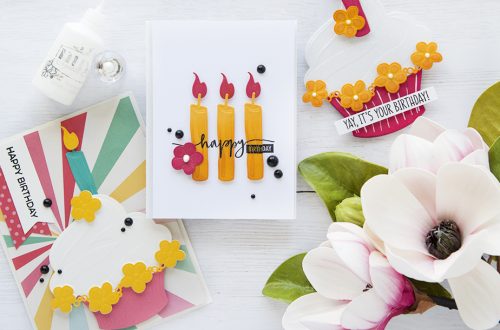
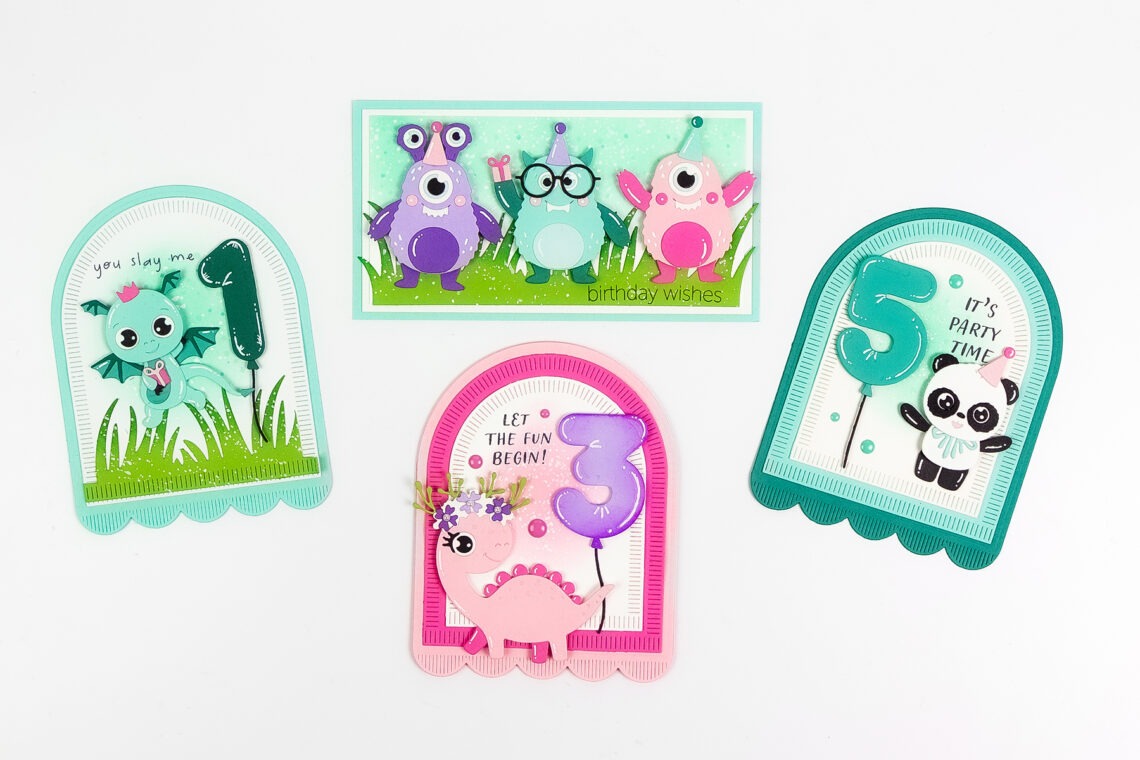
Hello crafty friends! It’s Rachel Alvarado from RachelAlvaradoDesigns.com. I have a few cards to share with you showcasing the new Monster Birthday Collection. I absolutely love this collection! It’s versatile enough to make cards for individuals of all ages, and the designs are super adorable! For my first project, I created a mini slimline card measuring at 3.5” x 6.5”. I then used the Dancin’ Birthday Monster Etched Dies to die-cut three little monsters from a variety of colored card stock. The fun part about this card is that the monsters’ legs swing back and forth when you tilt the card from side to side. For my card background, I…
-
Fresh Picked Florals on Your Cards!
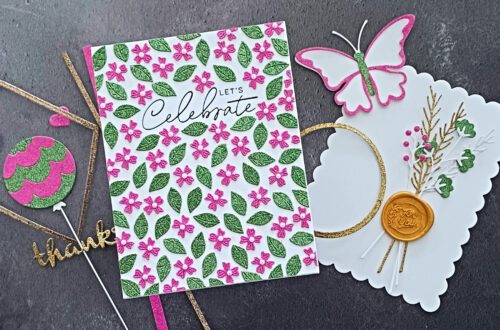
Hello there! This is Lisa from My Card Trip and I am thrilled to be a guest here on the Spellbinders blog. Today I am sharing some inspiration with the newly released Fresh Picked Collection. This is such a beautiful collection – modern, contemporary floral and berry designs along with a super sentiment set and a stylish versatile embossing folder. I live in the southern part of England and this collection makes me want to skip the next few grey months and dive straight into Spring and Summer. So, let’s get started with my cards! Hello Whenever I see a leaf die, I am always tempted to make a wreath!…
-
3 Techniques To Try With Art Glitter
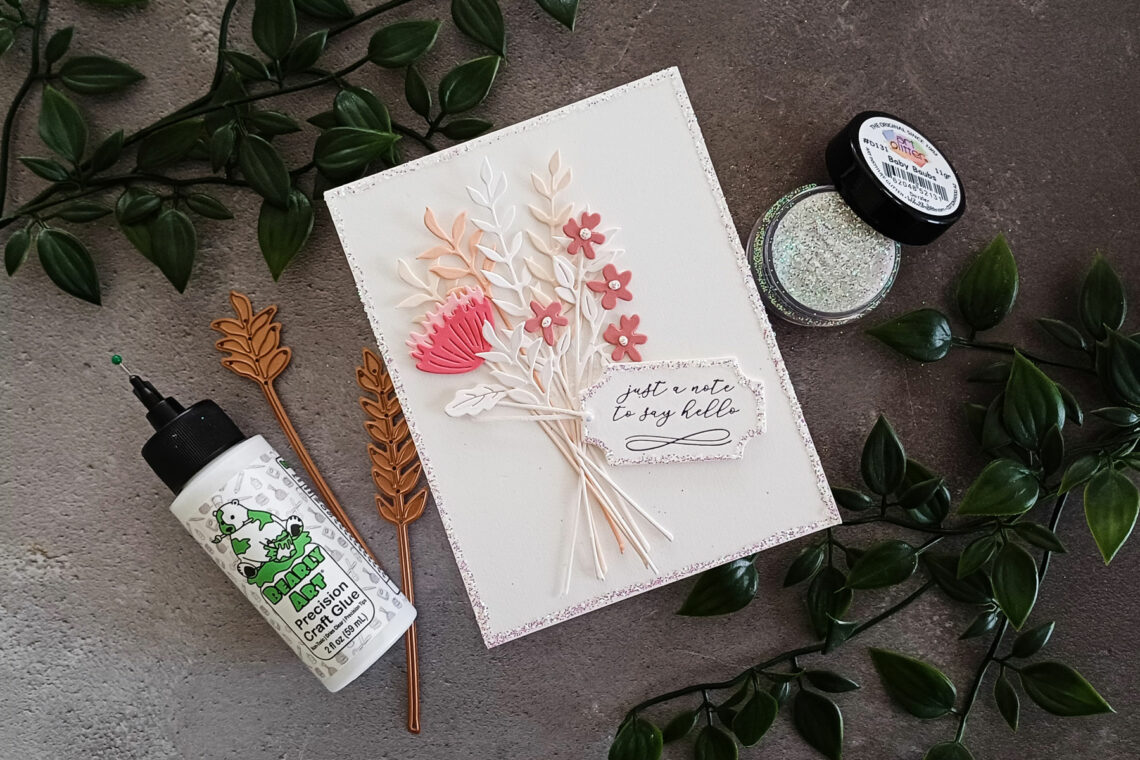
Hello friends! This is Lisa from My Card Trip and I am excited to be a guest on the Spellbinders blog today. I am here to share some sparkly fun with you as I am going to be showing some different ways to use Art Glitter on your projects. All of the three techniques are simple to do and I have lots of tips and tricks to share along the way. After each of the techniques, I have a card which shows the final project using that particular technique. It’s always nice to see an end result, right?! But first, a bit about Art Glitter. I am using five different…
-
Faux Stitching Ideas To Try with Your Stitching Dies
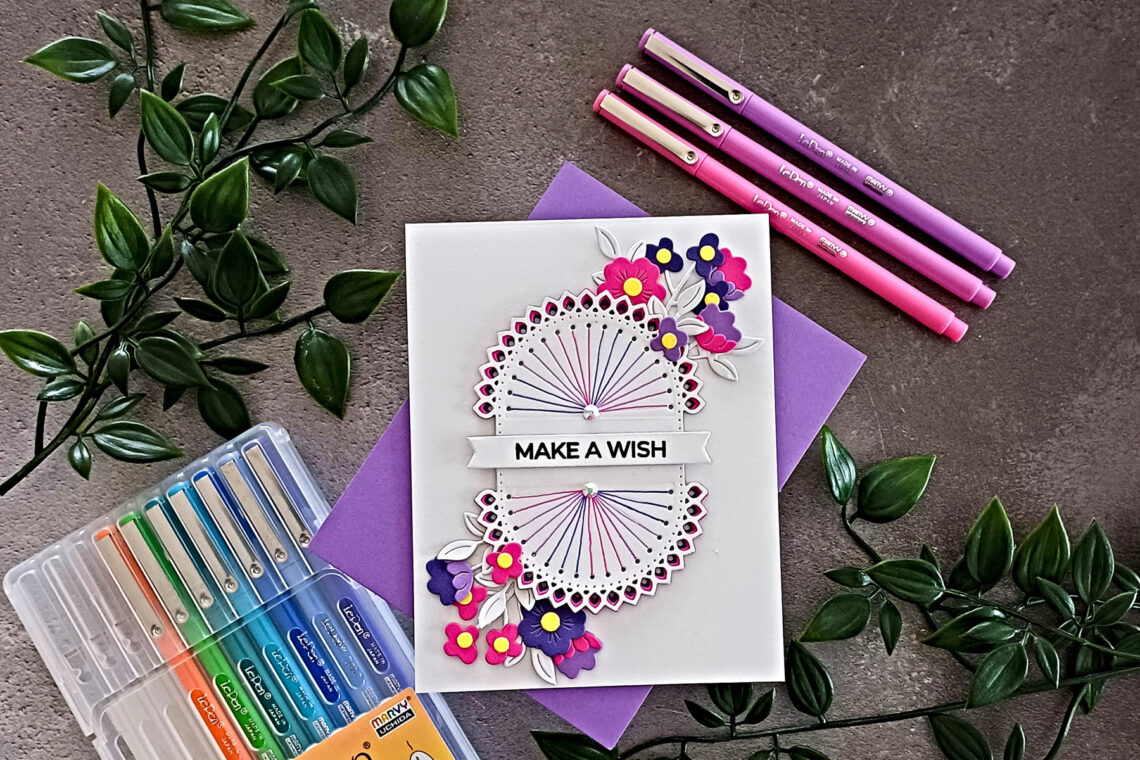
Hello crafters! This is Lisa from My Card Trip and I am delighted to be a guest on the Spellbinders blog today. I am sharing a fun and simple way to get the look of stitching on your cards, without the need for actual stitching with thread! It is surprisingly easy and very quick to do. Many stitching dies can actually be used without any threads at all, as the patterns are often still really pretty with all the tiny holes. However, you can also add faux stitching with pens to give you a similar look to thread. I am going to be sharing one card in detail today but…
-
Merry & Bright Collection – Holiday And All-Occasion Ideas
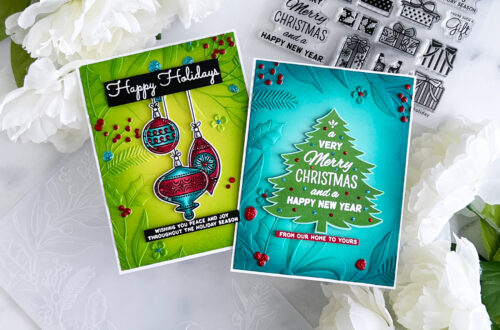
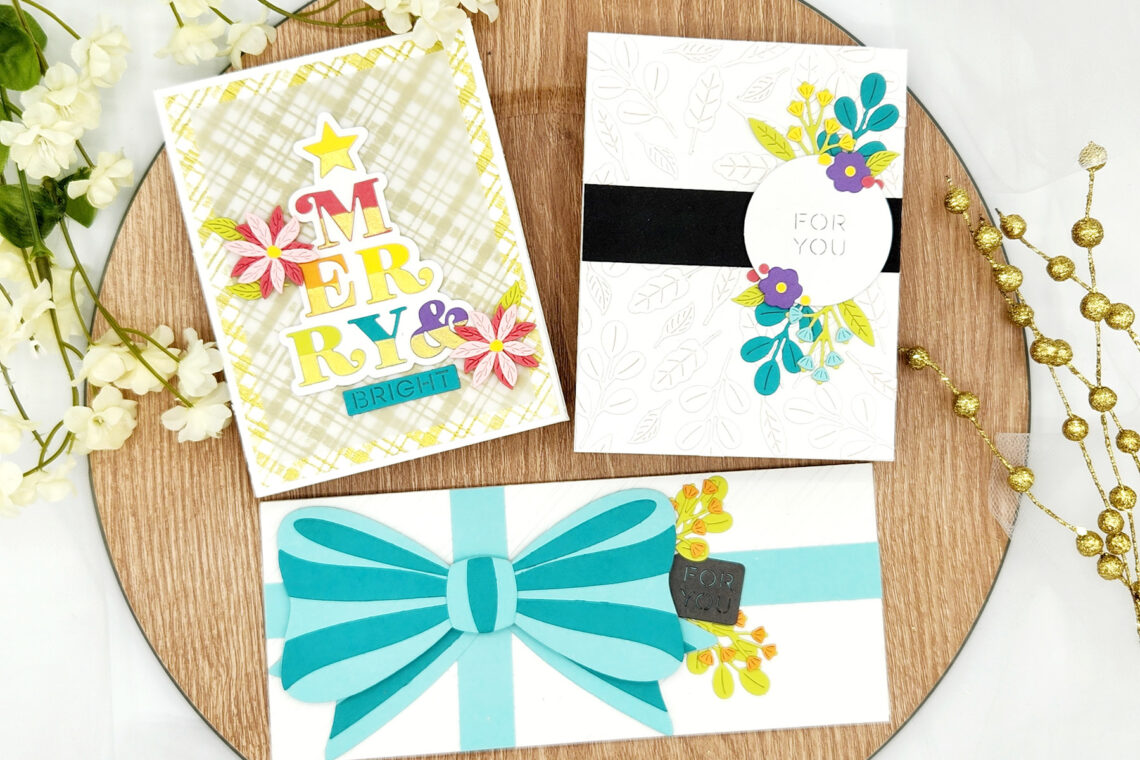
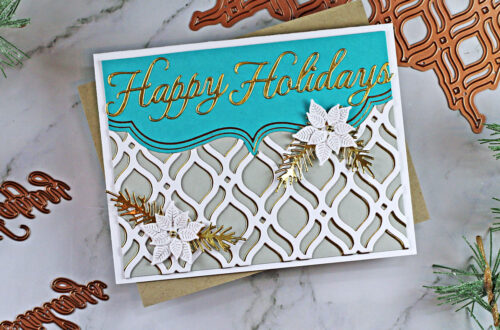
Hello everyone! I’m Meg Brooks from Anchored By Ink and I am so excited to be a guest designer again for the Spellbinders blog! Today, I am featuring 3 cards using the gorgeous Merry & Bright Collection. This collection includes small florals, a striped embossing folder, a large all-occasion bow, and a festive holiday tree. I chose to keep my cards bright and more for all occasions but you could simply switch the color palette to accommodate the holidays. Die-cut leaf images from the Petite Blooms and Sentiments from white cardstock. Adhere all of the die cuts to a top folding A2 white card base using liquid glue. Be sure…
-
Stampendous Holiday Hugs Cardmaking Ideas
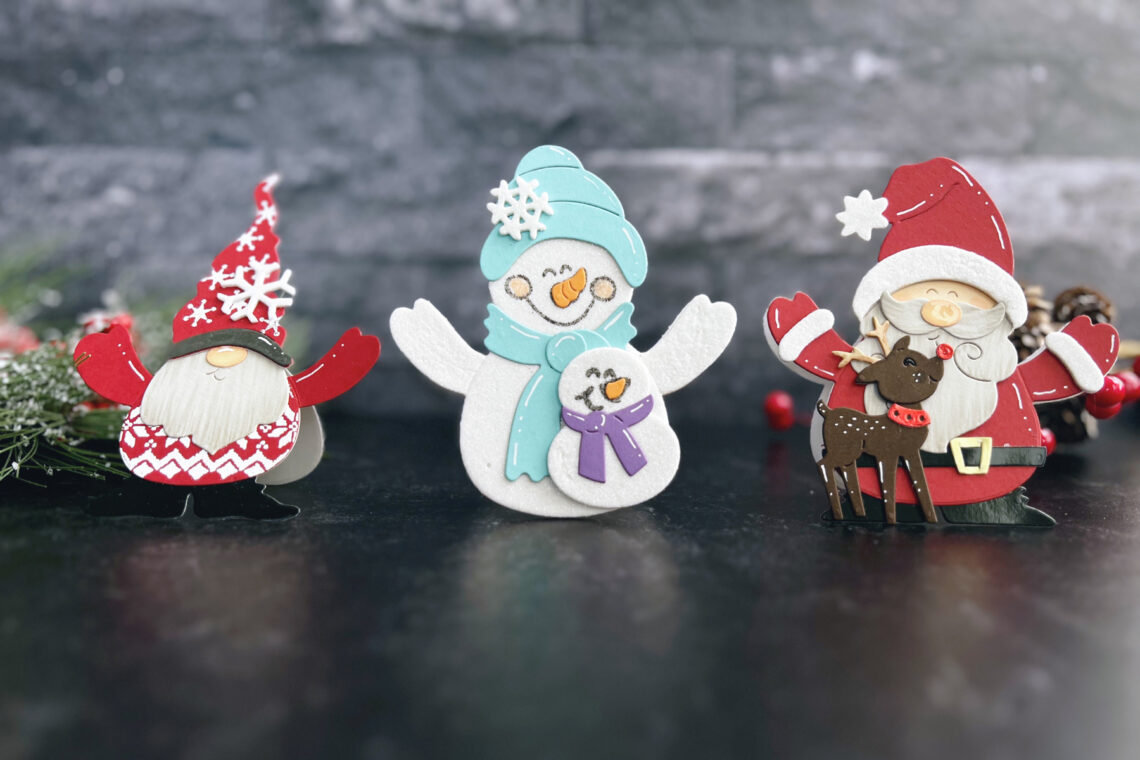
Hello! I’m Jen Kotas from Who Stole My Glitter and I’m happy to be back today to share three cards featuring the Stampendous Holiday Hugs Collection. There are three adorable character die sets in the collection that I’ve turned into shaped cards. There are also coordinating stamp sets to add cute details or sentiments. You could turn these shaped cards into tags by punching a hole in the card base and then adding twine or ribbon. To avoid seeing the back of the cardstock colors when the card is open, die-cut pieces out of white to back things like the hat and beard. Die cut the Santa body from Santa…

