Stampendous Holiday Hugs with Rachel Alvarado
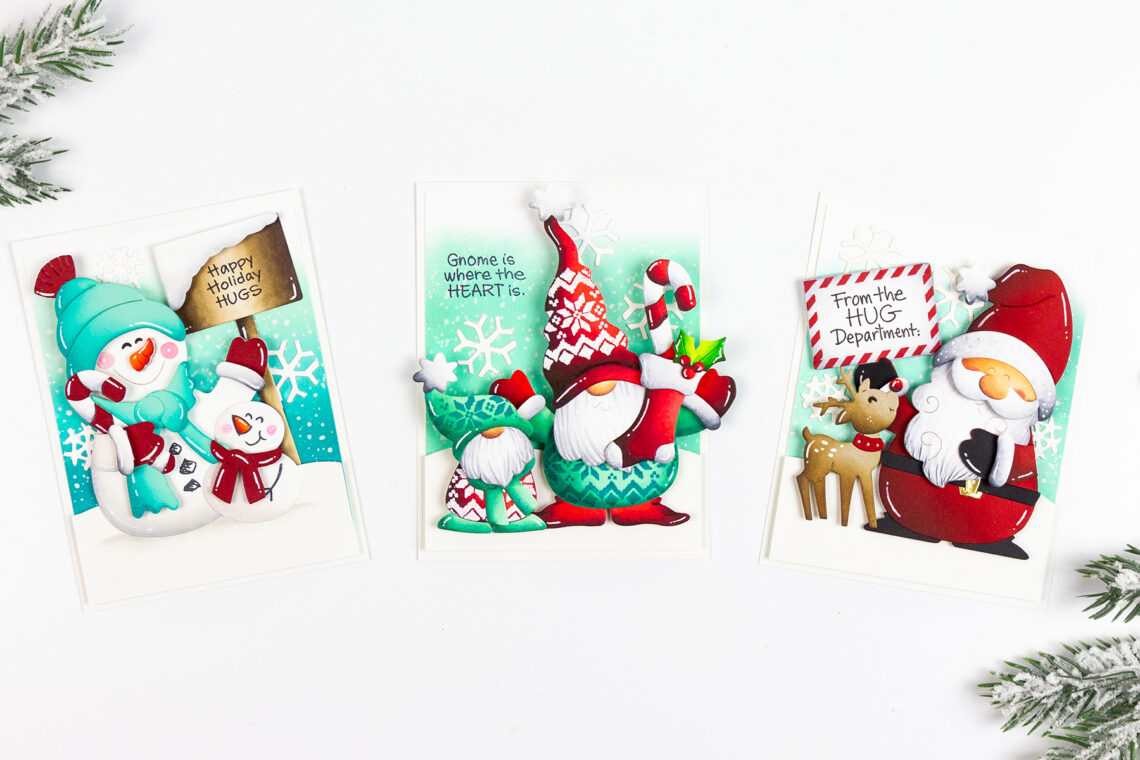
Hello crafty friends! It’s Rachel Alvarado from RachelAlvaradoDesigns.com. I have a trio of cards to share with you today featuring some super cute products from the new Stampendous Holiday Hugs Collection. These die sets are super easy to assemble and can be set up in a variety of ways. They also coordinate perfectly with the previously released Stampendous Hugs Accessories Etched Dies.
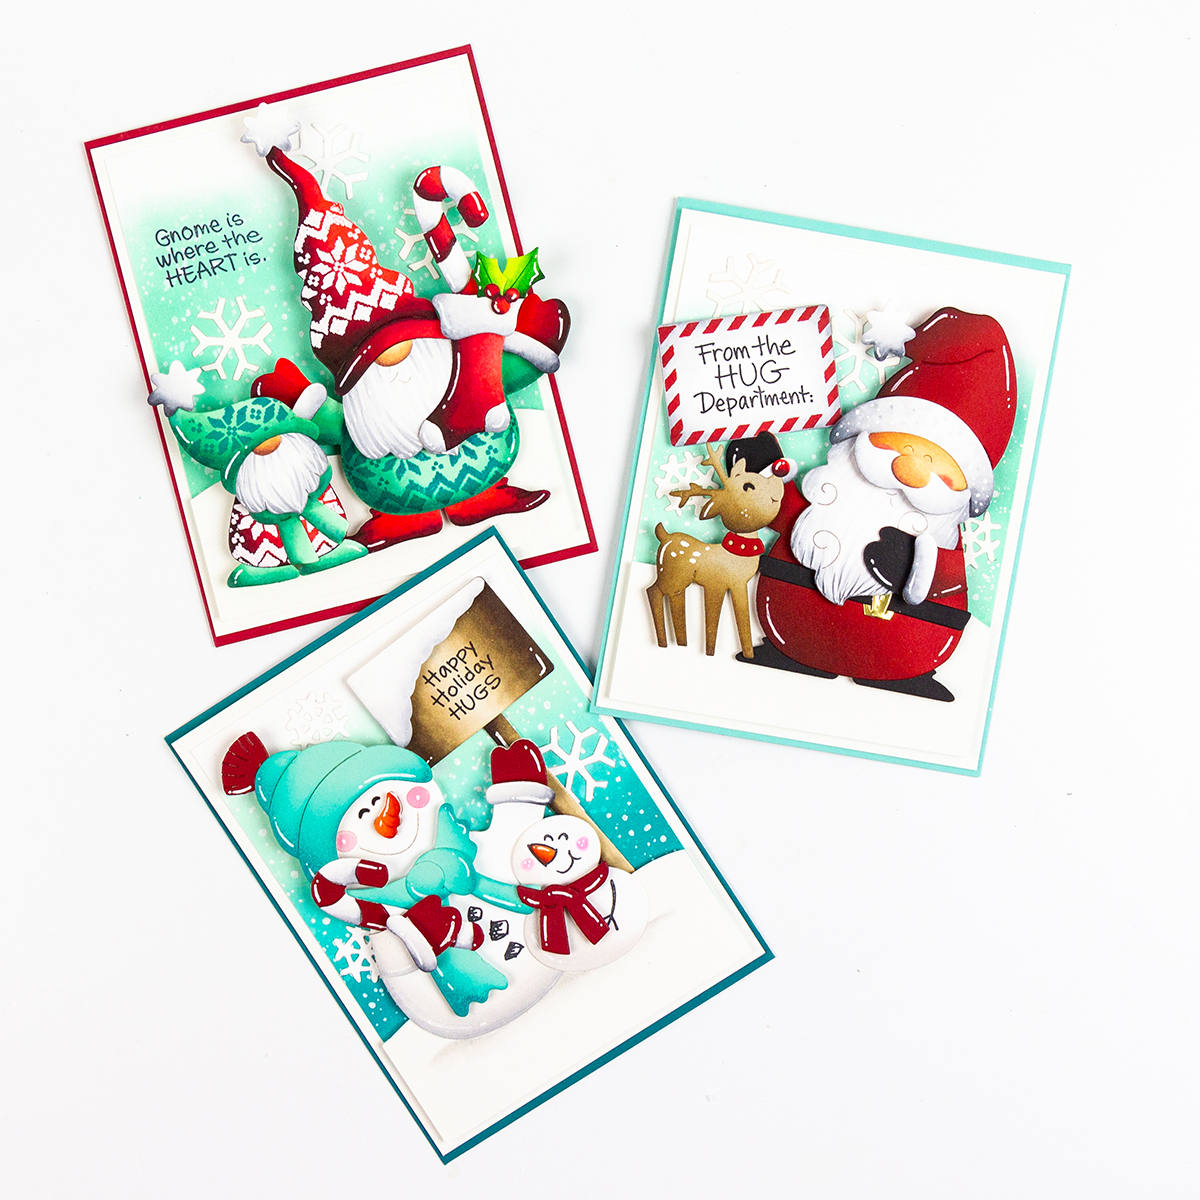
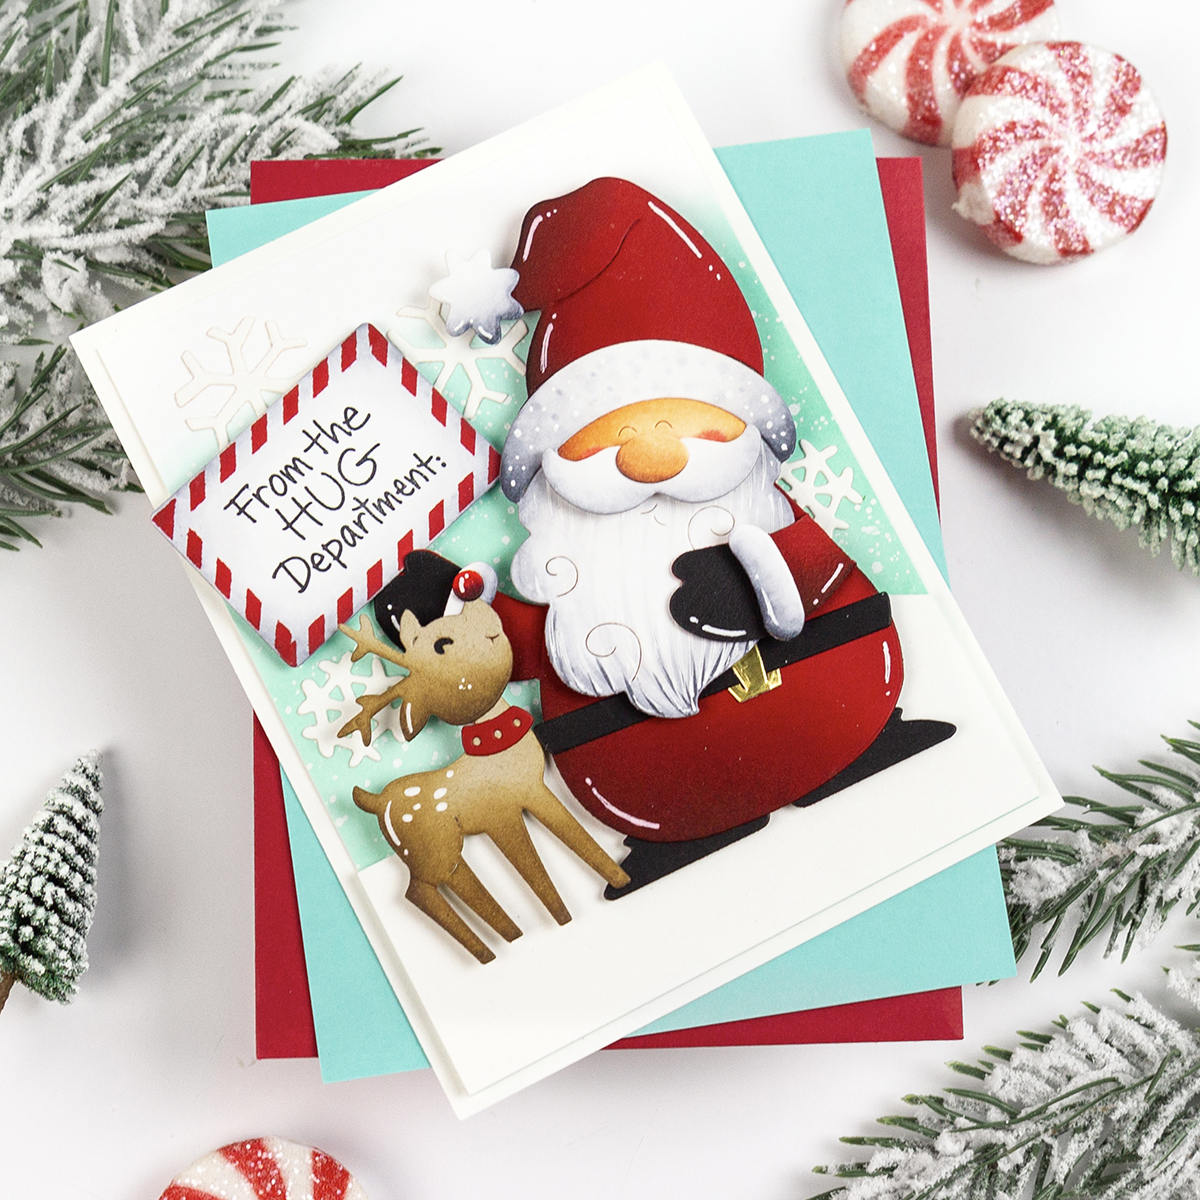
Santa Claus Hugs
My first project features Santa and one of his adorable reindeer from the Santa Hugs Etched Dies. To start, I first die-cut Santa’s outfit and my reindeer from some pieces of colored card stock. I next die cut his face, nose, beard, and the white pieces of his hat and gloves from some Neenah Solar White 110lb Card Stock. You can use colored card stock for all of the pieces, but I wanted to add a little bit of shading with my Copic Markers to give Santa a little more depth and texture to his beard. (I shaded the white pieces with 0, C00, C1, C3 and his face with E000, E21, E13).
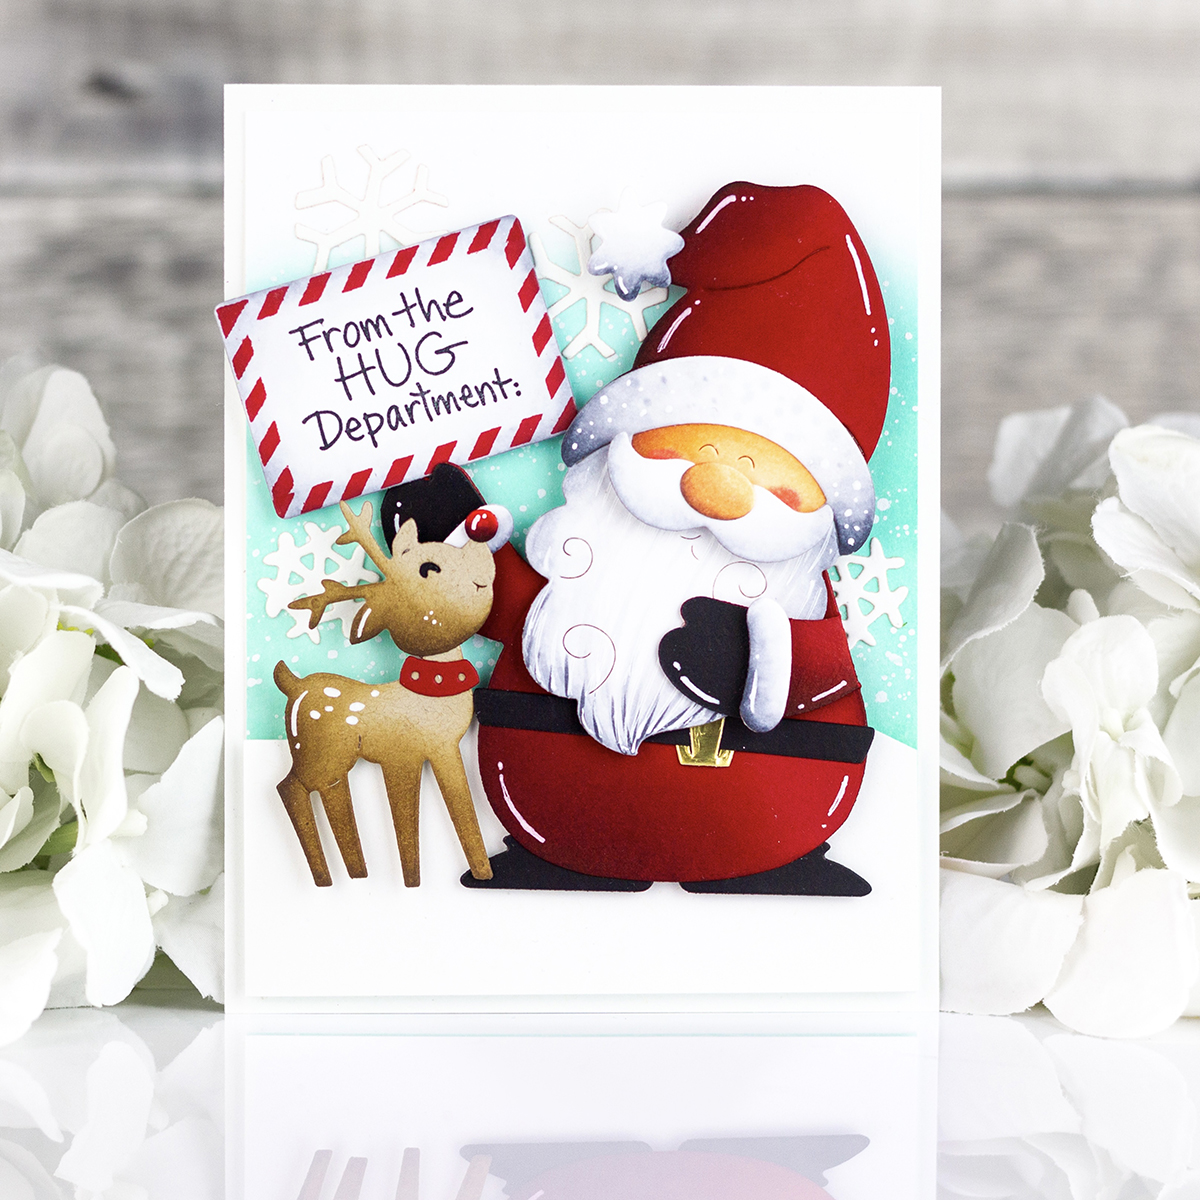
To give some shading to Santa’s clothes and the reindeer, I added a little bit of Distress Ink. For my red card stock, I added some Fired Brick and Black Soot Distress Inks and for my reindeer, I used some Gathered Twigs Distress Ink.
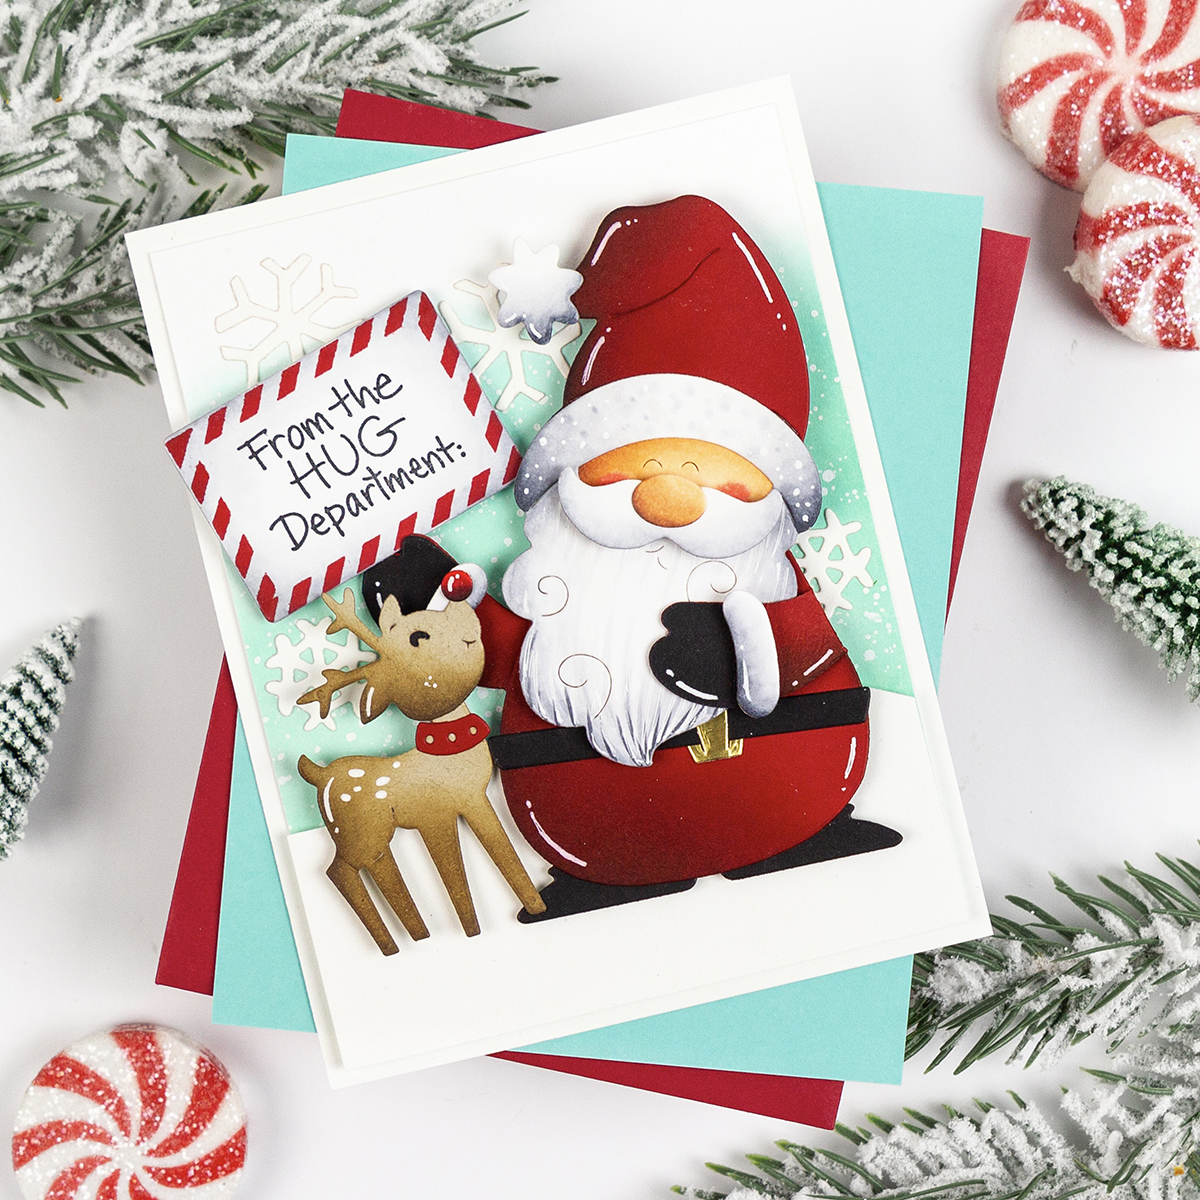
I then put my pieces together using both 3D foam adhesive squares where I wanted to add dimension, and liquid adhesive on areas that I wanted to stay perfectly flat. You can do either method or both. It all depends on what you prefer. After I had assembled my pieces, I added some white accents using a Sakura White Gelly Roll Pen. Lastly, I die cut his sign from white card stock using the Stampendous Hugs Accessories Etched Dies and stamped the outer edges with red ink using the new Holiday Hugs Sentiments Clear Stamps Set. I stamped my sentiment (from the same stamp set) with Memento Tuxedo Black Ink to the center of this piece. I finished my card by adhering my images to a 4.25” x 5.5” piece of white card stock that I had blended with Salvaged Patina Distress Oxide Ink to create a snowy sky. I also fussy cut some snowy ground from a 4” x 2” piece of white card stock.
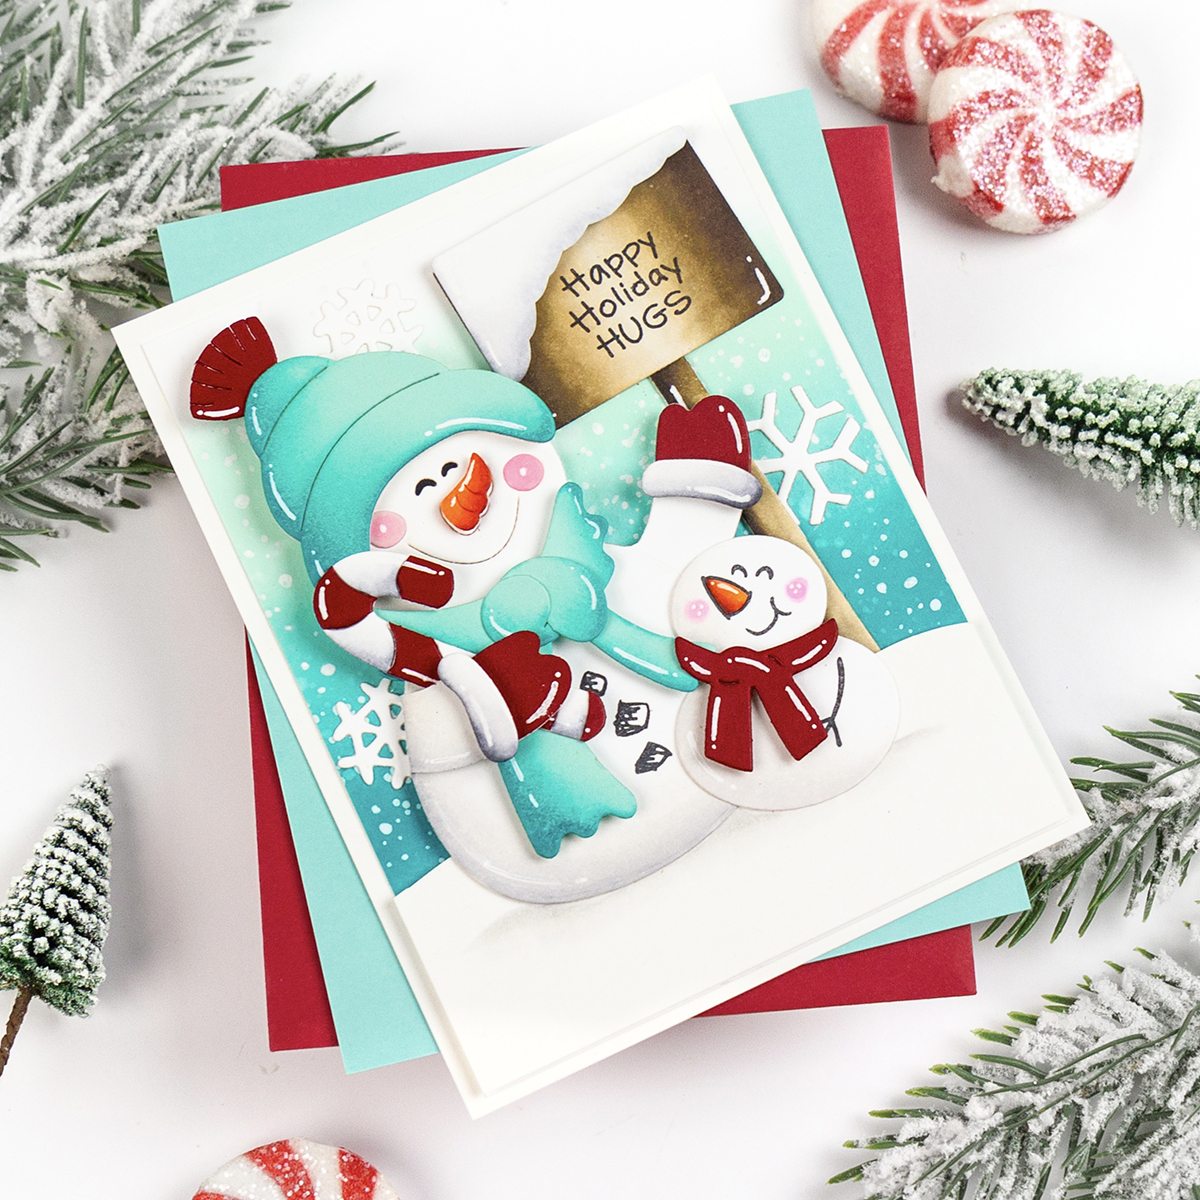
Snowman Holiday Hugs
For my second project, I used the adorable new Snowmen Hugs Holiday Etched Dies to die-cut both one large and one small snowman. I die-cut the face for the larger snowman and added a nose that I had die-cut from white card stock and colored with some orange Copic Markers (YR02, YR07). For the smaller snowman, I stamped both his face and arms (as well as the buttons on the larger snowman) using the new Snowman Hugs, Faces & Sentiments Stamp Set and black ink.
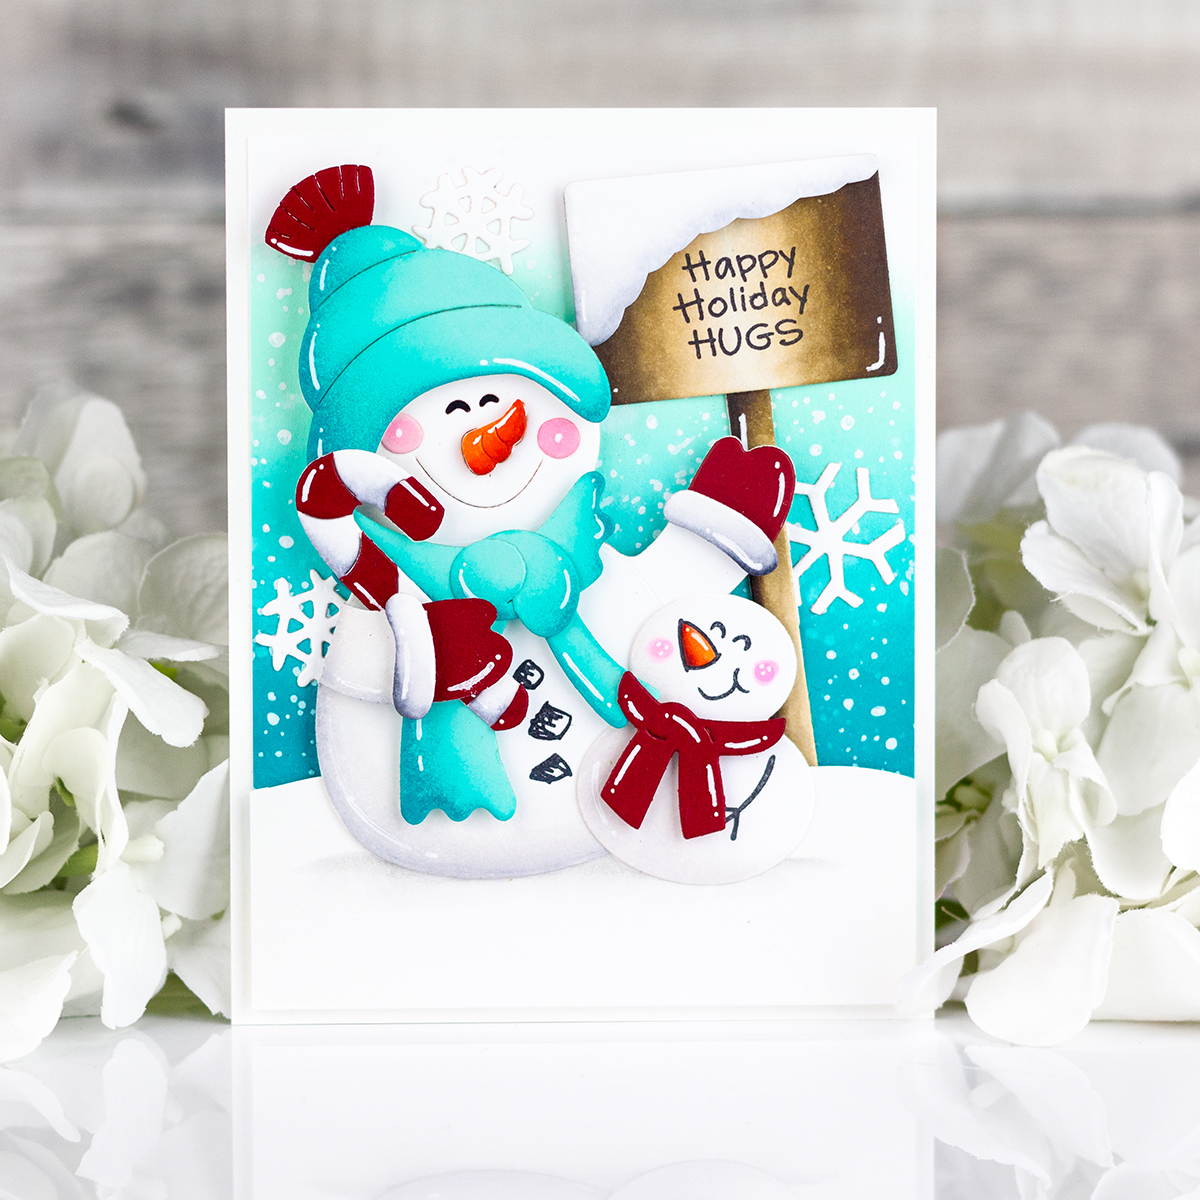
I then die-cut my hat and scarf pieces from both Waterfall and Crimson card stock pieces. I added some ink blending onto the teal pieces with some Peacock Feathers Distress Ink to give them a little bit more depth. Again, this step is not necessary, but I just love how the pieces look almost as if they had been colored (but without all the work) when you add just a bit of ink blending.

I then die-cut another sign using the Stampendous Hugs Accessories Die Set. This time, I used the longer strip that is included in this set as the post to hold my sign. I die-cut both pieces from some Neenah Solar White 110lb card stock and colored them with some brown Copic Markers (E31, E23, E25, E29). I then die-cut the sign again from some more white card stock and fussy cut the bottom of it to look like a snow drift and added it to the top of my sign.
Gnome Hugs
For my last card, I created a fun holiday card featuring the new Gnome Hugs Etched Die Set. I absolutely love the Gnome Hugs Sentiment Clear Stamps Set that coordinates with this die set. I used the stitched patterned stamp that comes with the set to add a faux stitching look to both the gnomes’ hats and sweaters. For the dark pattern, I used some dark teal ink and for the white pattern, I heat embossed it with Fine Detail White Embossing Powder.
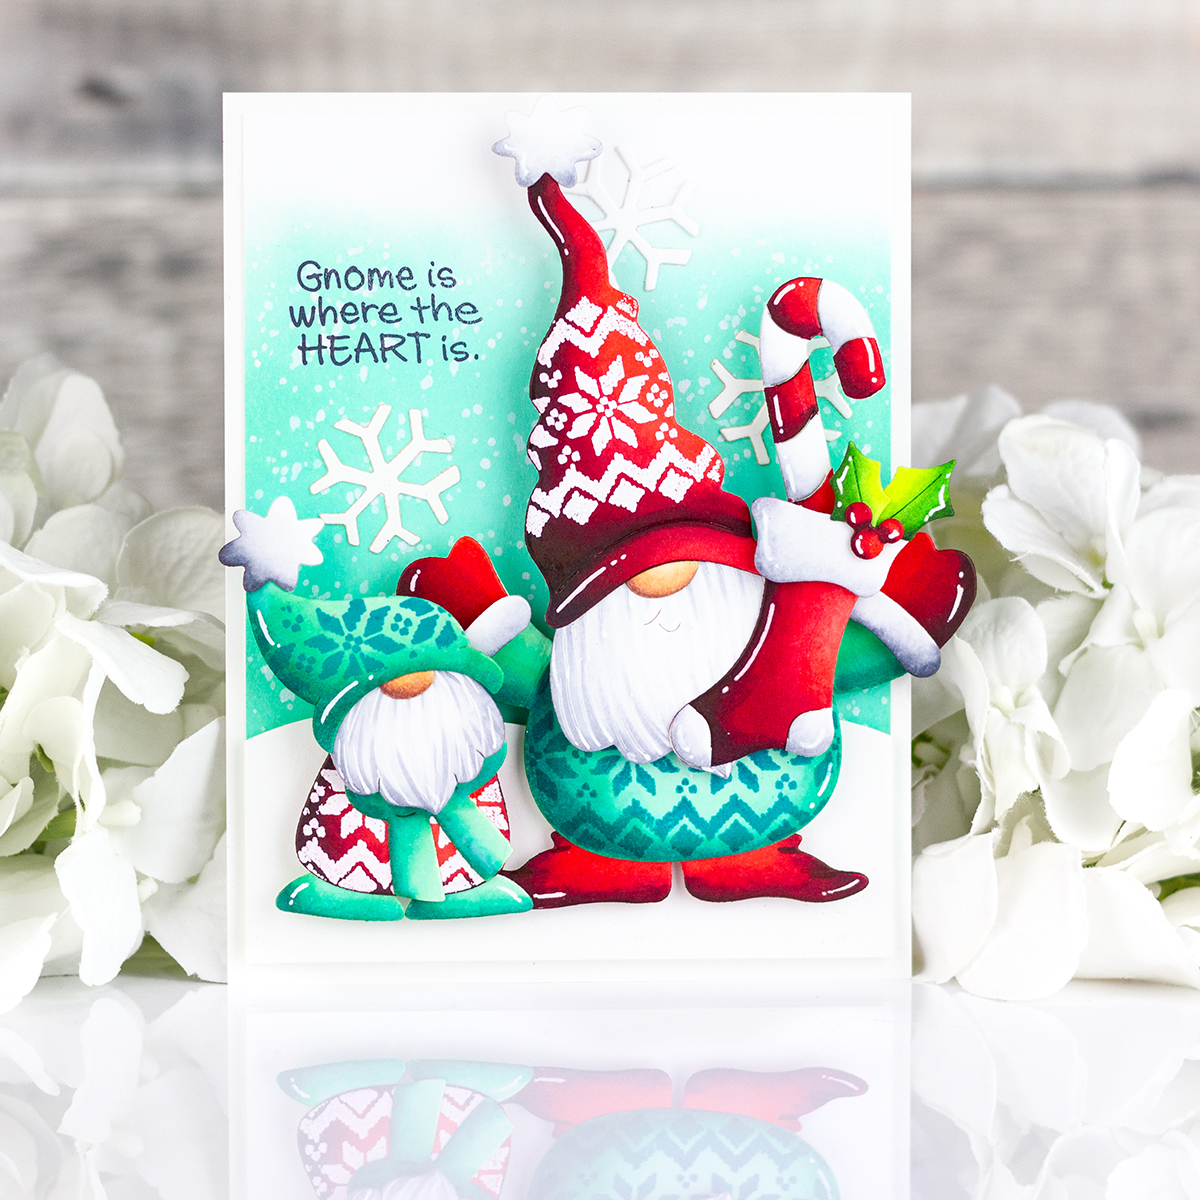
For this card, I decided to color all of my die-cut pieces with some Copic Markers.
- Teals: G00, BG13, BG23, BG18
- Reds: R35, R46, R59, R89
- Skin: E000, E11, E13
- White: 0, C00, C1, C3
- Greens: YG01, YG07, YG17
I blended my background with some Salvaged Patina Distress Oxide Ink, stamped my sentiment, and added some snowflakes and a stocking from this collection as well as the candy cane and holly from the Snowman Hugs Etched Dies Collection. Lastly, I added my images to my A2-sized card front with 3D foam adhesive squares for extra dimension.
Thank you so much for stopping by and checking out my projects today! Wishing you all a lovely day!
If you liked these cards and want some more inspiration, feel free to check out my INSTAGRAM page.
Rachel
Spellbinders Supplies:

Other supplies
Memento Tuxedo Black Ink, Salvaged Patina Distress Ink, Peacock Feathers Distress Ink, Black Soot Distress Ink, Fired Brick Distress Ink, Gathered Twigs Distress Ink, Salvaged Patina Distress Oxide Ink, Neenah Solar White 110lb Card Stock, Neenah Desert Storm Card Stock

One Comment
donna mikasa
Oh, Rachel, all three cards are just adorable–I can’t pick a fave! Thanks for the inspiration!