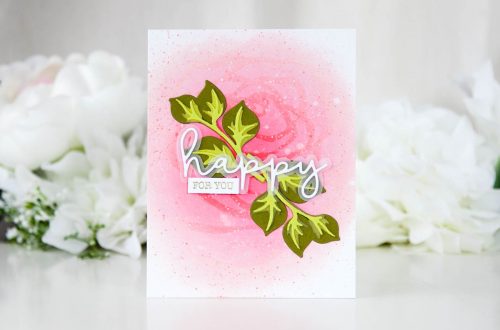
Using the Serenade of Autumn Collection to Find My Mojo
Hello crafters! Joan Bardee here. Today I’m sharing a few tips on how to use the Serenade of Autumn Collection to jump-start your creativity during those inevitable times when your mojo takes a hike.
The Serenade of Autumn Collection is huge! It consists of a variety of beautiful products – dies, stamps, stencils, 3D embossing folder, Better Press Letterpress, patterned papers, embossed watercolor papers, printed vellum, wax seals, gemstones, ephemera, etc. It’s amazing, but … my mojo was missing. Here’s how I used a few of these products to find my mojo.
Copy Someone Else’s Card
Copying someone else minimizes the number of decisions I need to make, and that helps me get over my design paralysis. I don’t think it’s “cheating” (yes, I give credit online.)
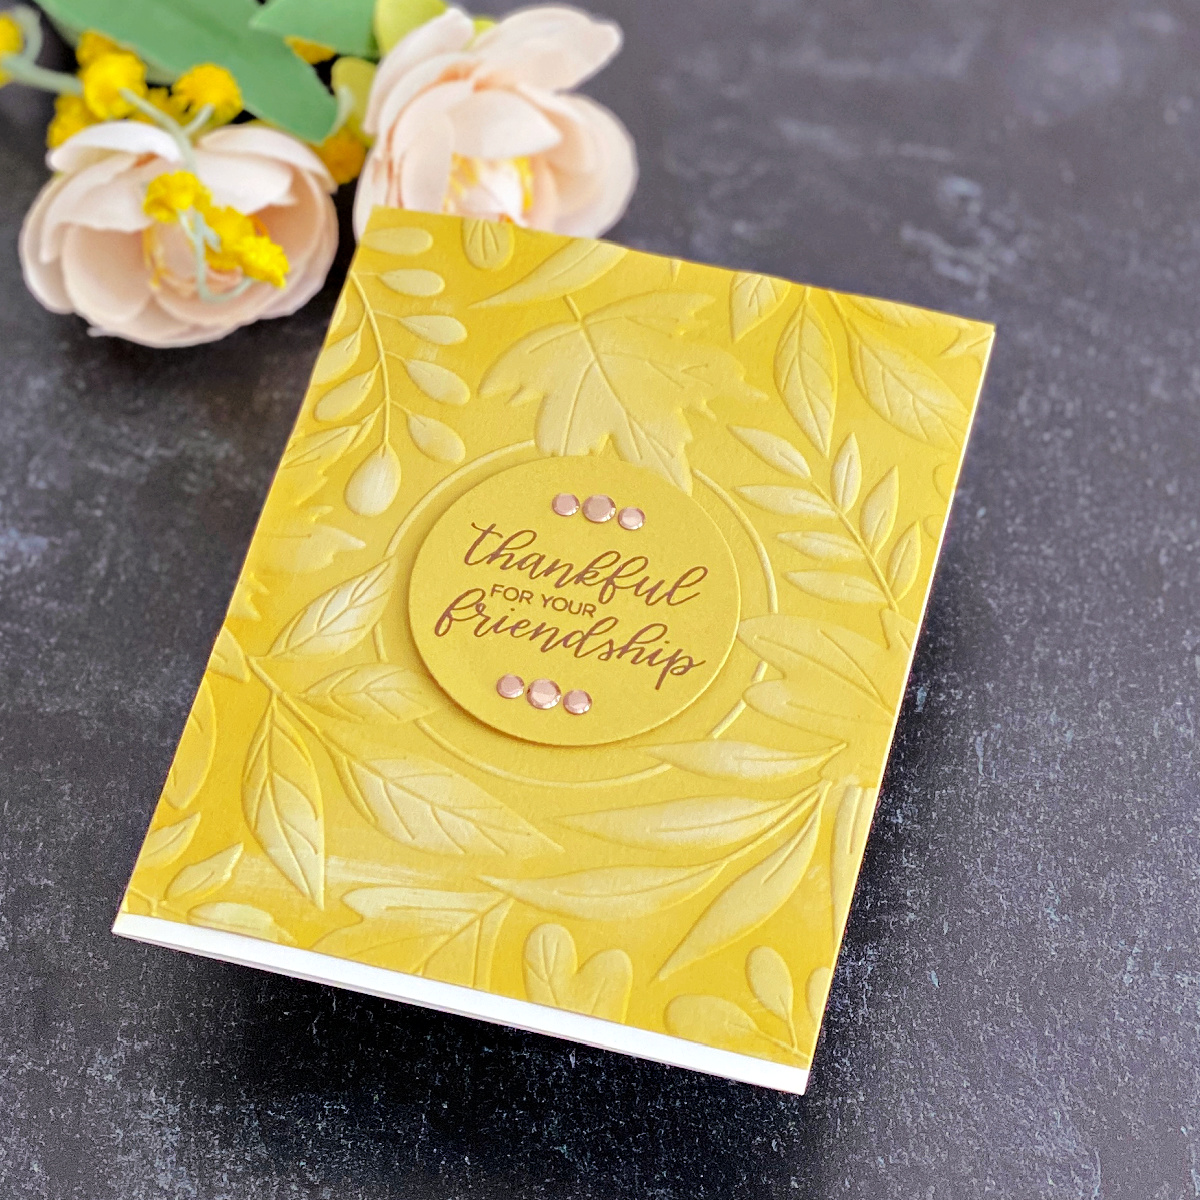
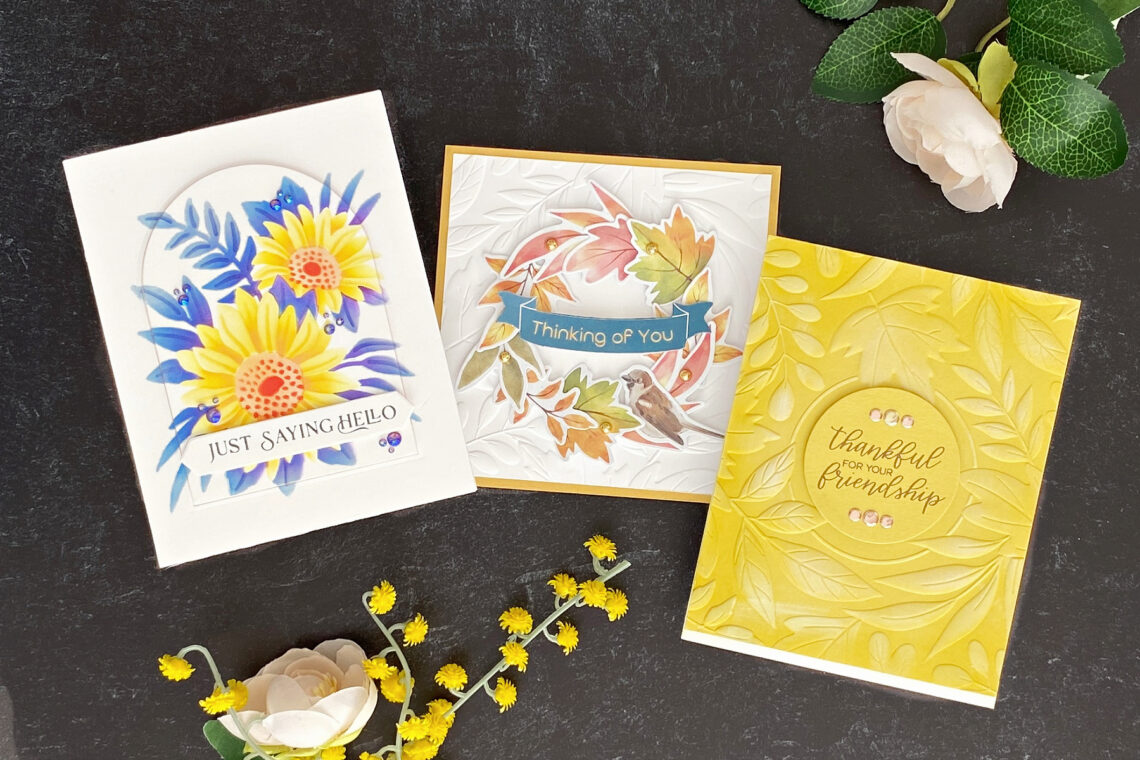
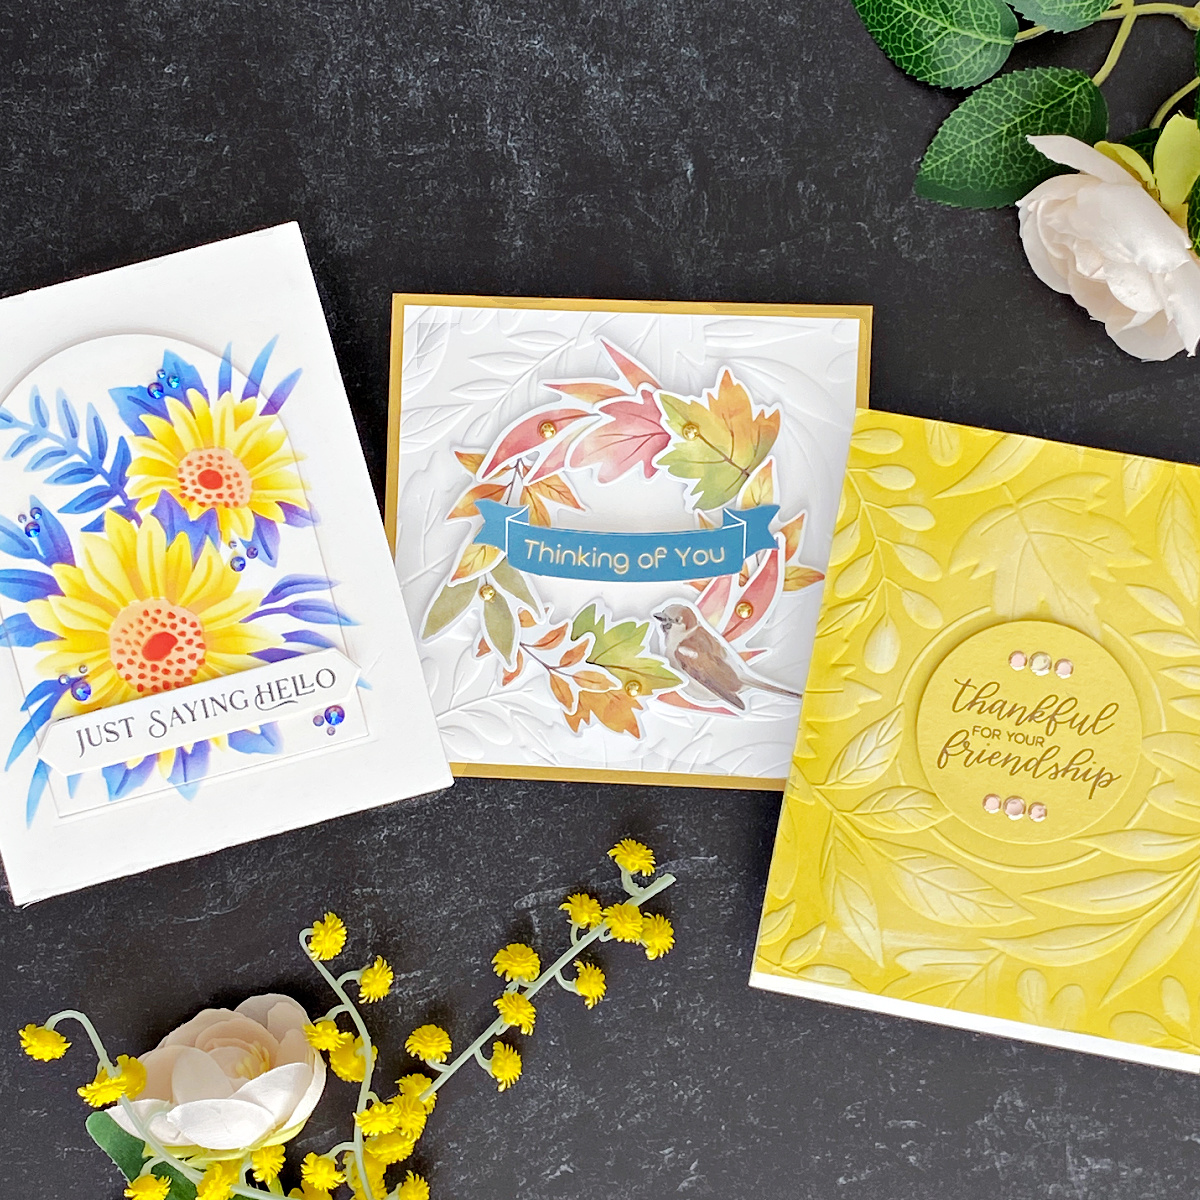
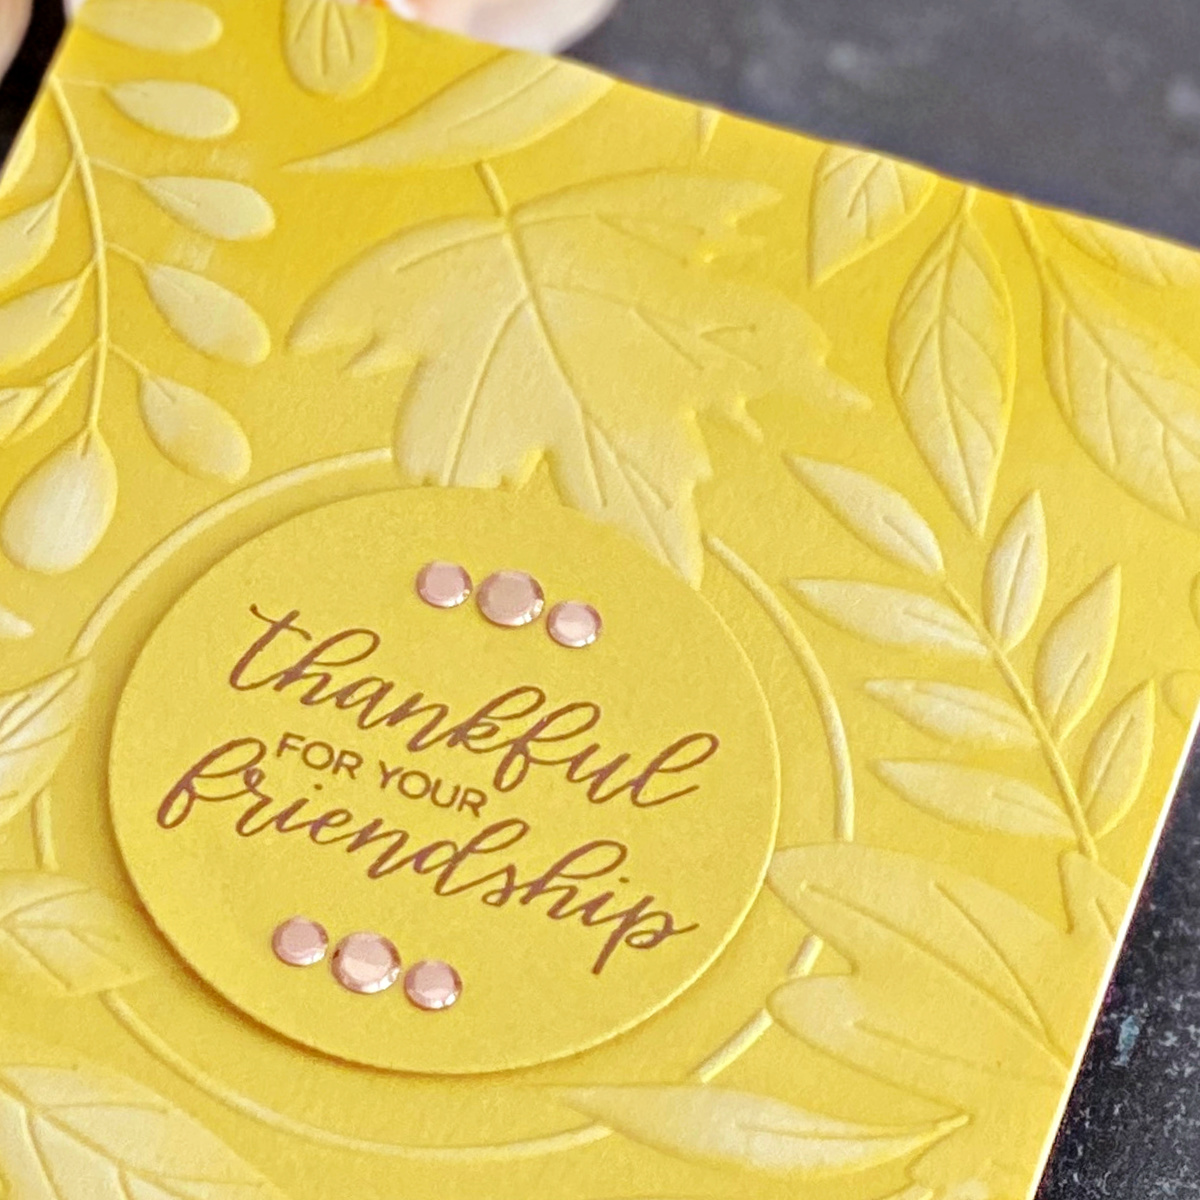
Yana Smakula has made many gorgeous cards (examples here and here) using Spellbinders 3D Embossing Folders. I made my card, featuring the beautiful Autumn Serenade 3D Embossing Folder, by doing what Yana did when she made hers. No alcohol markers, no fancy layout, or techniques – I knew I could do it and get a beautiful result.
- Selected yellowy-green cardstock for the base.
- Trimmed the cardstock, lightly misted with water, and ran through the Spellbinders Platinum Six with the Universal Plate System.
- Ink blended the edges with an ink pad a little darker than the cardstock.
- Rubbed a white pigment ink pad lightly over the raised portions.
- Stamped a sentiment from Sunflower Greetings onto the same color cardstock with brown ink.
- Die cut the sentiment with a circle die.
- Adhered the sentiment with foam tape in the spot designed for it and added Champagne Smooth Discs.
- Trimmed ¼” off the bottom and adhered to an A2 white card.
Tip: Spellbinders has a line of embellishments called smooth discs. They are basically cupped sequins but with no hole. Love them. I adhered them with the rounded side facing up. If you do that, use a bit more glue because only the rounded edge will touch the paper.
Use Premade Elements
I took a close look at the Serenade of Autumn Printed Die Cuts and — oh my. There are 138 pieces in the package, and they are lovely. The sentiments are ones I will use, and the images are perfect for fall. It looked like it would be easy to use them, and it was.
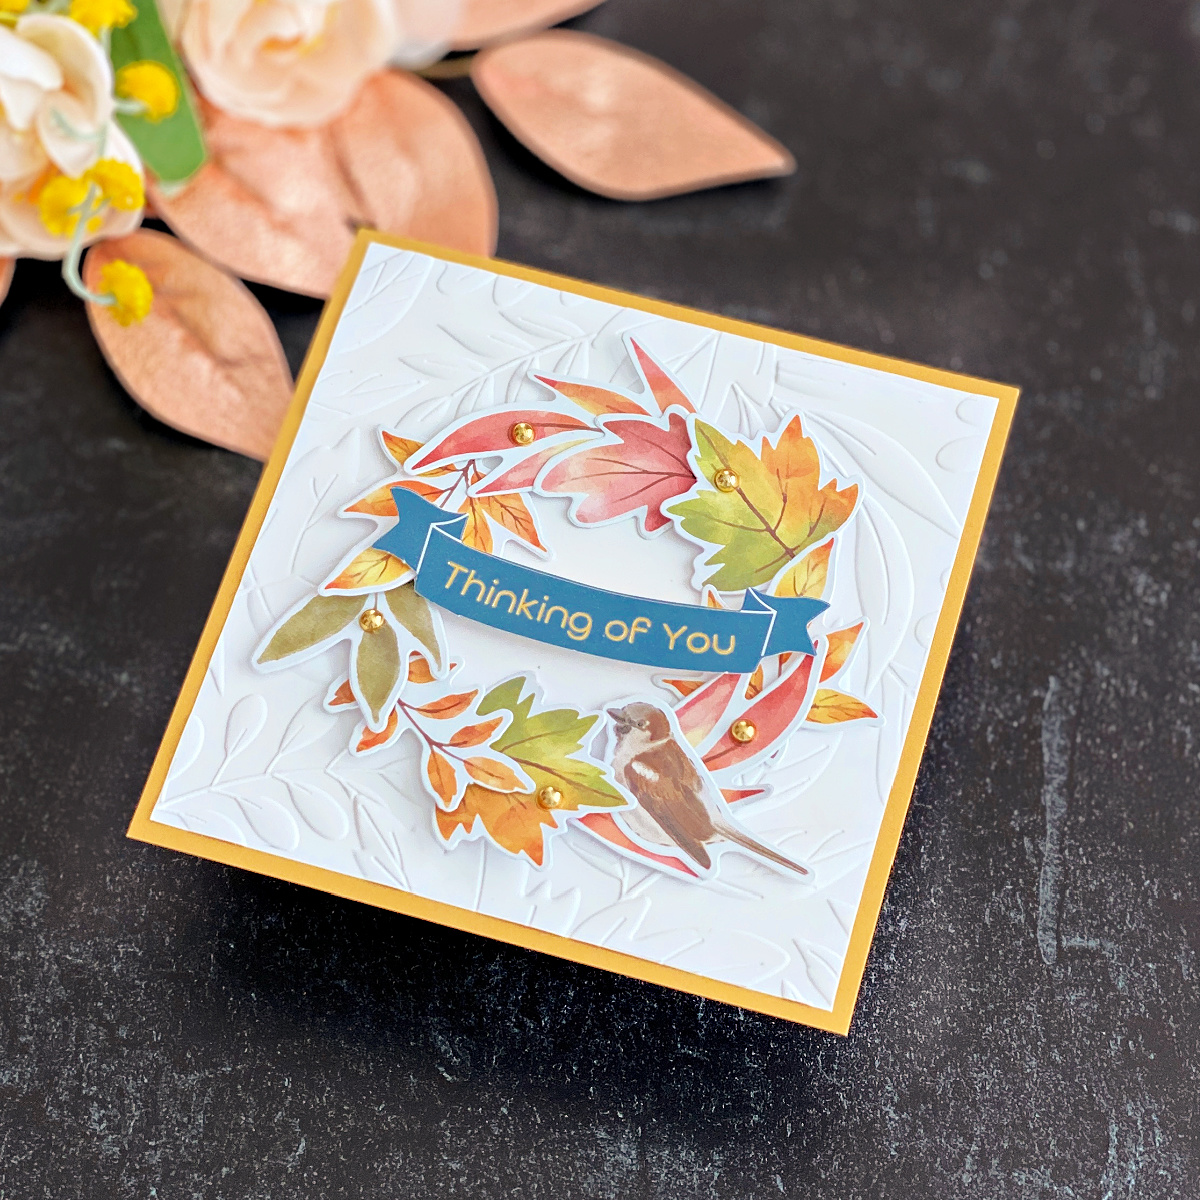
- Trimmed white cardstock, lightly misted with water, and run through the Spellbinders Platinum Six with the Universal Plate System.
- Chose white cardstock because the die cuts have a white border and I wanted to minimize the border.
- Using a centering ruler, I marked off where to cut the cardstock so that it would form a 4-inch square with the sentiment in the middle. Trimmed. (Should have die cut using a square die first and then ran through the Platinum.)
- Adhered the leaves and the sentiment as shown. No muss, no fuss!
- Loved it, but then I saw the bird and it was the perfect addition.
- Die cut Brushed Gold cardstock with a square die.
- Adhered the panel to the Brushed Gold square and then adhered that panel to a square card.
- Adhered gold embellishments.
- 10 minutes of my life well spent making this card!

Use a Stencil
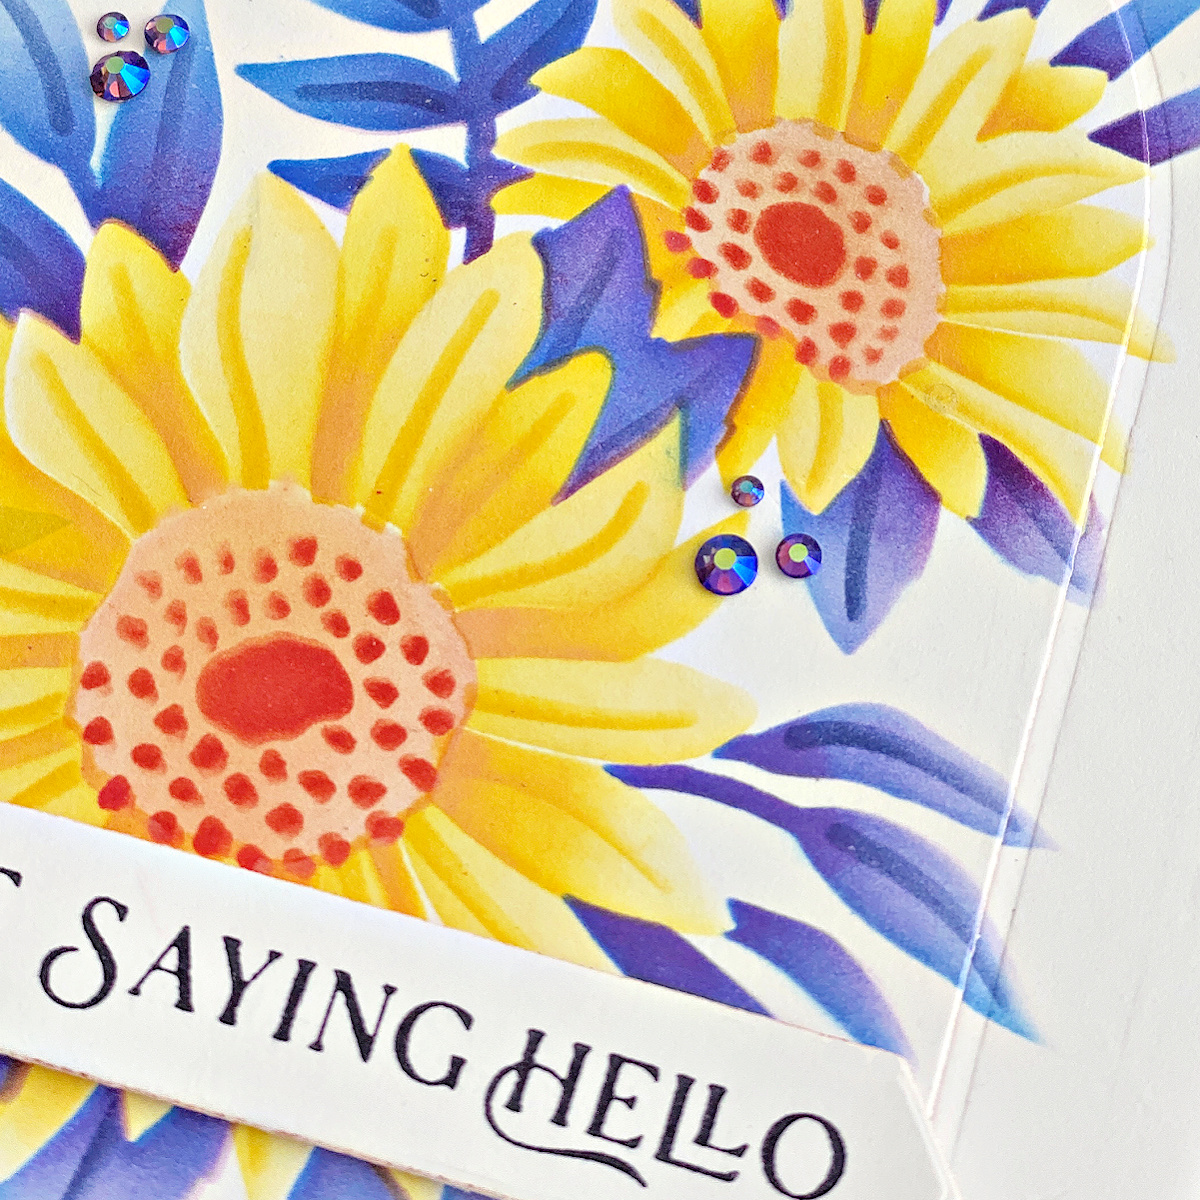
Stencils, especially layering stencils, are hot now – and for good reason. They are relatively inexpensive, incredibly easy to use, and make beautiful cards. The Layered Sunflower Stencil is all that and more. It’s very easy to align, makes stunning cards, and is a perfect choice when your mojo is gone.
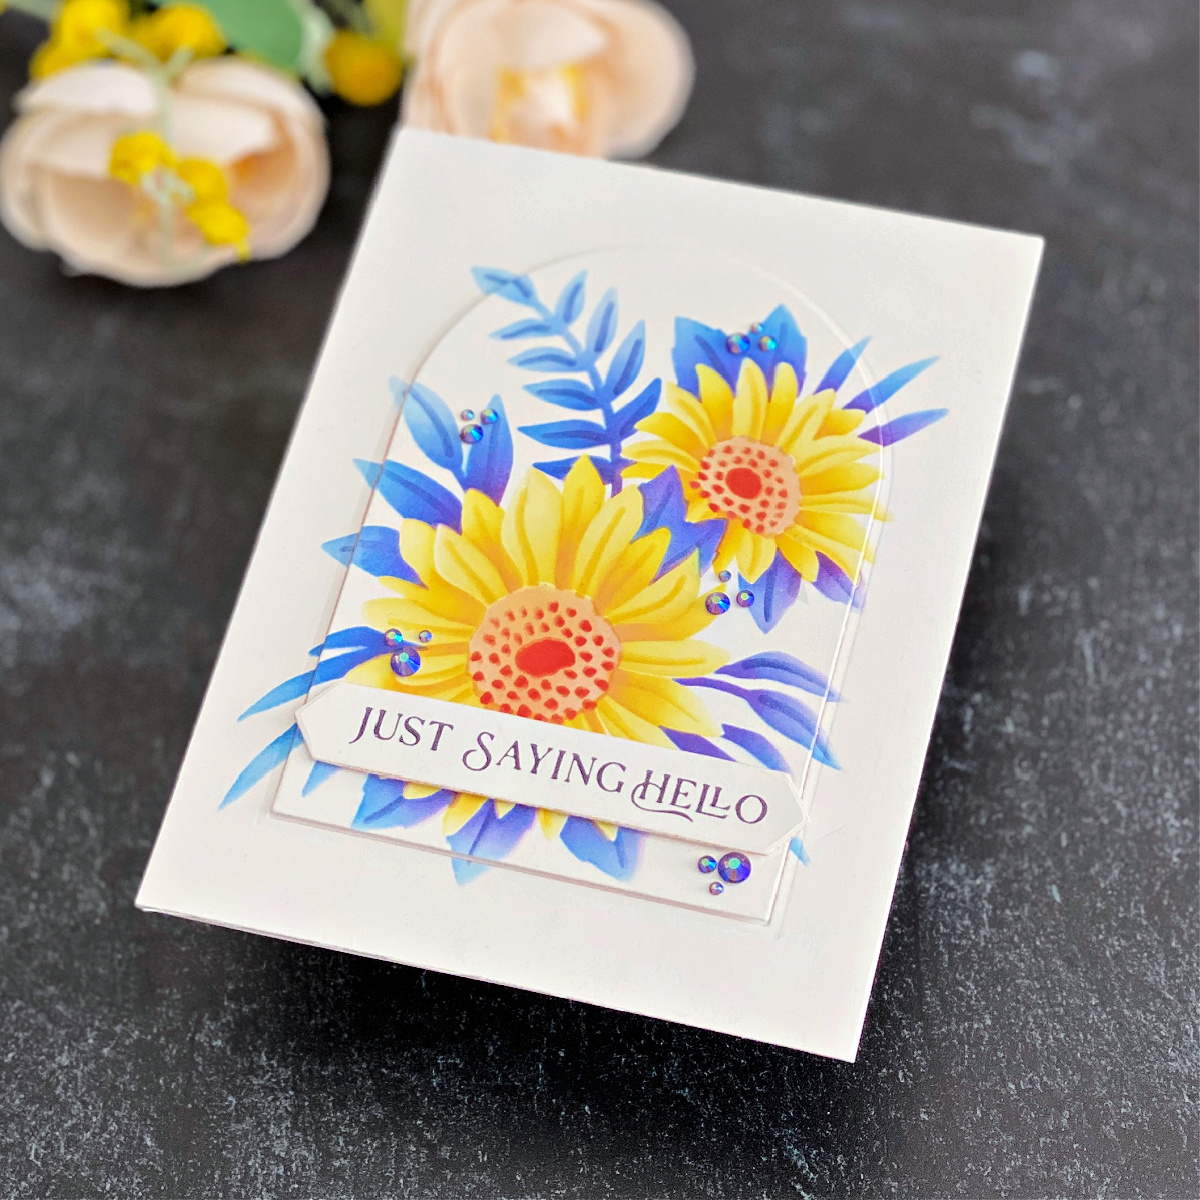
- Stenciled the flowers from Layered Sunflower Stencil onto white cardstock
- Chose blue leaves because I love yellow and blue together and as a nod to Ukraine.
- Trimmed the stenciled panel to 5 ½” x 4 ¼” and die cut it using one of the Essential Arches Etched Dies.
- Adhered the outside of the die-cut piece to an A2 card.
- Decided to open my BetterPress LetterPress that I had purchased in June and never opened convinced that I would never figure it out.
- I was wrong.
- First time out of the box, with a faint memory of the videos I had watched, I inked up the Fancy Sentiment Strips with the BetterPress black ink.
- Ran the BetterPress LetterPress through my Platinum 6 die-cut machine and got perfect results. I didn’t even use the LetterPress paper that came with the kit because I wanted the sentiment to be on the same cardstock that I used for the stenciling.
- Stopped what I was doing, and created more sentiments using LetterPress paper for future use. Stunning depth and perfect results. Real letterpress! Ordered more BetterPress LetterPress plates.
- Die cut the sentiment with the coordinating die and adhered it with foam tape.
- Adhered arched panel to the card as shown with foam tape.
- Added Sapphire Color Essentials Gems.
Success breeds success! Making these cards helped me find my mojo again! I hope these tips help you if you find your mojo missing. Thanks for coming along on my journey and thank you to Spellbinders.
Spellbinders Supplies:

Other Supplies: paper trimmer; inks, cardstock, embellishments, centering ruler, foam tape, blender brush.

2 Comments
Michele F
Joan, it sure doesn’t look as if you were in a rut, my friend! Loving that gorgeous embossing and every other thing about your three gorgeous creations!
=]
Stephanie Clapper
Thank you so much for sharing your thoughts and beautiful cards. I think everyone has mojo times. I’m in love with your blue and yellow sunflowers 🌻! Absolutely gorgeous and so thoughtful for your “nod” to Ukraine. I haven’t tried the Letter Press yet as I’m still learning how to hot foil. Spellbinders offers so much creativity!