Fun Ways To Use Glitter In Your Card Projects
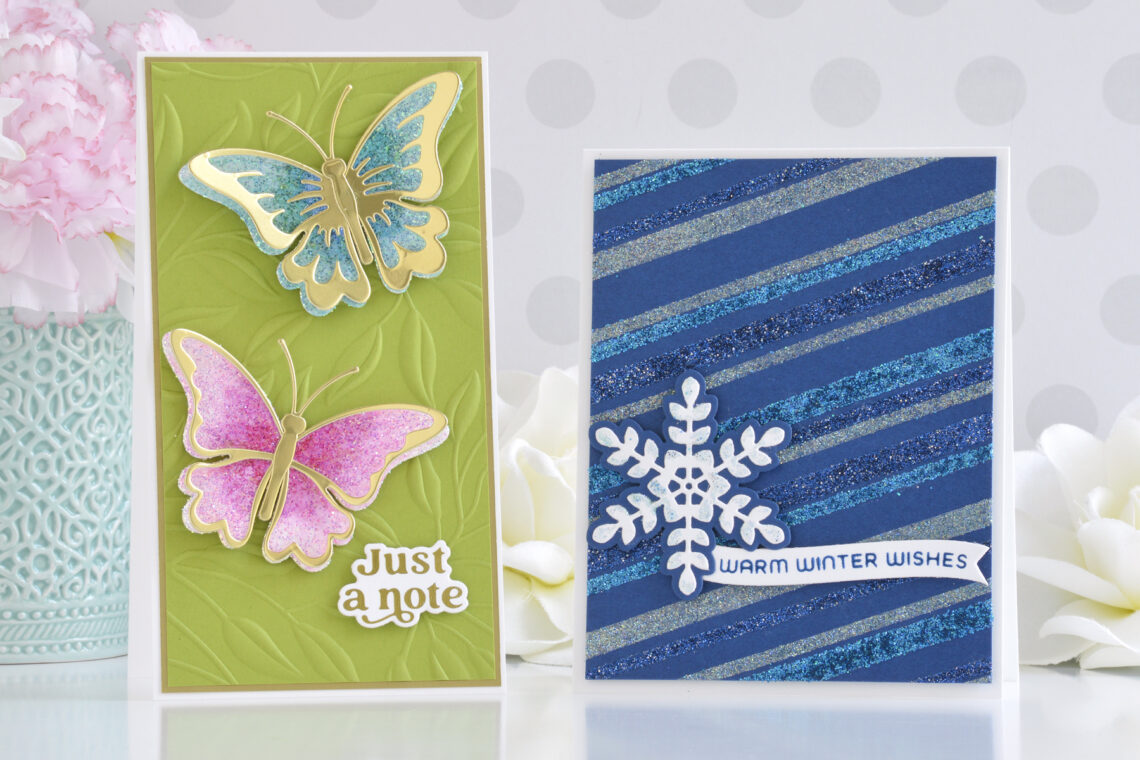
Hi there, this is Annie Williams and I’m thrilled to be back on the blog today to share a couple of fun ways to incorporate glitter in your cardmaking. With different color mixes, finishes, and sizes of particles, Art Glitter gives you tons of options for adding sparkle to your projects. Here I show four of my favorite ways to use glitter on cards and some tips for containing the mess so you can feel confident using it too!
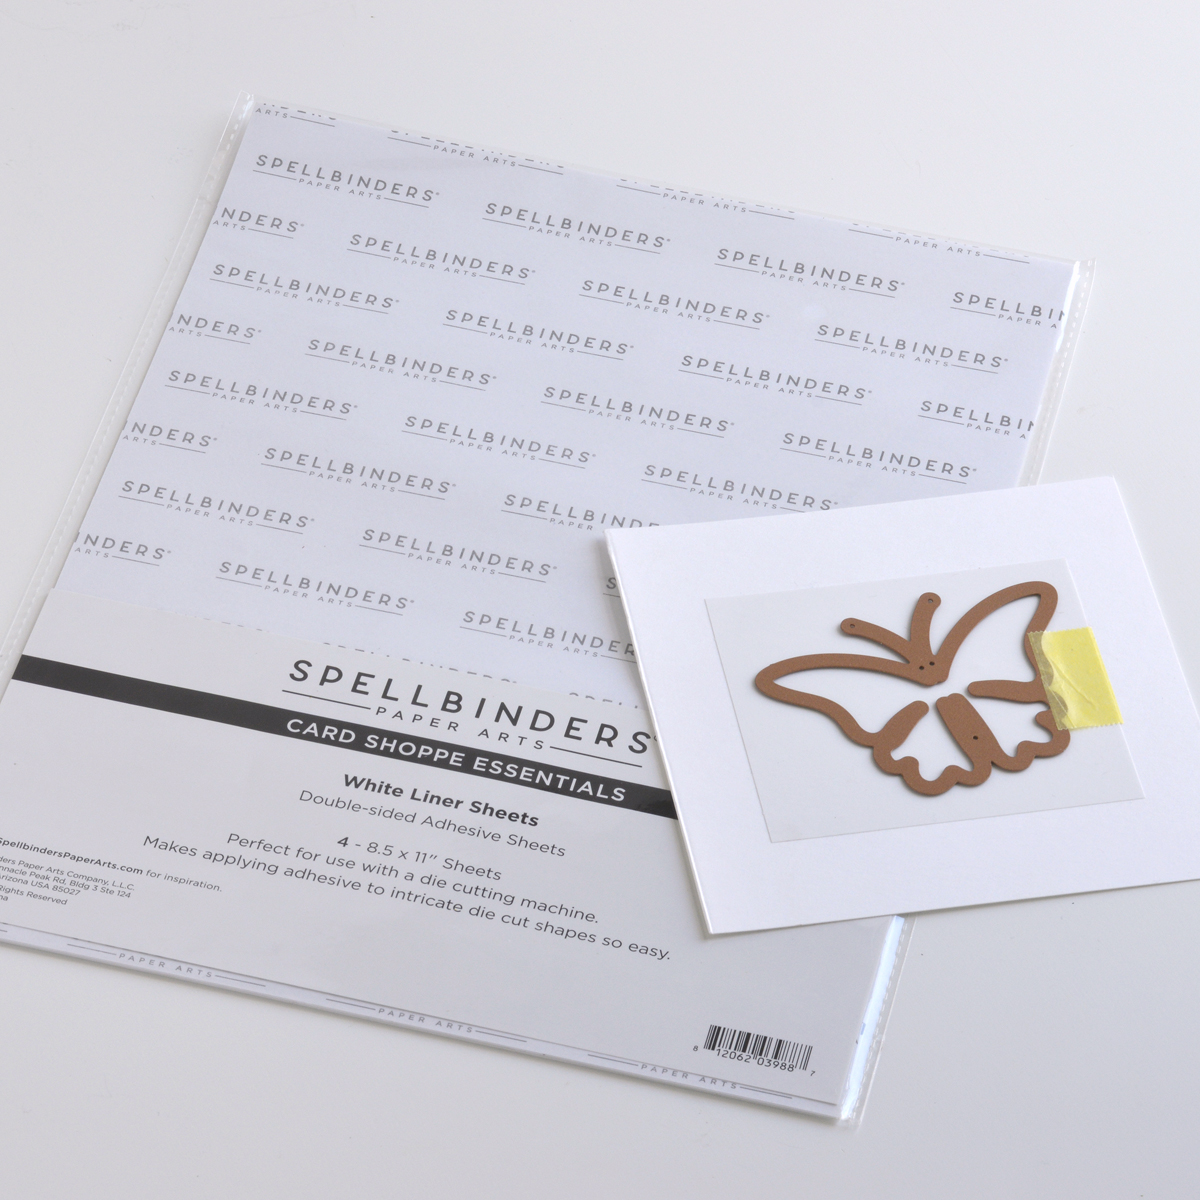
One of my favorite ways to add sparkle is creating glitter die-cuts. I like to adhere a small piece of Spellbinders White Liner Double-Sided Adhesive Sheet to white cardstock and then cut my shape out, face-down on top of the adhesive sheet. You may need to run this through your die-cutting machine more than once, so a bit of Best Ever Craft Tape helps to keep the die in place.
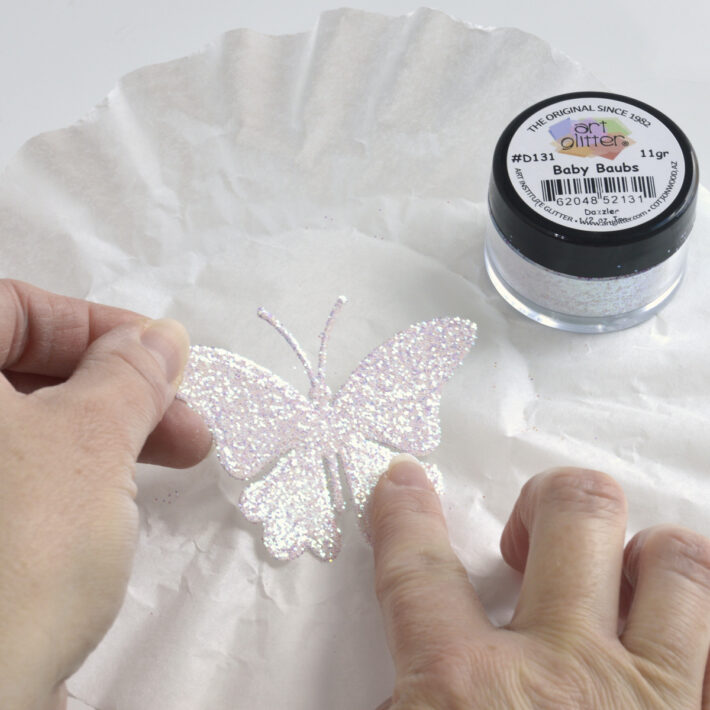
Once cut, I peel the backer off of my die-cut and pour Baby Baubs Glitter over the sticky side and into a coffee filter. Use the coffee filter to dump the excess glitter back into the jar and then burnish the glitter into the adhesive with your finger.
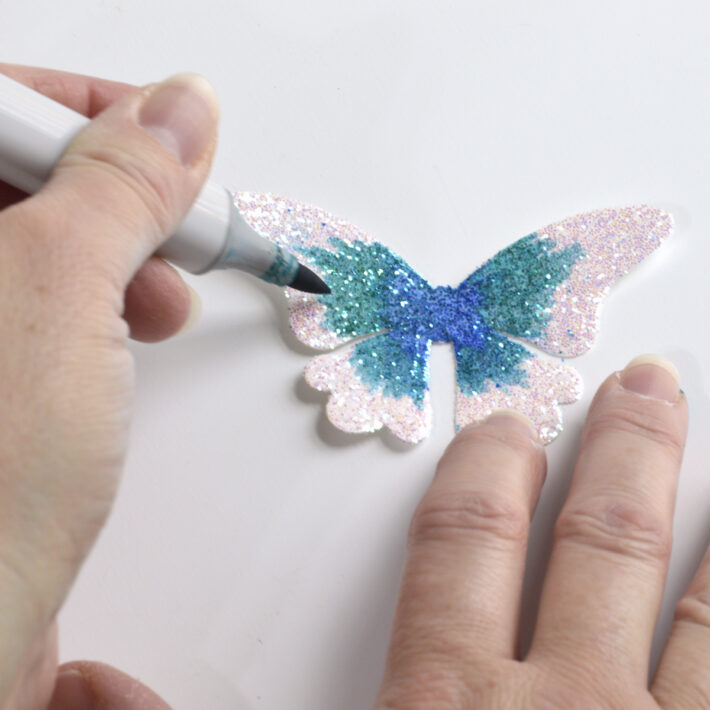
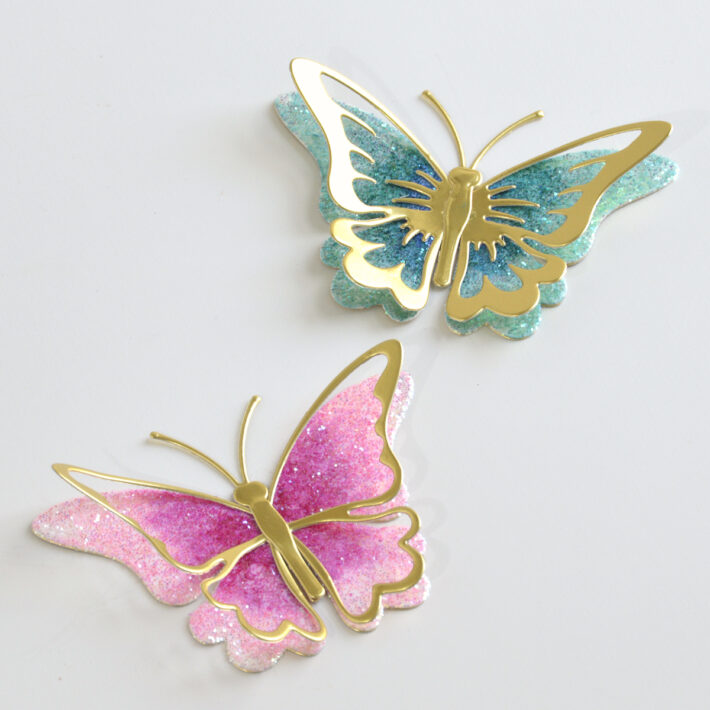
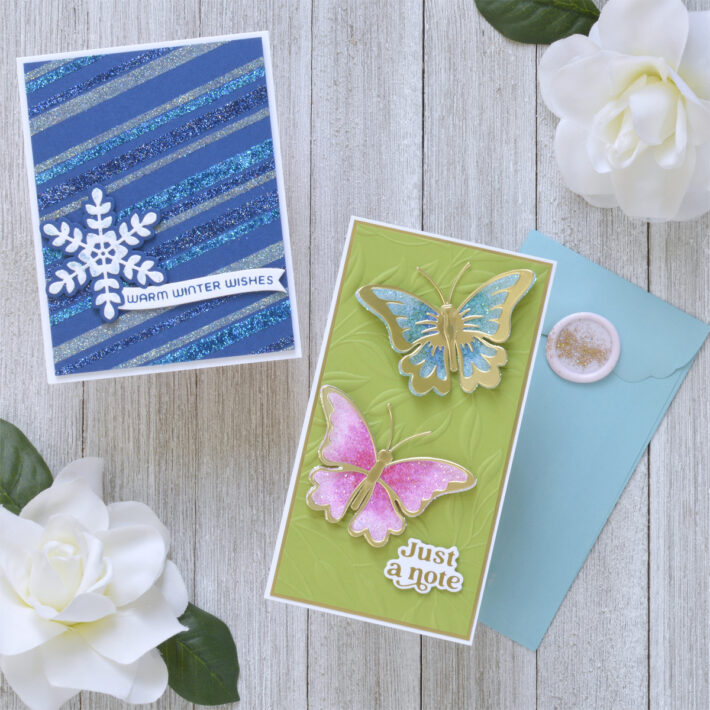
Did you know that you can color over glitter with alcohol markers? I added a few shades of blue and green to this pretty butterfly with my Copic markers. The ink blends pretty easily because it does not dry as quickly on glitter.
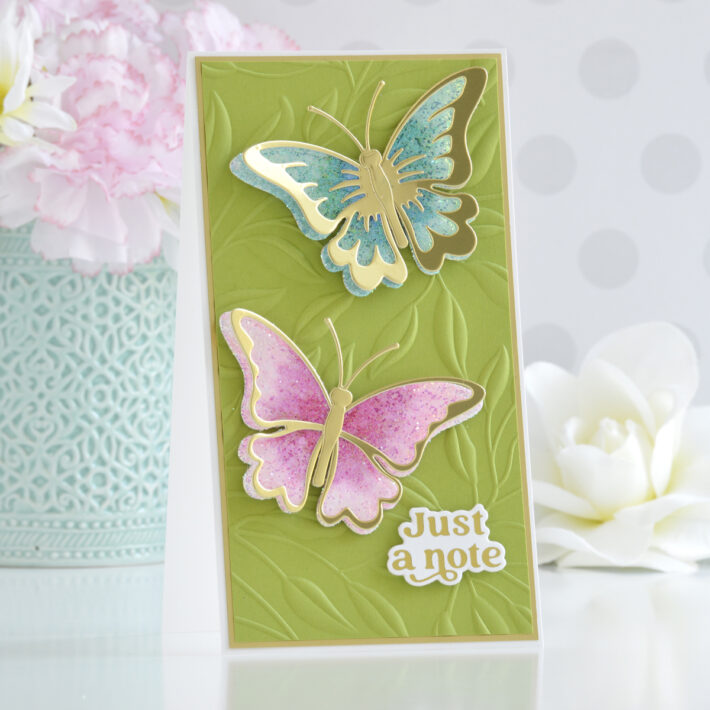
I cut the remaining pieces of the butterfly out of Mirror Gold Cardstock using the Layered Butterfly Die Set and assembled it with liquid glue, then created a second one using pink tones. These butterflies are definitely eye-catching!
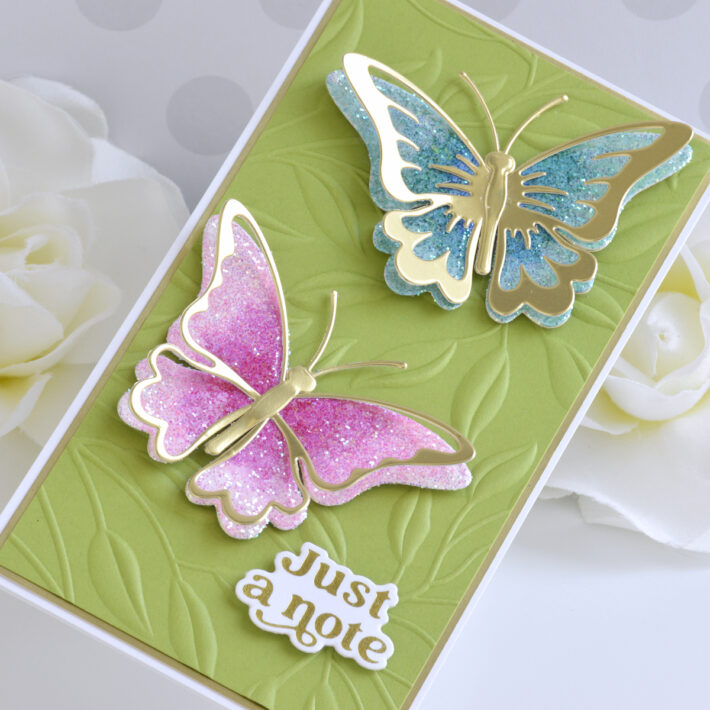
To assemble the card, I embossed some Rainforest Cardstock using the Leafy 3D Embossing Folder, matted it with Mirror Gold Cardstock, and adhered it to a top-folding mini slimline white card base.
The butterflies were popped up on top of the card front with foam adhesive and a sentiment foiled in gold using the Must Have Sentiments Glimmer Plate Set was added to the lower corner.
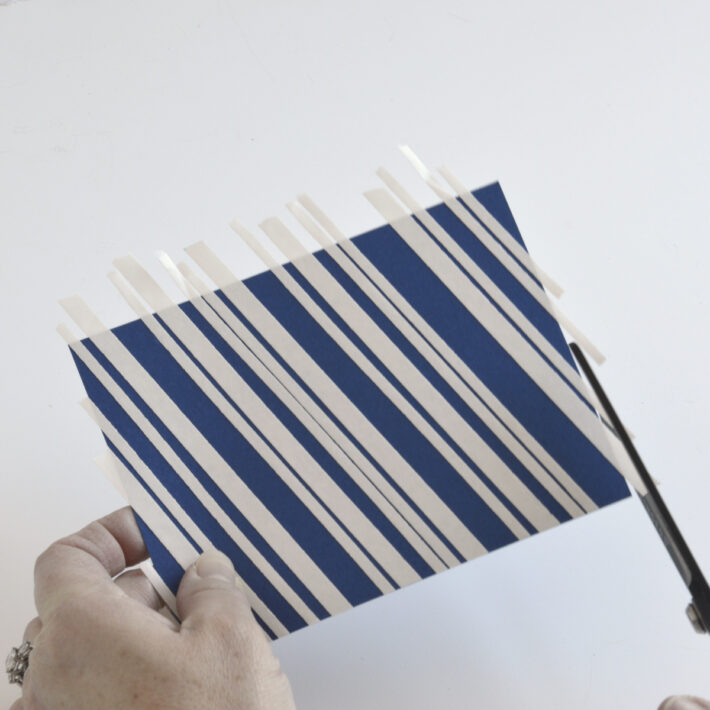
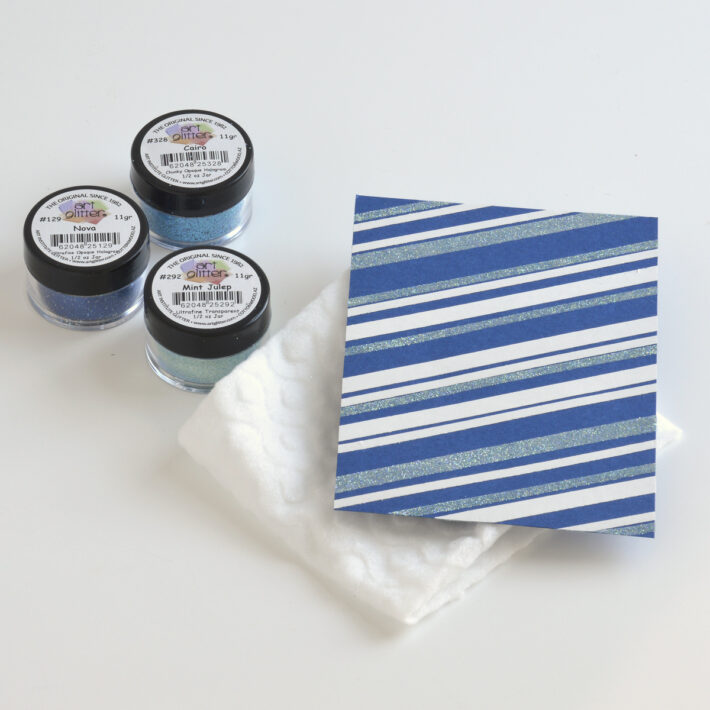
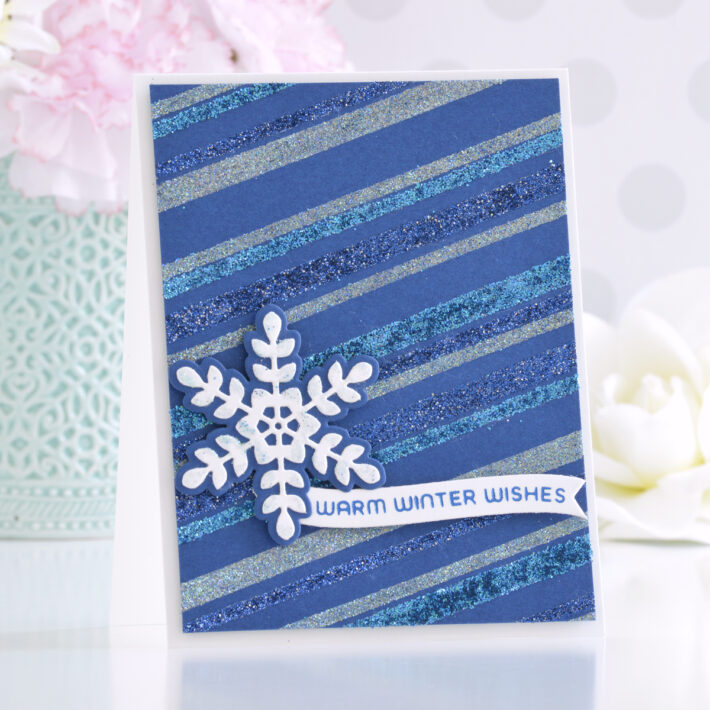
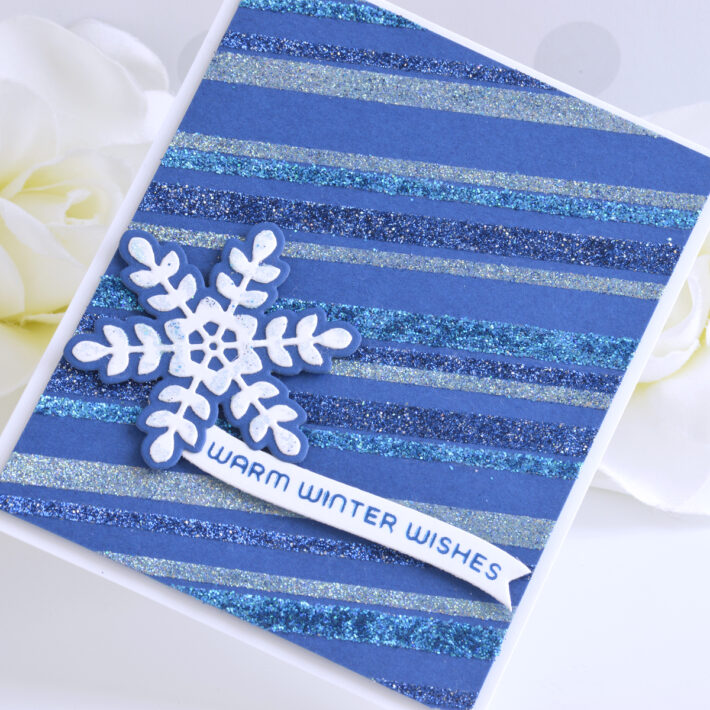
Now let’s create a patterned background with tons of sparkle! I trimmed a piece of Cosmic Sky Cardstock to 4” x 5.25” and added strips of ¼” and 1/8” White Liner Tape diagonally across the panel. Then I trimmed off any overhanging bits using my Spellbinders 9” Pro Shears (these are wonderful because they won’t stick to the adhesive!).
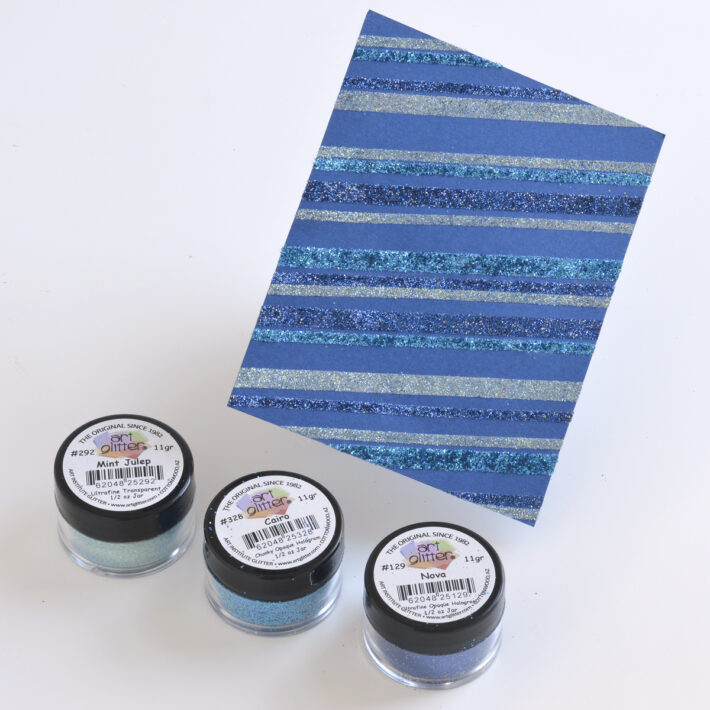
Working with one color of glitter at a time, peel off a few of the liners on some of the stripes and pour Mint Julep Glitter over the entire panel. Burnish it into the adhesive with your finger and then wipe the surface off with a Swiffer Dry Sweeping Cloth to remove any excess glitter (these cloths work like a charm to clean up your space when you’re finished with your glitter too!).
Repeat this process with both Cairo and Nova Glitters, making sure to clean up after each color of glitter before adding the next so you don’t contaminate colors. The result is a fun patterned panel with tons of sparkle!
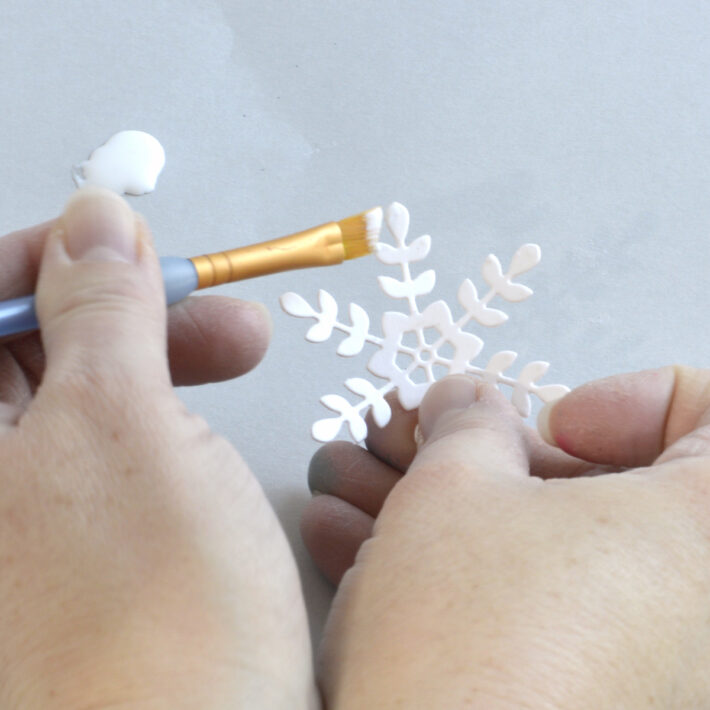
When I want to add just a touch of sparkle, I reach for my liquid adhesive and an old paintbrush. Here I’ve cut a snowflake out of white cardstock using the Delicate Snowflakes Die Set and I’m brushing a thin layer of liquid glue onto just the edges.
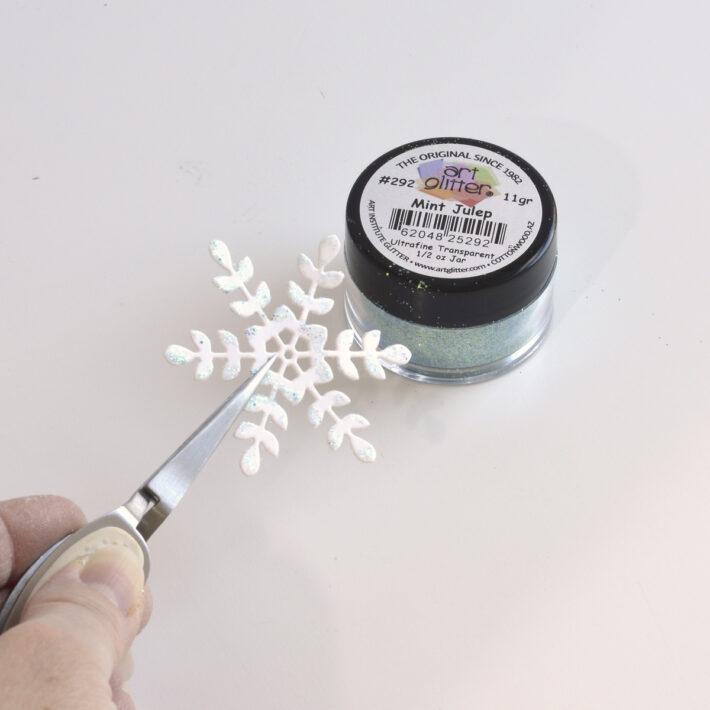
Dipping it into the jar of Mint Julep Glitter and tapping it off leaves just the tiniest bit of sparkle on this pretty snowflake.
To assemble this card, I popped the glittered background panel up on top of an A2-sized white card base with foam adhesive and added the snowflake with more foam adhesive.
I applied Cobalt Hot Foil to white cardstock using the Comfort & Joy Sentiments Glimmer Plate Set, cut out my sentiment with the coordinating die, and popped it up next to the snowflake with foam adhesive.
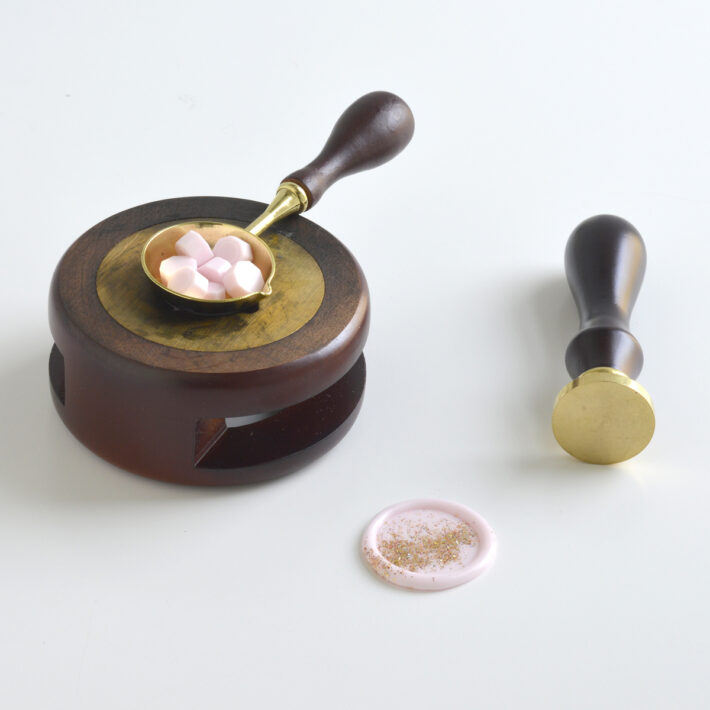
And don’t forget to add some sparkle to your wax seals! Here I melted Pastel Pink Wax Beads and sprinkled a little Solaria Gold Glitter across the wax before pressing it with the ¾” Solid Circle Wax Seal Stamp.
Spellbinders Supplies:

Other supplies
White heavyweight cardstock, Copic markers, Swiffer Dry Sweeping Cloths, coffee filters, tape runner, foam adhesive
I hope you enjoyed these fun ways to add a little sparkle to your card projects and thanks so much for stopping by today. You can find more inspiration over at my blog AnnieBWills.com or on Instagram.

2 Comments
marilyn needham
Hi Annie, I’ve just come across your site, and I had to subscribe straight away, it was the butterflies that did it!, they are more than eye catching, they are absolutely gorgeous. I will have to try and have a go. Cheers and Thankyou, Marilyn in the UK.
Lisa Sloane
Liked your ideas for using the glitter differently!.