-
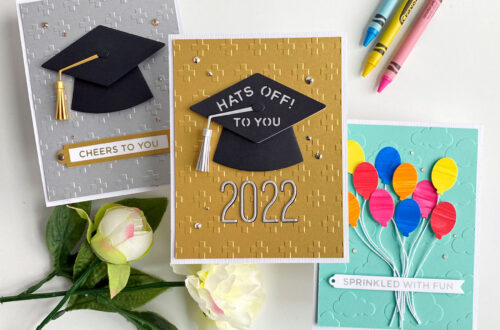
Fun Ways To Use Glitter In Your Card Projects
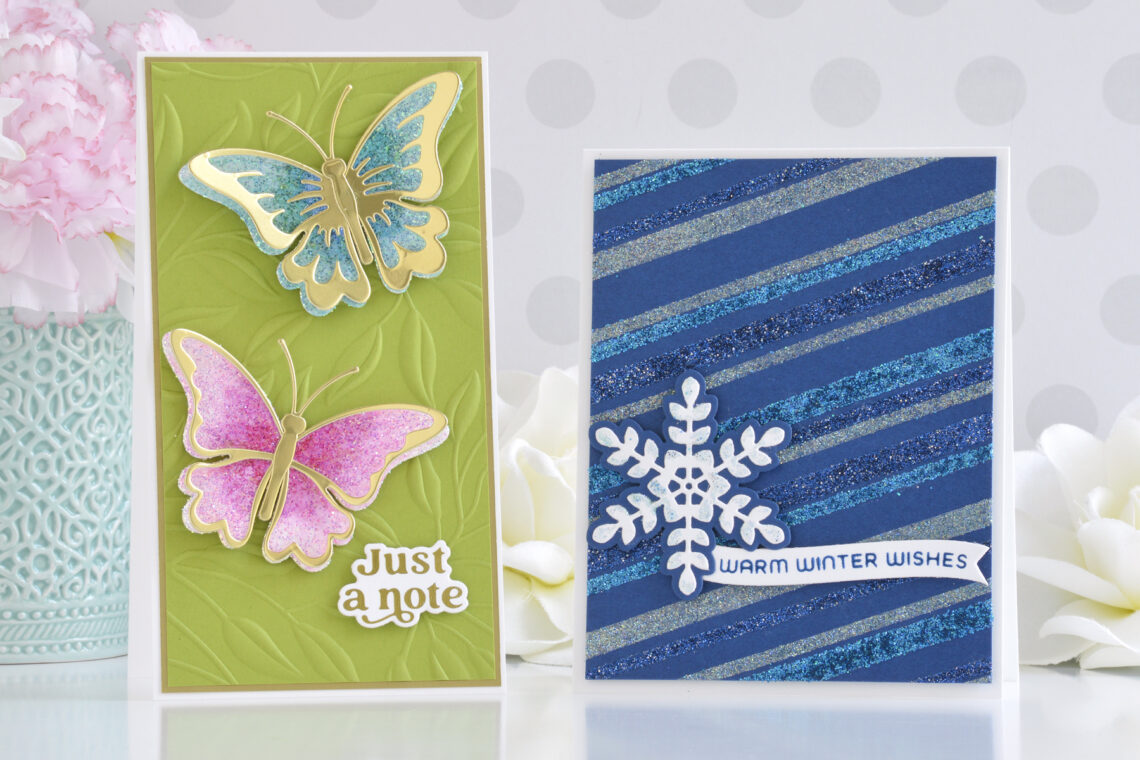
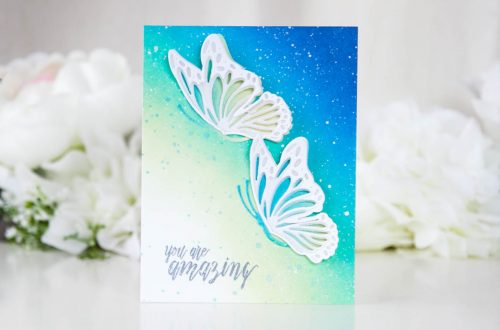
Hi there, this is Annie Williams and I’m thrilled to be back on the blog today to share a couple of fun ways to incorporate glitter in your cardmaking. With different color mixes, finishes, and sizes of particles, Art Glitter gives you tons of options for adding sparkle to your projects. Here I show four of my favorite ways to use glitter on cards and some tips for containing the mess so you can feel confident using it too! One of my favorite ways to add sparkle is creating glitter die-cuts. I like to adhere a small piece of Spellbinders White Liner Double-Sided Adhesive Sheet to white cardstock and then…
-
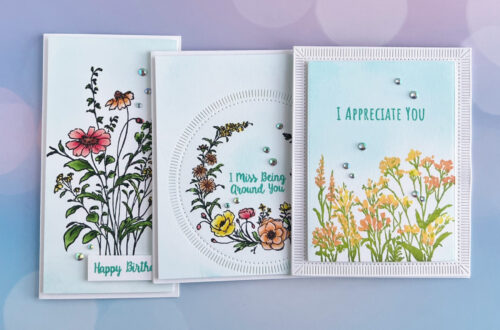
Watercoloring Die Cuts & Stamped Images with Karin Markers – Step-by-Step Tutorial
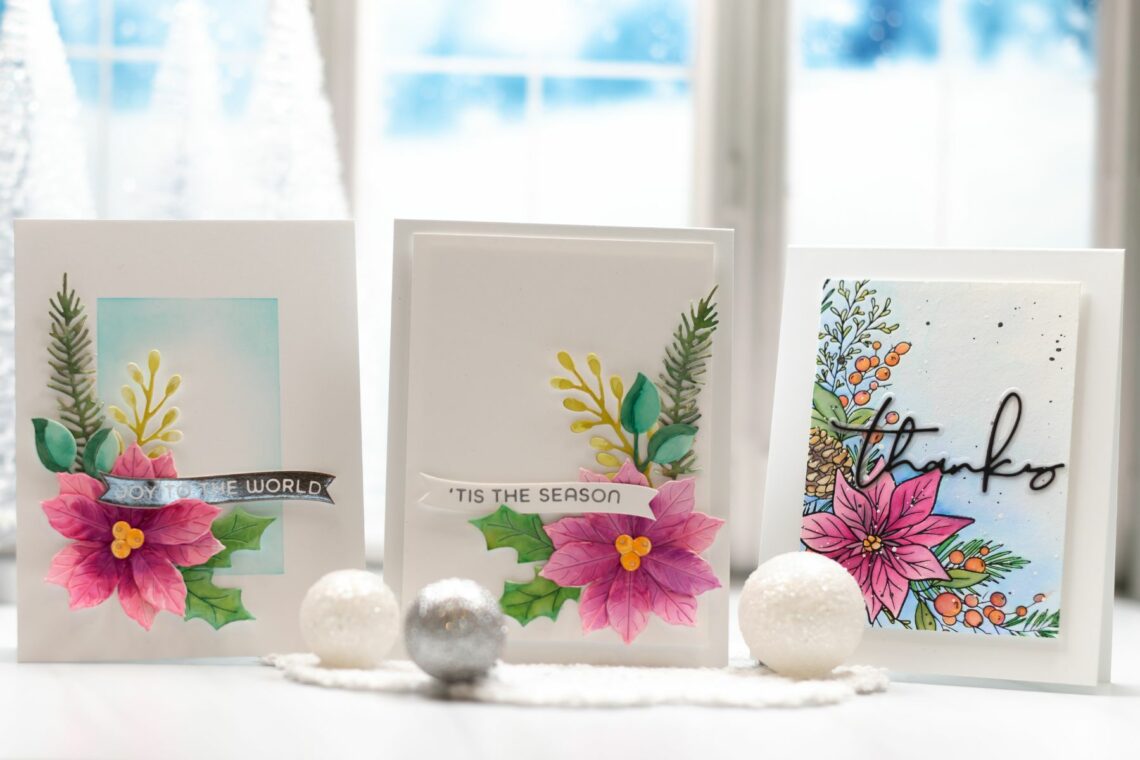
Hi everyone! It’s Jean Doeringsfeld and I’m super excited to be a guest on the Spellbinders Blog. Today, I’m sharing one of my favorite techniques for using Karin markers. This is a super easy watercolor technique that will help you learn about how the markers work and create stunning results every time. I have 3 cards to share with you today – the first two use the Karin markers to watercolor die cuts and the 3rd shows how to apply the same method to a BetterPress image (or any image, really). Step 1 (for All Cards): Start by swatching the markers to determine which colors you want for your project…
-
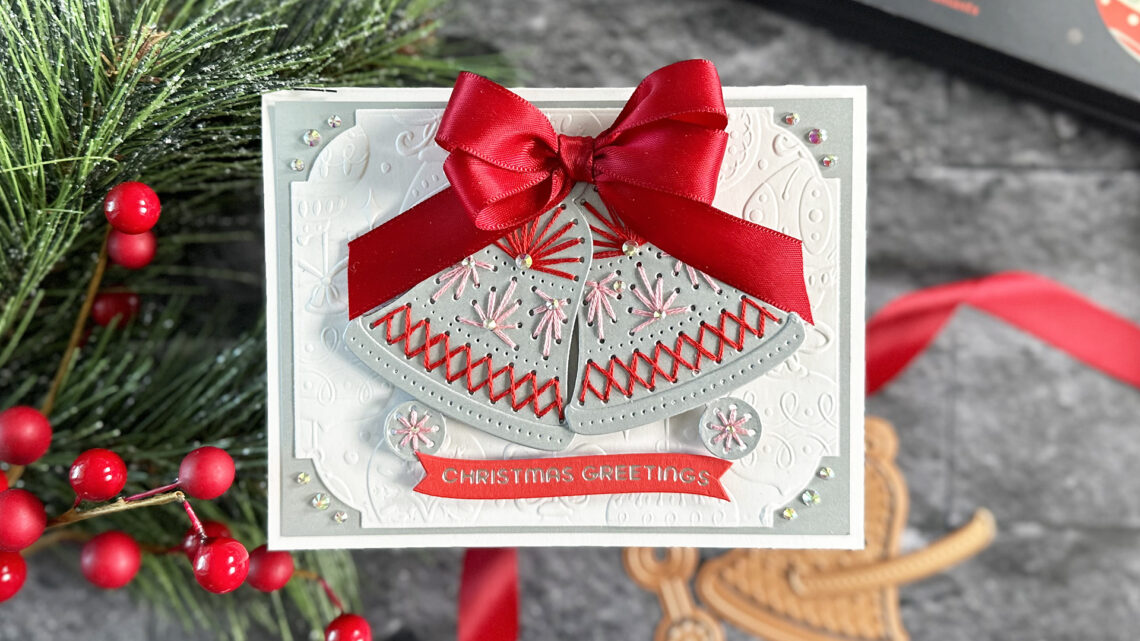
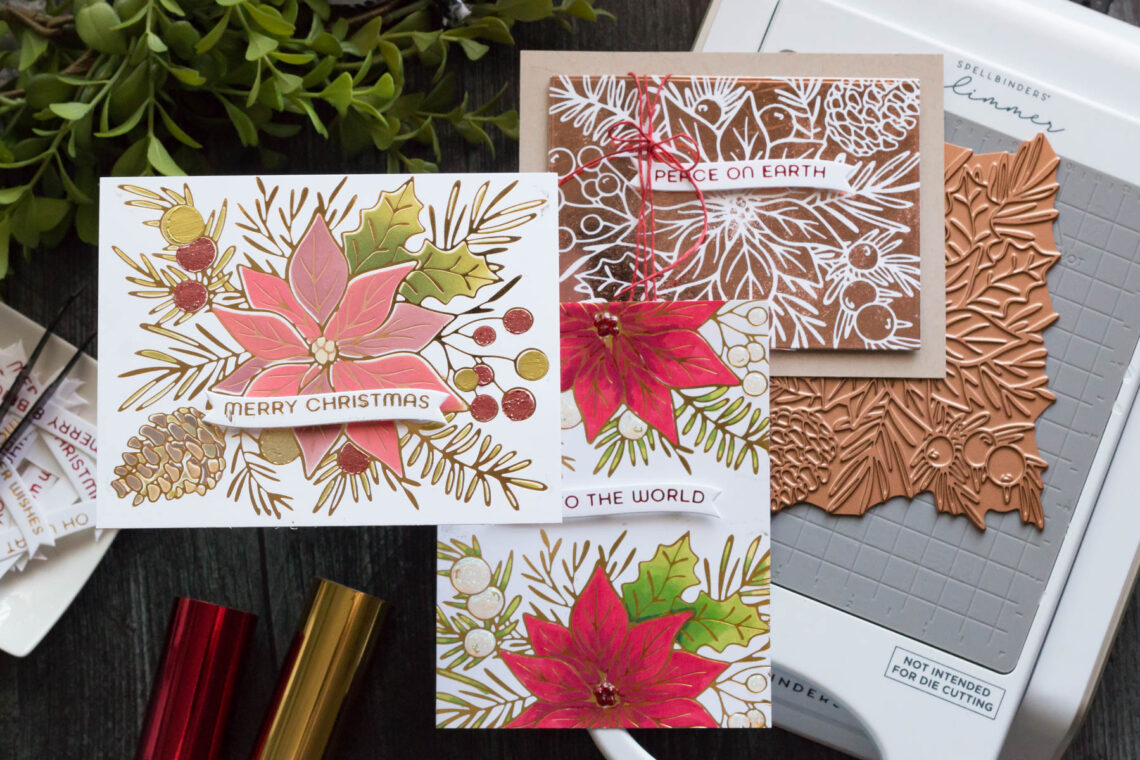
Spellbinders Exclusive Collection Inspiration with Jean Doeringsfeld
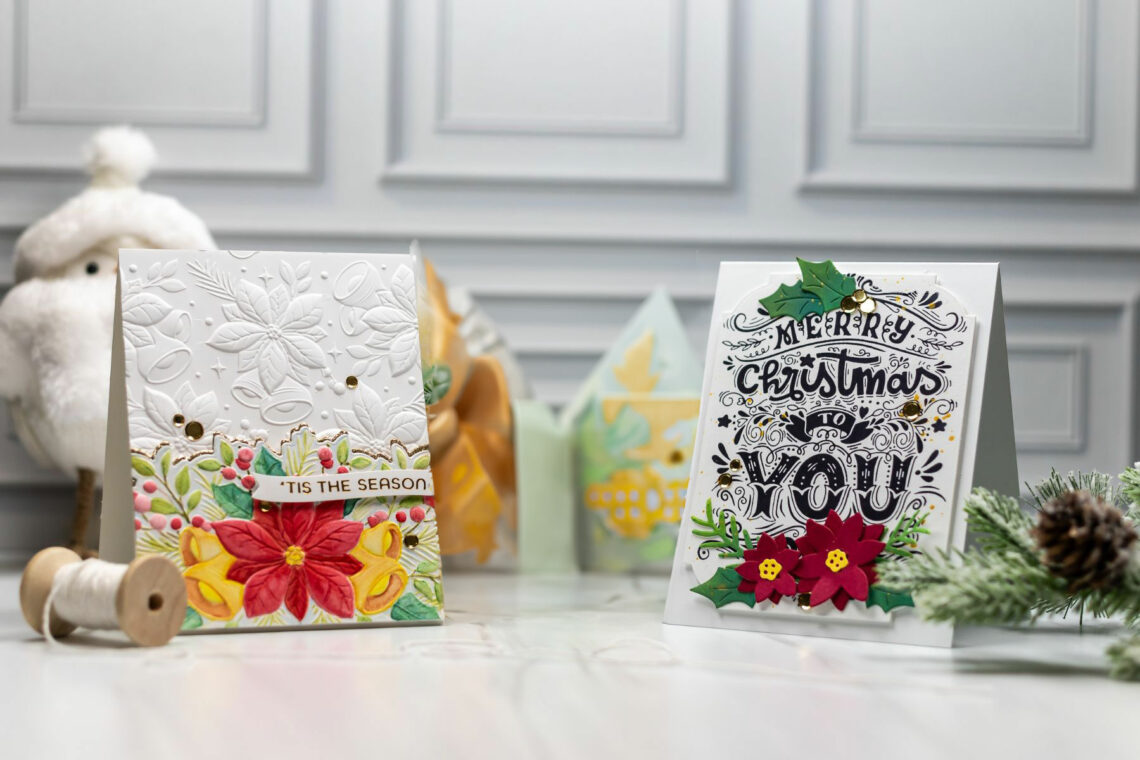
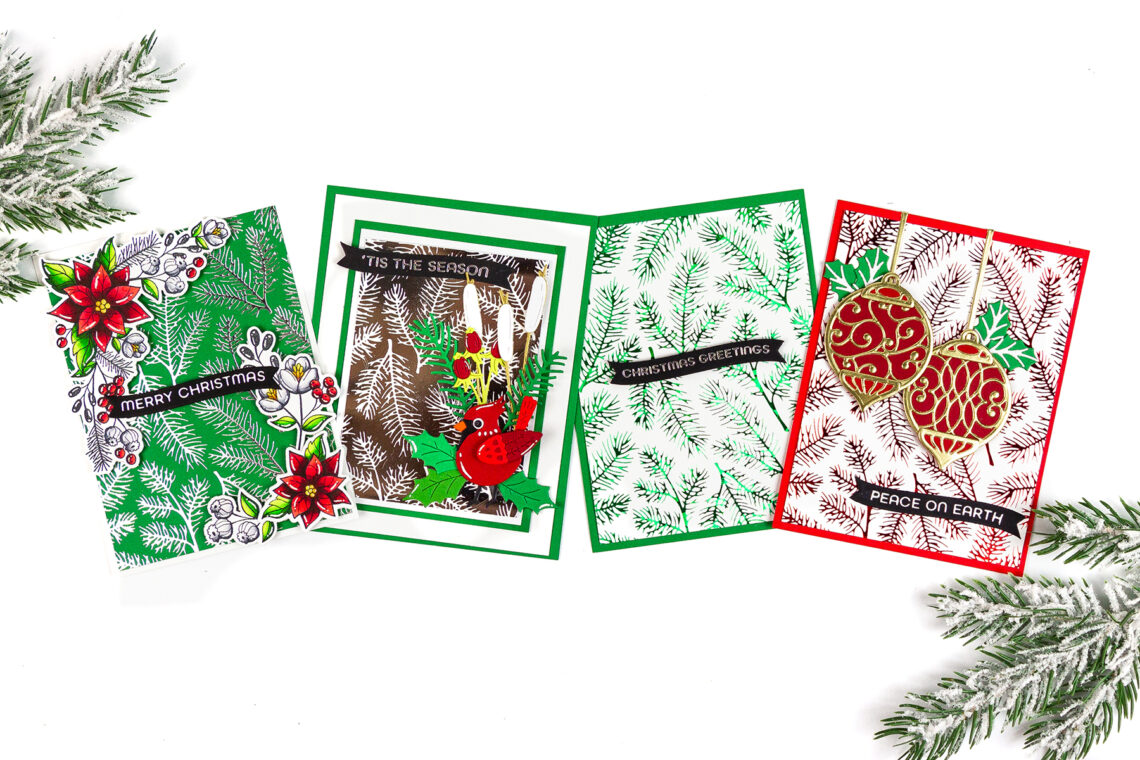
Hi everyone! It’s Jean Doeringsfeld and I’m super excited to be a guest on the Spellbinders Blog! Today, I’m sharing three cards made with Spellbinders’ Exclusive products. This collection is a holiday must-have you won’t want to miss! I had so much fun creating with this collection, and I can’t wait to share my cards with you – so let’s get started! Poinsettia & Bells This collection features a gorgeous new 3D embossing folder and die set called Poinsettia Bells & Border. The die in this set cuts out a portion of the embossed image to create an elegant border for your card. You can use the embossing folder with…
-
12 Days of Stitchmas Advent Calendar | Day 11 with Kim Kesti
Welcome to day 11 of our 12 Days of Stitchmas 2023 Advent Calendar class! Join us and stitch your way through the season! We invited 12 guest artists to share inspiration with the 12 stitching surprises. Let’s welcome Kim Kesti as she shares inspiration with the Day 11 surprise! Don’t miss the other video tutorials from our free Youtube Class: Day 1 with Mindy Eggen | Day 2 with Sandi MacIver | Day 3 with Laura Bassen | Day 4 with Jaycee Gaspar | Day 5 with Yana Smakula | Day 6 Michelle Short | Day 7 with Nichol Spohr | Day 8 with Tina Smith | Day 9 with…
-
12 Days of Stitchmas Advent Calendar | Day 7 with Nichol Spohr
Welcome to day 7 of our 12 Days of Stitchmas 2023 Advent Calendar class! Join us and stitch your way through the season! We invited 12 guest artists to share inspiration with the 12 stitching surprises. Let’s welcome Nichol Spohr as she shares inspiration with the Day 8 surprise! Don’t miss the other video tutorials from our free Youtube Class: Day 1 with Mindy Eggen | Day 2 with Sandi MacIver | Day 3 with Laura Bassen | Day 4 with Jaycee Gaspar | Day 5 with Yana Smakula | Day 6 Michelle Short. Welcome to Day 7 of the 12 Days of Stitchmas! I am Nichol Spohr and today…
-
12 Days of Stitchmas Advent Calendar | Day 1 with Mindy Eggen
Welcome to our 12 Days of Stitchmas 2023 Advent Calendar class! Join us and stitch your way through the season! We invited 12 guest artists to share inspiration with the 12 stitching surprises. Let’s welcome Mindy Eggen as she shares inspiration with the Day 1 surprise! Hello crafty friends! This is Mindy Eggen and I am so excited to kick-off Day 1 of Stitchmas with you! I absolutely love countdown calendars especially when it’s fun, crafty stuff inside! Day 1 of Stitchmas is a cute little 3-tier tree that is the perfect focal point for a card, tag, or ornament. I’m going to be using the white and peach-colored cardstock…
-
Glimmer for the Holidays – Pine Sprays 4 Ways
Hello crafty friends! It’s Rachel Alvarado from RachelAlvaradoDesigns.com. I have a variety of hot-foiled projects to share with you today using the Pine Sprays Hot Foil Plate from the new Glimmer for the Holidays Collection. My goal today is to show you how easy it is to combine this gorgeous hot foil plate with other Christmas-themed sets that you may already own, as well as how to easily use it on its own. Pine Sprays and Poinsettias My first project features the intricate pine sprays background combined with the previously released Wonderful Christmas Clear Stamp Set. My goal with this card was to add a pop of color to…
-
Full Bloom Poinsettia – Glimmered Three Ways
Hello, friends! It’s Marie again from Marie Nicole Designs. I’m sharing some more glimmered Christmas cards with you. This time, I’m using the Full Bloom Poinsettia Glimmer Plate but Im showing how to get three different glimmered designs. Let’s get started! GLIMMER A FULL CARD FRONT We will start by glimmering the plate onto a piece of white cardstock to create a full design for a card front. I have the plate warming up on the Glimmer machine while I cut some gold foil. After you cut a piece of foil you can lay it over your glimmer plate as it’s warming. I like to think of the backside of…
-
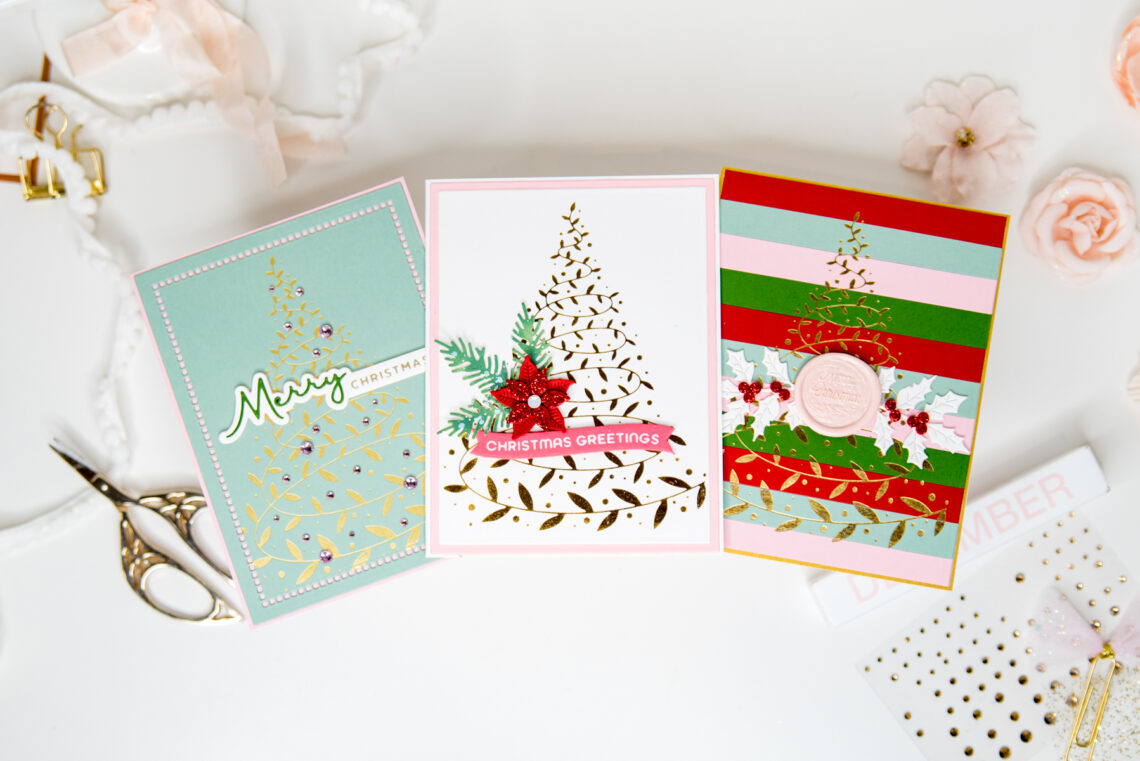
Swirling Foliage Tree 3 Ways
Hello, dear friends! It’s Leica, and today I want to share three fun ways to use the Swirling Foliage Tree from the Glimmer for the Holidays collection. This hot foil plate creates a beautiful swirling foliage design that’s perfect for making stunning Christmas cards. Let’s dive in! For my first card, I cut up strips of colorful cardstock and glued them onto white A2-sized paper. Then, I hot-foiled the Swirling Foliage Tree in gorgeous gold foil and trimmed it down, adding a gold border around it. The result was absolutely stunning! To complete the look, I added some white foliage, red berries, and topped it off with a pink Merry…