-
Spellbinders Exclusive Collection Inspiration with Jean Doeringsfeld
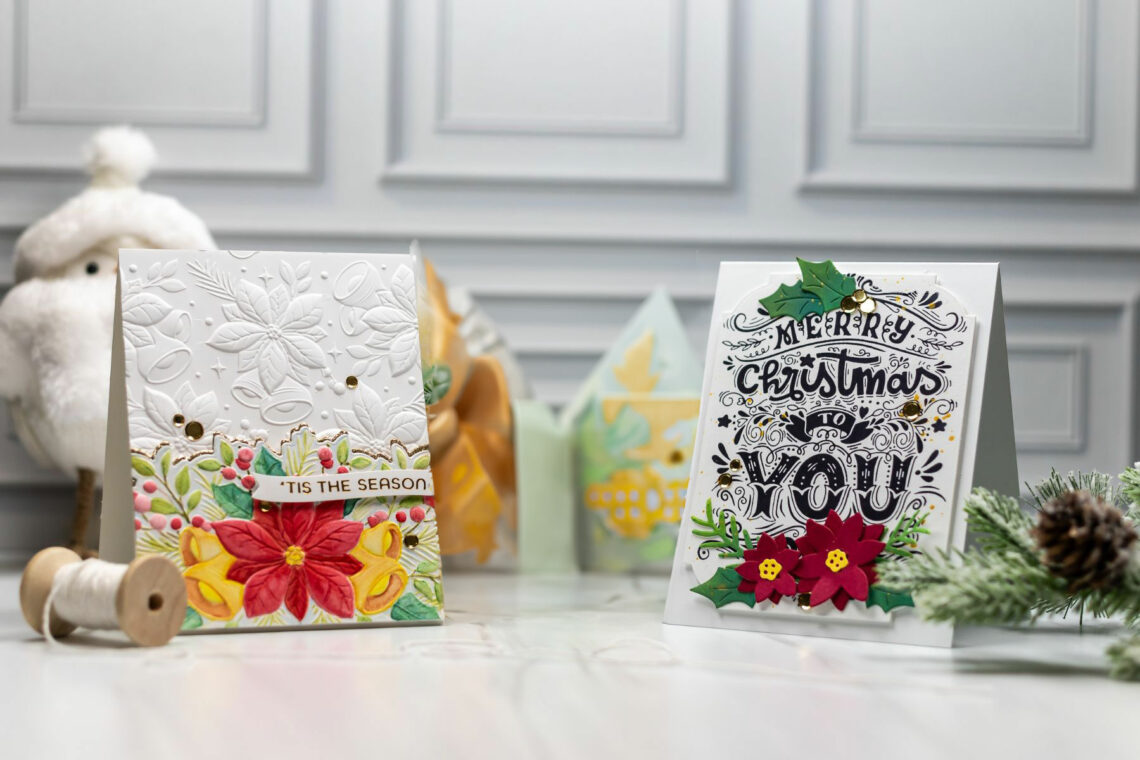
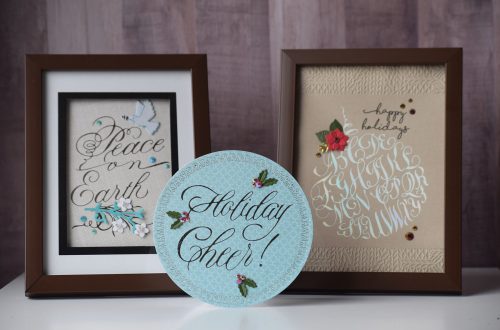
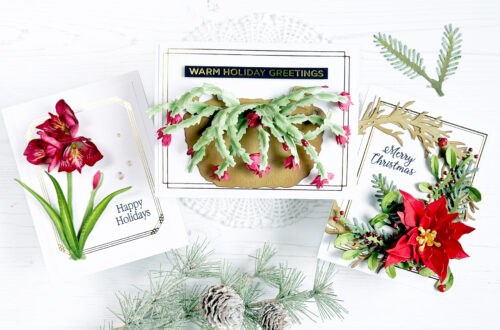
Hi everyone! It’s Jean Doeringsfeld and I’m super excited to be a guest on the Spellbinders Blog! Today, I’m sharing three cards made with Spellbinders’ Exclusive products. This collection is a holiday must-have you won’t want to miss! I had so much fun creating with this collection, and I can’t wait to share my cards with you – so let’s get started! Poinsettia & Bells This collection features a gorgeous new 3D embossing folder and die set called Poinsettia Bells & Border. The die in this set cuts out a portion of the embossed image to create an elegant border for your card. You can use the embossing folder with…
-
Stitched for Christmas Card Inspiration with Jung AhSang
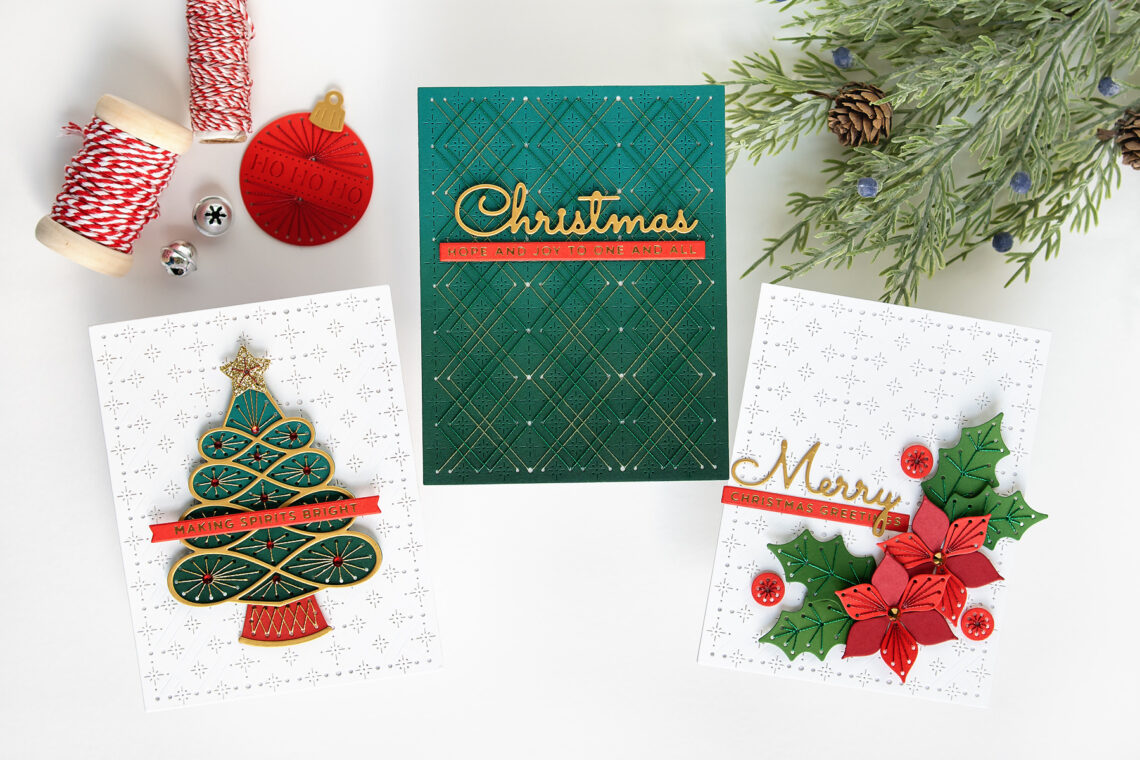
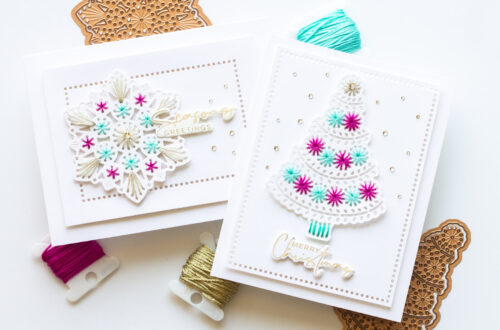
Hello crafty friends! It’s Jung here, and I am back with another guest post on the Spellbinders blog. For my projects today, I’m working with the Stitched for Christmas collection. STITCHED POINSETTIA For my first card, I used the Stitched Poinsettia & Holly set, along with the Stitched Starry Argyle background die. I started by die-cutting all of the pieces in the Poinsettia & Holly die set. Then, I added stitching to the die-cuts while I sat on the couch and watched a show. I used red metallic thread for the flowers and berries, and green metallic thread for the leaves. I also die-cut a panel of white cardstock using…
-
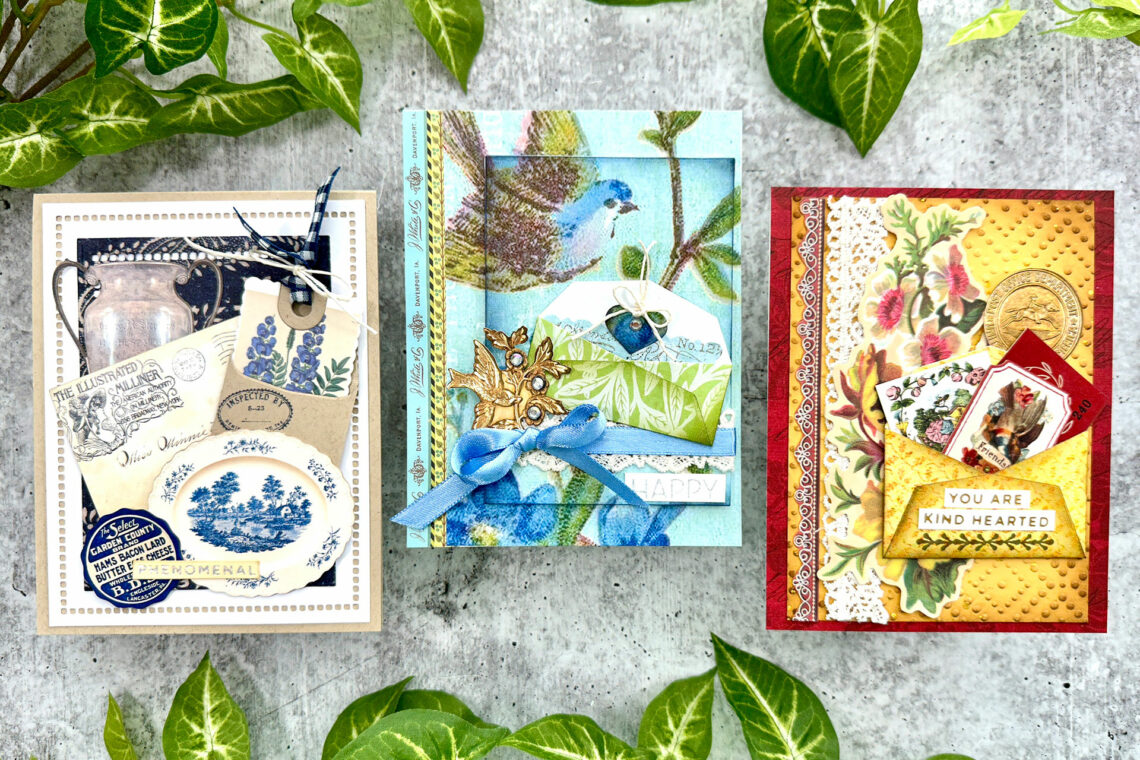
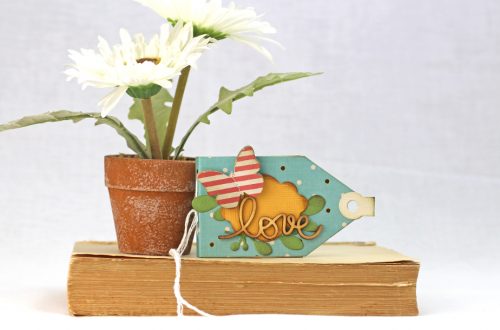
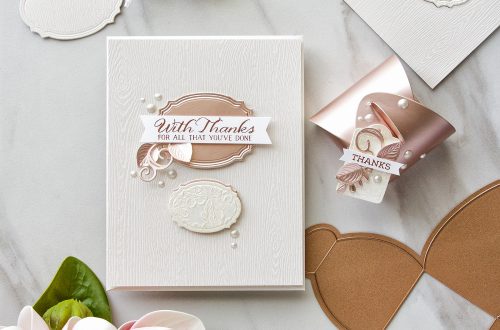
Three Vintage Chic Cards featuring Flea Markets Finds Collection by Cathe Holden
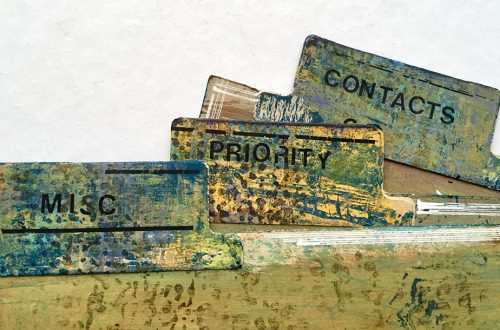
Hello crafty friends! Carol Hintermeier is here today. I’m totally thrilled to be a guest here today to share my three cards featuring the awesome Flea Market Finds Collection! As I was creating with all of the various elements included in this collection, I was very happy that I never got rid of my stash of ribbons, lace, and twine! For this first card, I went all-out vintage! It includes elements from practically every item in the collection. (All of my cards are A2 size and papers are cut/die cut accordingly.) The bottom layer of my A2 card features a piece of patterned paper from the Florals 2 Palette paper…
-
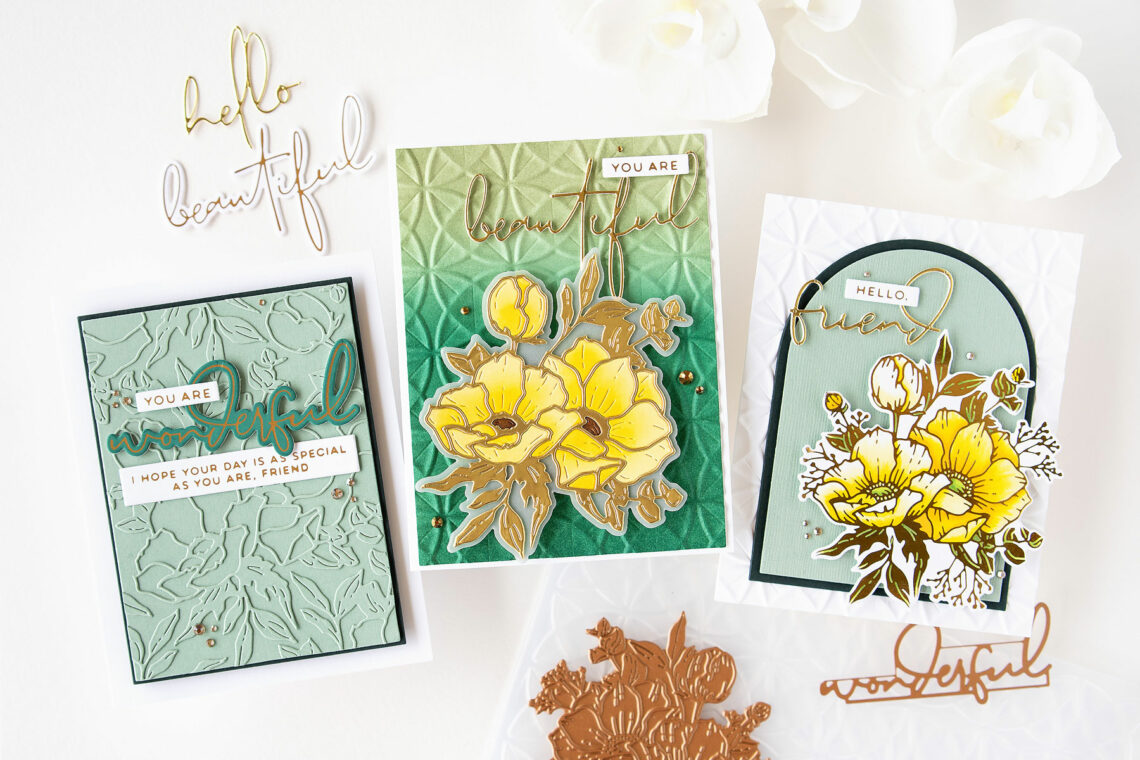
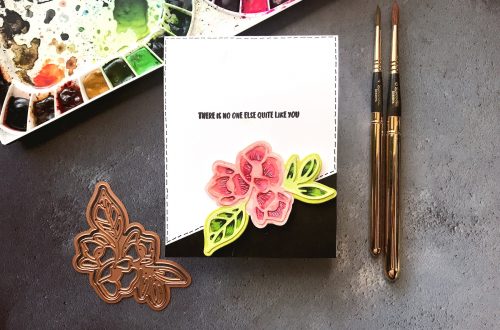
Anemone Blooms, a Trio of Cards
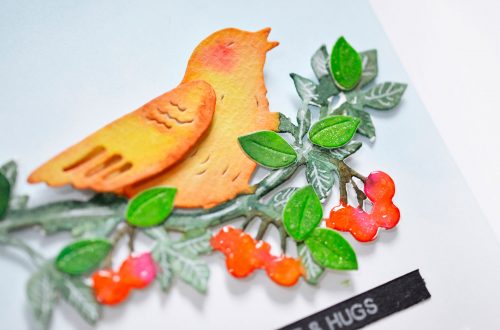
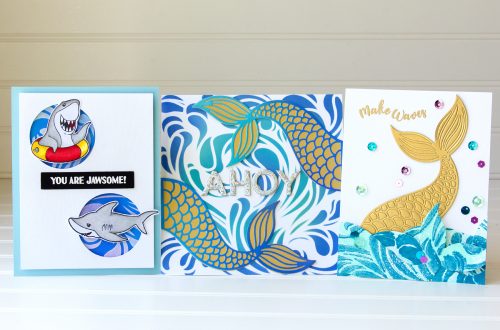
Hello crafty friends! It’s Jung here, and today, I’m sharing 3 cards that I made using the new Anemone Blooms collection by Yana Smakula. Yellow Foiled Anemones For my first card, I used the Anemone Glimmer Blooms as the focal point. First, I foiled the Anemone Glimmer Blooms hot foil plate on smooth white cardstock with polished brass foil. While my Glimmer machine was hot, I foiled all the sentiments from the Hello, Friend Sentiments as well as the Inside Card Glimmer Sentiments on smooth white cardstock with satin gold foil. Next, I used the coordinating die to die-cut the Anemone Blooms image, and then colored the image with Copic…
-
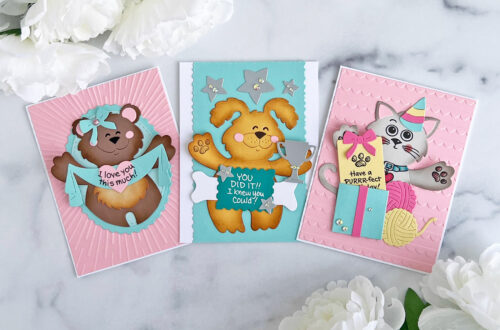
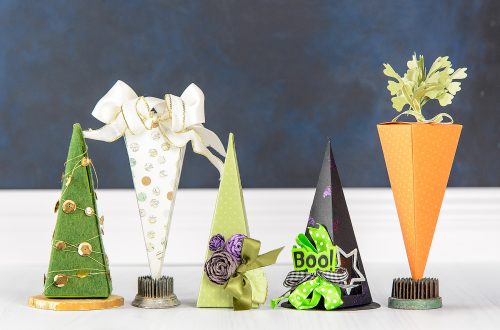
Boo Dance Party Halloween Cards with Ilda Dias
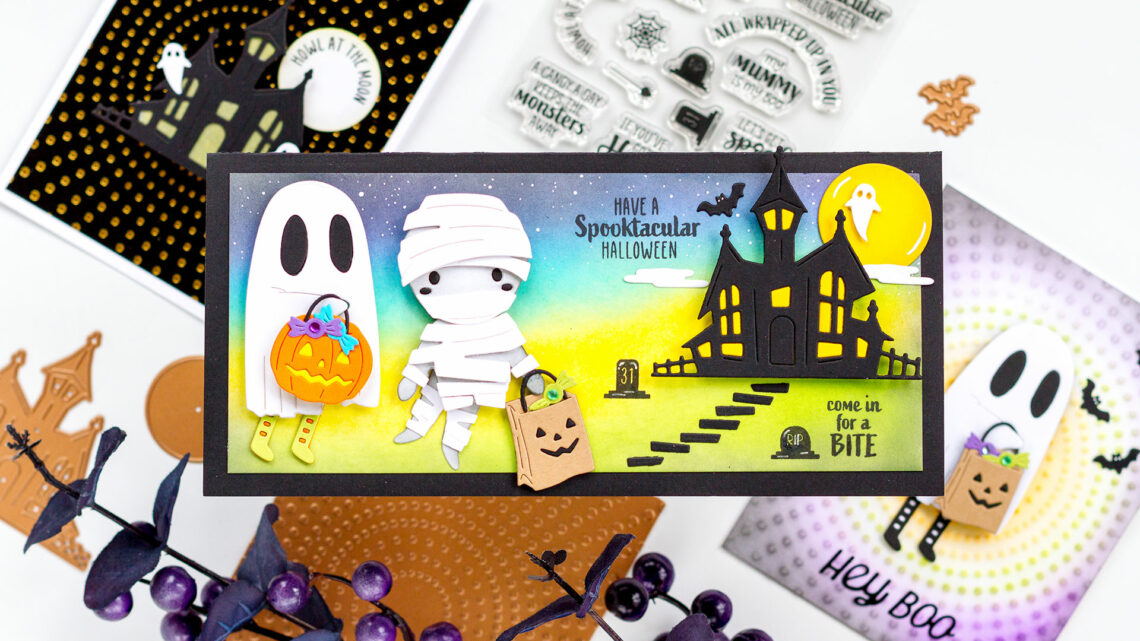
Hello friends, it’s Ilda Dias here with you all today and I am excited to be back on the blog with some Halloween Cards featuring the cutest little trick or treaters from the Boo Dance Party Collection. If you love Halloween I hope these three faBOOlous cards inspire you! Dancin’ Trick or Treaters Halloween Slimline Card Cut paper to 8×3.5 inches using white cardstock for the background panel. Ink blend the background. Inks from bottom to top – Mowed Lawn Distress Oxide Ink, Mustard Seed Distress Oxide Ink, Salty Ocean Distress Oxide Ink, and Black Soot Distress Oxide Ink. Die-cut all the pieces for Dancin’ Ghost, Dancin’ Mummy, and the…
-
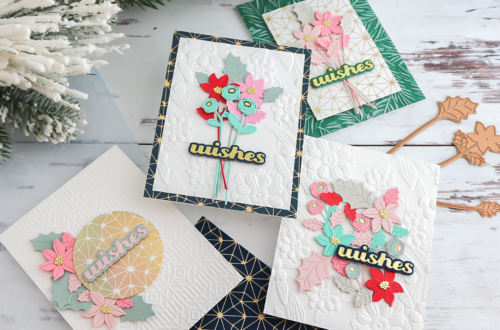
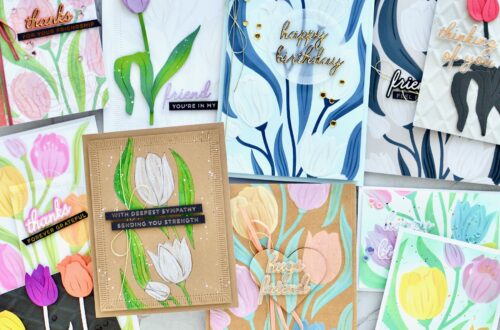
Trio of Stitched Holiday Cards with Jung
Hello crafty friends! It’s Jung here, and I am very excited to be returning for another guest post on the Spellbinders Blog. If you’d like to follow my crafty projects, my blog is jungahsang.wordpress.com, and my Instagram is @junglebarrya. For my projects today, I’m working with some products from the Stitchmas Christmas collection. I love how the dies cut the holes, and there are embossed lines to guide your stitches. You could also stitch just part of the design, and it would still be gorgeous. Stitched Ornament Card For my first card, I used the stitched ornament etched dies. First, I die-cut the stitched ornament from Poppy Field cardstock. Then,…
-
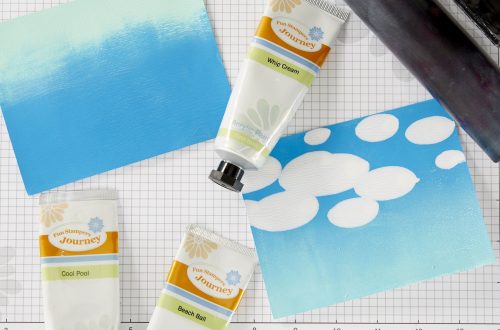
New 3D Embossing Folders with Bibi Cameron
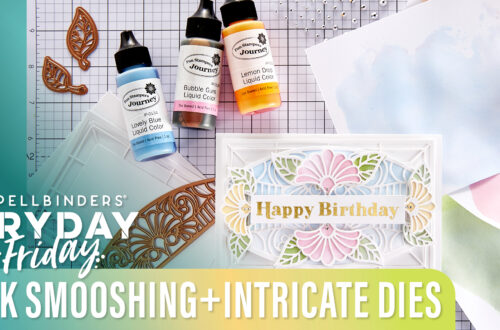
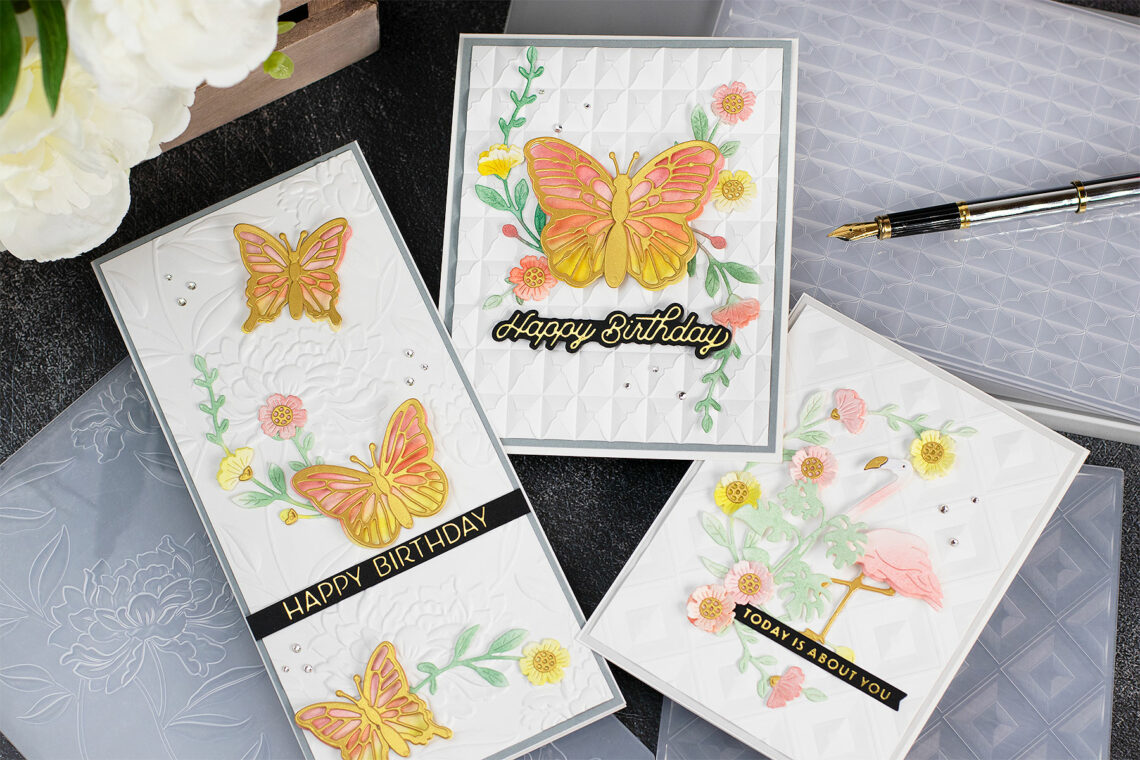
Hello from Scotland, this is Bibi Cameron and I’m very happy to be able to share ideas using some of the new tridimensional embossing folders by Spellbinders. For today, I made three easy projects to feature three different embossing folders: Beautiful Blooms 3D Embossing Folder. Tile Mosaic 3D Embossing Folder. Beveled Diamonds 3D Embossing Folder. These beautiful embossing folders are super versatile. They measure 5-1/2” x 8-1/2” inches so this will allow you to emboss any size panel for cards, boxes or any 3D project. To work with any of the 3D embossing folders, I also tried the new Spellbinders Universal Plate System. I love the extended platform and the…
-
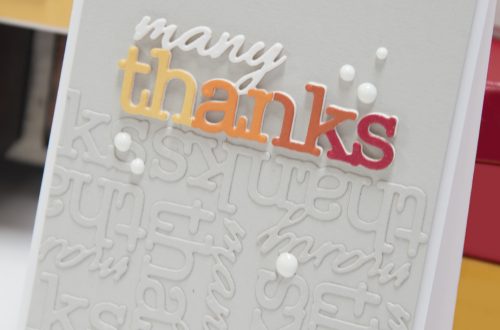
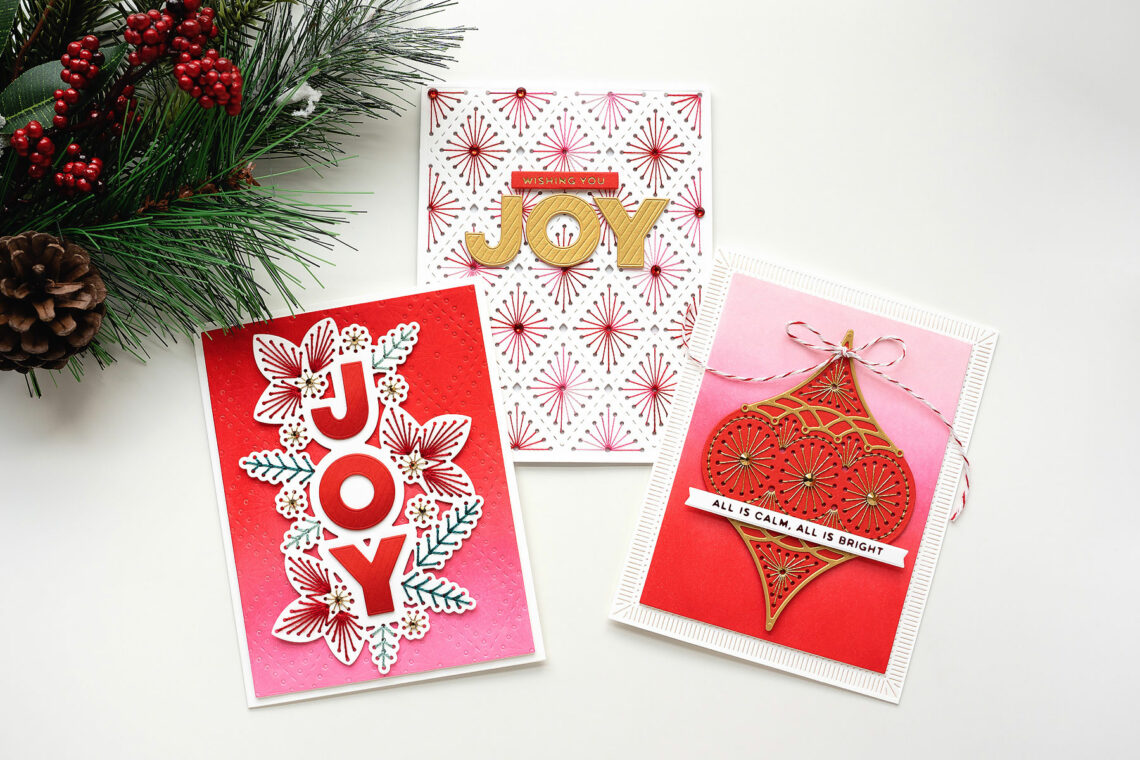
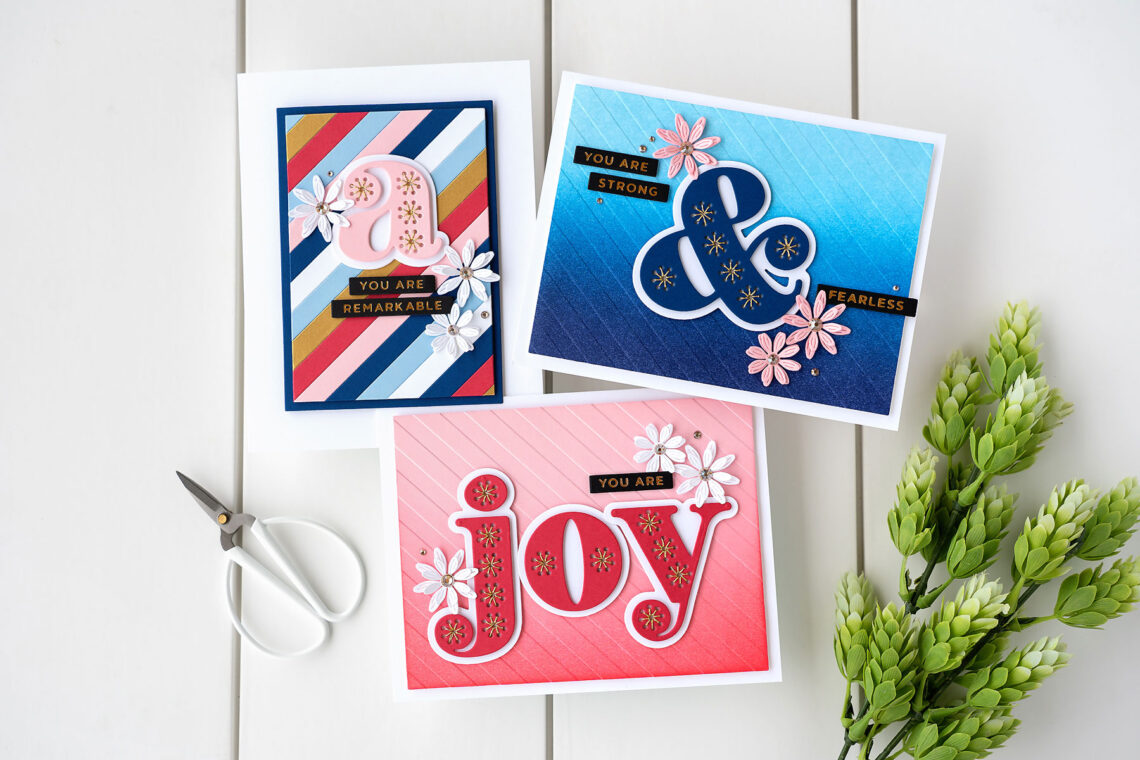
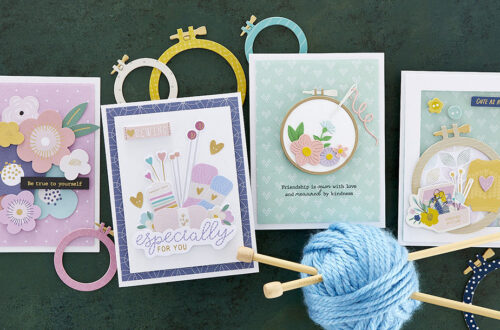
Trio of Stitched Alphabet Cards
Hello crafty friends! It’s Jung AhSang here, and I am so excited to be returning for another guest post on the Spellbinders blog. Today, I’m working with some products from the Stitched Alphabet collection. I absolutely love the stitched products that Spellbinders have in their collection, and having a stitched alphabet is the perfect addition. Stitched Joy For my first card, I used the” j,” “o,” and “y” alpha to spell out joy. First, I die-cut the stitched letters with wildberry cardstock. I also die-cut the outlines of the letters with white cardstock. Next, I used gold metallic thread to stitch on my letters. Once finished, I foam-mounted the stitched…
-
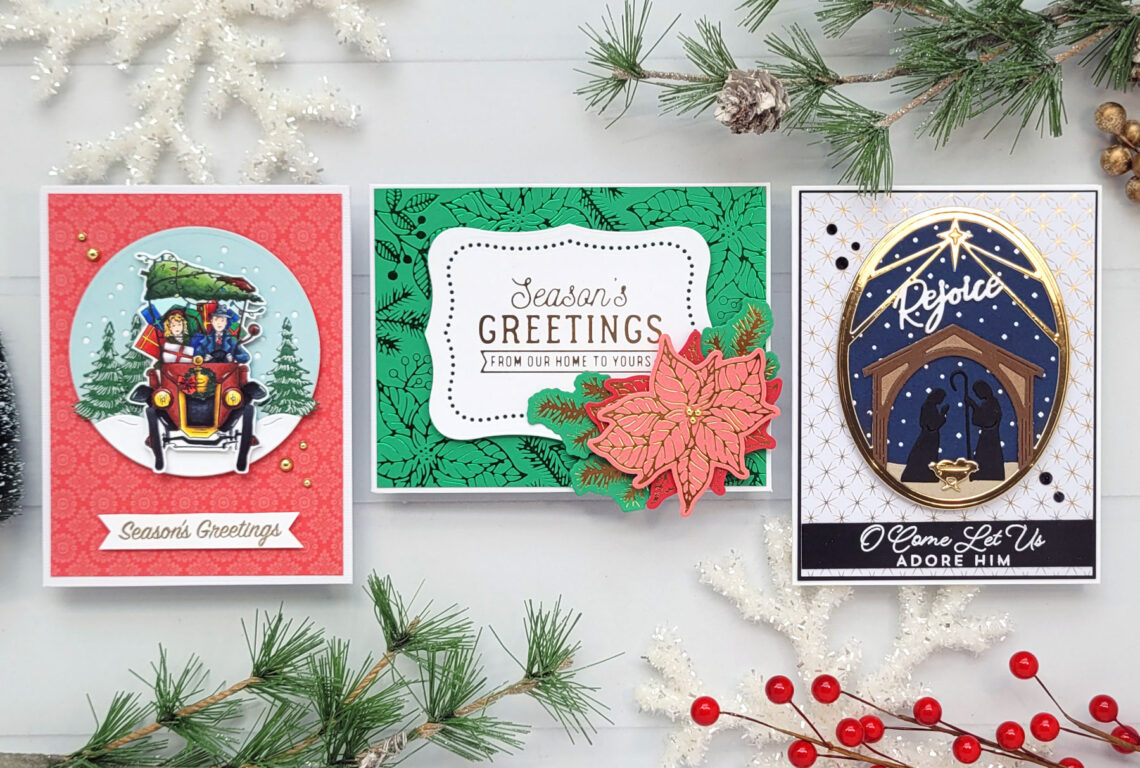
Christmas Traditions Inspiration with Andrea Shell
Hello! It’s Andrea Shell with you, and I’m delighted to be back as a guest on the Spellbinders blog. Today I have three cards to share with you using the festive Christmas Traditions Collection. My first card features the beautiful Rejoice Nativity Etched Dies. These dies make it so easy to create elegant Christmas cards! I cut the frame die from gold foil paper, white cardstock, and two shades of brown. I trimmed “rejoice” from the white frame and the manger from the dark brown one and layered them onto the gold frame. I cut the sky background from navy cardstock and layered it onto a white oval. I glued…
-
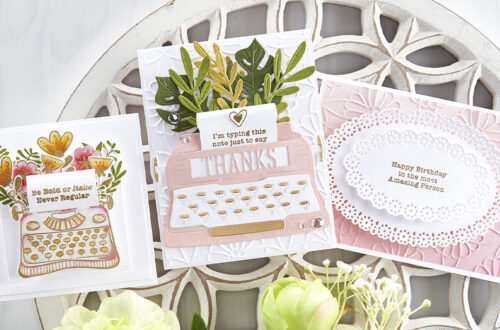
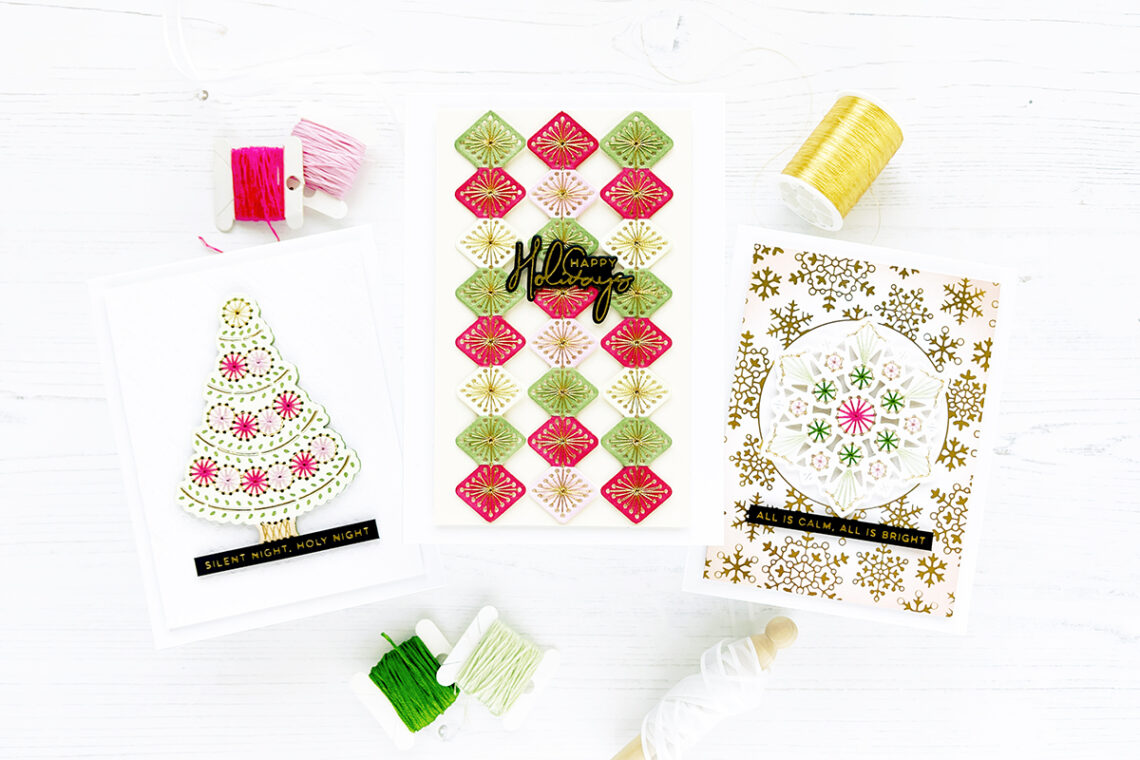
Merry Stitchmas Collection Inspiration with Caly Person
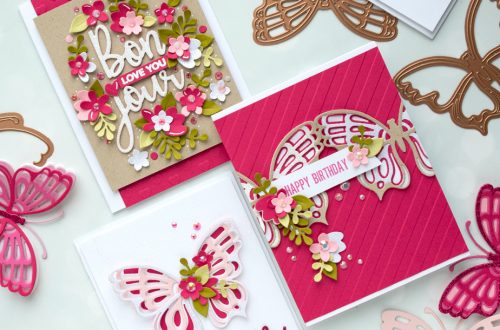
Hi, Everyone! This is Caly Person with you today! I’m sharing three cards using products from the Merry Stitchmas Collection. I tried to pick a non-traditional color scheme for my cards today using pinks and greens. Gives it softer look and I hope you like these projects! I used standard six-stranded embroidery floss for today’s stitching panels along with some gold thread. You’ll notice the colors I choose are not only in the thread, but also in the cardstock. I started with white cardstock and colored it with Copic markers to match the thread that I used for the projects. For my first card, I die-cut the Diamond Stitch die…