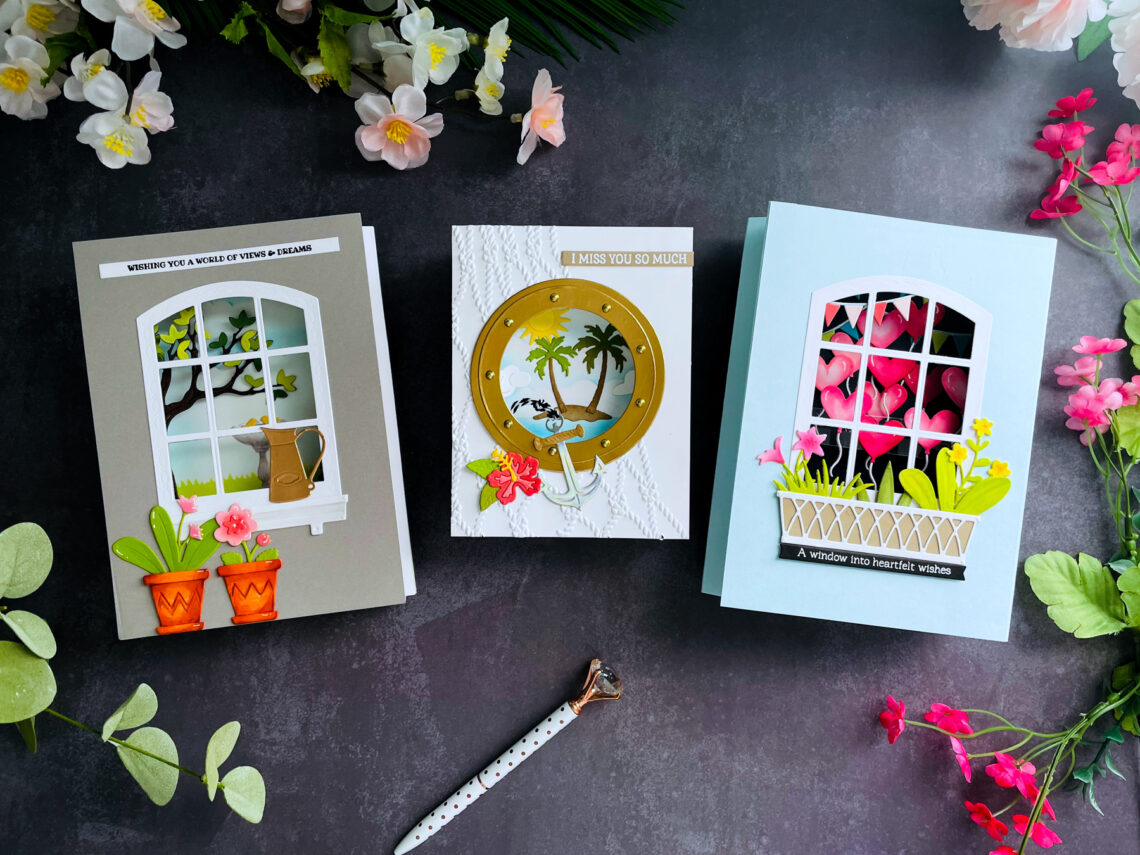
Shadow Box Card Ideas With Windows With a View Collection by Tina Smith
Hello, crafty friends! I am Heejung Hunsberger, and I am excited to be a guest designer again this month. If you want to know me better, visit my blog or Instagram. I also have a YouTube channel where I post a lot of video tutorials.
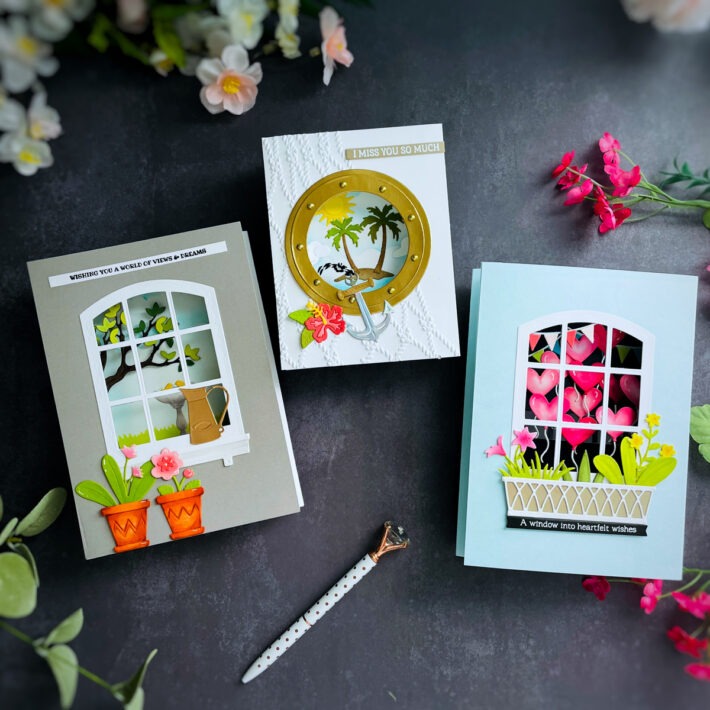
Today, I am sharing three shadow box cards that feature the Windows with A View Collection by Tina Smith.
This collection is available on February 10th, 2024.
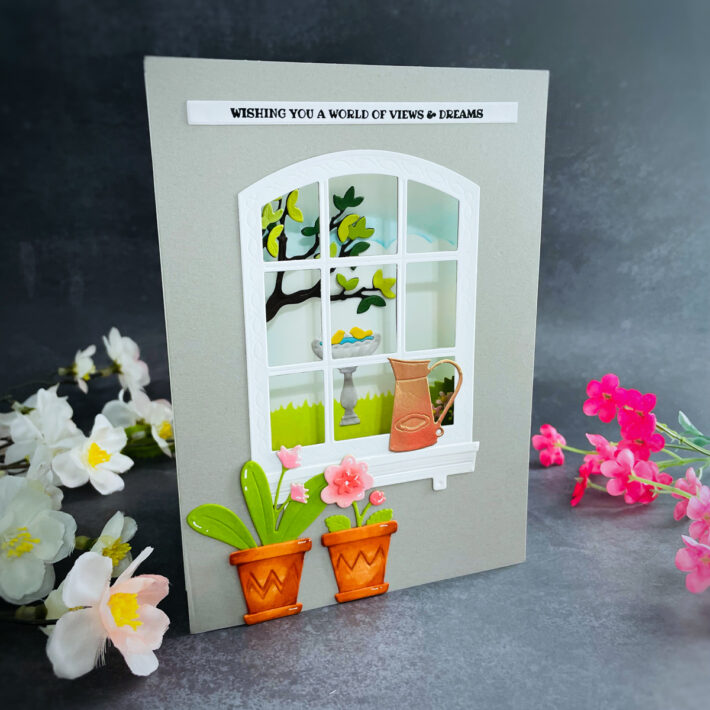
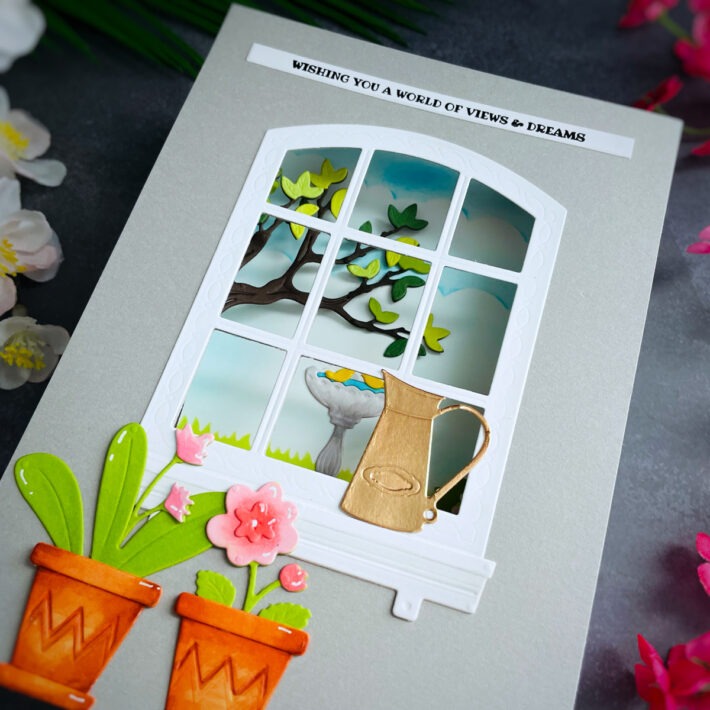
“A World of Views & Dreams” Shadow Box Card
“I enjoy creating 3D cards and this time, I made a shadow box card using a new collection. The card measures 5 x 7 inches, and although the window die was meant for an A2 size card, I decided to make it bigger so that I could showcase more of the scenery on the front of the card.”
- Cut the card base to 10 x 7 inches and fold it in half to make a 5 x 7 card. Cut white card stock to 5 x 7 size.
- Cut gray card stock, 5 x 7 inches, then die-cut gray card stock with the Vista View window die.
- I used the Background Scapes Stencil to create a beautiful scenery background. I used the spellbinder’s blending blushes.
- I die cut the tree die and water fountain from the Backyard Haven View Etched Dies.
- To create a shadow box, take two pieces of white card stock that measure 3 x 7 inches. Next, score each paper at ½, 1 ½, 2 ½, and 3 inches. Then, fold them along the scored lines, and finally attach the folded paper to the card base.
- I used The Botanical Solarium Etched Die to make a card front.
With the shadow box, the garden outside appears more perspective, creating a card with a cooler atmosphere.
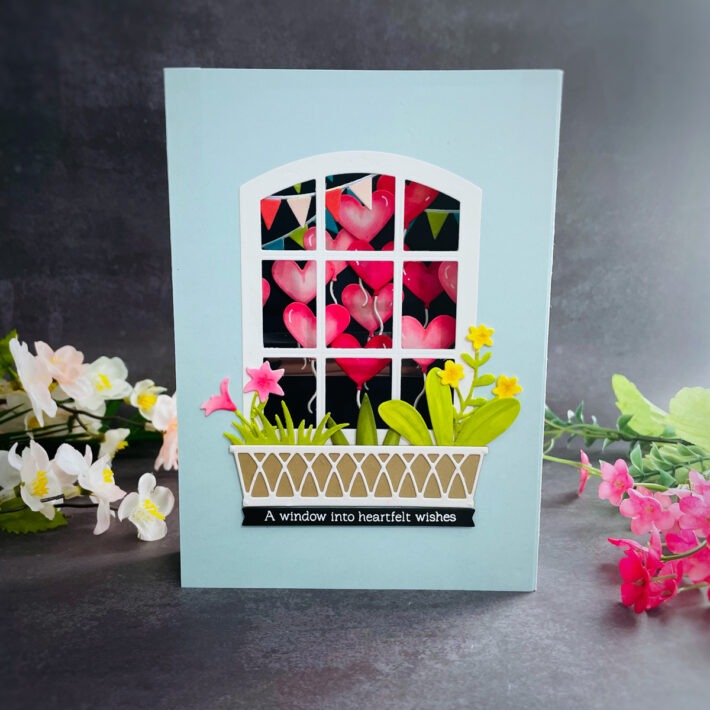
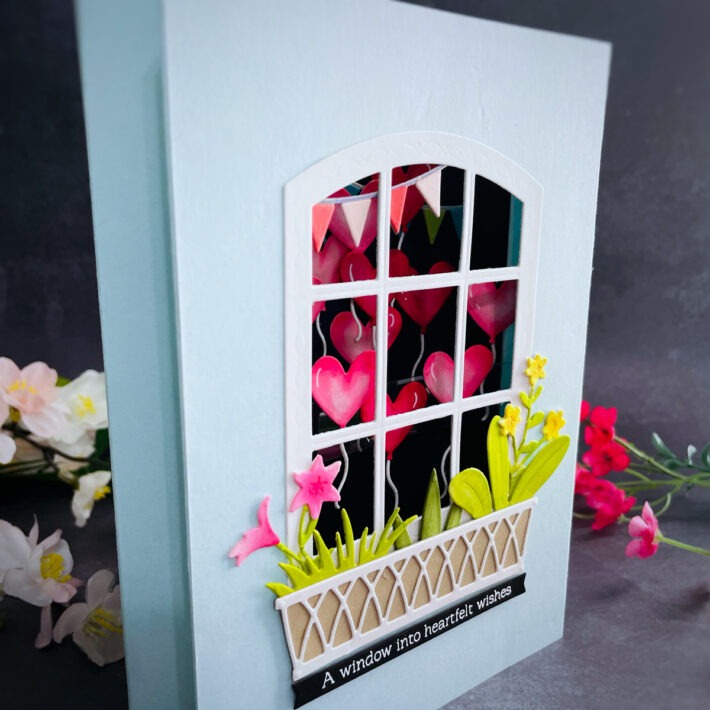
A Full of Love Card
If the first card I showed you was a box with a view from the outside of the house, this card is a card from the outside of the house.
This card can be used for a variety of occasions, including birthdays and Valentine’s Day, or simply to celebrate friendship.
- The dimensions of this card are identical to the previous one, measuring 5 inches by 7 inches. I followed the same procedure and used the same dimensions for the shadow box card as I did for the card I previously presented.
- Additionally, I incorporated the Open House Thankful die from the Open House Collection and a die-cut of a heart-shaped balloon that was sourced from the Up In The Air View Etched Dies collection.
- I used The Botanical Solarium Etched Die to make a card front.
- I stamped the sentiments from the Sending Sunshine Sentiments Clear Stamp Set with watermark ink, applied white embossing powder, and heat set it.
Coastal Escape View Shadow Box Card
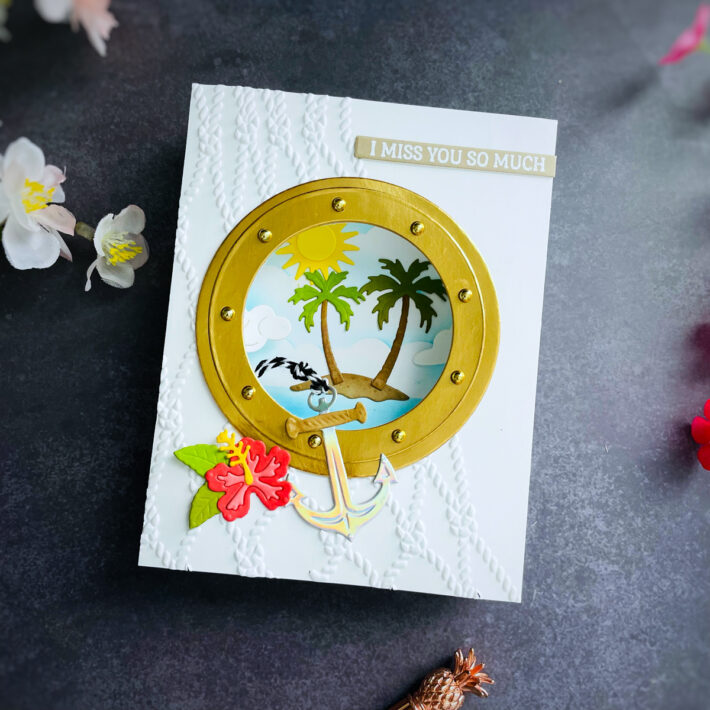
At the end of a long voyage, this card is like a glimpse of a fantasy island.
I used to live on an island in the middle of the stunning Pacific Ocean. Near my island, there was a beautiful uninhabited island called Managaha. I was so impressed by the island that I made a card depicting it while sailing past it on a boat.
I really miss the island, as you can see from my sentiments.
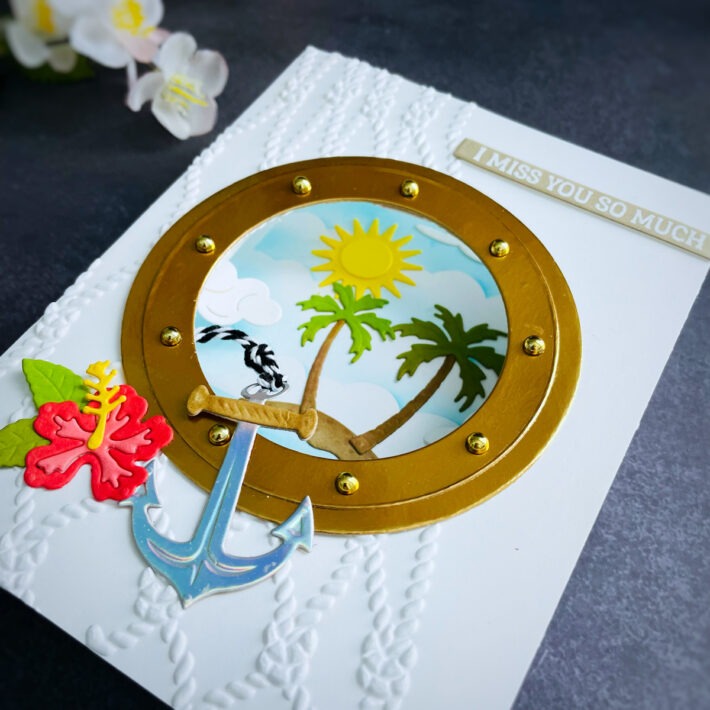
This card is A2 size. For the card front, I die-cut the Window inlay die from the Coastal Escape View Etched Dies and then used the Cast Away 3D embossing folder to emboss the paper.
To create a shadow box, take two pieces of white card stock that measure 2 1/2 x 5.5 inches. Next, score each paper at ½, 1 ¼, 2, and 2 1/2 inches. Then, fold them along the scored lines, and finally attach the folded paper to the card base.
For the inside view, I did stencil with the Background Scapes Stencil, And Die-cut the Coastal Escape View Etched Dies & Up In The Air View Etched Dies.
Spellbinders Supplies:

I’m glad you took the time to read this post, and I hope it has inspired your creativity.
Heejung

2 Comments
Connie R.
Cute Windows with a View cards! Love the Island card!
Cindy Condie
These are wonderful cards, but I have a question…how do you attach the scored 3×7 pieces to the card to make the shadow box? Thanks so much for sharing!