
Let’s Give a Spring Story to Little Mice Through Watercoloring!
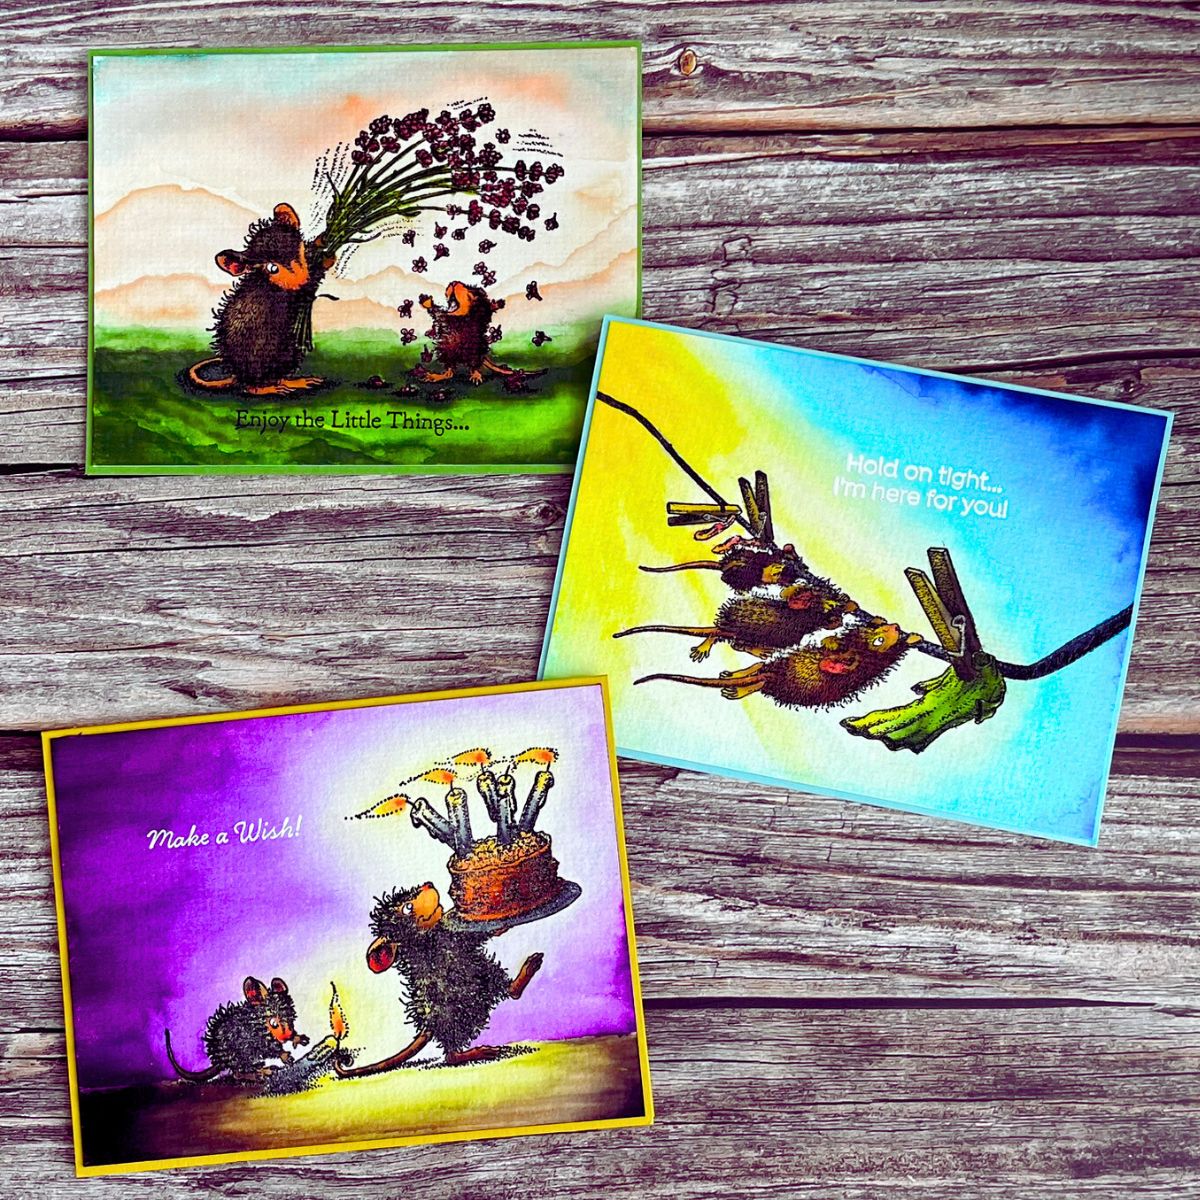
Hello crafters! Cha Lion here and I’m so excited to be on the Spellbinders blog as a guest designer. Today I’m sharing some spring cards using this adorable collection called the House-Mouse Spring has Sprung. Since I was a little girl, I always love coloring and telling stories. To make these cards, I combined watercoloring techniques based on striking spotlight effect, that is, the way of light on our main focal area. I also imagined some more mice stories to color them in, which you can read at the end of this post to give you some ideas. Let’s give a spring story to these mice through watercoloring!
COATS OF COLORS
Please note that this post is based on my own experience as I’m not an experienced artist. For me, the main key of watercoloring is the coats of colors that are layered on top of each other until you are satisfied with the result. However, a high-quality watercolor paper would be needed to ensure that the water and the paint will remain on the surface and protect the paper from being damaged. So, you can add lots of coats! You should also keep in mind that when something doesn’t go as expected, you shouldn’t discard a project at first, but to finish it and see what it looks like in the end. You might even surprise yourself by the result!
NOTE: Spellbinders watercolor cardstock absorbs water and paint very well, preventing the paper from being damaged by a few coats. I applied many layers to these projects and didn’t have any problems.
WATERCOLOR STEPS THAT I FOLLOWED TO MAKE UP STORIES
To create these cards, these steps can be followed:
STEP 1. Chose a color palette for each of the cards (not too many colors!).
TIP: If necessary, color on a piece of watercolor cardstock with your chosen colors before starting coloring on the card.
STEP 2. Stamped each image onto watercolor cardstock with a watercolor-friendly ink pad. For stamping, used a stamping tool but did not remove the stamps from it to restamp again if necessary.
TIP: If you use ink that is not suitable for watercolors, you can emboss the images first before coloring.
STEP 3. Colored each card with Karin Brushmarkers.
TIP: Colored from the lightest to the darkest areas. Let them dry between the color layers. Also, keep in mind that depending on how much water you use, the color will be more or less intense. You can control more the amount of water with water brushes although I used regular brushes in this post. If you make a mistake, you can remove the color with a paper towel piece before it dries (Mistakes are part of our learning process!).
STEP 4. Restamped the little mice to emboss them with clear embossing powder to stand out more the outlines (this step can be skipped!).
TIP: Use an anti-static tool to prevent embossing powders from sticking to other areas of the cardstock.
STEP 5. On two of these cards, the phrases were embossed with white embossing powder, except for the last one which was embossed with clear embossing powder to leave it as it is.
STEP 6. Mounted these cards on colored cardstock base cards (in this case, the colors I chose were yellow, green, and blue).
SPOTLIGHT
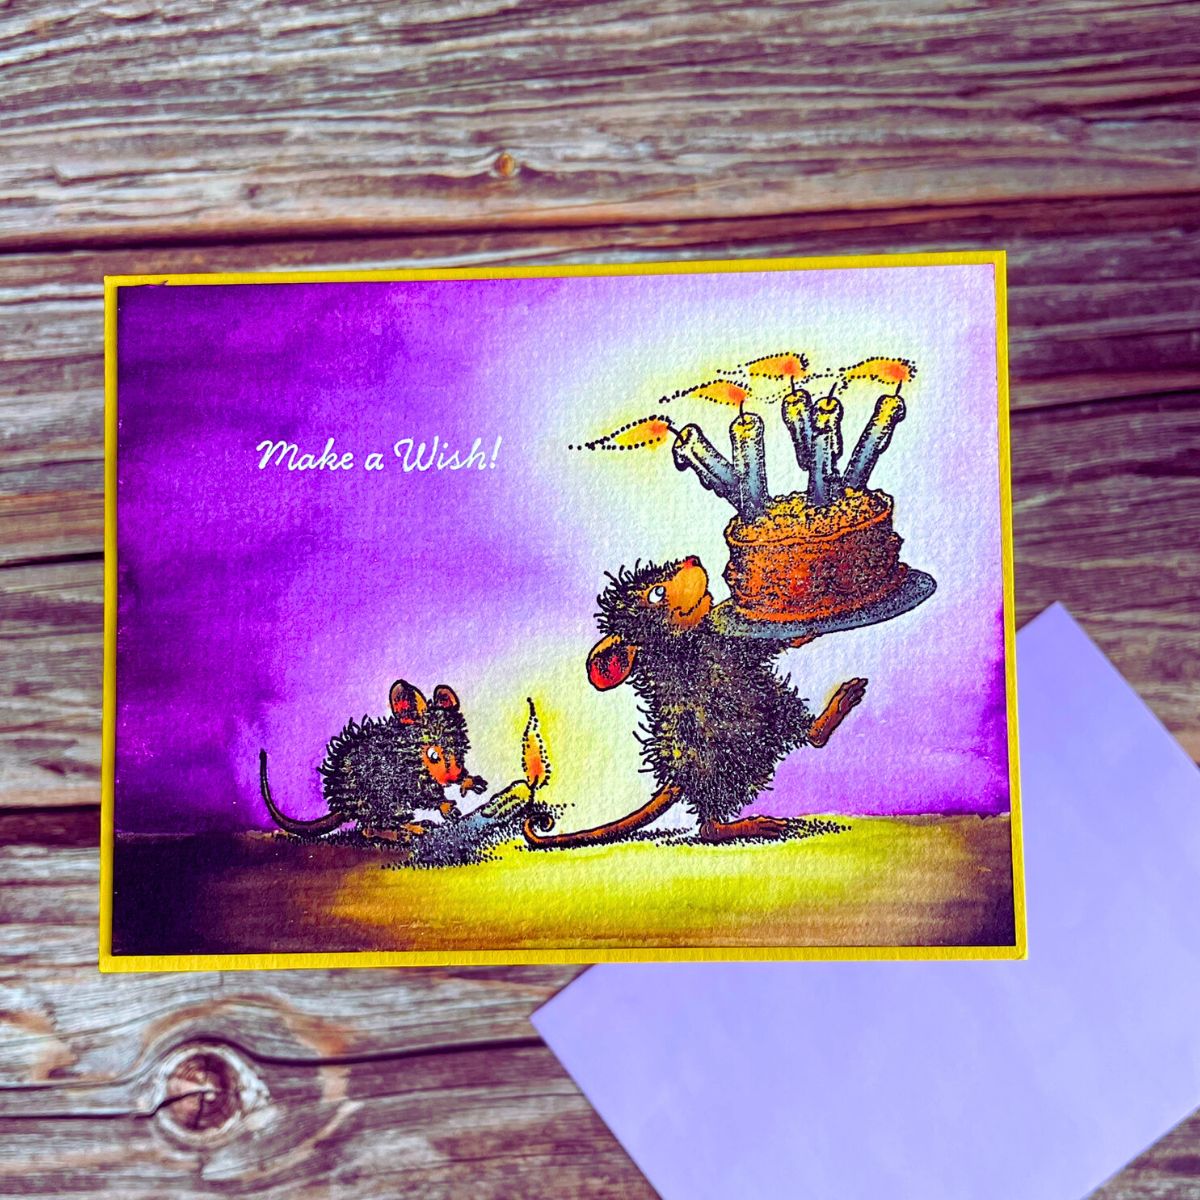
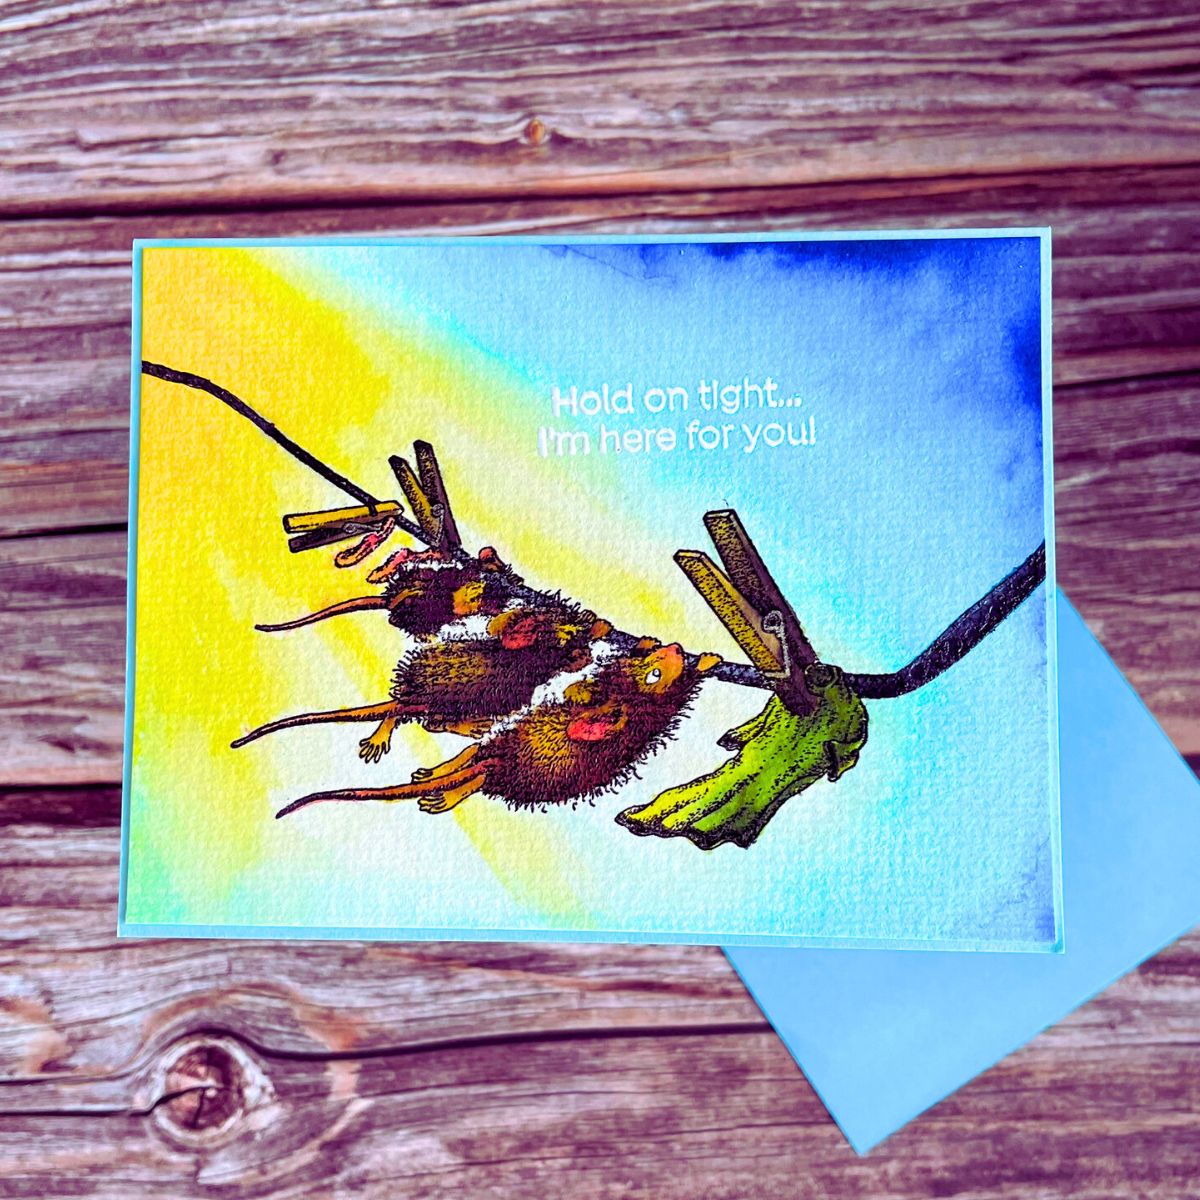
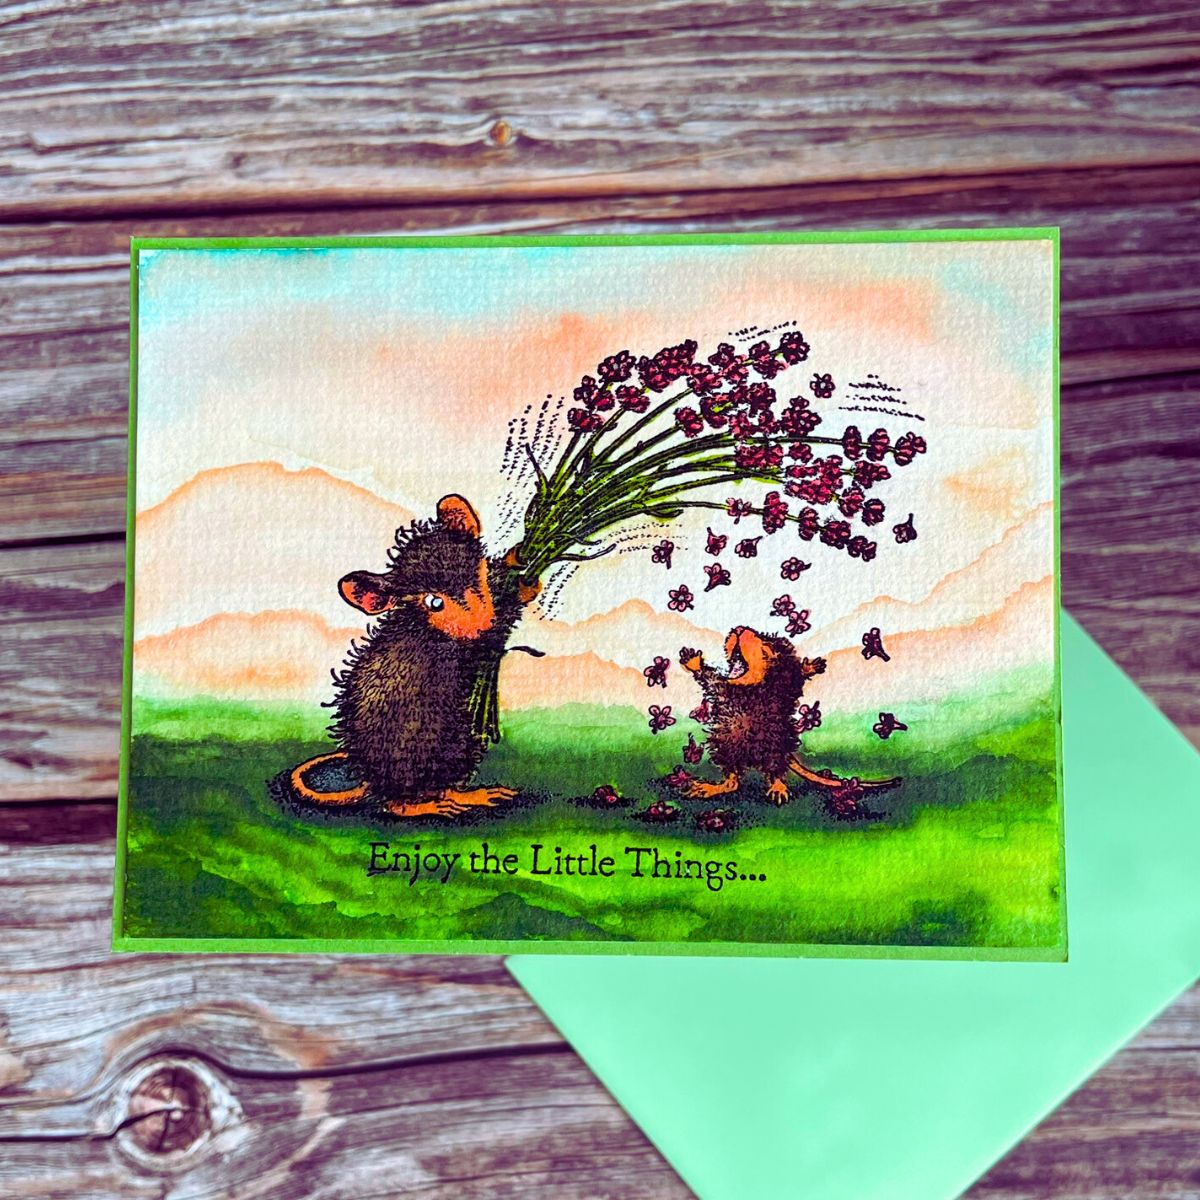
As you can see in the first two cards, spotlight was taken into account (concentration of light in one way). However, coloring in this way can be tricky for you, which is why the last card I made was a bit easier to make, as the background was colored lighter and the focal area (the two little mice) a bit darker, without having to dig into the shadows and the lights.
MAKE UP YOUR MICE STORIES
Are not these mice the cutest? Color these mice and give them a spring story! What about some mice in a castle carrying a cake for a king or, some of them are on a stage rehearsing a play called “flower shower” or others want to fly hanging from the clothesline to see the moon closer? These are just some of the ideas I had while I was creating these cards. Now it’s your turn! Are you ready? Happy coloring!
Spellbinders Supplies:


One Comment
Parmi Mudhar
These are beautiful, love how you’ve applied colour using watercolour. Very creative designs. Love them x