
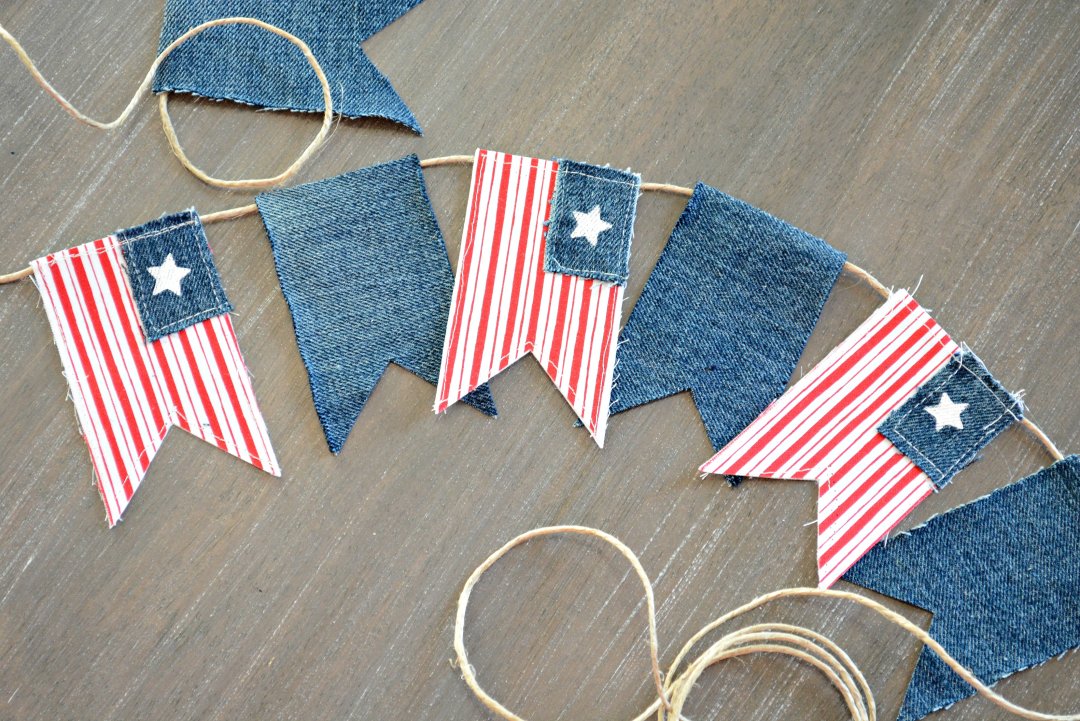
Charming and Easy To Make Star Spangled Banner
Hello, fellow makers! Miranda here from Tinsel + Wheat, so excited to share this charming and easy to make, star spangled banner with you today! Hover over the image below to see what dies I used to create this banner:
I even dusted off the ole sewing machine for this project! Don’t worry, I didn’t get too carried away – simple straight lines only, and the best part is, it’s completely optional!
Let’s chat supplies.
Here’s what you’ll need:
- Platinum™ 6 Die Cutting and Embossing Machine – 6″ Platform
- Contour™ Mind Your Manners Steel Rule Dies
- Die D-Lites Superstars Etched Dies
- Red and white striped fabric (I used the red and white striped fabric from Kimberbell Basics)
- Denim
- White fabric (this will be your backing to the red and white striped fabric)
- Heat-N-Bond
- Fabric scissors
- White paint
- Paint brush
- Hot glue gun
- Jute twine
- ***Optional*** Sewing machine with white thread
Let’s get started!
Step 1: Cut your banner shapes out.
Using your Platinum 6 machine, cut out your banner shapes. For this project, I decided to only use the taller banner shape of the die. I was able to cut all of my striped banner shapes with ONE cut (5 layers of fabric) and my alternating denim shapes with two separate cuts (3 layers of denim each).
You will also need to cut 5 of the same banner shapes out in white fabric and 5 additional with your Heat-N-Bond.


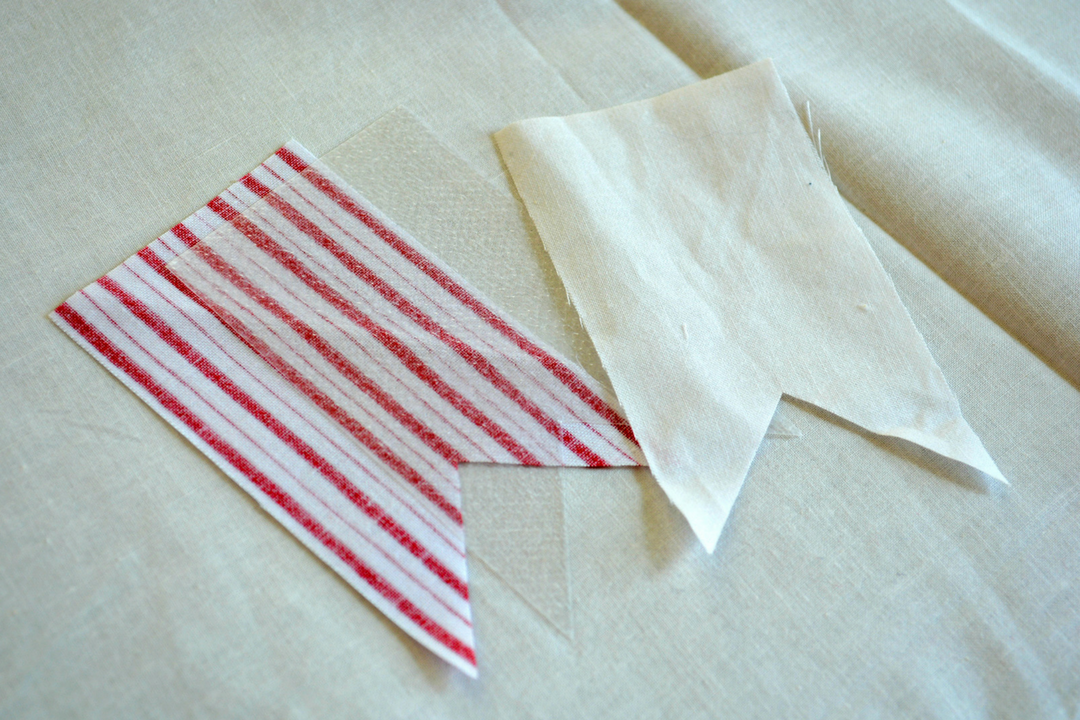
Step 2: Iron Heat-N-Bond to fabric.
Peel white paper backing from your Heat-N-Bond to expose the translucent adhesive. Place your striped fabric faced down on your ironing board, then your adhesive layer, and your white fabric on top. Cover your banner shapes with a piece of remnant fabric and iron for 20 seconds on your linen heat setting. Make sure your steam is turned off.


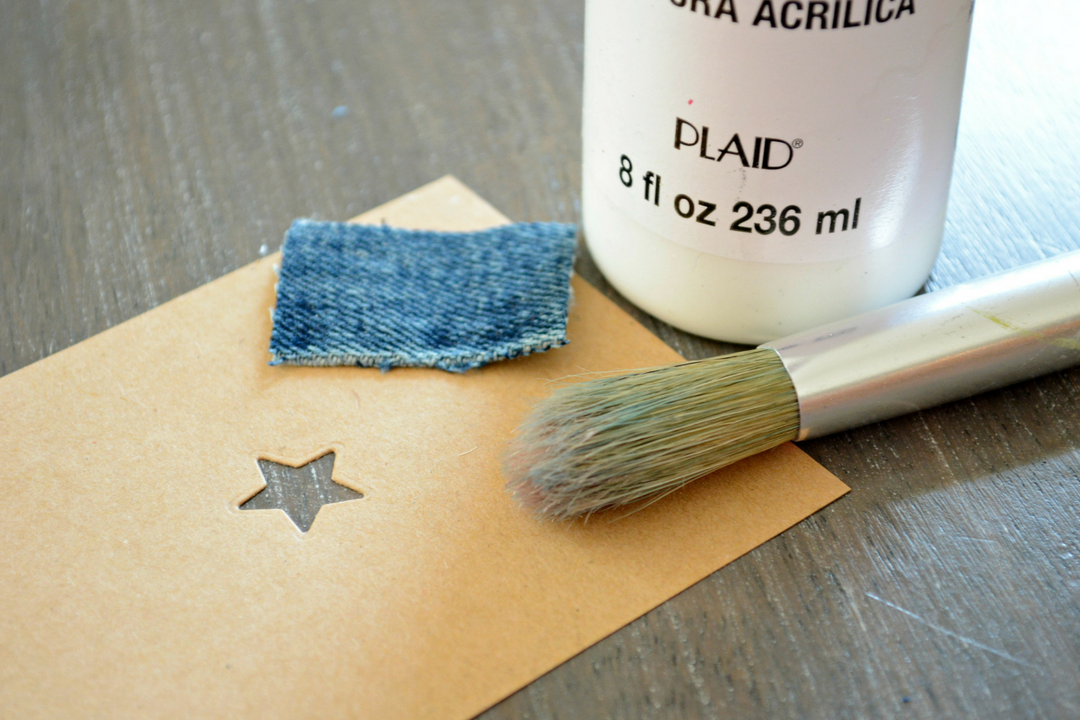
Step 3: Cut denim rectangles and stencil stars.
Cut 5 denim rectangles with your fabric scissors 1″ x 1 3/4″.
Then use your Platinum 6 machine, Superstars etched die, and a small piece of scrap paper to cut your star stencil out.
Place stencil over the center of each denim rectangle and stipple with white paint. Let dry completely (should only take a few minutes!).


Step 4: Fuse rectangles to banner.
Cut 5 small .75″ x 1.5″ rectangles of Heat-N-Bond. Peel the paper backing off each rectangle and fuse (iron) denim rectangles to the upper right corner of each red and white striped banner shape.

Step 5: ***OPTIONAL*** Stitch flag banner shapes.
This step is for the most part – cosmetic! Your Heat-N-Bond adhesive should hold all pieces together wonderfully. I added the stitching because I thought it would just add a little something extra and because this banner will be spending a lot of time outdoors this summer, so I thought the stitching wouldn’t hurt in keeping all pieces safely together – just in case.


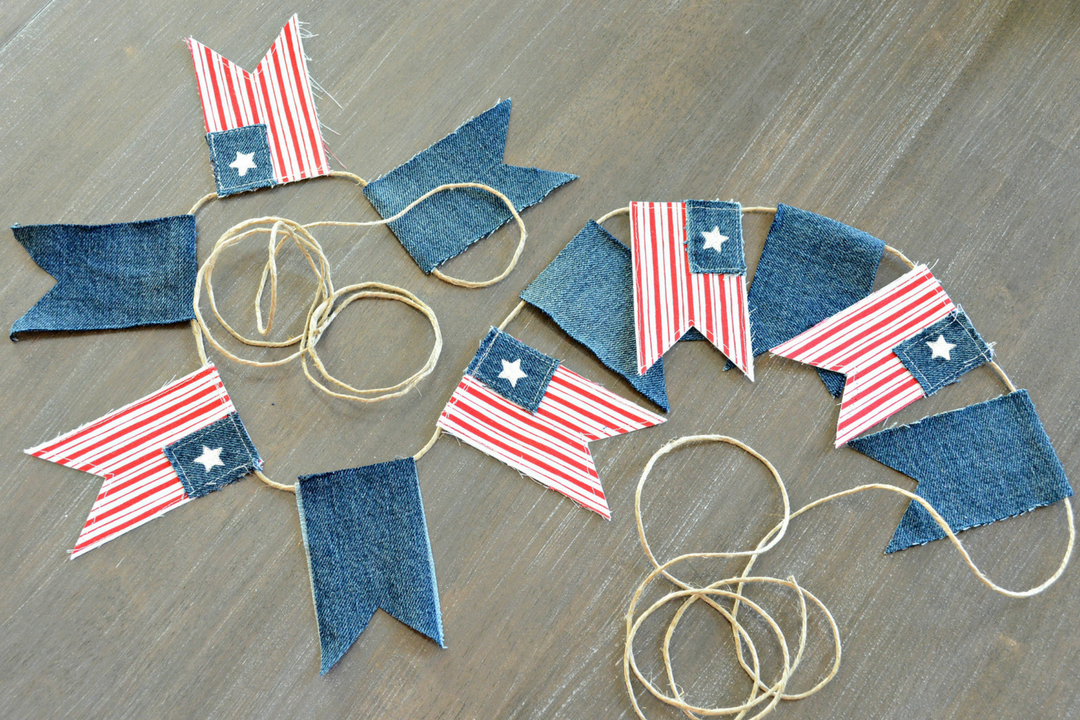
Step 6: String banner.
String your jute twine along the reverse side of each banner shape (about .75″ of space in between each shape) and adhere using your hot glue gun.


I liked the rustic shabby vibe that the frayed edges were giving me, so I decided not to trim them up, and voila that’s it!


I hope you enjoyed this patriotic banner tutorial! Make sure to tag us on Instagram with #NeverStopMaking once you’ve made yours. We would love to see it!
2 Comments
CC Ebert
I love this. I’m going to make one and keep for all the Patriotic holidays!
Eveline van Heijst
Adorable project.