De-Light-Ful Christmas Card Ideas
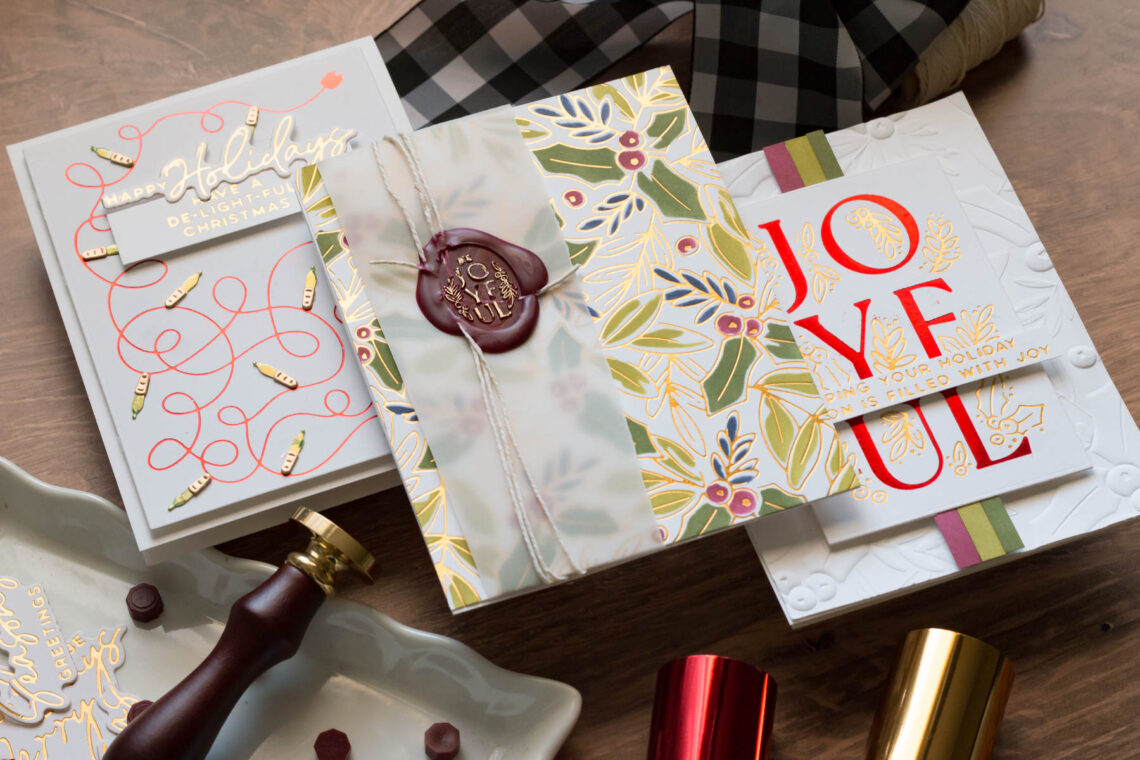
Hello, dear friends! Marie here again from Marie Nicole Designs. I have a trio of festive, glimmery cards to share today. This new De-Light-Ful collection from Spellbinders has all the things for you to take your Christmas cards to the next level. Embossing folder, wax seal, and multiple glimmer plates.

I’ll also walk you through a step-by-step process for our first card. Let’s get started!
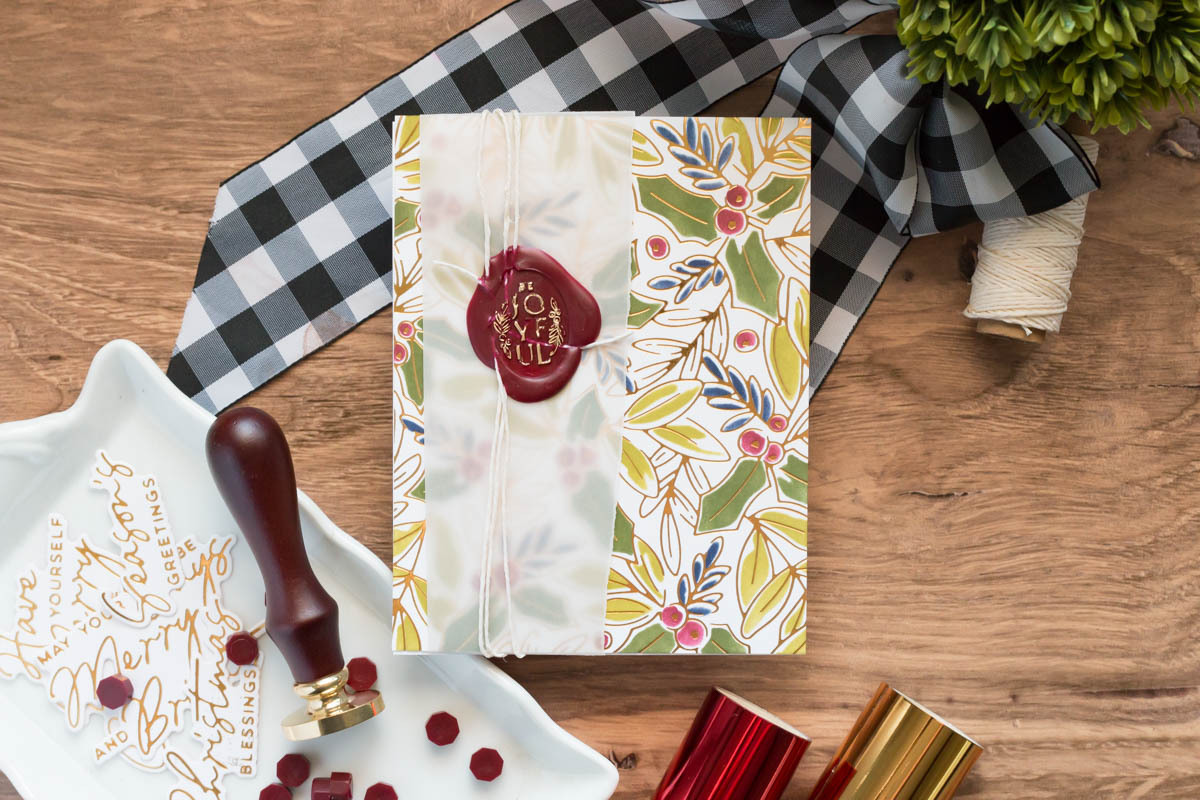
SEALED WITH JOY
Here’s our first card out of our trio. The background is glimmered and then stenciled, and a wax seal is added for the sentiment. As promised, I have a handy step-by-step ready for you!
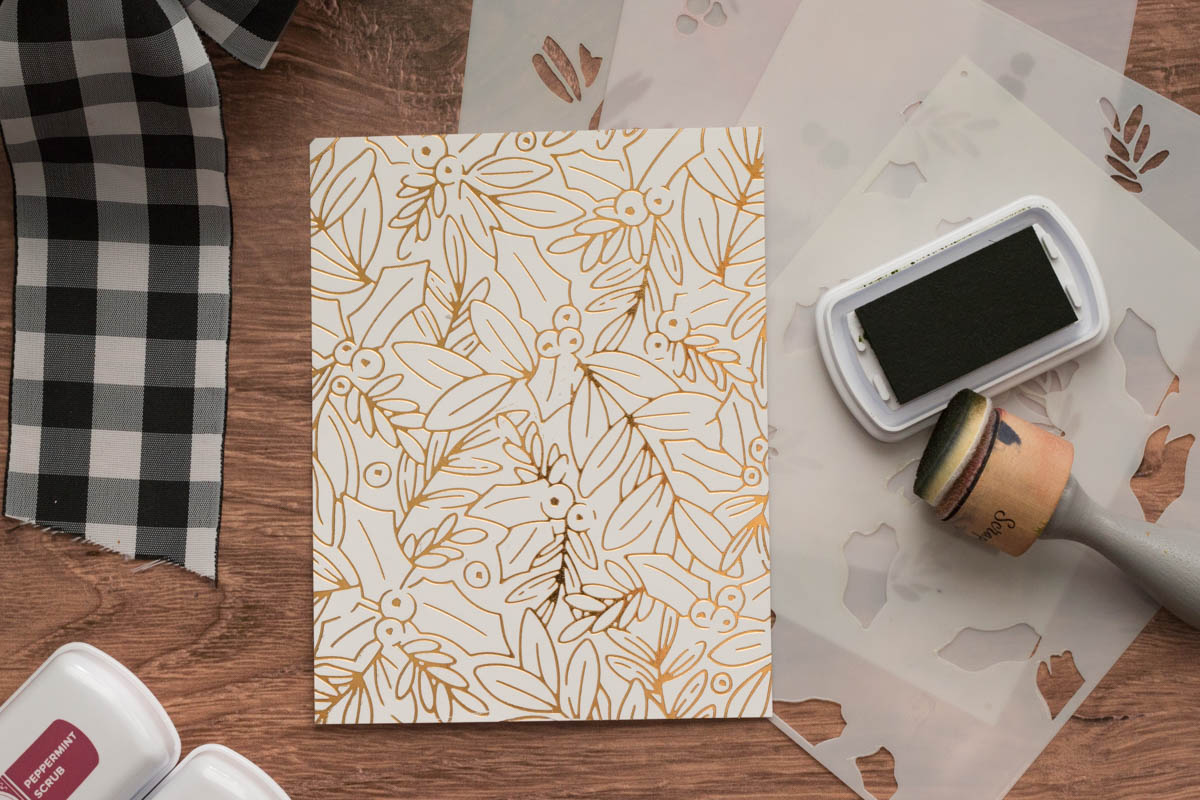
STEP 1- Glimmer the Background
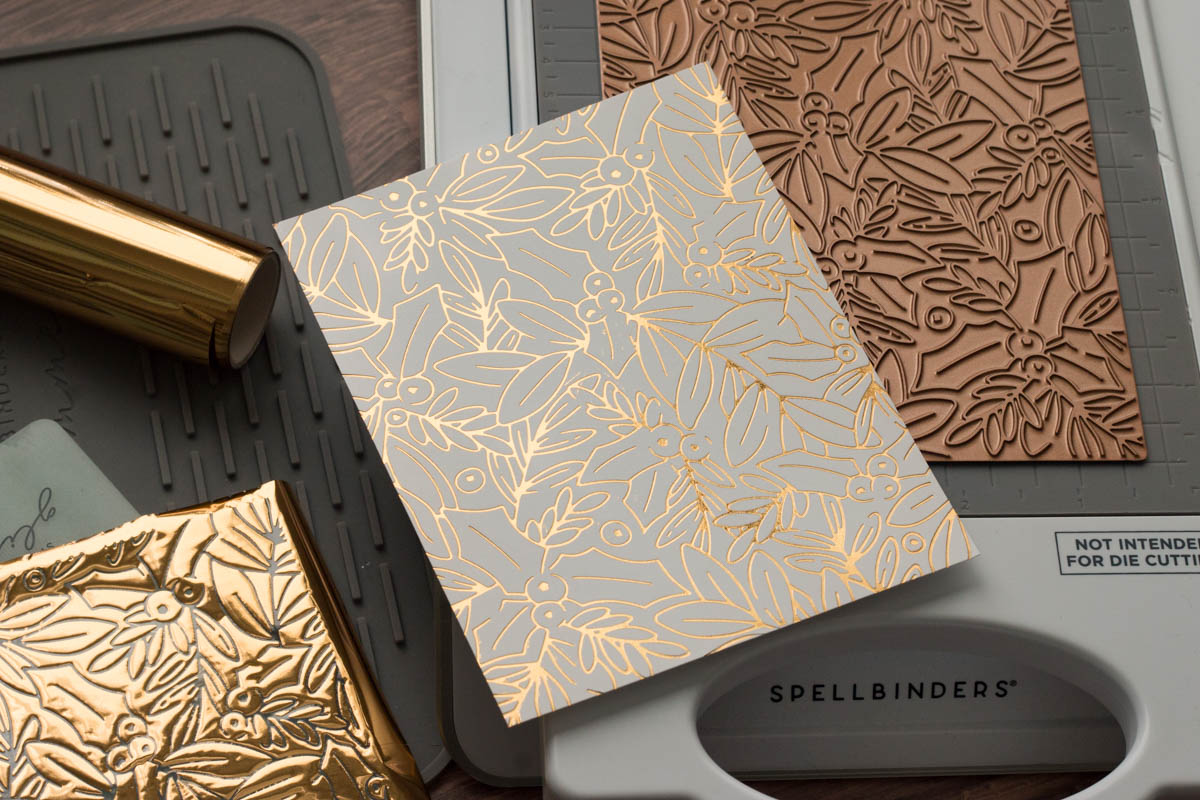
We need to start by glimmering our background. I’m using the beautiful Glimmer Holly Background plate along with some gold foil. Heat up your plate, create your glimmer sandwich, and run it through your die machine.
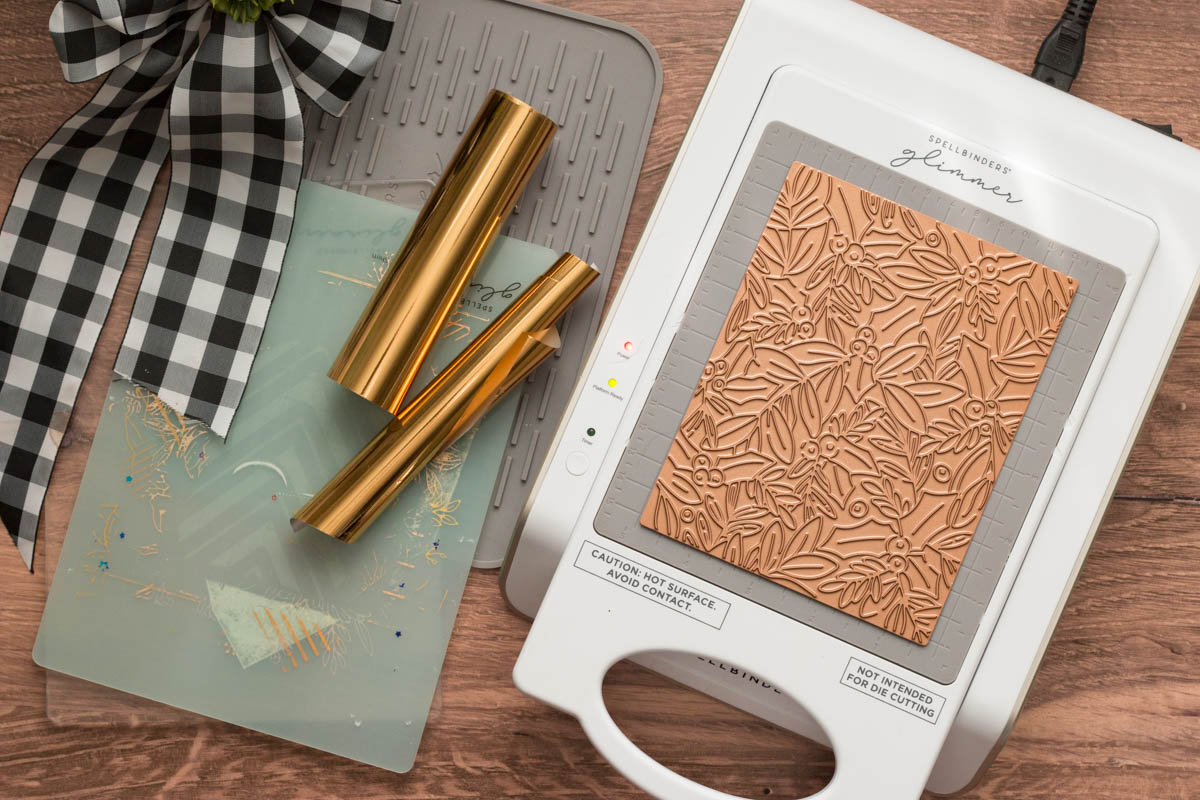
The results are stunning!
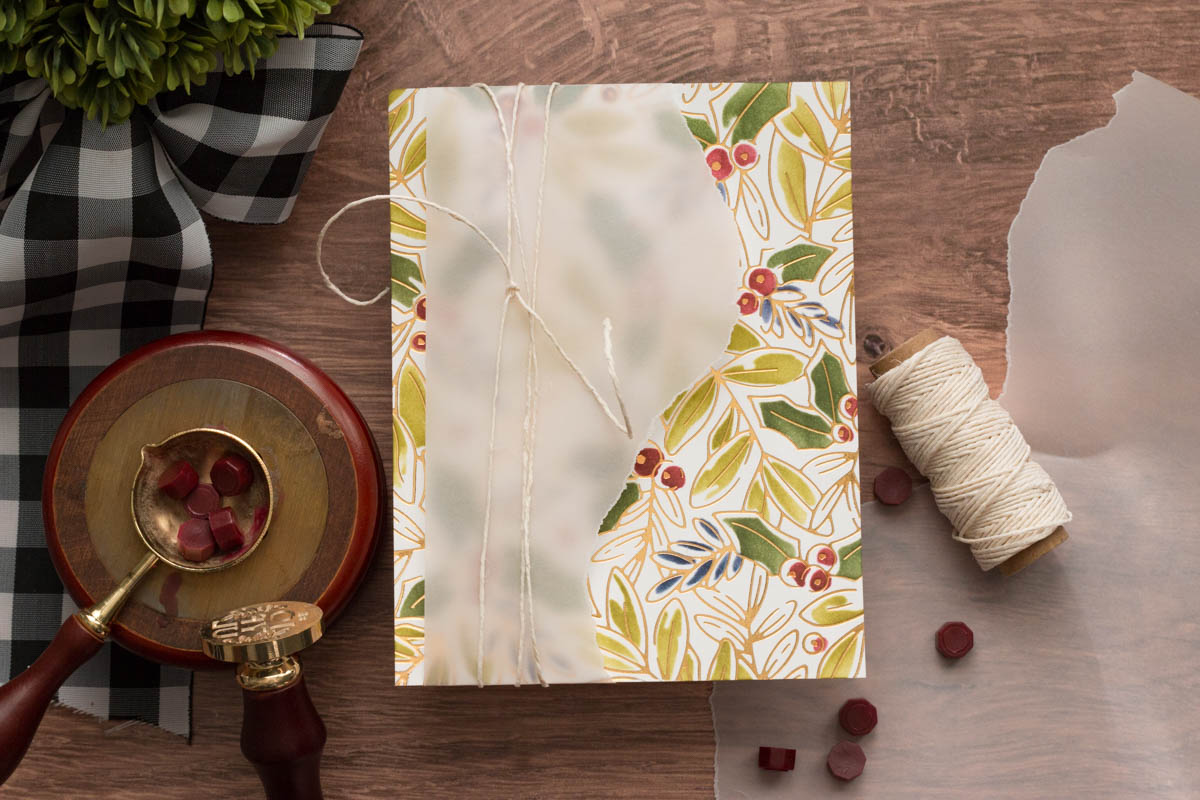
STEP 2- Stencil the Background
Next, use the Layered Glimmer Holly Stencils to build up color on your background. These four stencils isolate different parts of the design, so you can add separate colors for each. I chose light green, dark green, dark blue, and red. Just line up each stencil and add your ink!
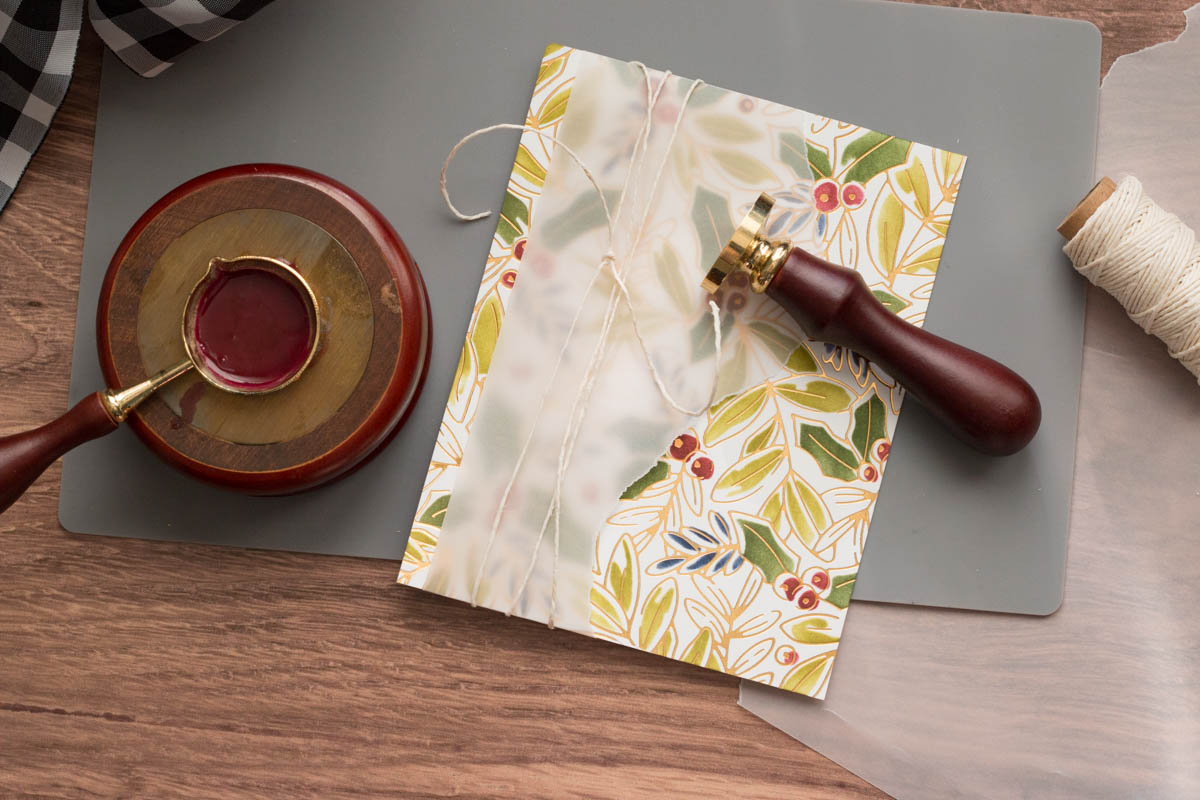
STEP 3- Add A Wax Seal
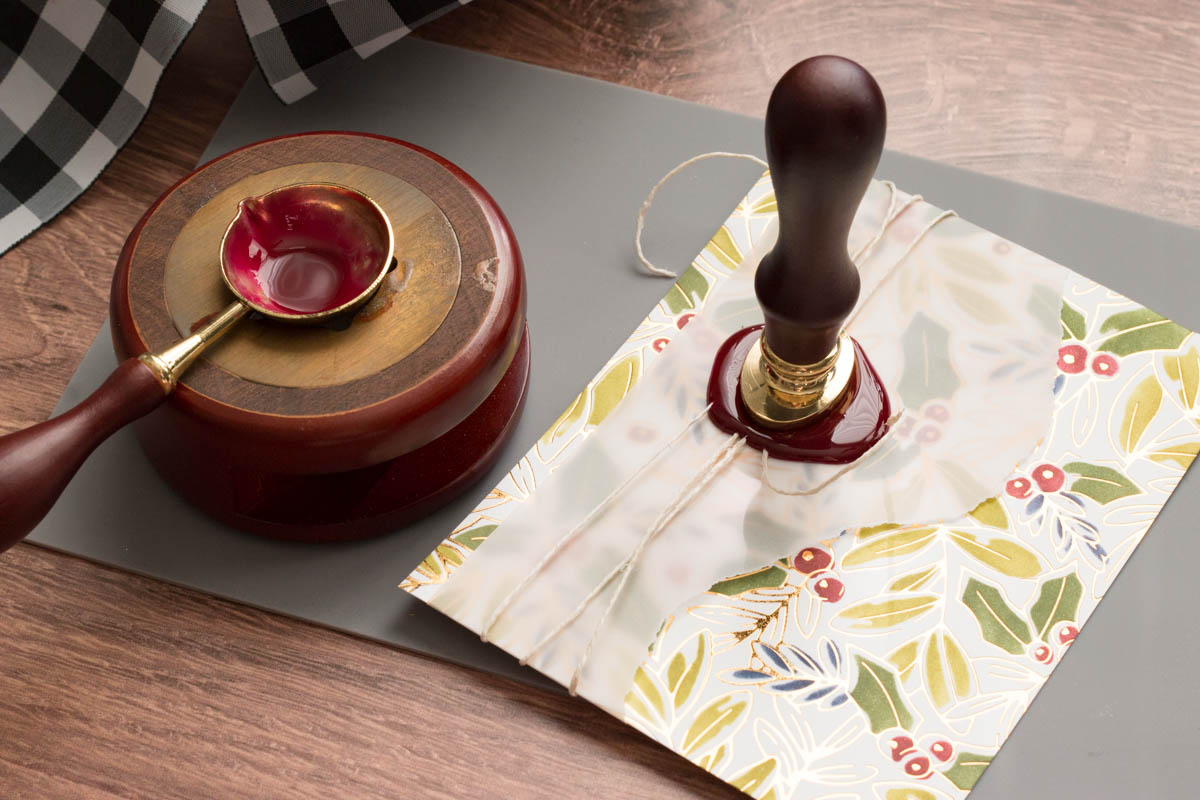
Once your background is beautifully stenciled, it’s time to add some pizazz. I tore some vellum and added it to the left side. Then, I wrapped some cord around the vellum a few times and knotted it. I’ll be adding the wax seal over the cord as my sentiment.
I like to add about 5 wax beads to my spoon for seals. I find this gives plenty of wax for the seal stamp. If you are adding a seal over items like die cuts or cord, feel free to add some extra beads, as you may need a bit more wax to cover the surface completely.
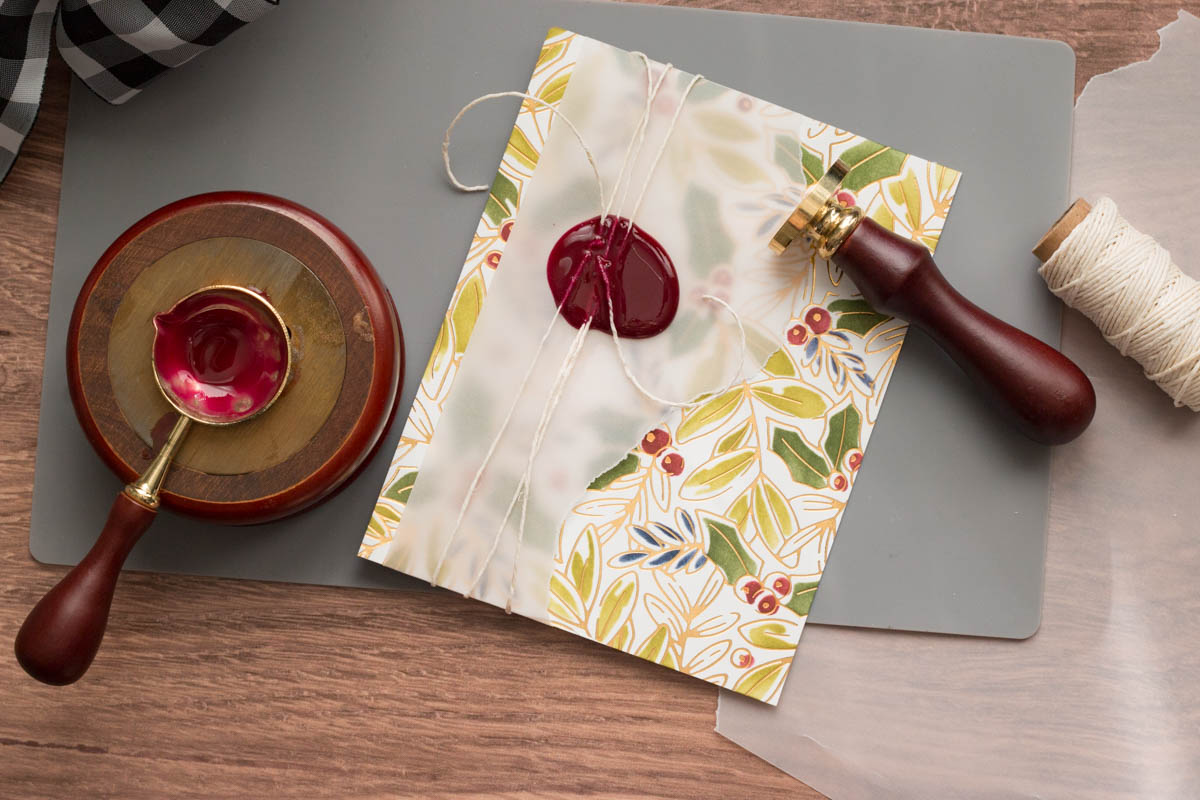
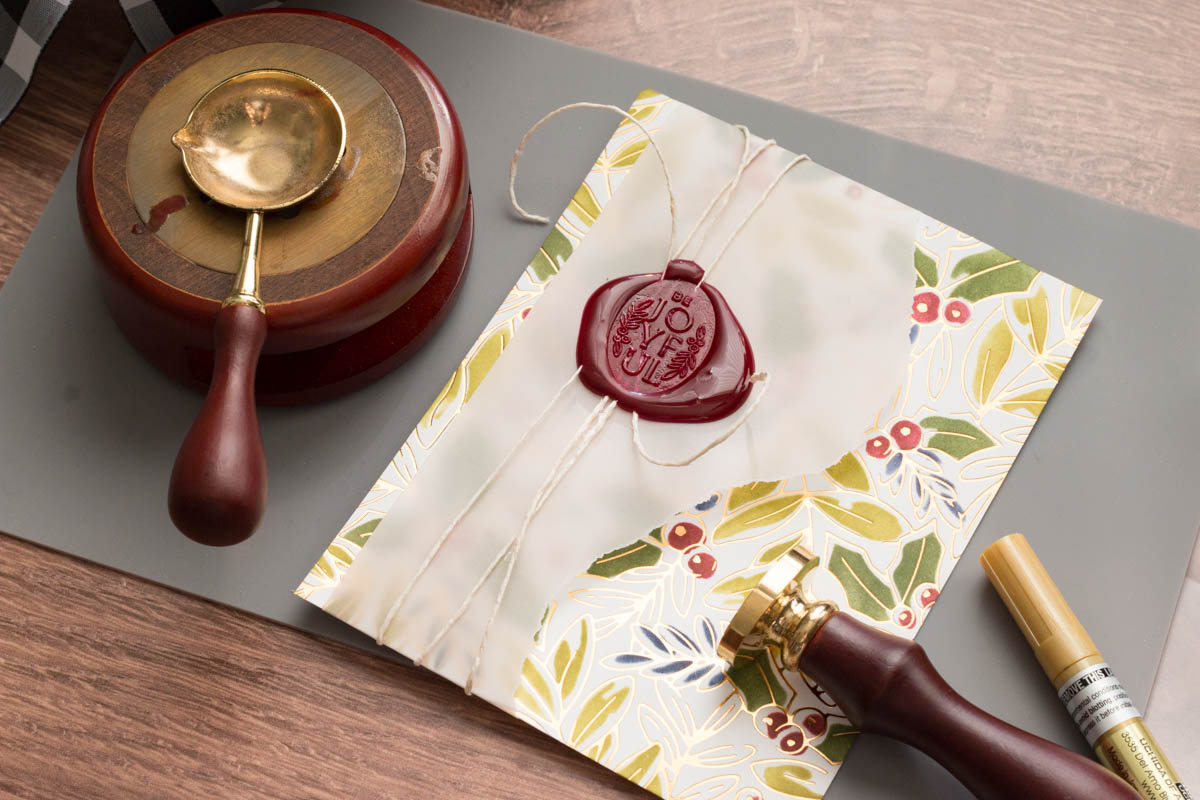
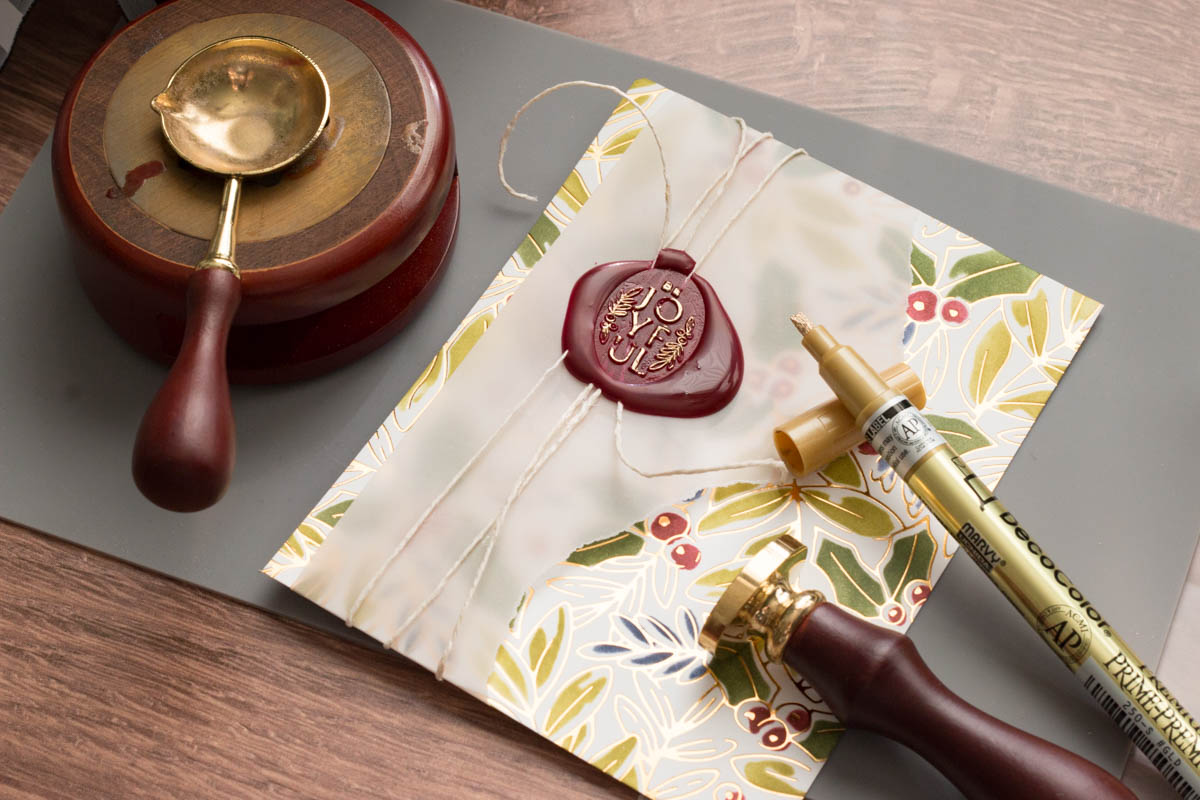
STEP 4 – Add Some Shine to Your Seal
After you are finished with your seal and the wax has dried, you can absolutely leave it as-is and call it a day. But if you are like me and love adding even more shine, grab one of the paint markers that Spellbinders has available and add just a bit over the seal design. This will make the sentiment and image stand out!
That finished card #1! Let’s look at the other two cards I created with this stunning collection.

JOYFULLY EMBOSSED
I started this card by embossing that gorgeous sentiment with the Joyful Glimmer plate. This plate set has two plates that fit together so that you can glimmer each individually which allows you to use multiple colors of foil. I used red for the JOYFUL, and gold for the leaves. You can even color in the leaf images if you choose.
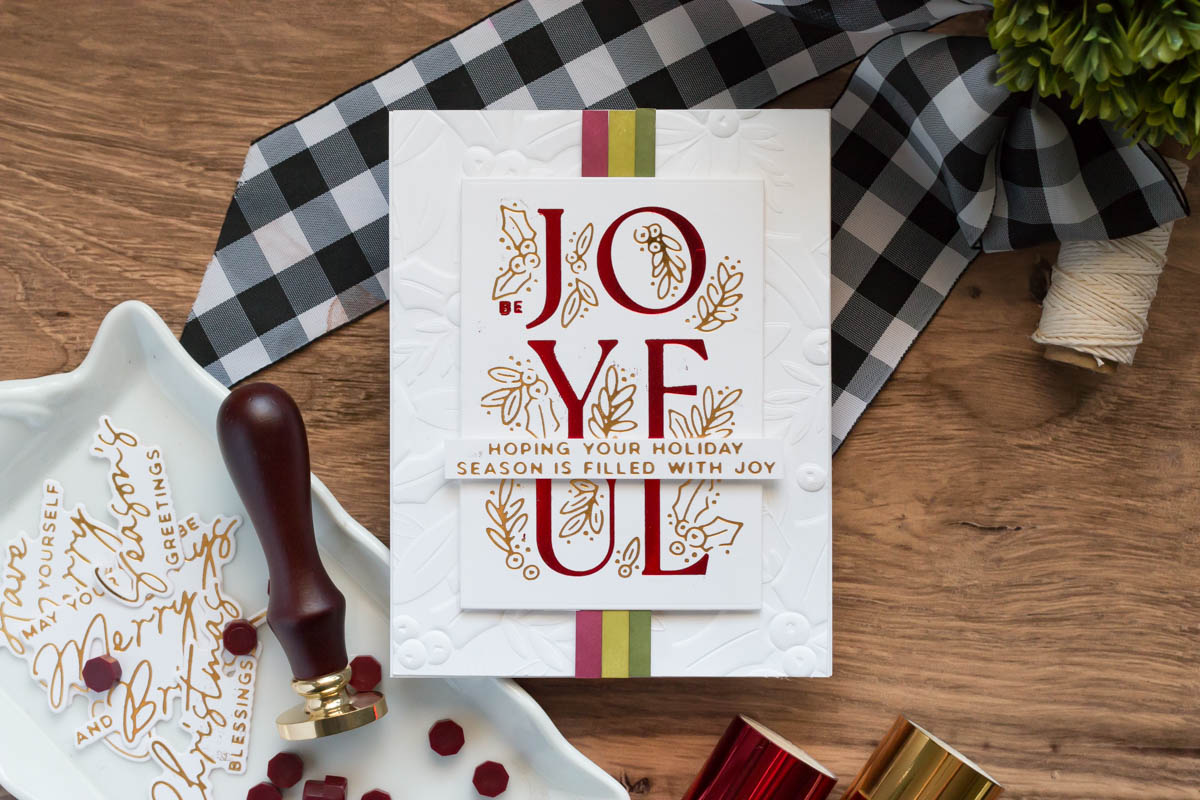
Then, I used the Holly and Foliage 3D Embossing folder to add the design to the background. This step is not necessary, but I also give just a little mist of water to my cardstock before running it through my machine with an embossing folder. It helps the paper mold a bit to the design. Be careful not to add too much, though! You don’t want to completely warp your paper.
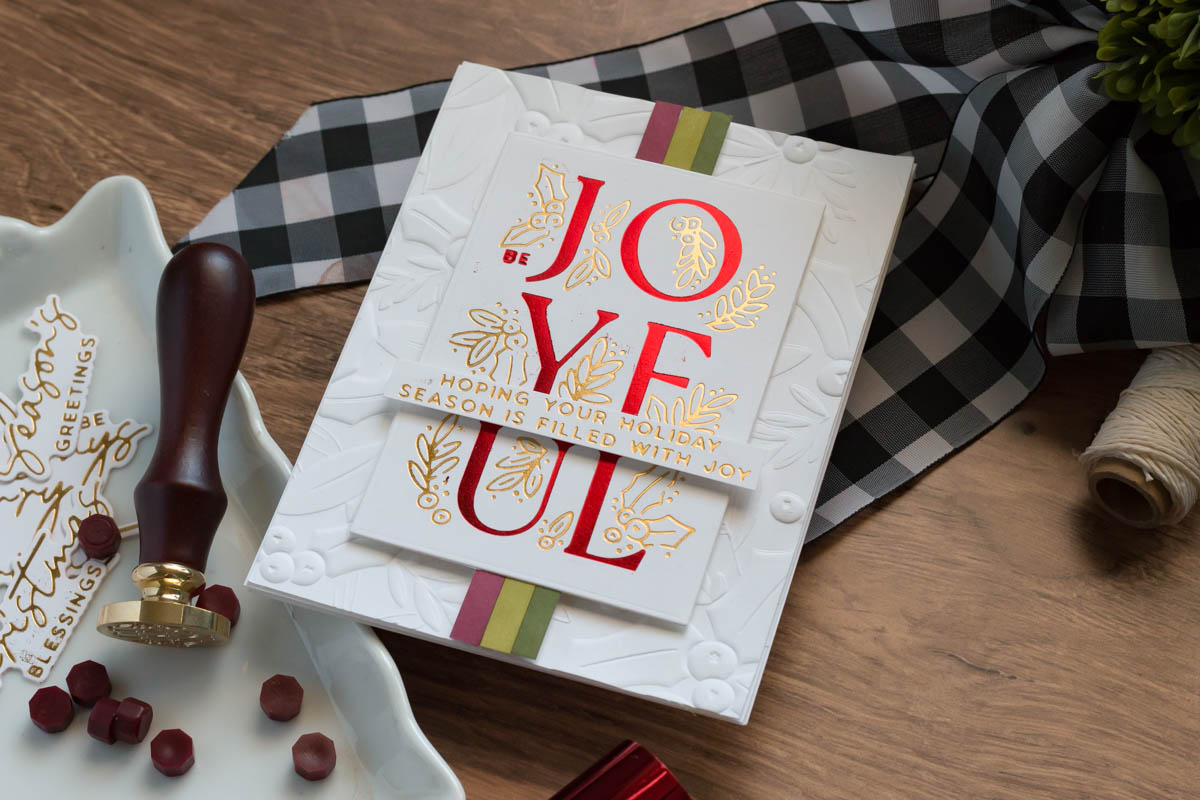
I layered the sentiment on top of the embossed background with some foam adhesive and also layered a few colored cardstock stripes behind it. These colors coordinate with the inked background I did in the first card so that my trio of cards has a coordinated look.
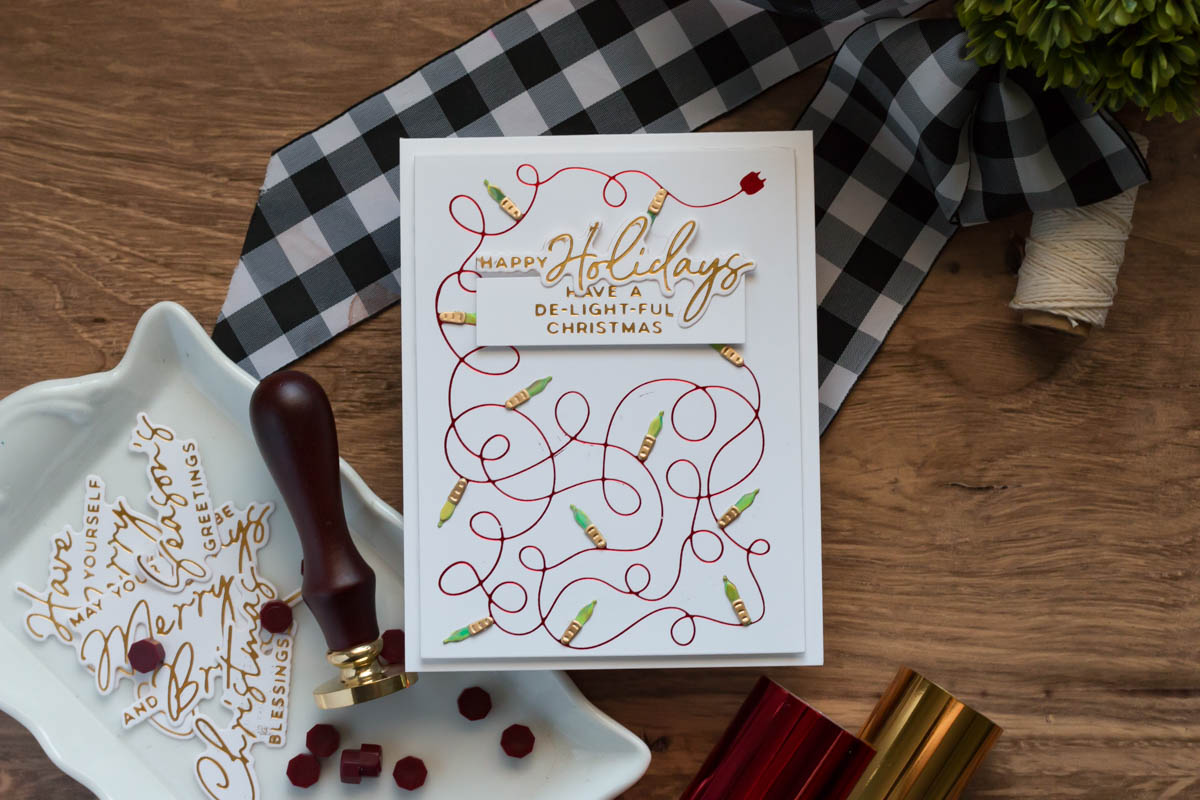
A STRING OF LIGHTS
This final card is de-LIGHT-ful in every sense of the word! I used the De-light-ful Glimmer plate to add the string of lights with red foil. Then, I used the coordinating die to cut out shimmery pieces of cardstock for the light bulbs. How cute! I used green holographic paper for the lights, but you could use a variety of Christmas colors if you choose!
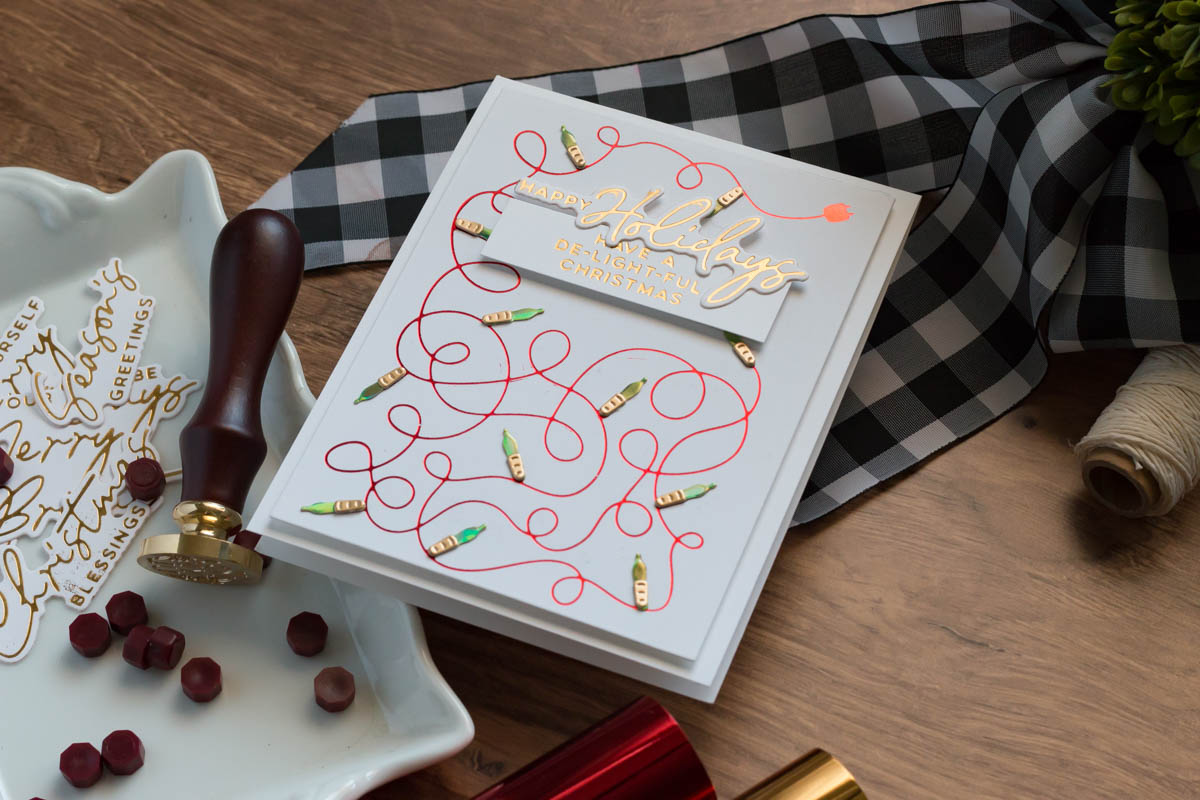
I then added the sentiment which is also glimmered, using the Merry Little Christmas Glimmer plate set and coordinating dies. Easy card, stunning results.
And that’s it! I hope you are now in the mood to get some Christmas crafting done. Come December, you will be ready to send out all those Christmas greetings, right?
Thanks for stopping by,
Marie Nicole
Spellbinders Supplies:

Other supplies
Cardstock, inks, ink blending tools, scissors, liquid glue, foam adhesive, gold cardstock, and green cardstock.

One Comment
Jan Nolte
Love the simplicity of these cards. Would be a great way to use scraps of some of the “special” paper I’ve been saving. Wishing I had a foiling machine. Maybe next year.