-
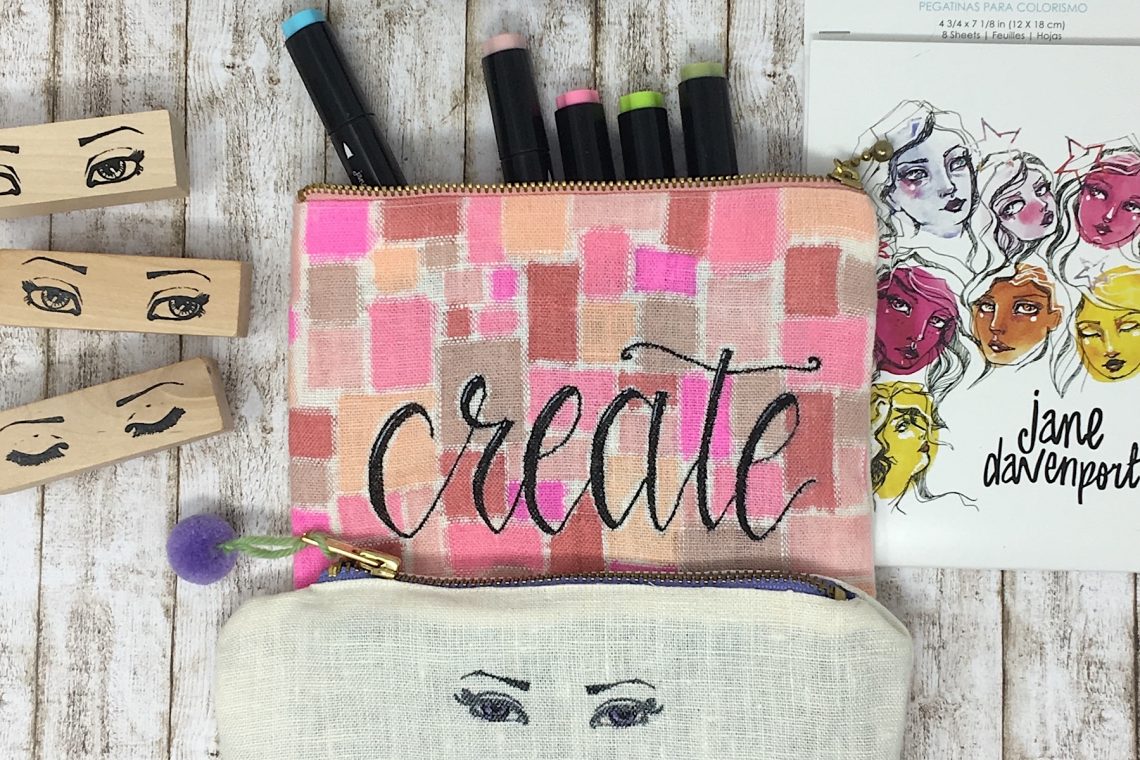
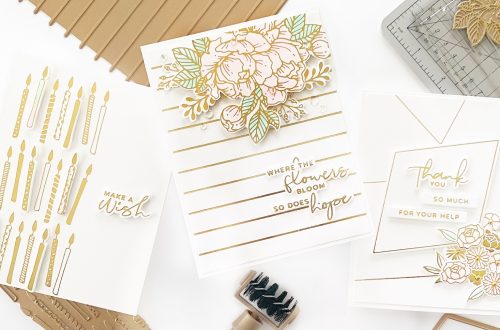
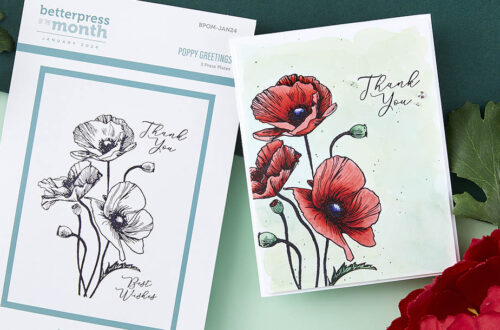
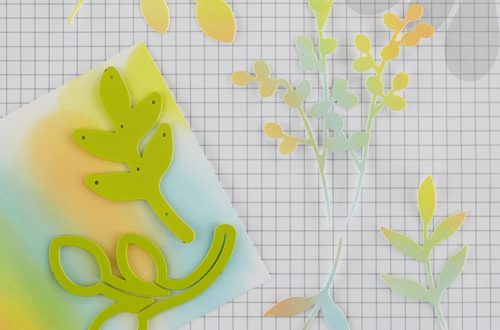
Jane Davenport Artomology | Crafting with Jane Davenport Markers with Angela Tombari
Hi friends! It’s Angela Tombari back here, thank you for joining me. I have a fun project to share with you using the Jane Davenport Artomology collection. Today I am focusing on the use of Markers on an alternative surface, a piece of fabric! As you can see from the photo I created two pouches that I intend to use for my art supplies. The first pouch size is 7 inches square and the markers fits perfectly inside. I love the vibrant colors and how it turned out. The Markers are alcohol based, they work well on fabric and can resist soft washing. To make the pouch I started drawing…
-
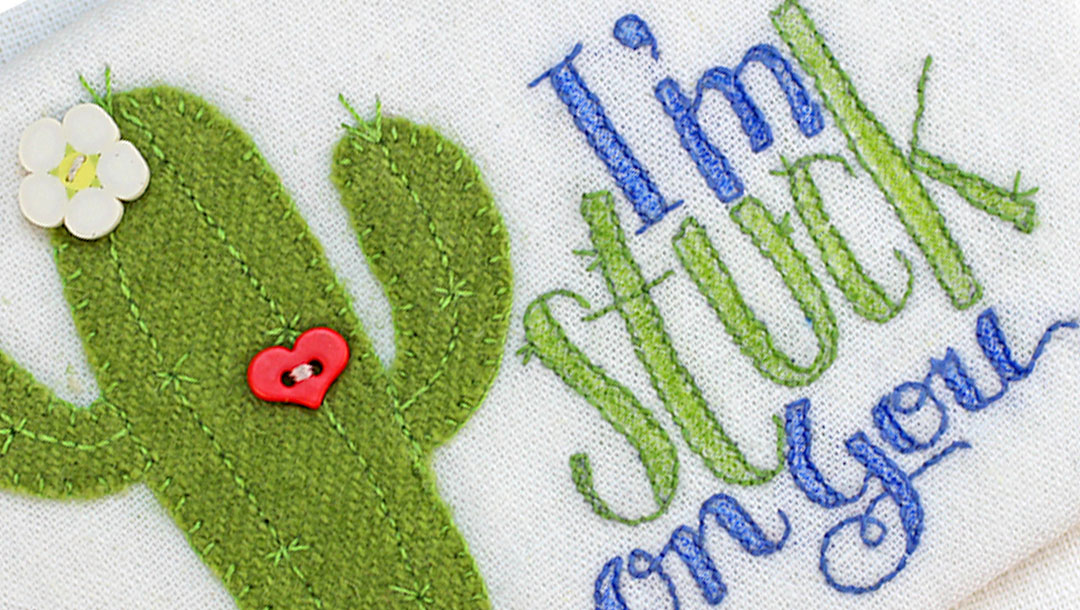
Easy Steps to Use Stamps in Embroidery
You already know that rubber stamps are a fun and versatile crafty supply. Did you know you can use your stamps for stitchery patterns also? Read on for a quick and easy way to go from stamp to stitchery in just a few easy steps! For a while now I have wanted to find a way to easily use my stamp designs as embroidery designs. Of course I could simply stamp on the fabric but I didn’t want to chance having the ink show or even possibly smear. I laid in bed one night contemplating this when it occurred to me, if you can print on the Stick ‘n…
-
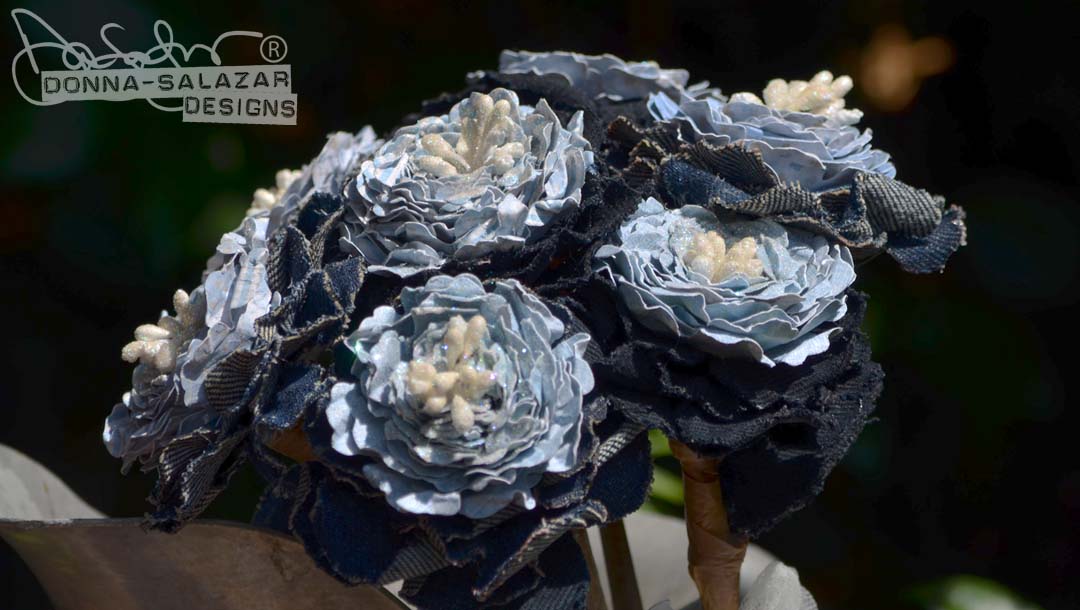
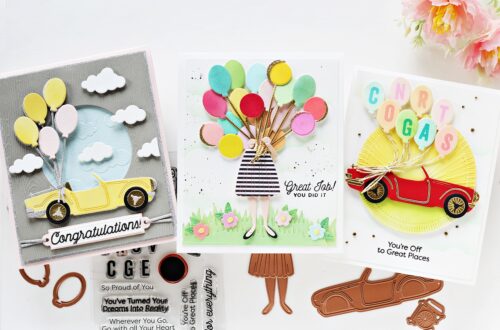
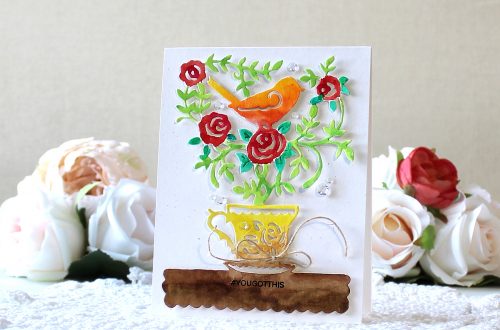
Rustic Wedding Bouquet by Donna Salazar
Hello my peeps! Today I’m sharing the flower bouquet that I made for my daughter’s wedding. She had a very casual wedding (she wore a denim dress) and she asked me to make her bouquet for her… of course I said YES!!! I have a video tutorial for you showing how I made my favorite style of flowers as well as how I added them to sticks to make them into a Rustic Wedding Bouquet that matched her dress perfectly. I hope you enjoy it!!! Here are a couple more photos. And one of the happy couple… Spellbinders Product Used: S5-086 Bitty Blossoms Etched Dies by Donna Salazar Designs…
-
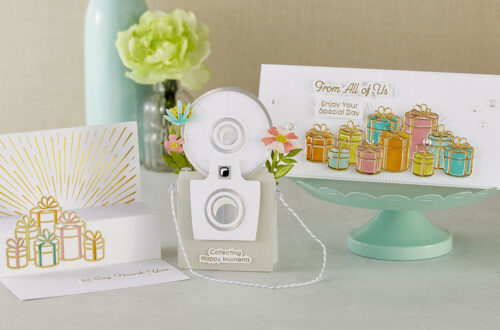
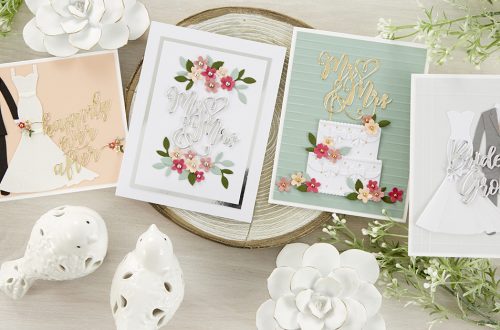
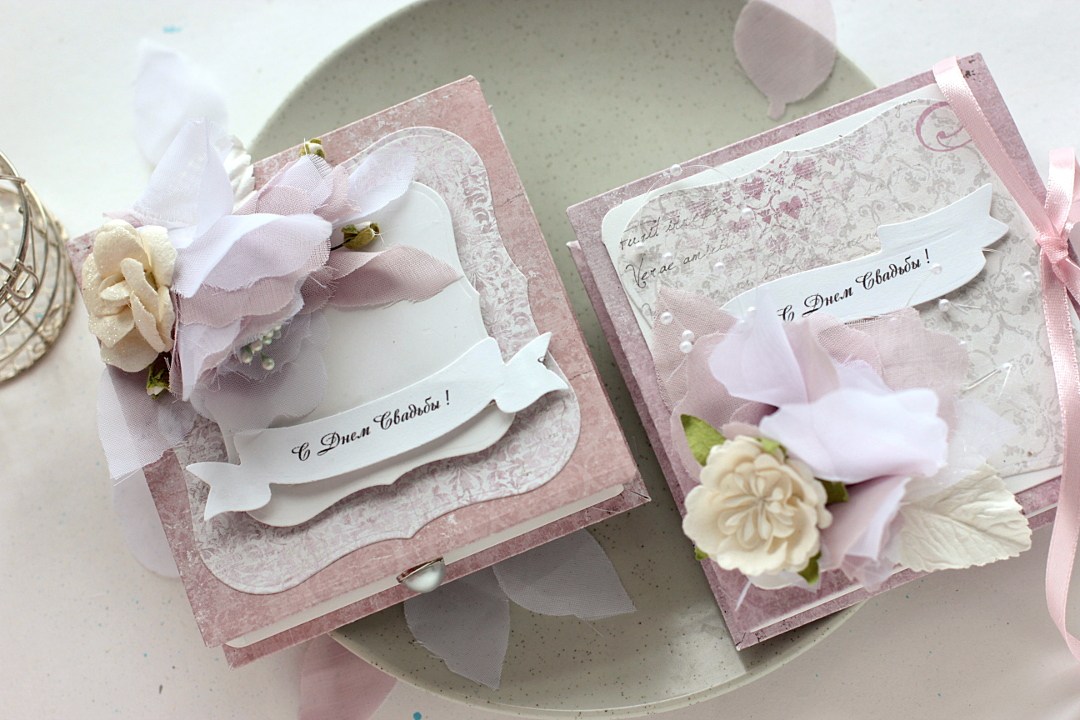
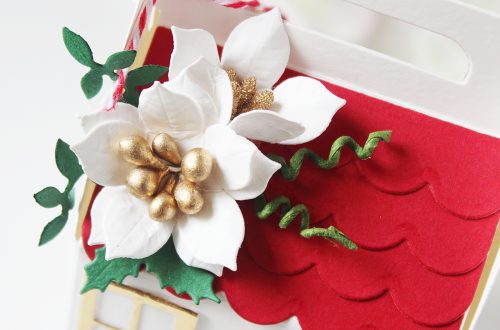
Wedding Gift Box with Positively Peony Contour Steel Rule Die
Hi, it’s Elena here with you today. The wedding season is here and each time I think what can be done more for the special day other than just cards. I thought that a cute little box would be a perfect alternative to making a present. I created a box and made a peony flowers using the SR-038 Positively Peony Contour™ Steel Rule Die To create my flower I used fabric – white tulle and mauve rayon. I colored them myself several years ago when I enjoyed batik and made some paintings on the silk. It was a good time to recycle something that has been kept for so long!…
-
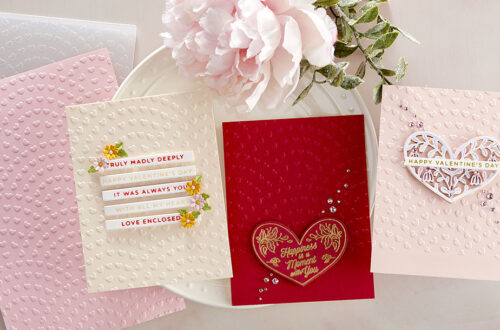
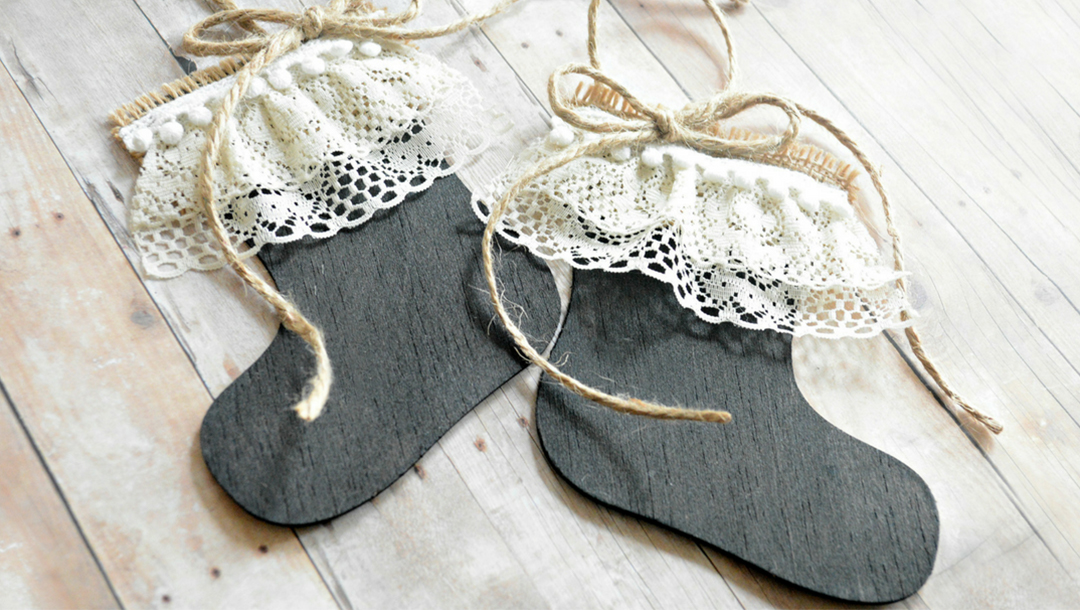
Darling Chalkboard Holiday Ornaments – Christmas in July
Hello fellow makers! Miranda here from Tinsel + Wheat guest blogging with Spellbinders as we celebrate Christmas in July! I’m so excited to show you how easy these little chalkboard stocking ornaments are to re-create. Here’s what you’ll need: Platinum™ 6 Die Cutting and Embossing Machine – 6″ Platform Holiday Naughty or Nice Contour ™ Steel Rule Die 1/38″ balsa or bass wood (your local hobby shop should carry this – and you will be able to get 5 pineapples from one board of balsa wood) 1.5″ burlap trim Layered lace trim White soft ball trim Twine Hot glue gun Paint brush Black chalkboard paint Scissors Chalk Let’s get started!…
-
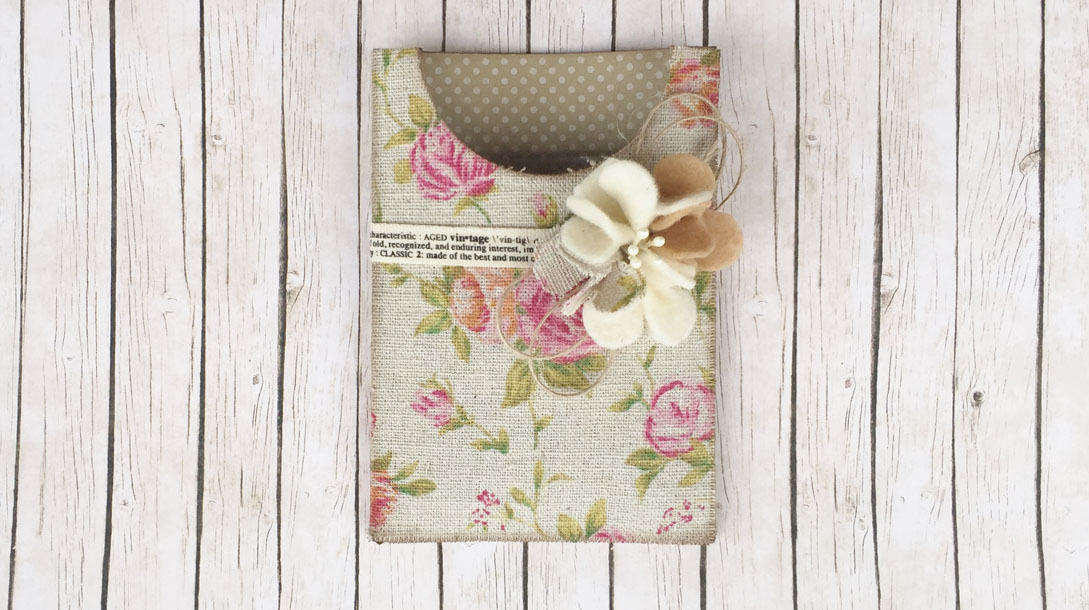
Pretty Vintage Gift Created with Scoop Pocket Steel Rule Die
I love the idea of making little vintage gifts and Scoop Pocket Steel Rule Die designed by Tammy Tutterow is perfect for housing garden seeds, bath salts and more. Instructions 1. Using the Platinum™ machine, die-cut Scoop Pocket from kraft card. The die automatically scores your fold lines. 2. Before assembling secure your gift inside. 3. Using the die again, I die cut floral fabric and affixed over the top of the kraft card with double sided tape. 4. To decorate I selected fabric and felt and die cut Floweret Posies Steel Rule Die. I pinched the base of these to create dimensional flowers and glued into a cluster with stamens and twine.…
-
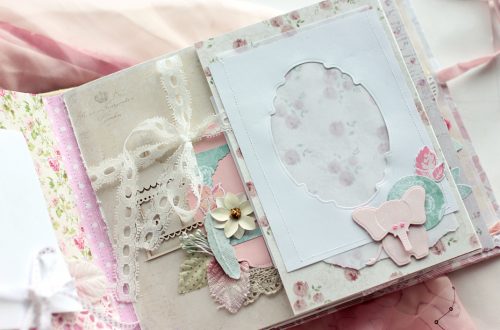
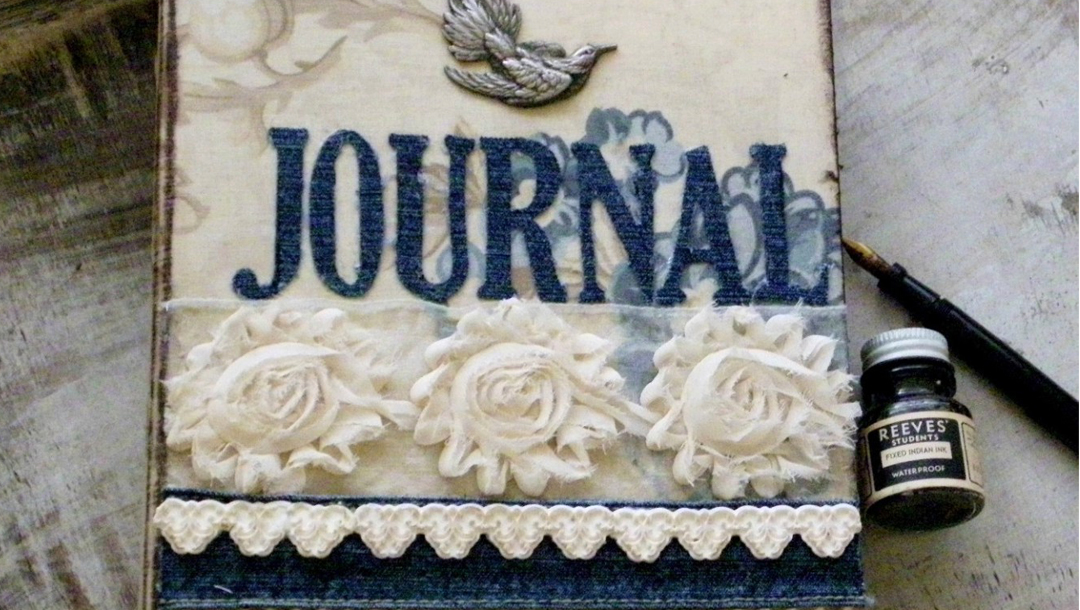
Create a Fabric Covered Journal with Contour Steel Rule Dies
Hello everyone! It’s Linda Lucas here and I am excited to be sharing a fun tutorial using Spellbinders® Contour™ Steel Rule Dies with different types of materials. I was so impressed with how easily the materials cut, and not just one layer but SIX with each material layer adhered to cardboard! It was like slicing butter – you have to love that!! Fabulous that the Contour™ Steel Rule Dies can cut a huge range of materials. Contour™ Steel Rule Dies are compatible with many machines. To view a chart to learn more, CLICK: Contour Steel Rule Die Compatibility Chart. So let’s get started! INSTRUCTIONS: 1. Apply liquid glue over…
-
No-Sew Phoenix Pennant Tutorial
This crowd pleaser project is easy, fun and doesn’t require sewing! All you need is our Contour™ Steel Rule Dies, felt materials, some adhesive (we used Them-O-Web® PeelnStick®) and a pennant! INSTRUCTIONS: Apply 1 strip of PeelnStick adhesive along the edge of the back of 8” side of pennant. Adhere half of the strip of black felt to the adhesive, leaving half of the felt to wrap around to the front of the pennant. Apply the second strip of PeelnStick along the edge of the front side. Fold a piece of ribbon in half, slide the looped end of the ribbon through the top slit in the black felt…
-
Charming and Easy To Make Star Spangled Banner
Hello, fellow makers! Miranda here from Tinsel + Wheat, so excited to share this charming and easy to make, star spangled banner with you today! Hover over the image below to see what dies I used to create this banner: I even dusted off the ole sewing machine for this project! Don’t worry, I didn’t get too carried away – simple straight lines only, and the best part is, it’s completely optional! Let’s chat supplies. Here’s what you’ll need: Platinum™ 6 Die Cutting and Embossing Machine – 6″ Platform Contour™ Mind Your Manners Steel Rule Dies Die D-Lites Superstars Etched Dies Red and white striped fabric (I used the red…
-
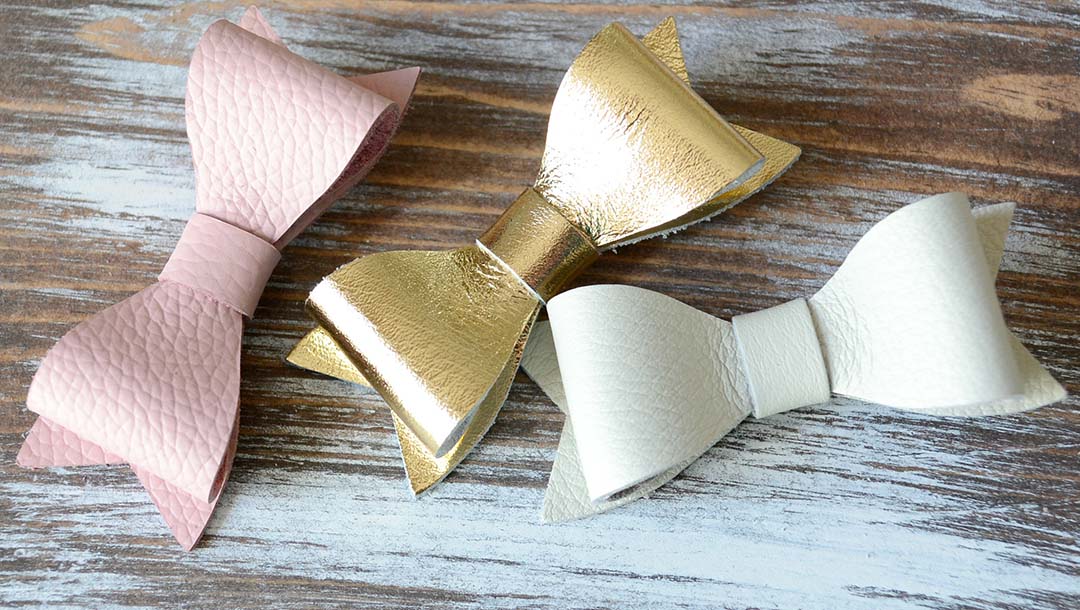
DIY Leather Hair Bows
How adorable are these? Best part? You can make them too, and they are a cinch! Literally, these take less than a minute to make! When I ran my first piece of leather through this fabulous machine, my jaw dropped. It cut through this rather thick piece of leather like buttah! SO naturally I decided to try pushing the limits and layered two pieces of leather, and again – like butter! (That’s two leather bows with one quick roll through the machine!) I am so excited to walk you through the steps! Here’s what you are going to need: Platinum 6 Die Cutting and Embossing Machine Spellbinders “Bow-tique” steel rule…