Be Merry Collection – Card Inspiration with Annie Williams
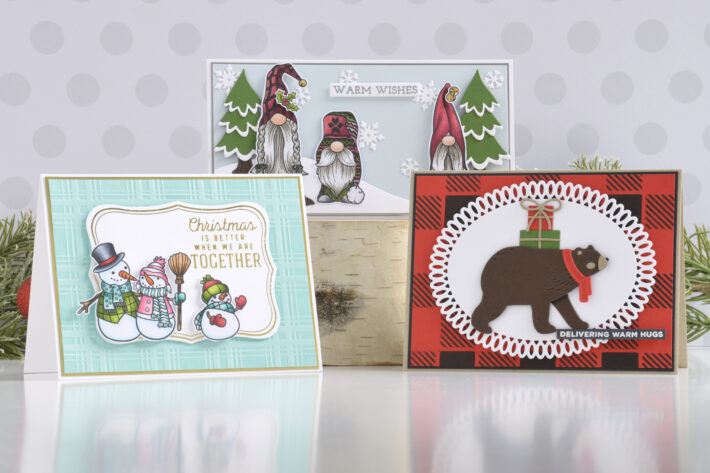
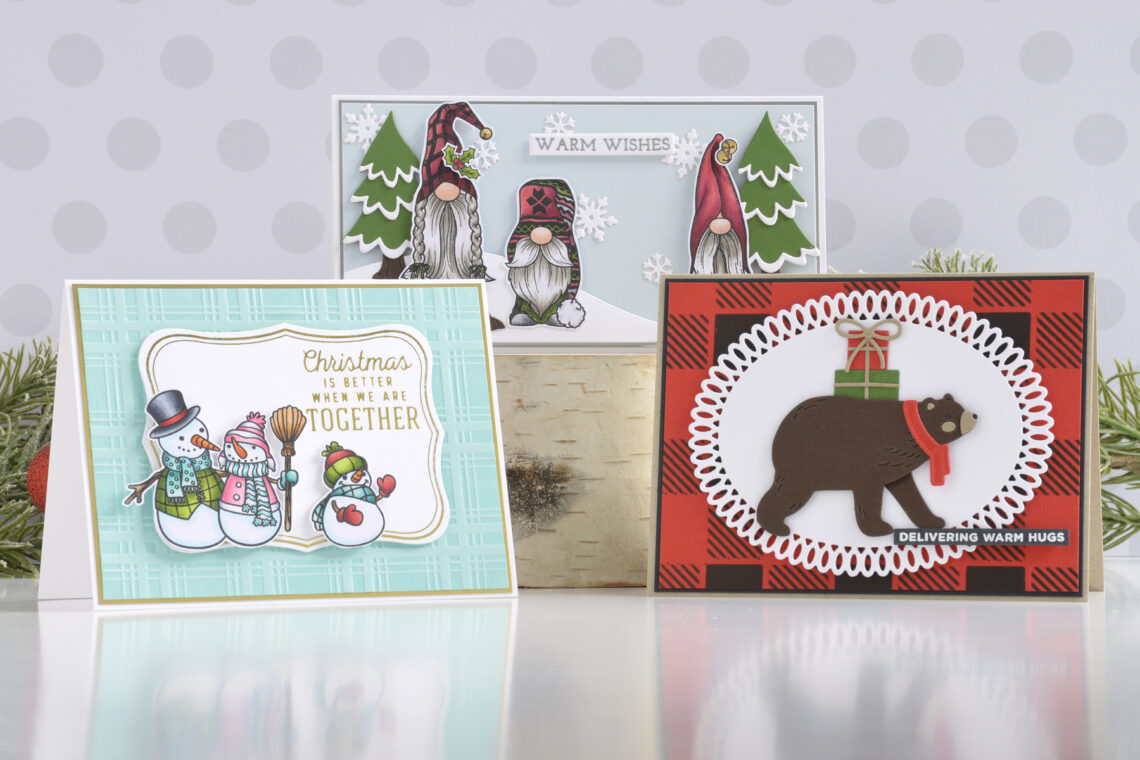
Hi there, this is Annie Williams and I’m excited to be back on the blog today to share a couple of projects using the new Be Merry Collection from Spellbinders. The fun die sets, sweet holiday images, and beautiful sentiments in this collection inspired me to create three cute cards perfect for sending a little Christmas cheer.
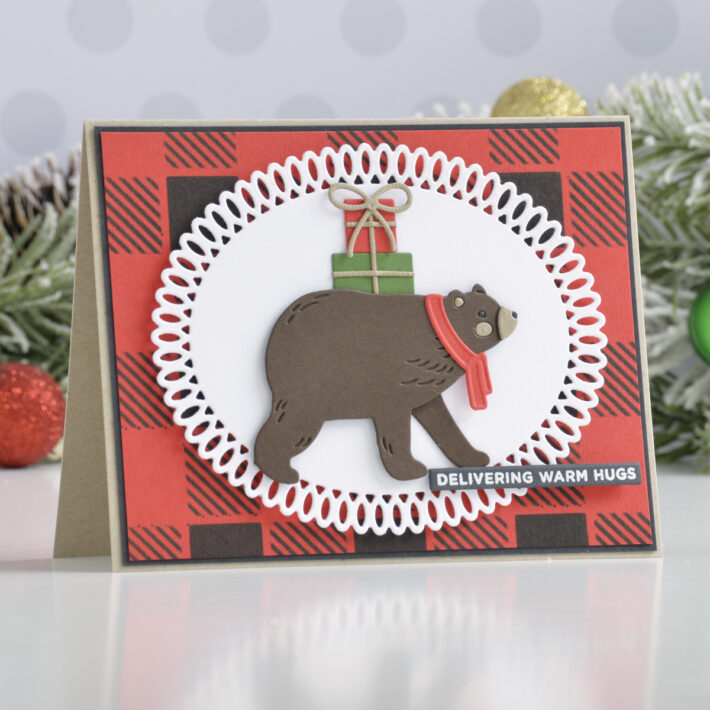
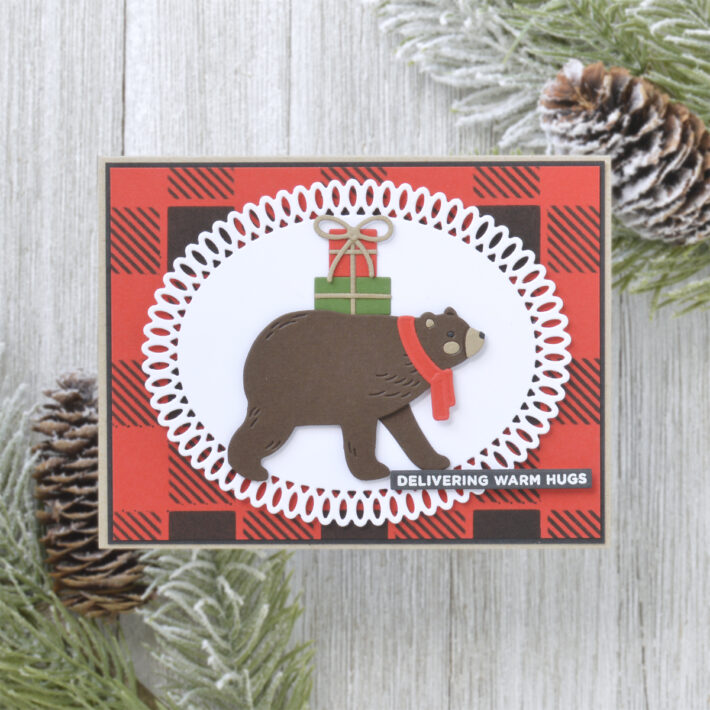
DELIVERING WARM HUGS CHRISTMAS CARD
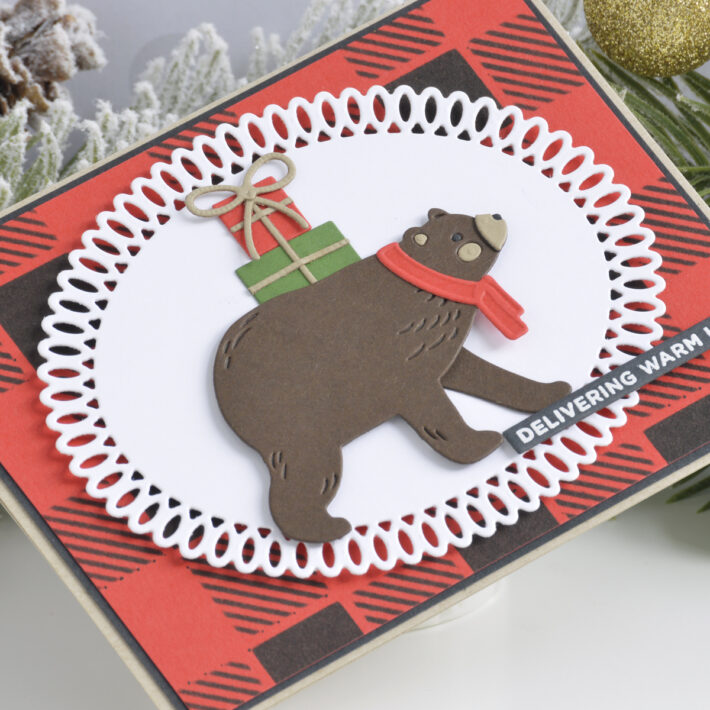
I fell in love with the adorable bear in the Chill Bear Die Set and knew I had to use him on a card right away. With a fun stenciled background and a stack of tiny gifts, I created this simple and cozy Christmas card.
- Trim a piece of Poppy Field Cardstock to 4” x 5.25”.
- Secure the Buffalo Check Stencil on top and apply Black Soot Distress Ink through the stencil with a blending tool.
- Die cut white cardstock with the Medium Oval in the Picot Petite Ovals Die Set.
- Die cut Timber, Portobello, and Poppy Field Cardstock using the Chill Bear Die Set. Assemble the bear with liquid glue, adding the front leg with foam adhesive for dimension.
- Die cut Poppy Field, Fern, and Portobello Cardstock with the package and bow dies in the Shopping Spree Die Set. Assemble the stack of gifts with liquid glue.
- Stamp a greeting from the Mini Christmas Greetings Stamp Set onto Onyx cardstock with Versamark Ink, add white embossing powder, and melt with a heat tool. Cut it out using the coordinating die.
- Mat the plaid background with Onyx Cardstock before adhering it to a top-folding A2-sized kraft card base with tape runner.
- Add the white oval die-cut on top with foam adhesive, then adhere the stack of gifts directly to it with liquid glue.
- Pop the bear and sentiment up on top of the card front with foam adhesive.
Spellbinders Supplies:

Other Supplies
Heavyweight white and kraft cardstock, Versamark Ink, Black Soot Distress Ink, ink blending tool, white embossing powder, tape runner, foam adhesive
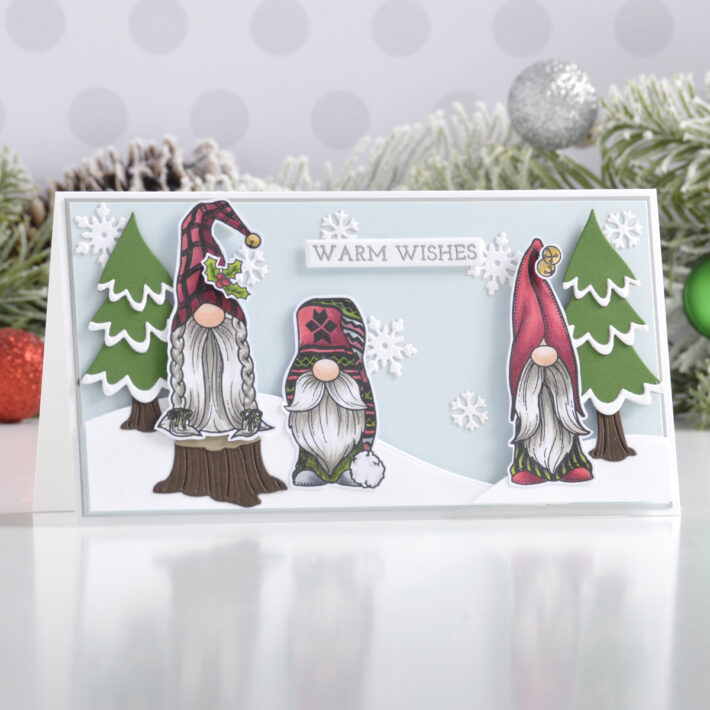
Warm Wishes Christmas Gnomes Card
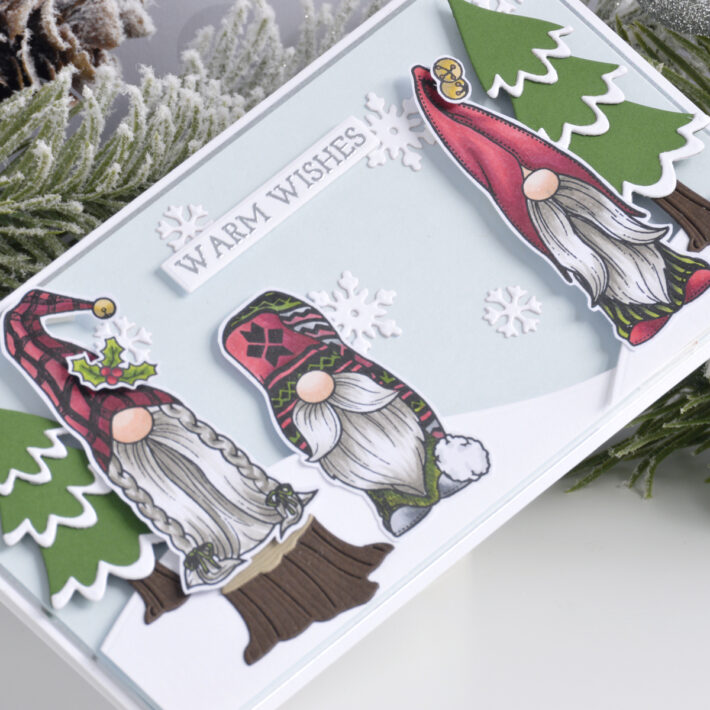
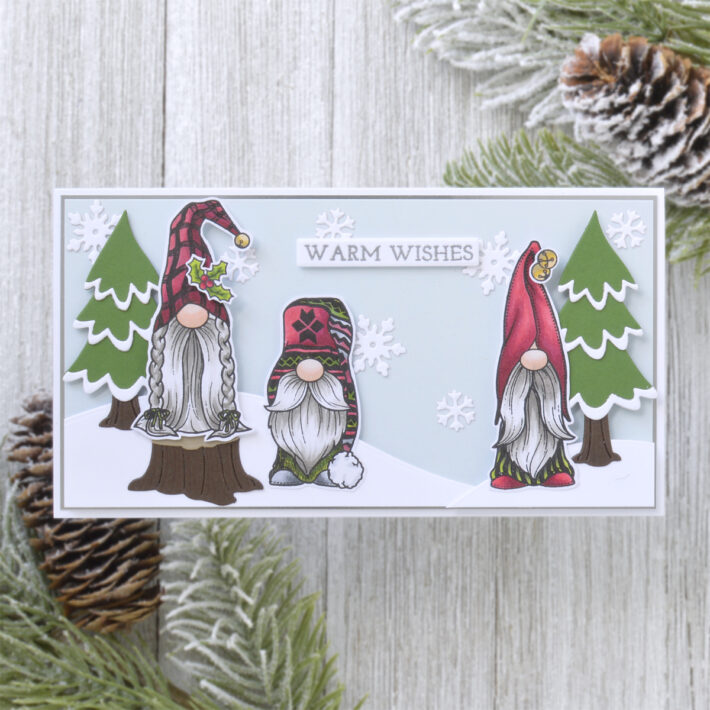
The adorable gnome images in the Holiday Gnomes Stamp Set were the next thing to steal my heart. I colored them all up with markers and added them to a wintry scene for this fun mini slimline card.
- Stamp the gnomes, bells, and holly from the Holiday Gnomes Stamp Set onto white cardstock with black alcohol-friendly ink.
- Color the images with Copic markers and fussy cut them out with scissors, leaving a thin white border.
- Stamp a greeting from the Home For Christmas Sentiments Stamp Set onto white cardstock with Versamark Ink, add silver embossing powder, and melt with a heat tool. Trim the sentiment out into a small strip.
- Die cut white, Fern, Portobello, and Timber cardstock using the stump and tree dies from the Dancin’ Gnome Die Set. Assemble the stump and two trees with liquid glue, altering the spacing of the layers on each tree to create both a tall tree and a short tree.
- Die cut white cardstock with the Color Block Scenic Scape Die Set and the snowflake dies from the Chill Bear Die Set.
- Trim Glacier Cardstock to 3.25” x 6.25”. Mat it with Mirror Silver Cardstock before adhering it to a top-folding white card base measuring 3.5” x 6.5”.
- Add the snowy hills to the bottom of the card front with foam adhesive and scatter the snowflakes on the top of the card front with liquid glue.
- Arrange the trees, gnome, and sentiment on the front of the card and adhere them all down with more foam adhesive.
Spellbinders Supplies:

Other supplies
White heavyweight cardstock, Hero Arts Intense Black Ink, Copic markers, scissors, Versamark Ink, silver embossing powder, tape runner, foam adhesive
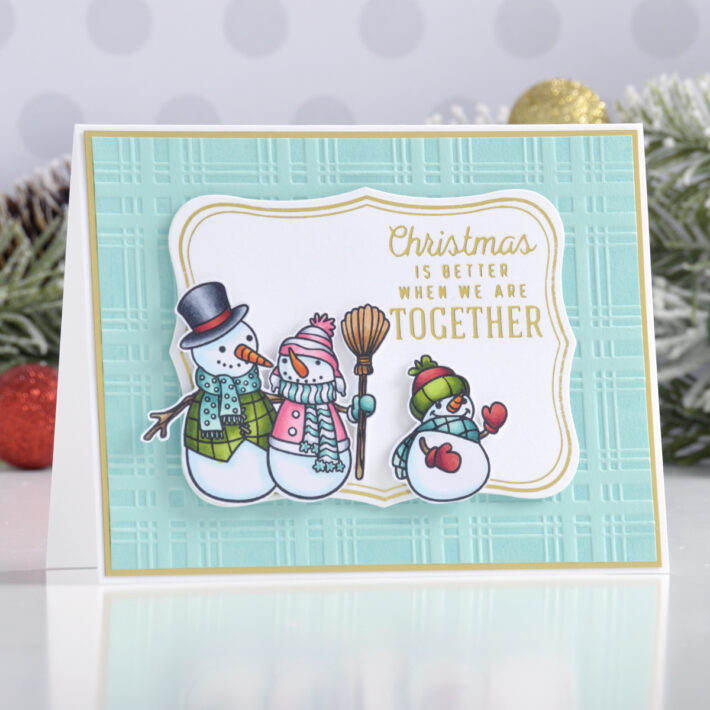
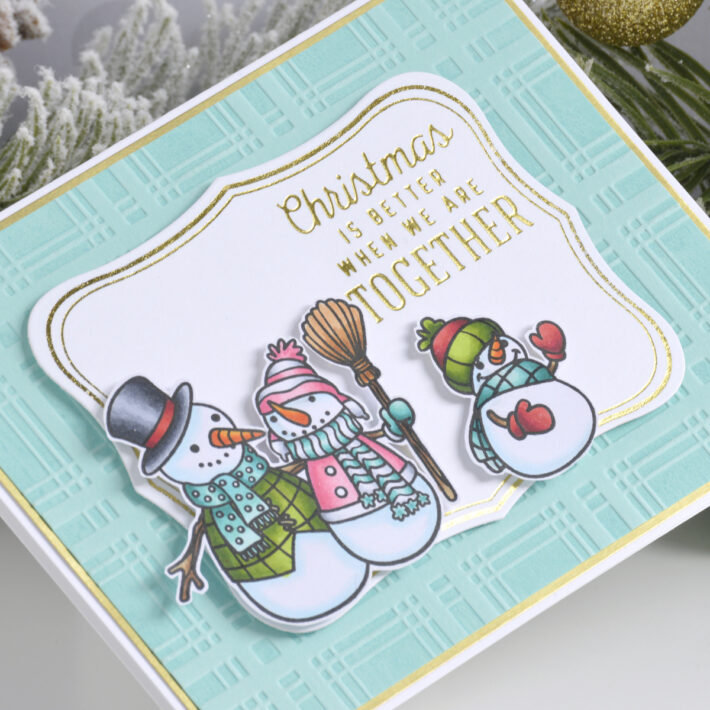
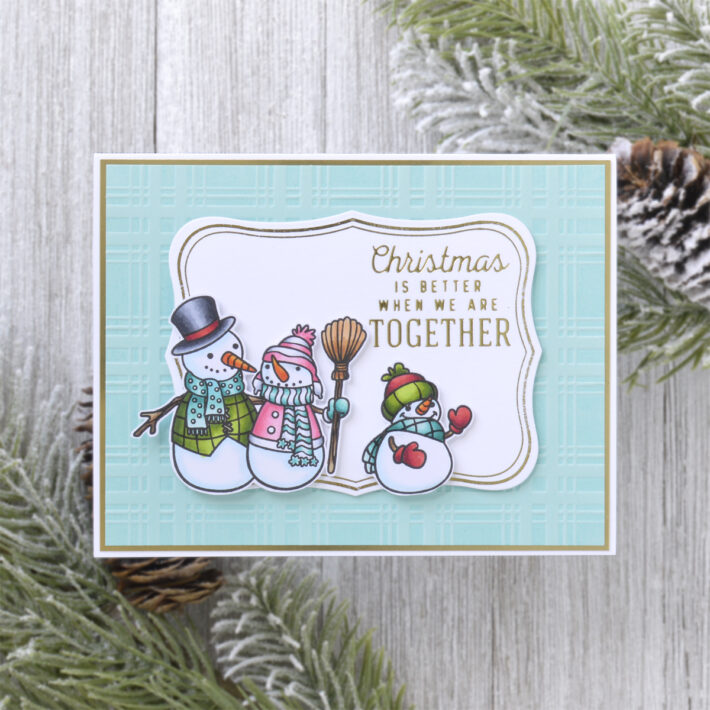
Happy Snowmen Christmas Card
Snowmen are one of my favorite holiday icons because they can be used all winter long. Here I’ve colored them in bright Christmas colors and added a little foiling for sweet and simple holiday card.
- Trim a piece of Waterfall Cardstock to 4” x 5.25”.
- Apply Salvaged Patina Distress Oxide Ink to one side of the Plaid Company Embossing Folder with a brayer and place the Waterfall panel inside to emboss while adding a little contrast to the design.
- Apply Gold Hot foil to white cardstock using Label 3 from the Essential Glimmer Label Plate Set and one of the sentiments from the Gifts Of Christmas Sentiments Glimmer Plate Set along with the Glimmer Hot Foil System.
- Die cut the panel out using the Label 2 Rim die from the Essential Labels Die Set.
- Stamp the snowmen onto white cardstock using a black alcohol-friendly ink.
- Color the images in with Copic markers and fussy cut them out with scissors, leaving a thin white border.
- Mat the embossed panel with Mirror Gold Cardstock before adhering to a top-folding A2-sized white card base with tape runner.
- Add the foiled panel on top with foam adhesive and then pop the colored images up on top with more foam adhesive.
Spellbinders Supplies:

Other supplies
White heavyweight cardstock, Hero Arts Intense Black Ink, Copic markers, scissors, brayer, tape runner, foam adhesive
I hope you enjoyed this trio of cute and cozy Christmas cards and thanks so much for stopping by today. You can find more inspiration over at my blog AnnieBWills.com.

