The Envelope of Wonder Collection – Taming Overwhelm
Hello! Jean Manis is here to talk about feeling overwhelmed when faced with an abundance of choices, specifically with crafting projects that involve a lot of die-cutting. The secret to working with die sets containing dozens of pieces without getting lost? Set limits to enhance your creativity. Let us delve into this topic as we explore three projects created with the Spellbinders Envelope of Wonder Collection.
The Envelope of Wonder Collection offers a multitude of design possibilities. Look at all of those incredible dies! The open envelope, as a card base, serves as a foundation for the themed die sets: Halloween, Autumn, and Christmas. So how will we conquer the possible creative overwhelm? Select a set number of dies, work with a limited number of colors, and embrace the “white” space.
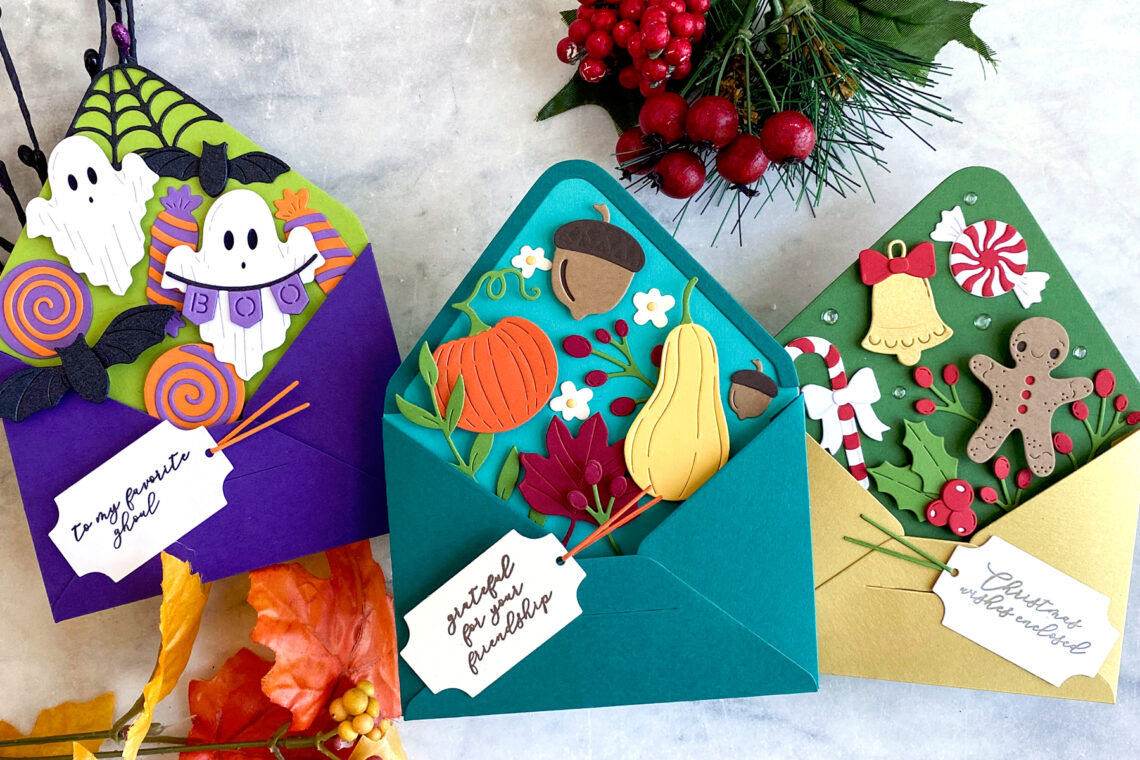
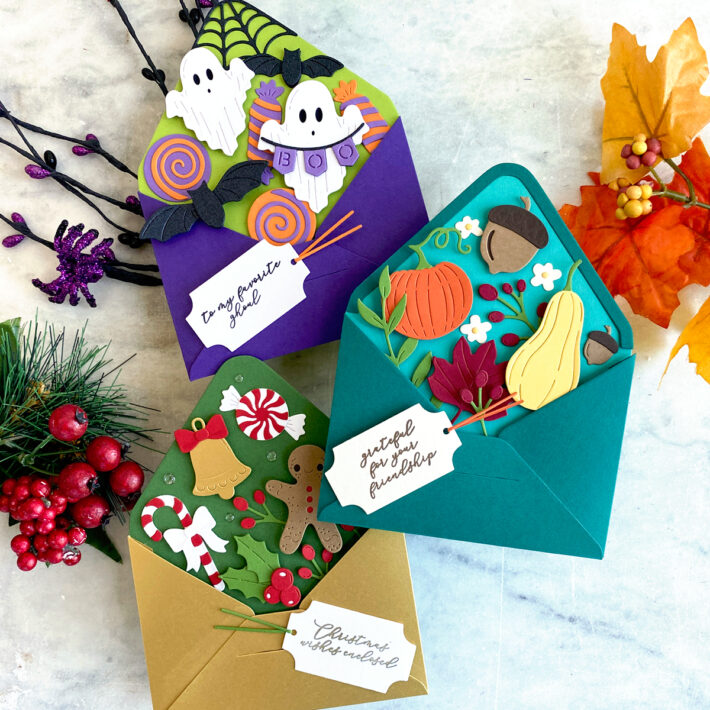
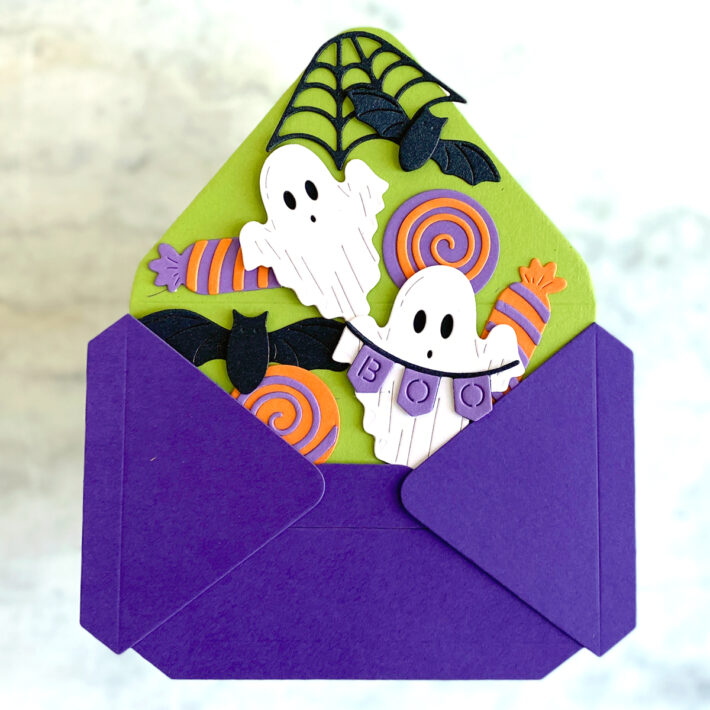
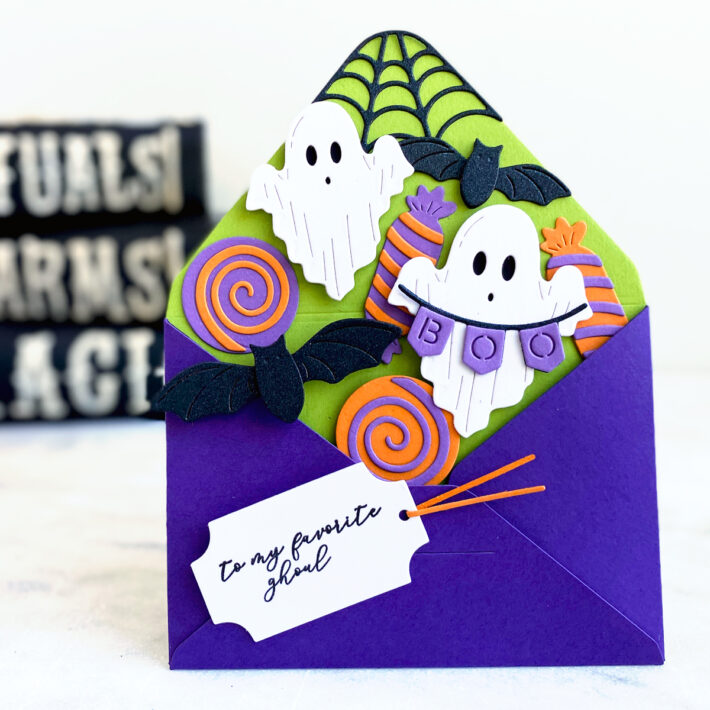
Begin with the images that you immediately grab for. For example, for the Halloween set, I chose the large ghost, small ghost, large bat, and small bat. Begin by cutting those images from cardstock colors that you think will work. Knowing that I wanted the ghosts white and the bats black, I cut those items first and checked the colors against color choices for the envelope base. Don’t waste time cutting more pieces before choosing the colors for the background and major focal components.
Having chosen a Rainforest card base, I added Persimmon and Lilac Blossom with the wrapped candy and lollipop pieces. At this point, I evaluated options for the envelope bottom and side pieces, ultimately choosing Royal Amethyst (a deeper shade of the Lilac Blossom). Finally, I stamped the sentiment in black ink on Snowdrift cardstock and cut it with the label die included in the Envelope of Wonder set.
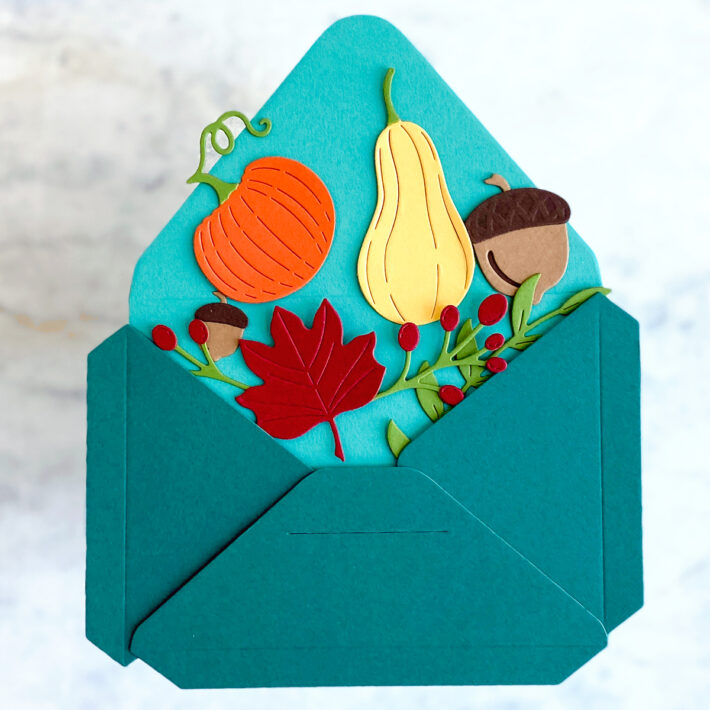
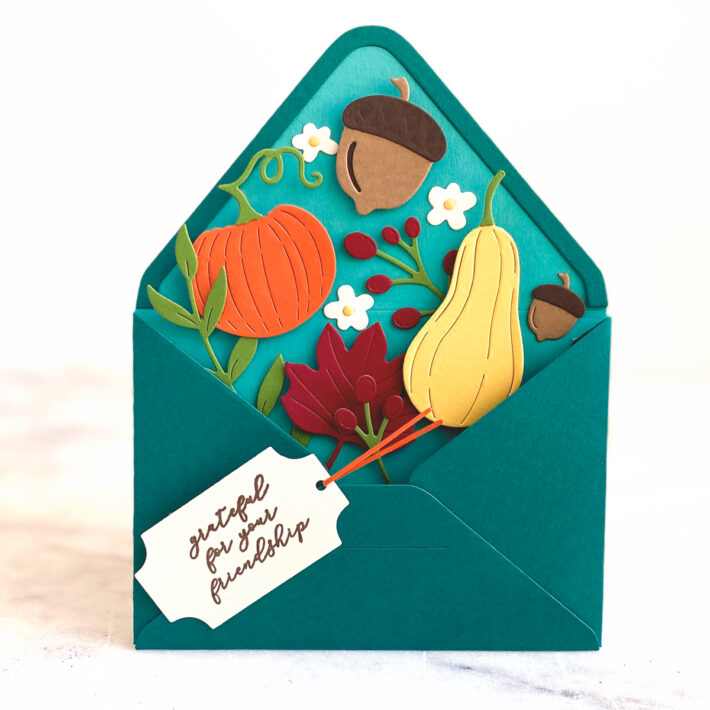
For the Autumn envelope, I started the design process cutting the pumpkin (Terra Cotta), gourd (Beeswax), acorn (medium brown and Timber), and maple leaf (Crimson). Next, I chose teal for the envelope and a darker shade of teal for the envelope’s bottom and sides.
Since the four focal items left empty spots, I looked in the set for smaller secondary items, choosing the small acorn and berry sprigs. At this point, I put the card aside. Designer Tip: Come back to a project with fresh eyes if you aren’t sure of your next step. I stamped the sentiment in brown ink on Alabaster cardstock. A small floral die in the Envelope of Wonder set cut from Alabaster and Beeswax cardstock proved to be the perfect small item to finish the card, and the off-white tied in with the label color.
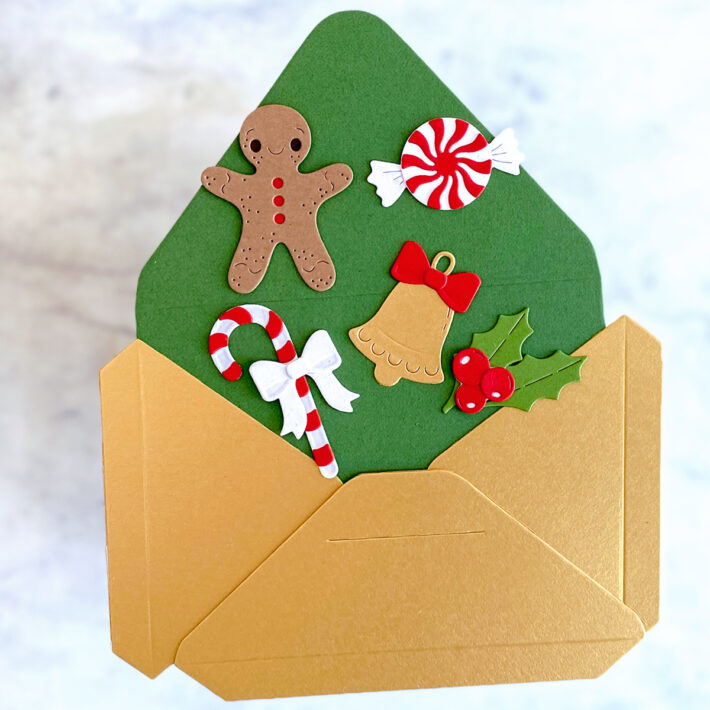
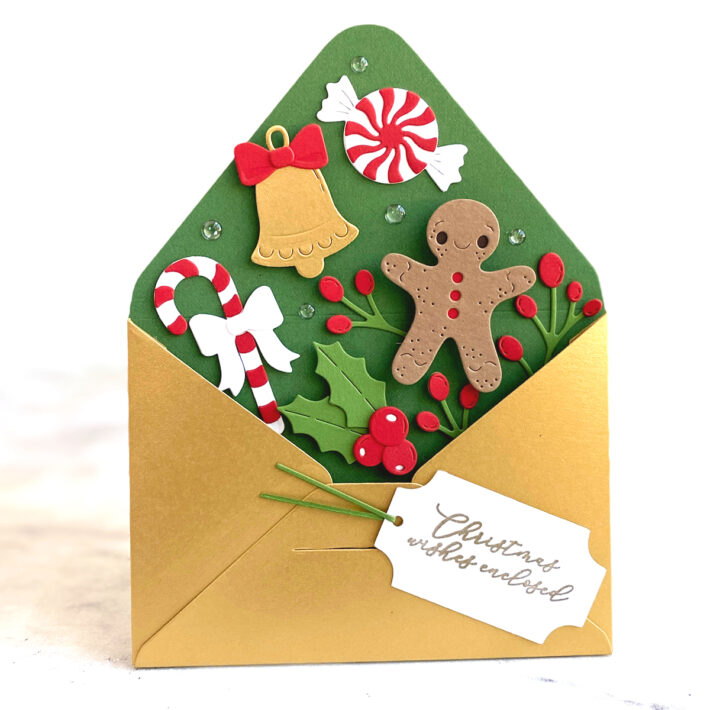
Lastly, I followed the same design process for the Christmas set. I cut the gingerbread person (medium brown), the bell (brushed gold and red), the peppermint (red and white), and the holly (medium green and red). I checked those items against various backgrounds, choosing Fern for the envelope and Brushed Gold for the bottom and sides.
I borrowed the berry sprig in the Autumn set to fill out the empty spots. After adding the sentiment, stamped in gold pigment ink on Snowdrift cardstock, I added clear enamel dots to the remaining “holes.” The clear dots add volume and texture without adding any color to the design.
Spellbinders Supplies:

Other supplies
Jet Black Archival Ink, Lawn Fawn Paper Bag cardstock, medium green cardstock, gold pigment ink, brown ink
To recap, the design process is as follows: 1 – cut three or four focal items in chosen theme; 2 – test those against color options for the base, and next for the envelope bottom and sides; 3 – add smaller, secondary items.
As cardmakers, we are artists at heart, and like any artist, we can feel overwhelmed by a vast number of options. By setting limits when working with multi-piece die sets, such as those in the Envelope of Wonder Collection, we can turn potential overwhelm into a wellspring of creativity. Happy crafting!

4 Comments
Susan Lang
That was very informative! Love the idea to leave it and come back later. Also, using the clear dots made a big difference. By the way, also great cards!
jeanmanis
Thanks so much for your appreciation!
Michele K. Henderson
I LOVE this fun idea! Your colorful little envelopes look so cute and so well put together! I can’t wait to try this myself. Thanks for the great look.
jeanmanis
Thanks so much, Michele!