Trio of Stitched Holiday Cards with Jung
Hello crafty friends! It’s Jung here, and I am very excited to be returning for another guest post on the Spellbinders Blog. If you’d like to follow my crafty projects, my blog is jungahsang.wordpress.com, and my Instagram is @junglebarrya.
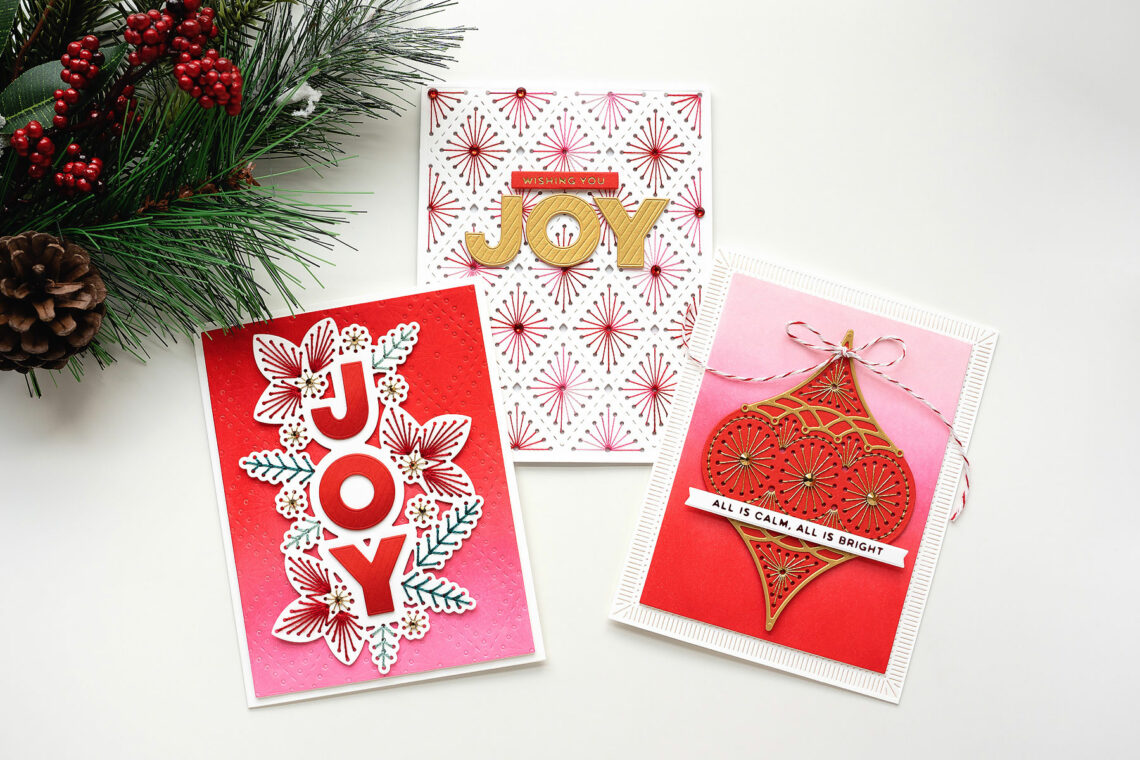
For my projects today, I’m working with some products from the Stitchmas Christmas collection. I love how the dies cut the holes, and there are embossed lines to guide your stitches. You could also stitch just part of the design, and it would still be gorgeous.
Stitched Ornament Card
For my first card, I used the stitched ornament etched dies. First, I die-cut the stitched ornament from Poppy Field cardstock. Then, I used some gold metallic thread to stitch through the die-cut holes. Once I finished stitching, I die-cut the detail piece for the ornament from brushed gold cardstock two times. I glued them to the top and bottom of the ornament.
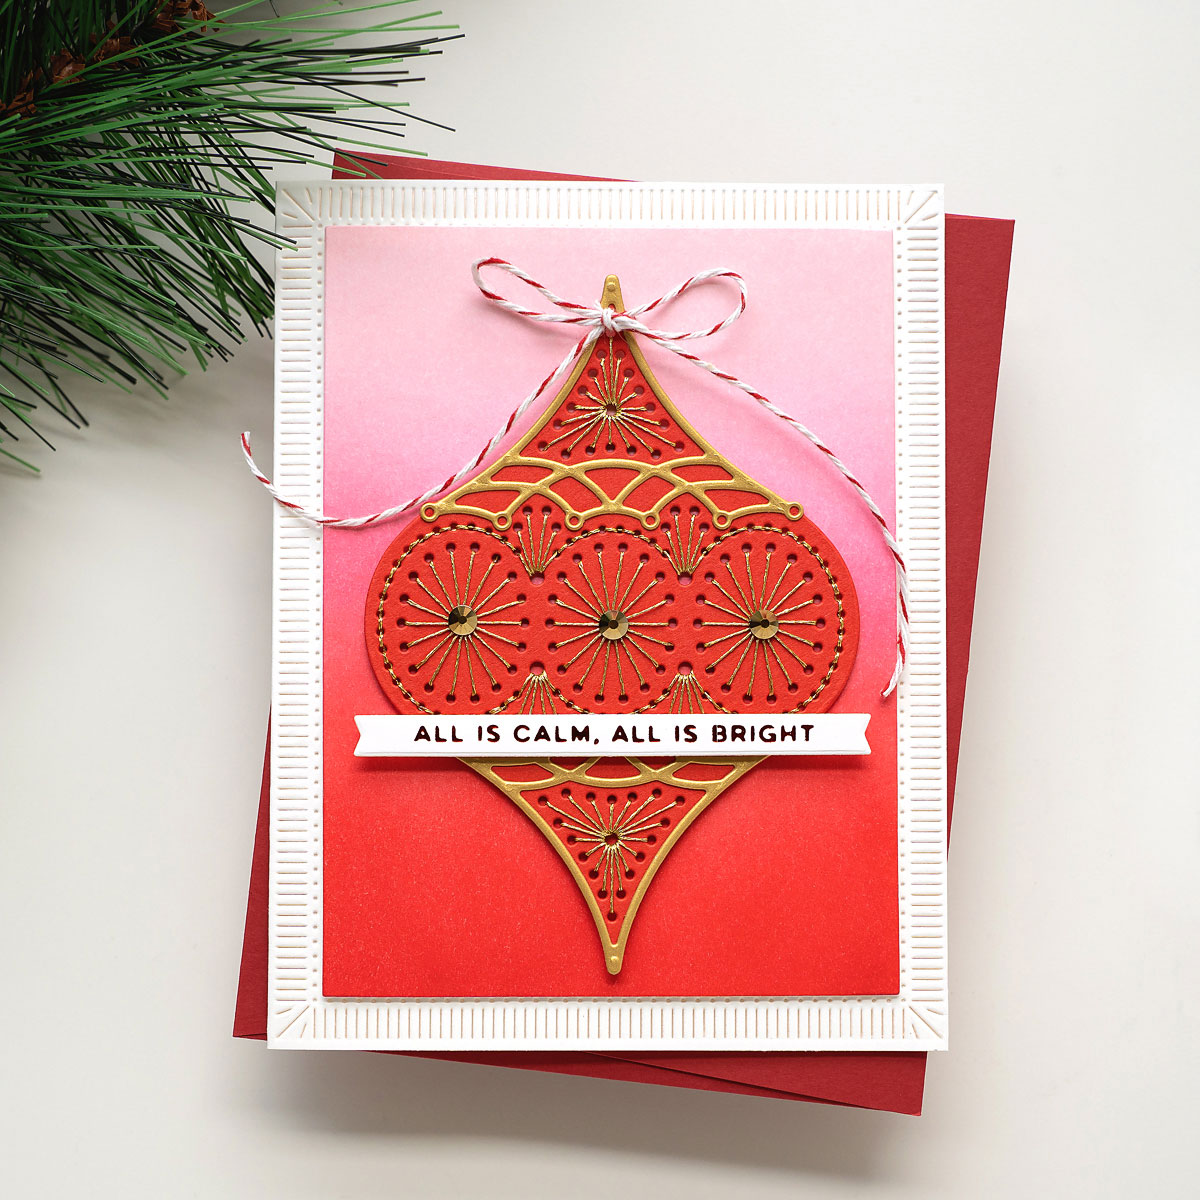
For the background, I ink blended a panel of white cardstock using pink and red Distress Inks. I trimmed it out using one of the precision layering A2 dies. From another piece of white cardstock, I used the fluted rectangle dies to create a decorative border. I glued the white fluted panel to a white A2 card base. Then, I adhered to the ink blended panel with thin foam tape. I adhered the stitched ornament on top with more thin foam tape.
For my glimmer sentiment, I used red foil and the “all is calm, all is bright” sentiment from Yana’s Christmas sentiments. To finish off my card, I added a twine bow at the top of the ornament and a few gold gems.
Stitched Joy Card
For my second card, I used the stitched Joy etched dies. I die-cut the large stitch die from white cardstock. I used some embroidery floss in red and greens, as well as the gold metallic thread to stitch the flowers and leaves. Next, I diecut the “J,O,Y” letters from Poppy Field cardstock 3 times each. I added a little bit of ink blending with red ink to the bottom of the letters for some interest, and then glued the letters stacked for more dimension. I glued the letters into place on the stitched panel.
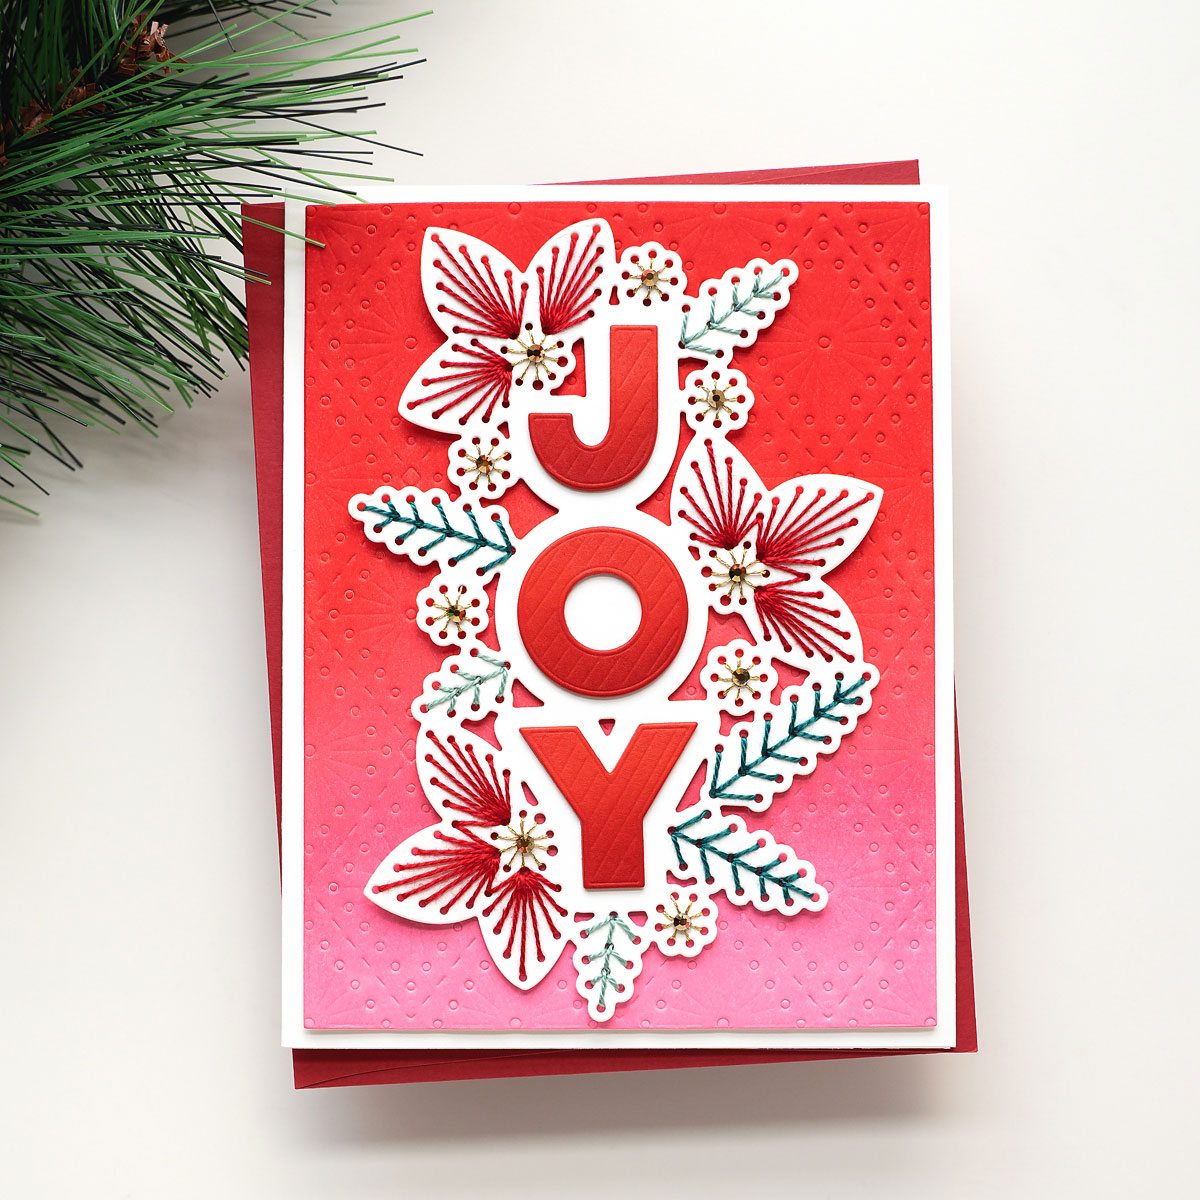
For the background, I ink blended red and pink Distress inks on a piece of white cardstock. Then, I used one of the precision layering A2 dies to trim the panel. Next, I used the Stitched Diamond Argyle die, but instead of using it as a die, I used it to dry emboss the ink blended panel. By using the correct plates on my Platinum 6 die-cutting machine, I was able to create subtle texture on the ink blended background with the die. I adhered the embossed panel to a white A2 cardbase with thin foam tape. Then, I adhered the stitched JOY panel with more thin foam tape. To finish off the card, I added small gold jewels.
Stitched Diamond Argyle Card
For my third card, I used the Stitched Diamond Argyle etched die. I die-cut the Diamond Argyle background from white cardstock. To stitch this panel, I used an embroidery floss, where the thread color changes from red to pink, then back again. I really love the variation. Once I finished stitching the entire panel, I adhered it to a white A2 card base with thin foam tape. The stitching adds dimension to the back of the panel, so I find it’s easier to adhere with foam tape.
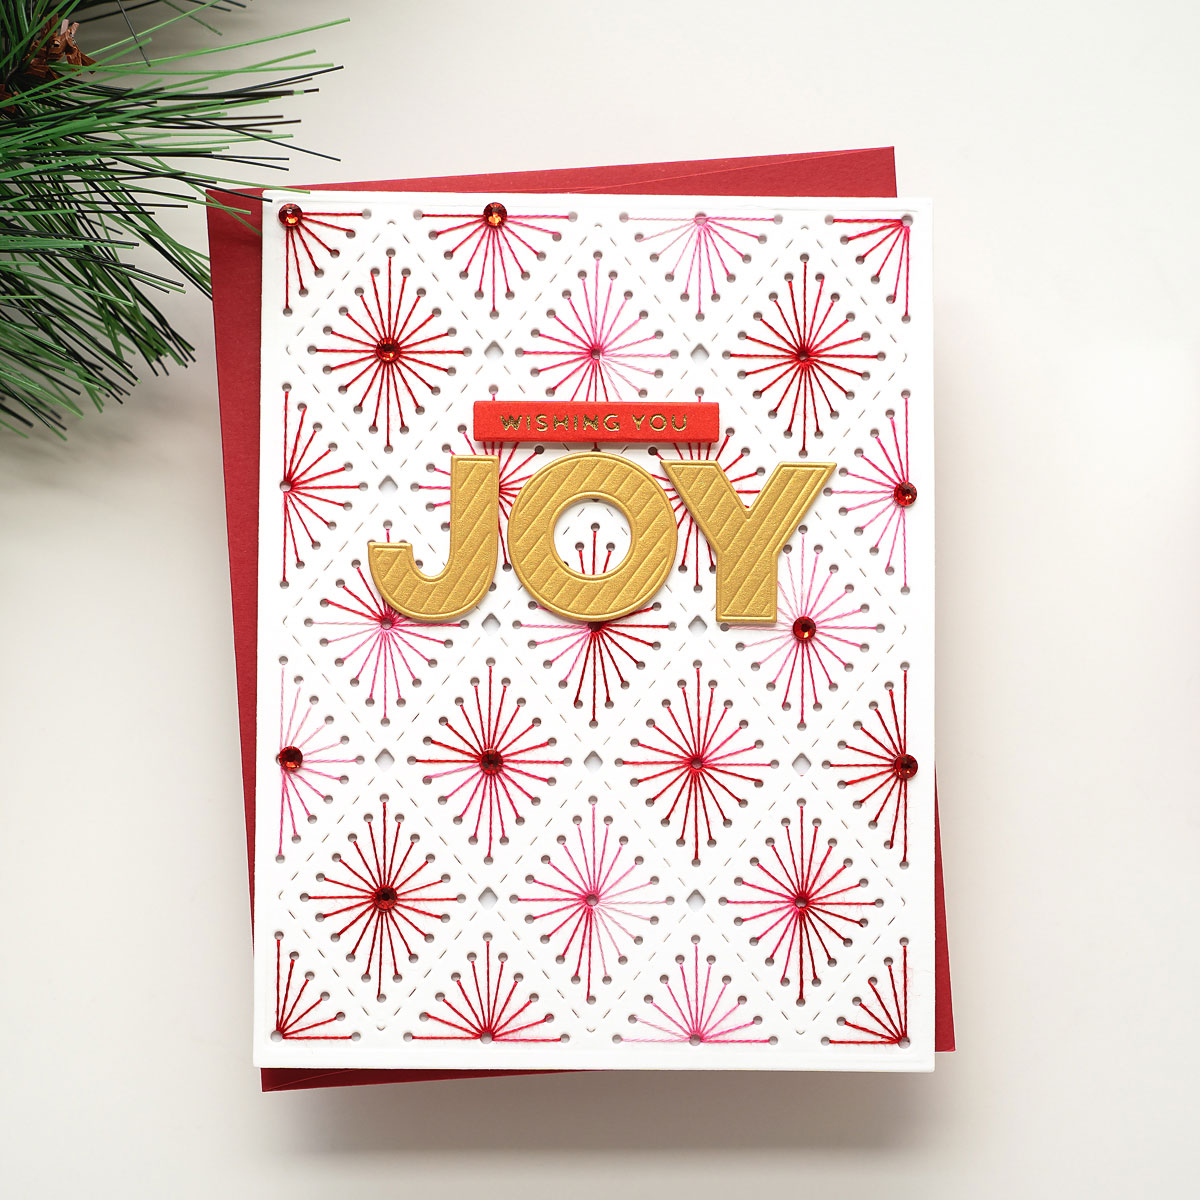
For my sentiment, I die-cut the JOY from the Stitched Joy dies from brushed gold cardstock, and two more times from white cardstock, and stacked them together for dimension. I also used polished brass foil, poppy field cardstock, and the “wishing you” sentiment from Yana’s Christmas sentiments. I glued the JOY to the upper center of the stitched panel, then adhered the red sentiment strip on top. To finish off the card, I added some red gems to the center of a few diamonds.
Spellbinders Supplies:

Other Supplies
Distress ink in spun sugar, kitsch flamingo, and festive berries, embroidery floss, twine, foam tape
I am so happy with these cards. I had so much fun adding the stitching. I hope you picked up some inspiration, and I hope you’ll check out the Stitchmas Christmas collection from Spellbinders. Thanks so much for stopping by, and have a great day!
2 Comments
Joan Bardee
absolutely gorgeous!!!
dutchy4446
Beautiful card, gives us inspiration!