Shaped Cards with Bibi’s Hummingbirds by Joan Bardee
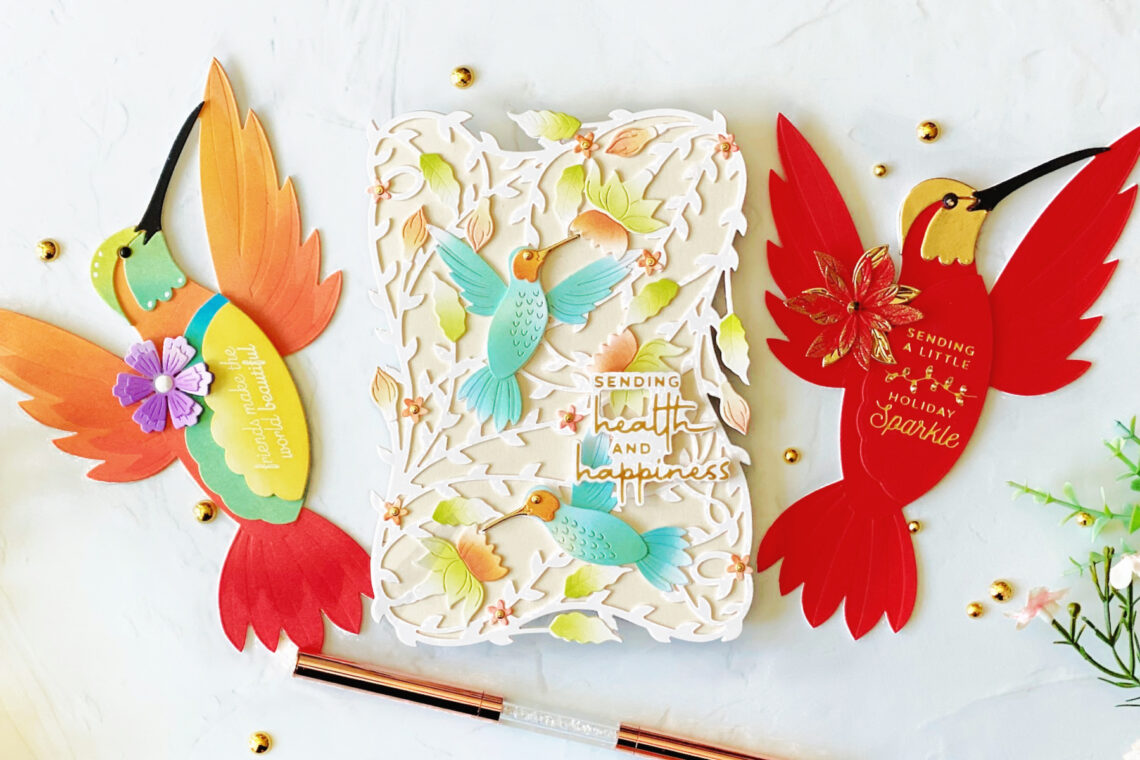
Welcome! Joan Bardee is here today. Delighted to share 3 colorful, shaped, cards using Bibi’s Hummingbirds Collection, designed by the very talented Bibi Cameron. This collection is very different from what I (and probably you) own. If you are looking for unique and gorgeous, this is for you.
The Hummingbird Card Creator die makes an approximately 5” x & 7” card in the shape of a hummingbird. I’m also sharing another card featuring another beautiful product – the Delicate Floral Hummingbirds, which also can make a large, shaped card. You don’t have to make shaped cards with these products, but it adds a wow factor.
Making a Shaped Card
- If you’ve never made a shaped card, relax; it’s a snap. Check out this Spellbinders video on You Tube. The instructions start at approximately 7:57 of the video.
- For the dies used in these projects, take a full sheet of 8.5”x11” cardstock.
- Score at 5.5”.
- Fold along the score line.
- With the scored fold on the left, place the die, cut side down, about a half-inch to the left of the folded cardstock. Remember that these dies have a top and a bottom and don’t be me – check to make sure you place the die in the correct orientation before running them through your machine.

- Put through your die-cut machine. It will be easier if you have the Universal Plate System, which has an extended platform. If you don’t have an extended platform, roll through, turn the paper, and roll through a second time.
- Your card base should look like this:

- Remove the die-cut card from the cardstock.
- If you want to stamp a sentiment inside the card, fold open the card and do it now.
- Make the top of the card (the fun part). Once that is done, adhere it to the card base.
- Don’t forget to check the back of the card. Run the die through your machine again and make a flat die cut. Adhere it to the back of the card so that the fold line is covered.
Rainbow Hummingbird
I told you this was different!
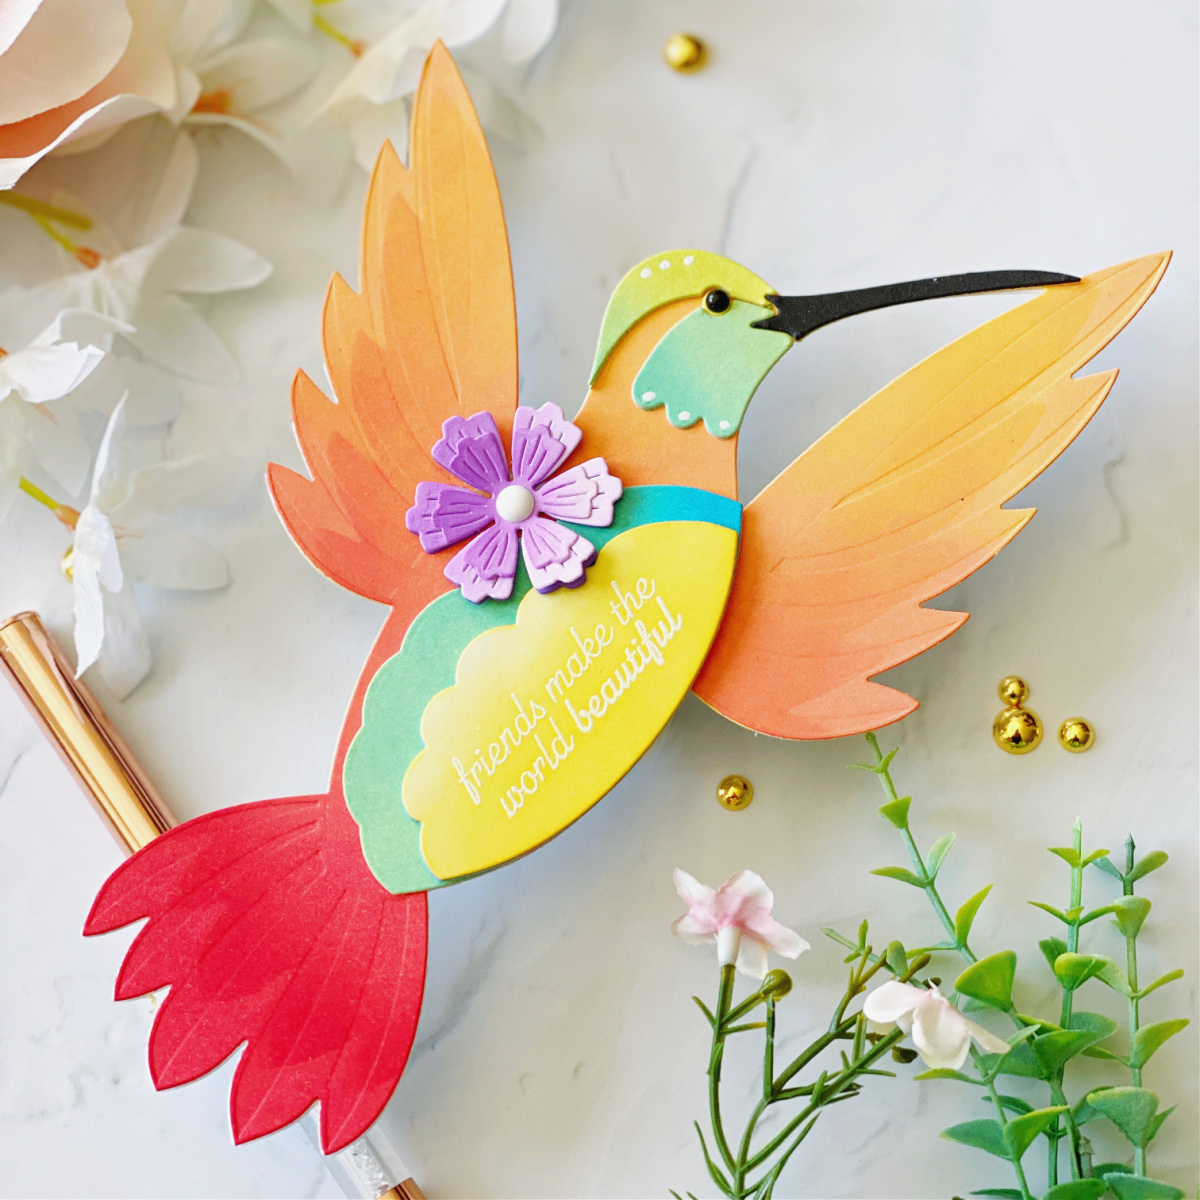
After looking at a lot of hummingbird images on the computer, I decided that almost any color would work. So, why not up the happiness by using a rainbow of colors?
- Ink blended a variety of Ranger Distress Oxide inks onto white cardstock. You can use colored cardstock, as I did in the next card, but the body and wings of the bird are all one piece, and I wanted more colors.
- Die cut all the pieces, adhered, and added a few embellishments – black for the eye, some white gel pen accents, and a purple flower from Mini 3D Vignette Floral Mason Jar (no longer available.)
- Made a stencil from the bird and ink blended over the edge of the wings. It’s subtle, but I like it.
- Stamped the sentiment on a white die-cut piece for the belly, and embossed in white, and ink blended in yellow. Adhered the yellow piece to 3 identical die cut pieces and added to the card.
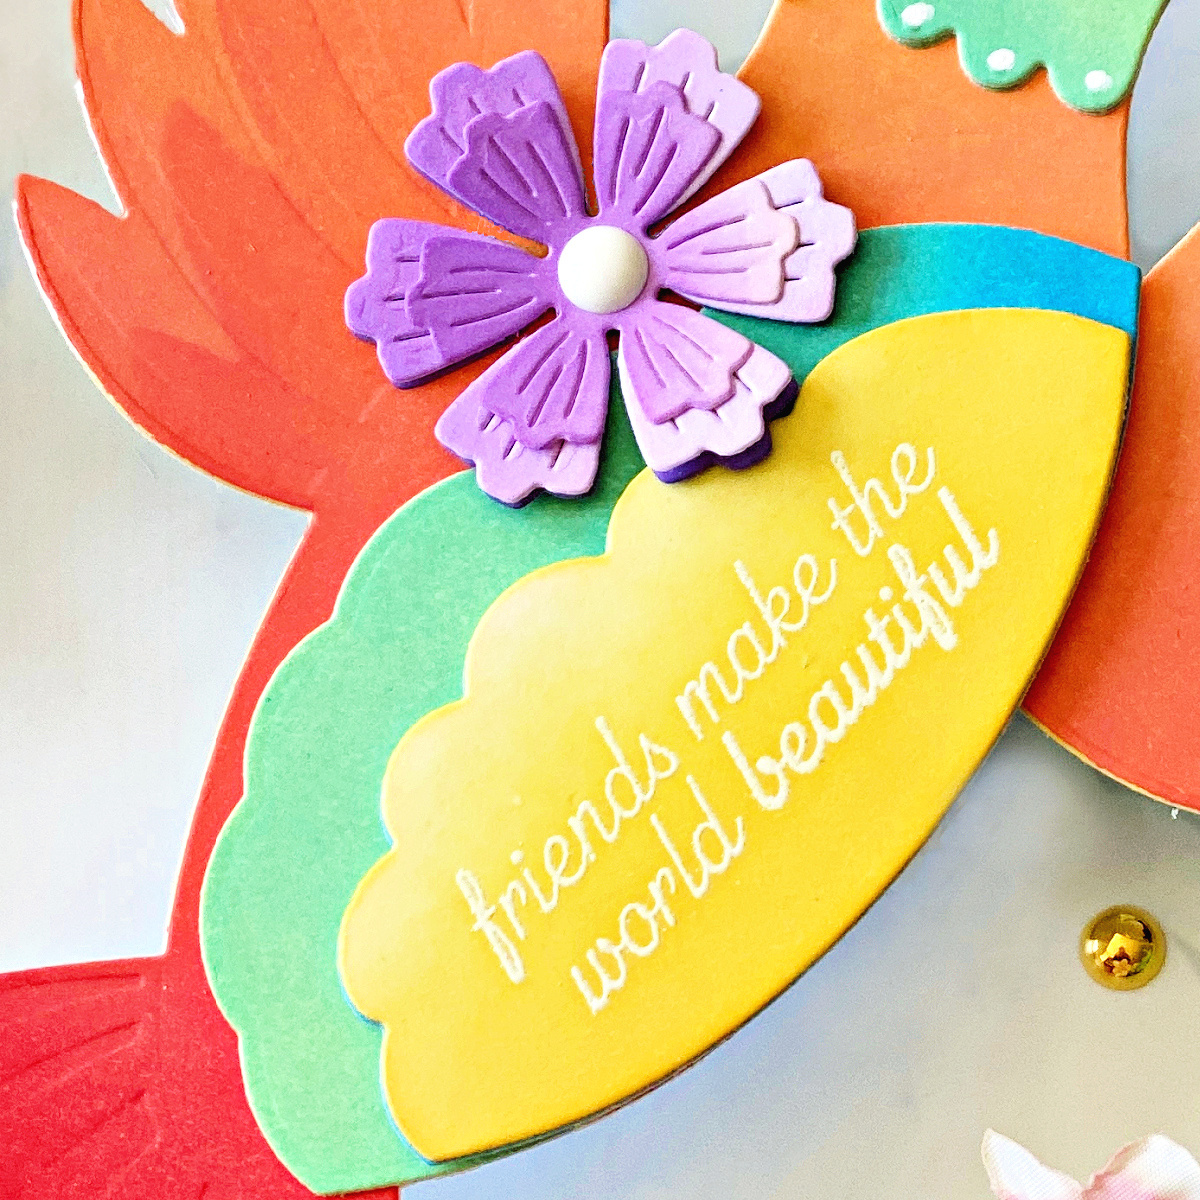
Tip: Adding a touch of black and white to a rainbow design helps the colors pop.
Tip: Don’t forget the envelope! This card fits into an A7 envelope.
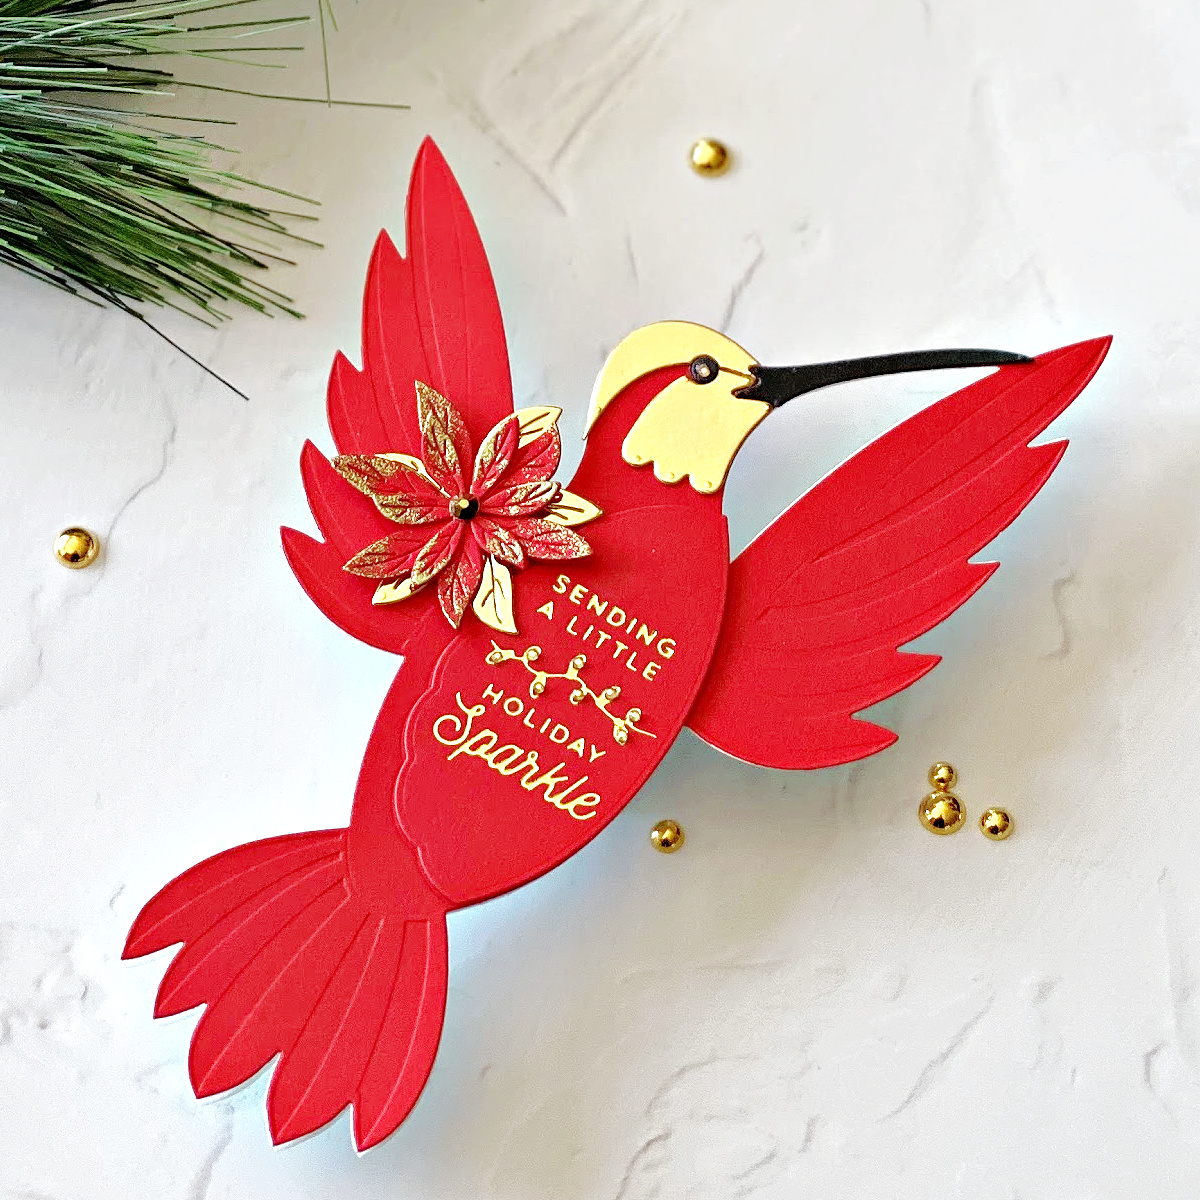
Christmas Hummingbird
If you search for images of “Christmas Hummingbird,” you’ll see that it is a thing (who knew?). Once the internet gave me permission, I had to make a Christmas card with this die.
- Die cut a folded-shaped card in white and a full hummingbird (for the back) in white cardstock.
- Die cut all the pieces for the hummingbird in either Poppy Fields, Gold Mirror or Black cardstock, as shown.
- Hot foiled a sentiment from Christmas Mailbox Greetings onto the top belly piece. Die cut 2 extra to give the sentiment some heft and lift without using foam tape.
- Die cut the large and small poinsettias from Holiday Blooms – larger flower in Poppy Fields, small in Mirror Gold cardstock. Rubbed a little Versamark on the edges of the larger flower and embossed in gold.
- Put the card together onto a folded base.
- Adhered a few gems to the sentiment and the center of the flower.
- Added a white dot to the eye of the bird.
- Did a happy dance for making my first Christmas card for 2023!
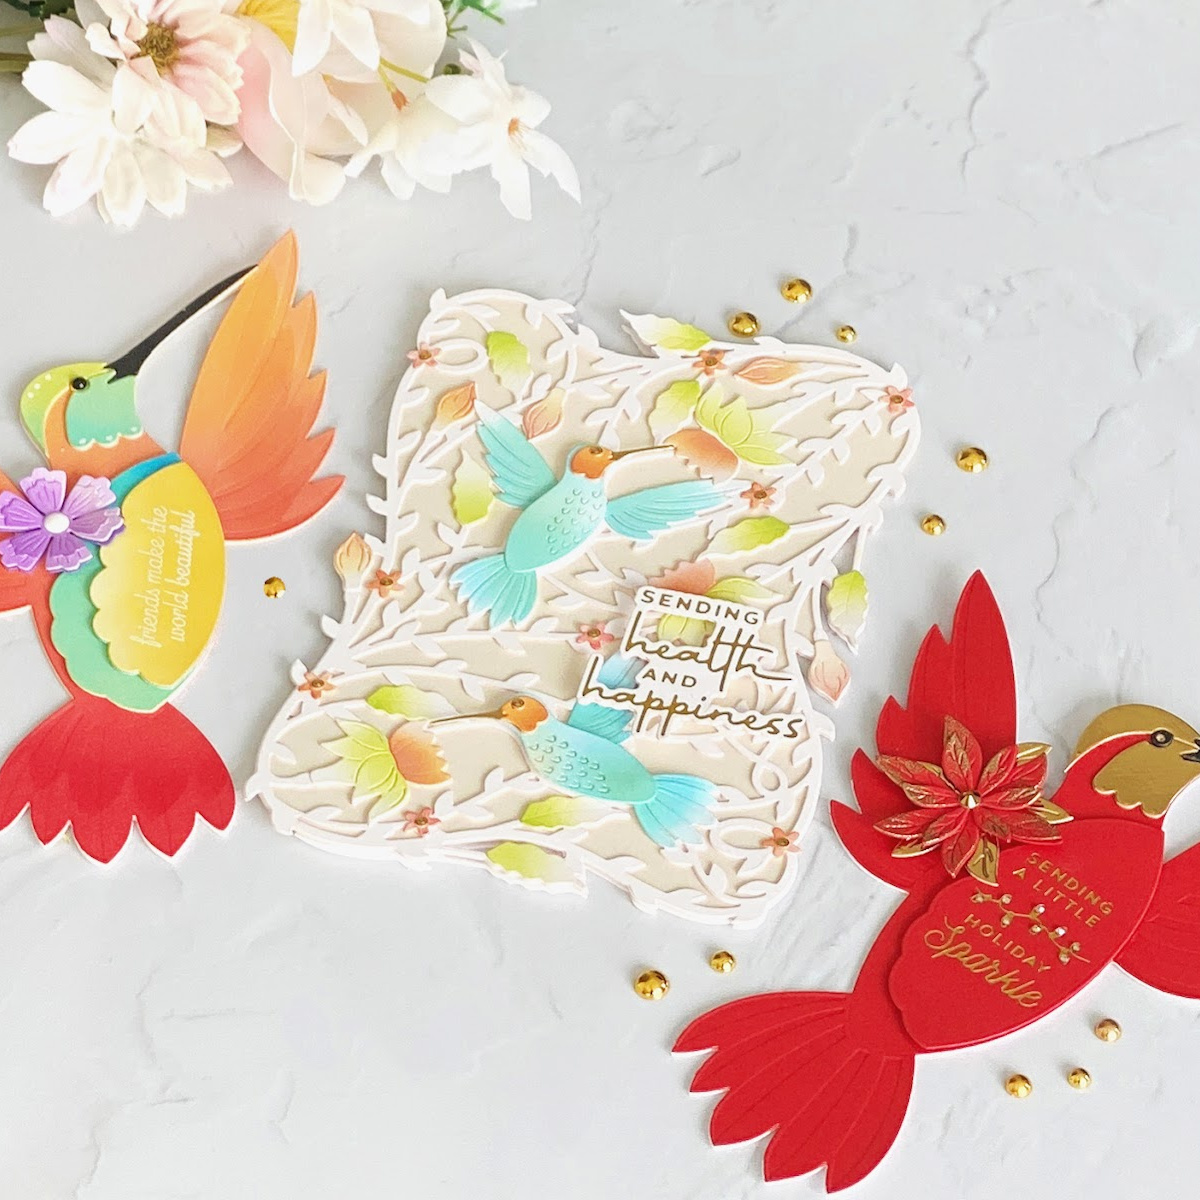
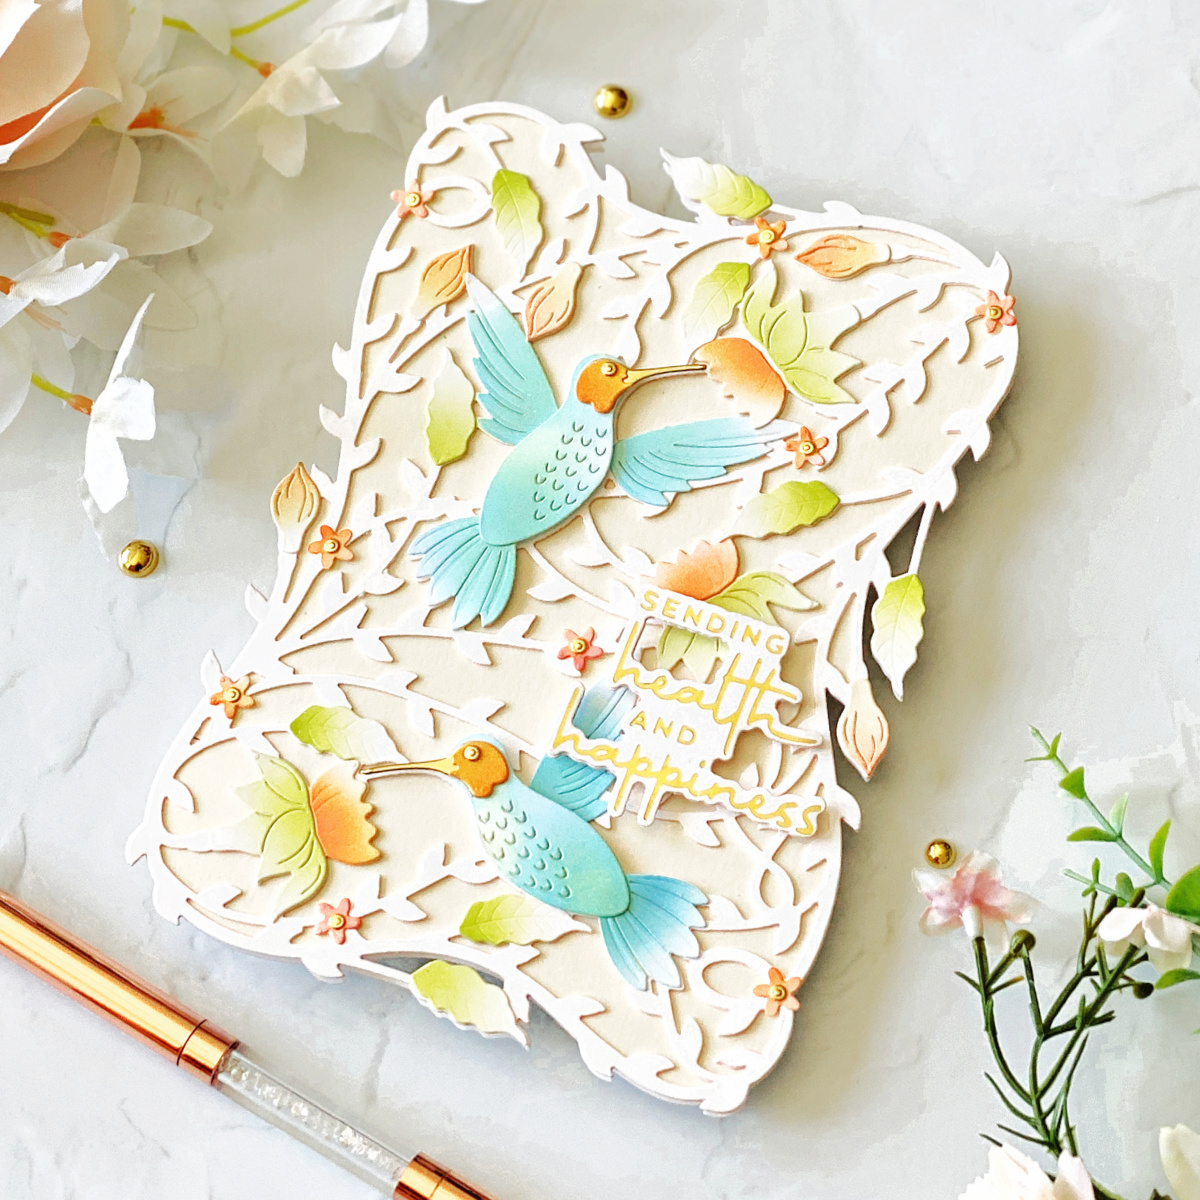
Delicate Floral Hummingbirds Shaped Card
Love how the edges of the card form this elegant frame. Since my first 2 cards were bold and bright, and this die contains a lot of detail, I chose a softer palette for this card. There are 2 large dies in this set – one cuts out a solid-shaped frame. The other cuts out the delicate floral frame.
- Die cut a folded base in white cardstock, a solid base in white for the back of the card, and a solid base in Alabaster cardstock for the front.
- Die cut the Delicate Floral Hummingbirds die in white twice and adhered together.
- Die cut all the other pieces in white.
- Lightly ink blended the pieces and adhered.
- Adhered the body of the hummingbirds with foam tape.
- Ah, the sentiment debate. This is the hardest part of card design for me. I never know where to put it.
- Eventually, chose to hot foil in gold sentiment from Making Me Smile Hot Foil Plate and Die. But not before trying white on black, black on white, a smaller sentiment, and no sentiment. Honestly, no sentiment was almost the winner, but I loved this saying and liked how it had an opening to let some of the card peek through.

- Showed it to my husband, who wanted to know how I got the “edges all fancy.” HA!
Tip: If you want a delicate, soft look, leave some white space on each die cut.
Thanks so much for checking out this post and thank you to Spellbinders! I would love to see anything you make with these dies, so feel free to tag me on my Instagram account. I’m Dear Paperlicious if you are looking for me.
Spellbinders Supplies:

Other supplies: paper trimmer, cardstock, embellishments, Squeezed Lemonade Distress Oxide Ink, Versamark Ink, blender brushes.
2 Comments
Michele F
Gorgeous cards, Joan! I love the shape and rainbow color of your 1st hummingbird card!
=]
MaryH
who knew? Not me! Very innovative Christmas card – you certainly designed outside the box and it is wonderful. Love the light, warm colors. colors too. Such a wonderful set!