-
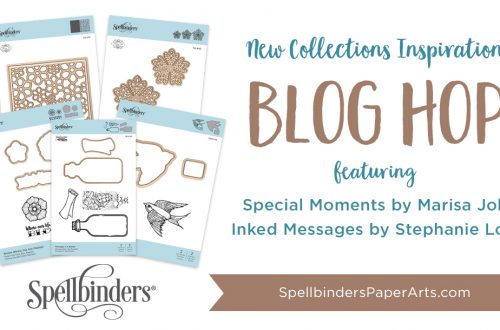
Fun Ways To Add Beautiful Sparkle To Your Cards
Hello there Spellbinders friends! Lisa Tilson is here with you today on the Spellbinders blog. Today we are going to be playing with glitter cardstock! I have lots of examples and ideas for you and some great tips to help you get the most out of your cardstock. I love to add glitter cardstock to my cards, often in fairly subtle ways, but there are also many ways of really showcasing the beautiful texture and sparkle. So first let’s take a look at the cardstock itself. Included in the picture are Champagne, Silver, Gold, followed by the five Spring Tones Glitter Cardstock colors, and then the five Jewel Tones Glitter…
-
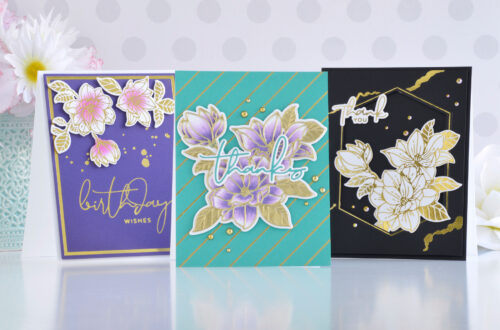
Fabulous Florals with the Fresh Picked Collection
Hello Crafters! It’s Melody Rupple here and I’m excited to be on the blog today to share a few cards I have created with the new More Fresh Picked Collection. I love the newest additions to the Fresh Picked Collection. The modern, contemporary feel of the collection is so fun for cardmaking. The More Fresh Picked Collection includes 3 floral dies set that work perfectly with the previously released Fresh Picked Sentiments Etched Dies and the Columns Embossing Folder. I have created three cards with the collection. So let’s get started. My first card features the Fresh Picked Angel Trumpets Etched Dies. You can create four different Angel Trumpets with…
-
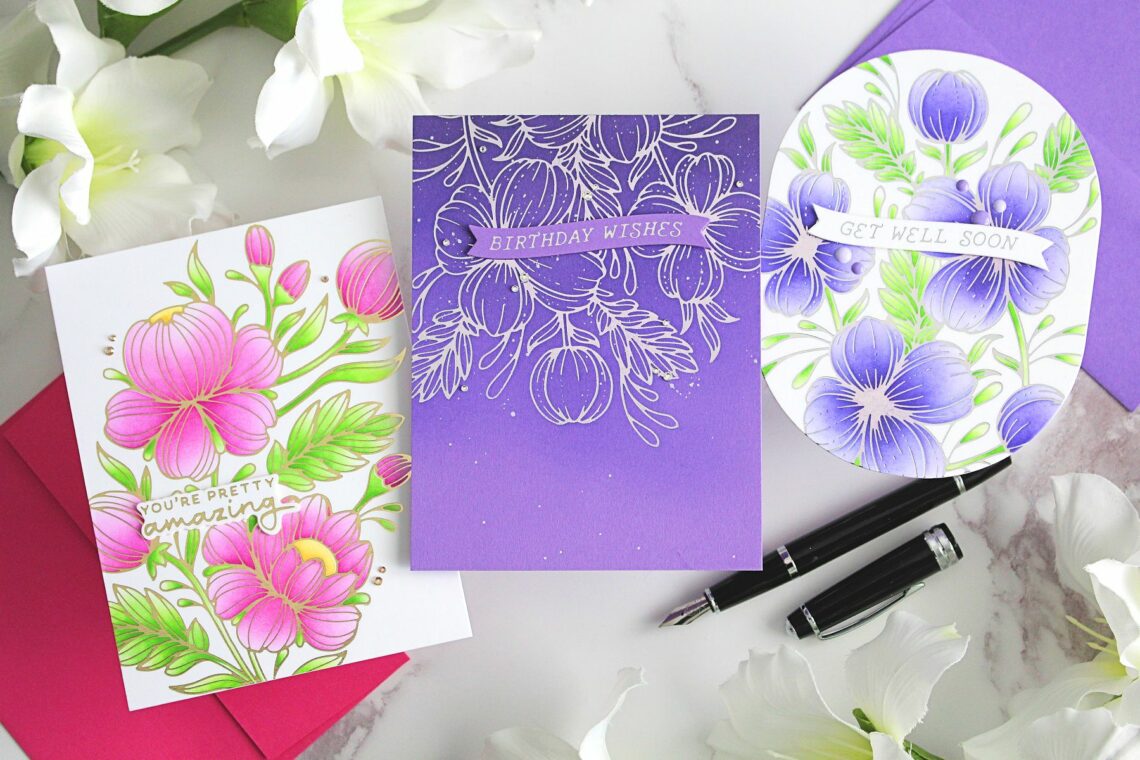
(Almost!) One Layer Wonders
Hello there, Michelle Short here and I am delighted to be back on the Spellbinders blog sharing inspiration using the Glimmering Flowers collection. Today I have three cards to share that are (almost) one-layer cards. Whilst I love adding dimension on my cards, for mailing purposes, it is easier having less dimension! GET WELL SOON For my first card, I wanted to create a shaped card. I find that shaped cards add more interest to clean and simple cards. To make this card: I took a panel of white cardstock and placed a piece of Silver Foil shiny side up on top. I placed the Glimmering Buttercups Glimmer Plate on…
-
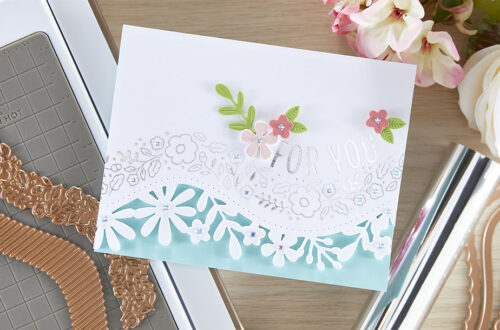
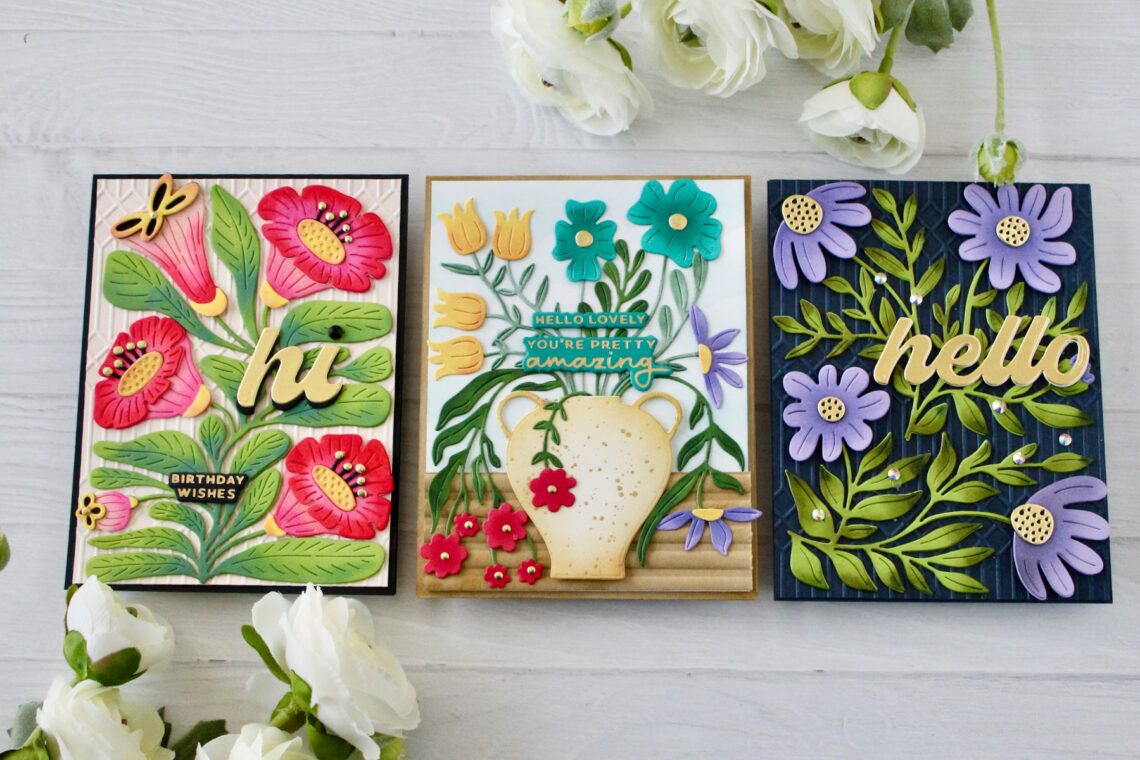
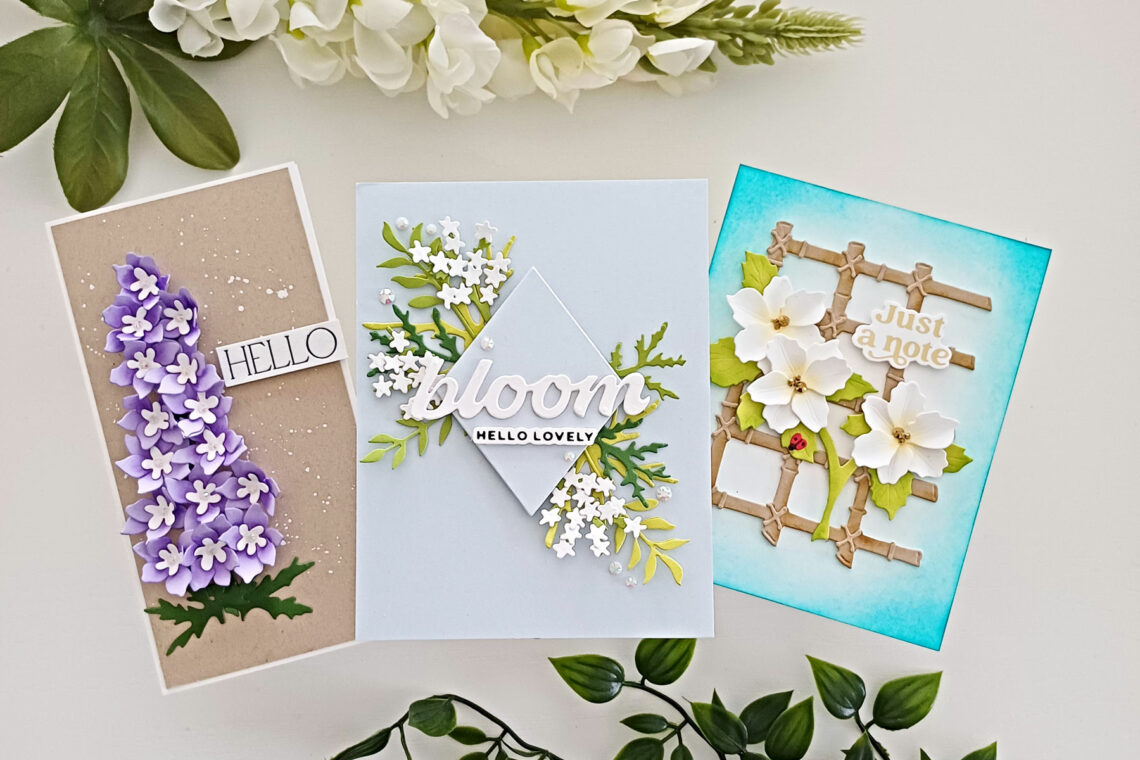
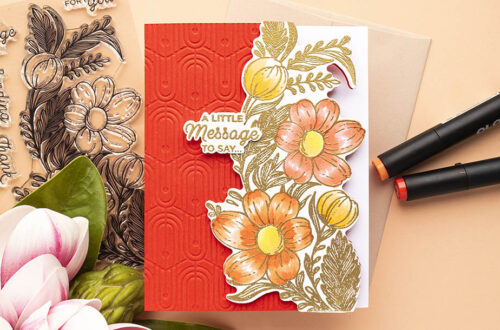
Spring Has Sprung – 3 Ways To Create CAS and Contemporary Floral Designs
Hello there! This is Lisa from My Card Trip and I am delighted to be a guest here on the Spellbinders blog. Today I am sharing some ideas using the newly released Through The Arbor Garden Collection and I have three cards to show you. This is the latest collection from Susan Tierney-Cockburn and it includes five new floral etched die sets, along with a couple of embossing folders and a background die. As a keen amateur gardener, I was pleased to see a few of the die sets were for flowers we already have in our garden! So, let’s kick off with the first of my three cards. Bloom…
-
3 Techniques To Try With Art Glitter
Hello friends! This is Lisa from My Card Trip and I am excited to be a guest on the Spellbinders blog today. I am here to share some sparkly fun with you as I am going to be showing some different ways to use Art Glitter on your projects. All of the three techniques are simple to do and I have lots of tips and tricks to share along the way. After each of the techniques, I have a card which shows the final project using that particular technique. It’s always nice to see an end result, right?! But first, a bit about Art Glitter. I am using five different…
-
Faux Stitching Ideas To Try with Your Stitching Dies
Hello crafters! This is Lisa from My Card Trip and I am delighted to be a guest on the Spellbinders blog today. I am sharing a fun and simple way to get the look of stitching on your cards, without the need for actual stitching with thread! It is surprisingly easy and very quick to do. Many stitching dies can actually be used without any threads at all, as the patterns are often still really pretty with all the tiny holes. However, you can also add faux stitching with pens to give you a similar look to thread. I am going to be sharing one card in detail today but…
-
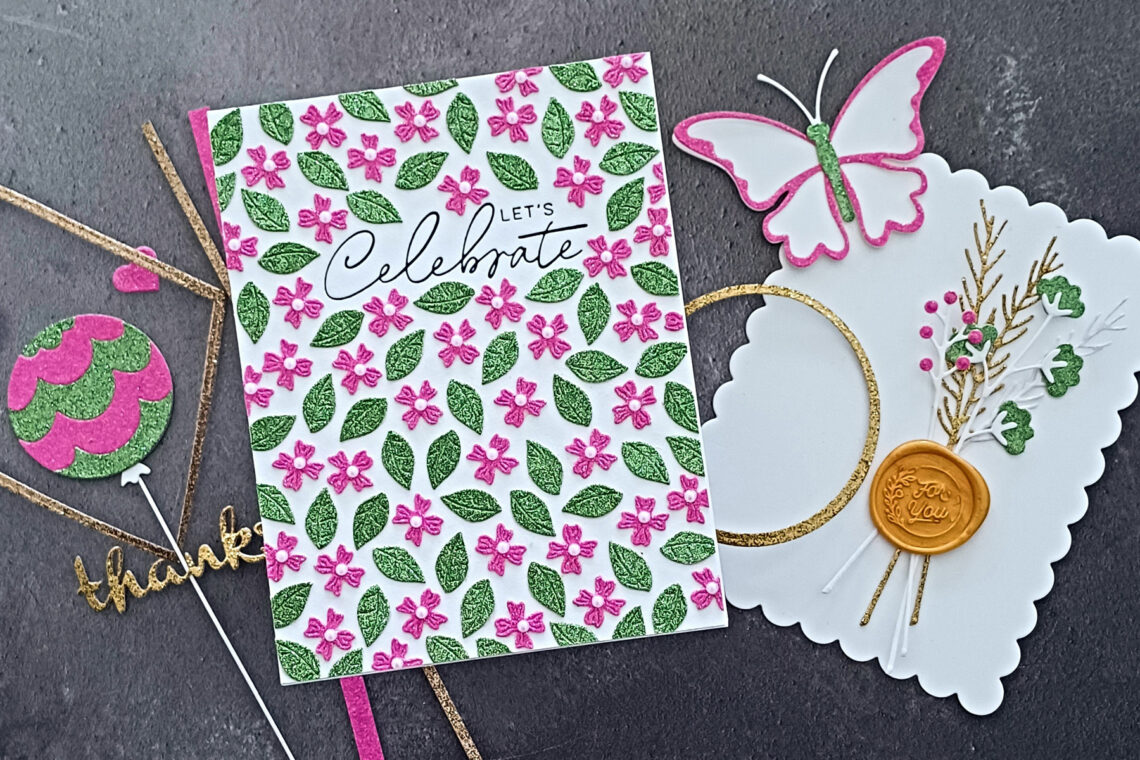
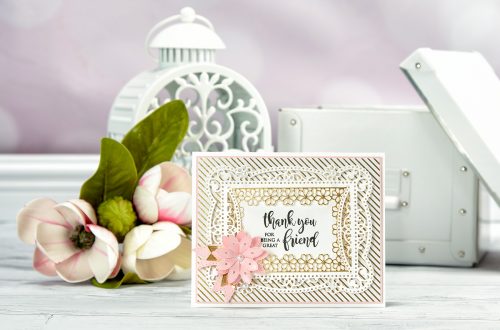
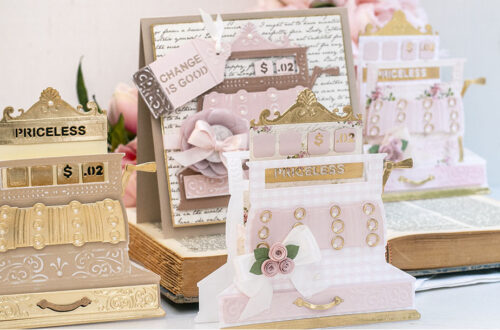
Hexi-Gems Card Ideas with Lisa Tilson
Hello everyone, this is Lisa Tilson from My Card Trip and I am thrilled to be a guest on the Spellbinders blog today. I will be featuring the gorgeous new Hexi-Gems Collection and have three cards to share with you. This collection consists of a beautiful floral glimmer hot foil plate, a simple and fun stitching die, some new nesting hexi-gem etched dies, a solid hot foil plate and some fabulous sentiments which are suitable for many different occasions. Hello Friend Card My first card is the “busiest” of all of my three cards but I love how it turned out. I started with the stitching element and for this,…
-
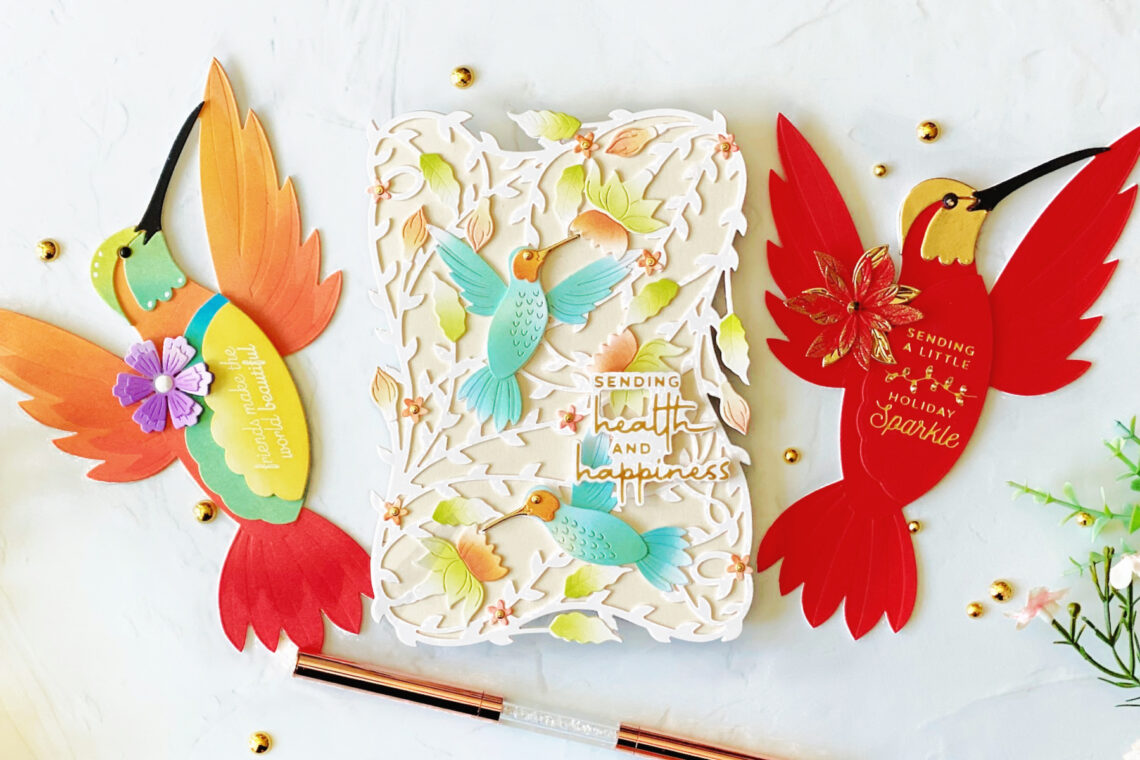
Shaped Cards with Bibi’s Hummingbirds by Joan Bardee
Welcome! Joan Bardee is here today. Delighted to share 3 colorful, shaped, cards using Bibi’s Hummingbirds Collection, designed by the very talented Bibi Cameron. This collection is very different from what I (and probably you) own. If you are looking for unique and gorgeous, this is for you. The Hummingbird Card Creator die makes an approximately 5” x & 7” card in the shape of a hummingbird. I’m also sharing another card featuring another beautiful product – the Delicate Floral Hummingbirds, which also can make a large, shaped card. You don’t have to make shaped cards with these products, but it adds a wow factor. Making a Shaped Card If…
-
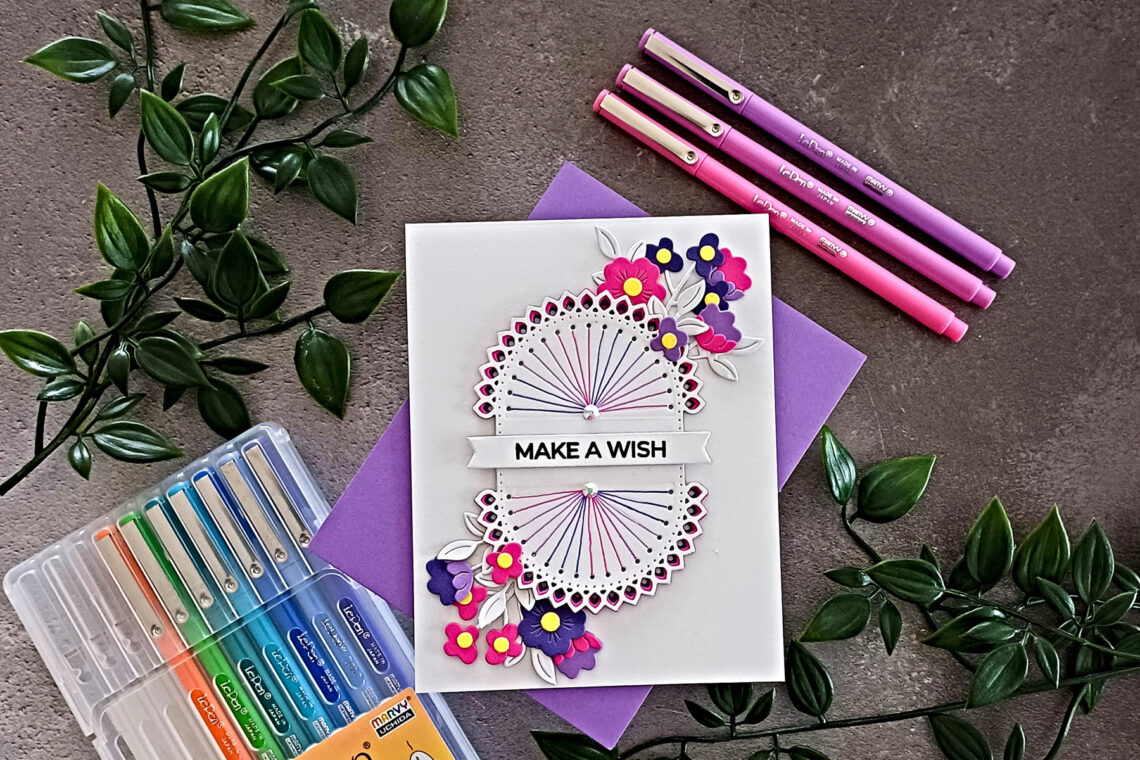
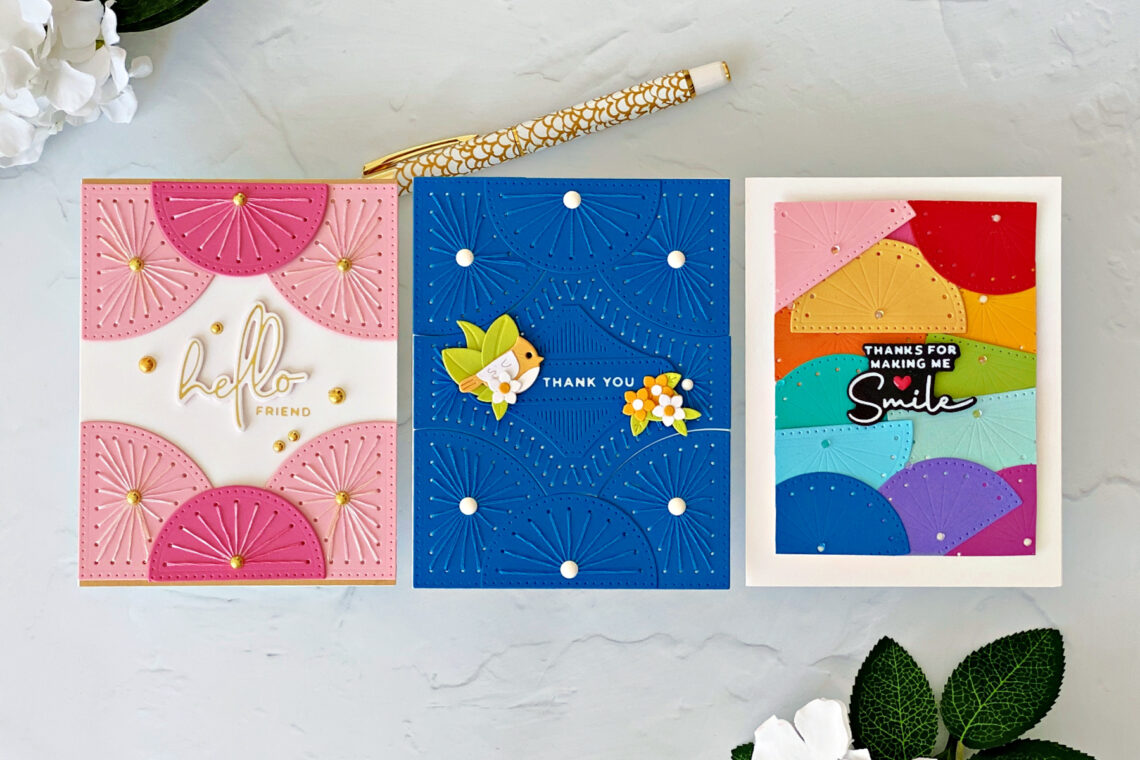
Stitched Fan Cardfront Dies – All, Some, and One Die
Welcome! Joan Bardee is here today. I’m so happy to share 3 completely different ways to use the beautiful Stitched Fan Cardfront Etched Dies. I’m also going to share some tips for using stitching dies for those of you with little to no experience with them (that’s me!). Warning: it’s addictive. All the Dies This card uses all 5 Stitched Fan Cardfront dies – they cover an A2 card perfectly. Die cut in blue cardstock and stitched each of them with blue embroidery floss. I like the tone on tone for this card. Hot foiled “thank you” from Mini Everyday Sentiments Glimmer Hot Foil Plate & Die using opaque white…
-
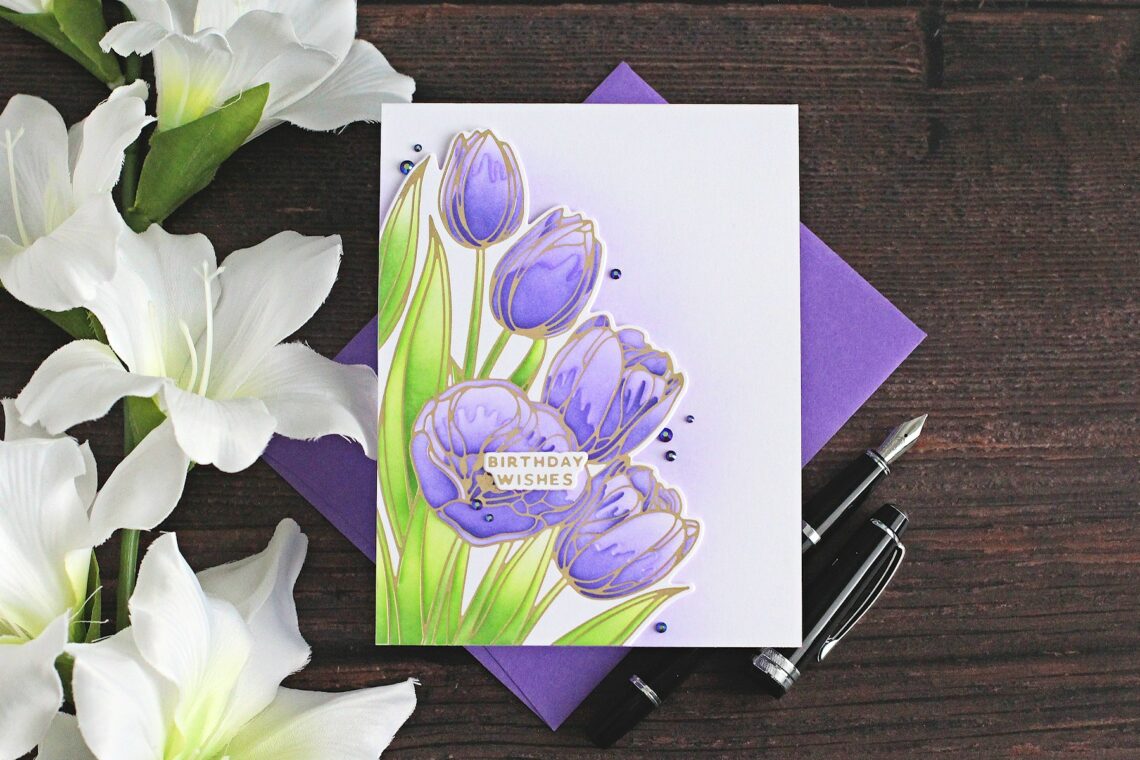
Four Petal Wonderful Tulips Foiling & Stenciling Step-by-Step
Hello there, Michelle Short here to share a step-by-step tutorial with you using the Wonderful Tulips Glimmer Hot Foil Plate & Die Set combined with the Wonderful Tulips Layered Stencils from the Four Petal Collection. STEP 1 Start off by cutting Champagne Glimmer Foil to size using Quick Trimmer. I like to have a bit of wiggle room around the foil plates but don’t want too much that can lead to over-foiling. Keep any little bits you cut off; they are perfect for sentiments! STEP 2 Take the Wonderful Tulips Glimmer Hot Foil Plate and prepare to foil onto white cardstock. I like to hold foiling plates down with Best…