-
12 Days of Stitchmas Advent Calendar – Day 2 with Sandi MacIver
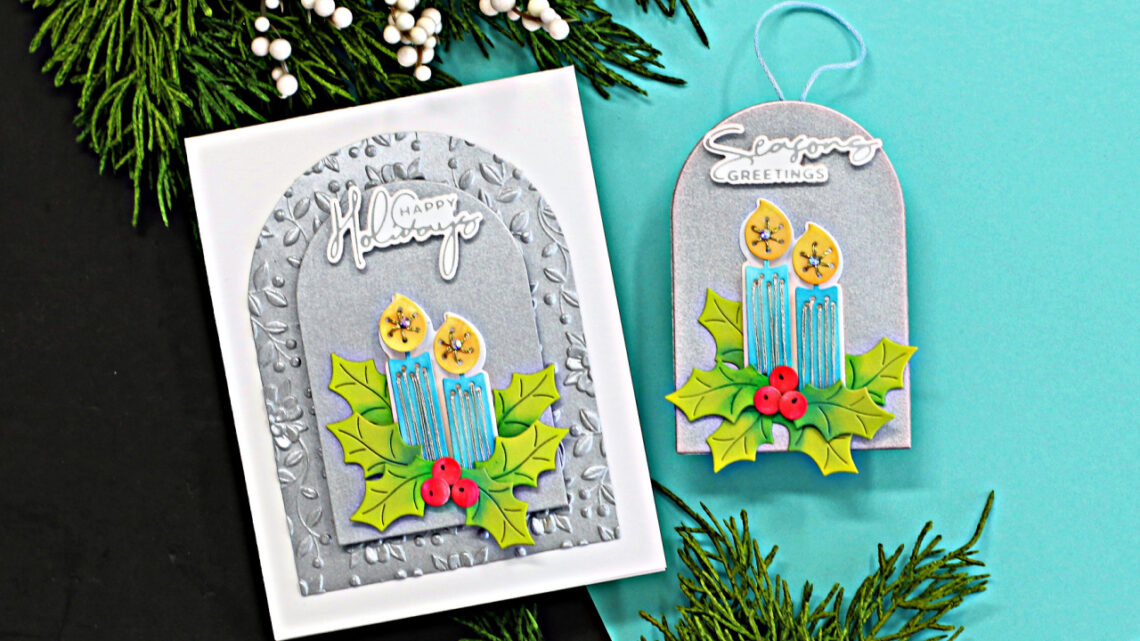
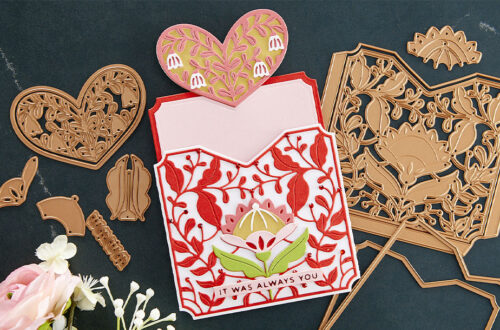
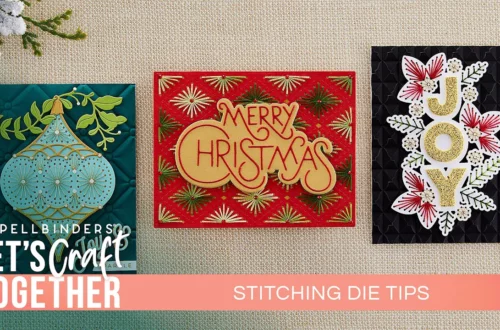
Welcome to day 2 of our 12 Days of Stitchmas 2023 Advent Calendar class! Join us and stitch your way through the season! We invited 12 guest artists to share inspiration with the 12 stitching surprises. Let’s welcome Sandi MacIver as she shares inspiration with the Day 2 surprise! Don’t miss the other video tutorials from our free Youtube Class: Day 1 with Mindy Eggen. Hi, card-making friends and welcome back. It’s Sandi MacIver here and I’m sharing Spellbinders 12 Days of Stitchmas Day 2 of this fabulous Advent Calendar. It’s so exciting to cut open the box each day to see what the die set is and then create…
-
Betterpress Halloween: Watercolor Backgrounds
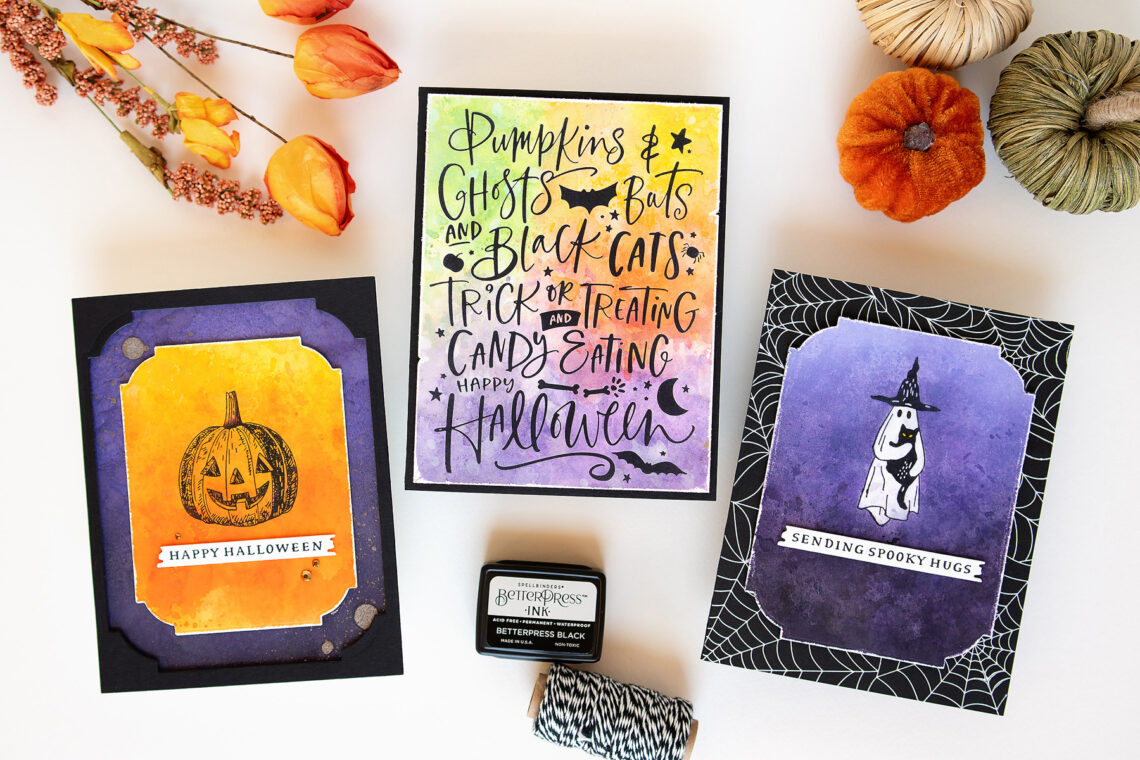
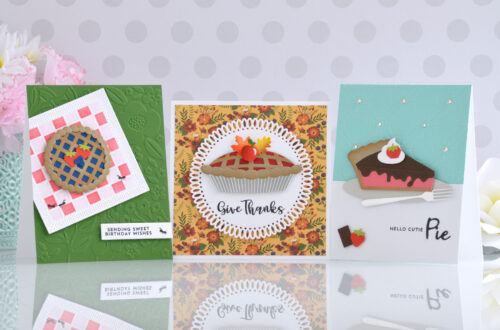
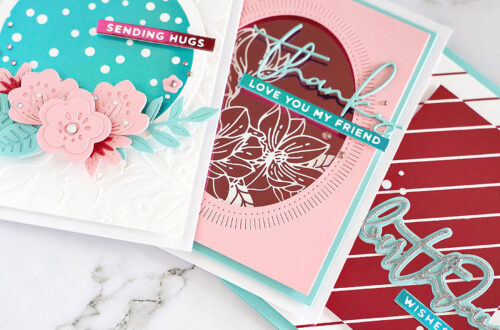
Hello crafty friends! It’s Jung here, and I am back with another guest post on the Spellbinders blog. For my projects today, I’m working with the Betterpress Halloween collection. I made fun watercolor backgrounds playing with Distress inks and Distress Oxide inks. I love how they compliment the Betterpress plates. For my first card, I used the Pumpkins & Ghosts Background Press Plate. I started by adding some color to an A2 Bisque cotton card panel. I used several techniques on the background. First I wanted to add a base layer wash of color. I smooshed mini Distress ink cubes onto my glass mat and sprayed generously with water. Then,…
-
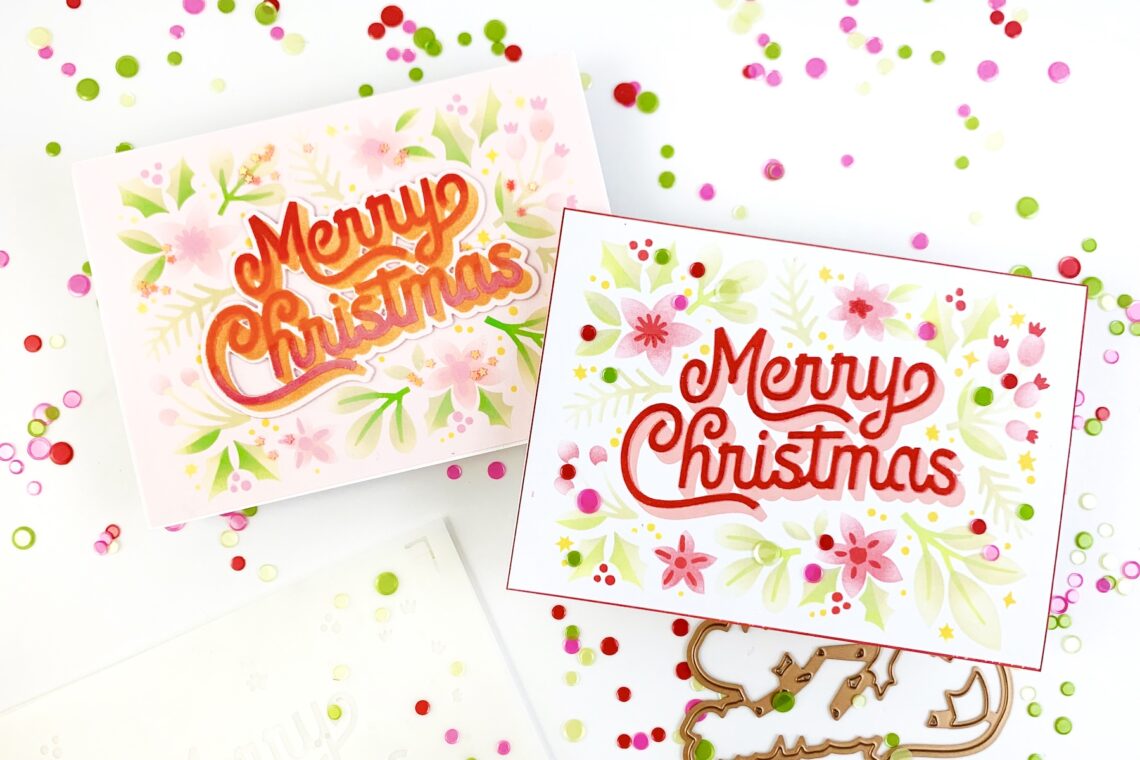
Layered Merry Christmas Foliage Stencil How-To
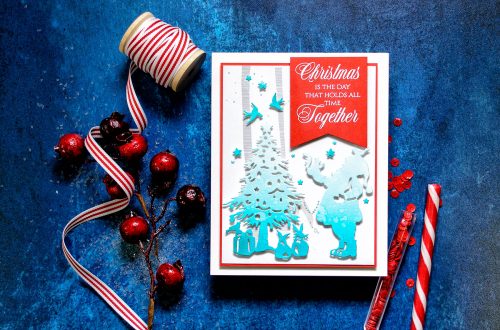
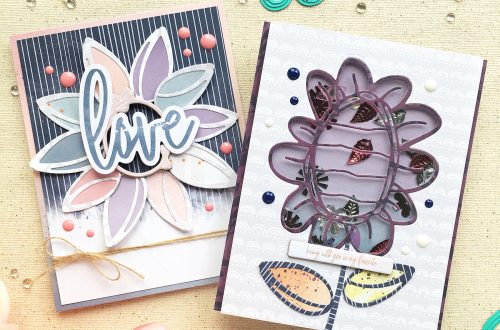
Hello Spellbinders friends, Angela Tombari here, from I Need Confetti blog. Today, I am sharing a fun card technique using the Layered Merry Christmas Foliage stencil. I will guide you in a step-by-step tutorial to create a modern look Christmas card with a beautiful typographic sentiment. Layered stencils are a brilliant invention. For someone like me, not very good at coloring, they make the work much easier. Layered stencils allow you to achieve pro results with little effort. I have to admit that I wouldn’t have been able to create that ombre look of the foliage without layered stencils. Layered stencils allowed me also to create a beautiful 3D effect…
-
Using Distress Oxide Inks To Add Tons of Color to Die Cut Scenes
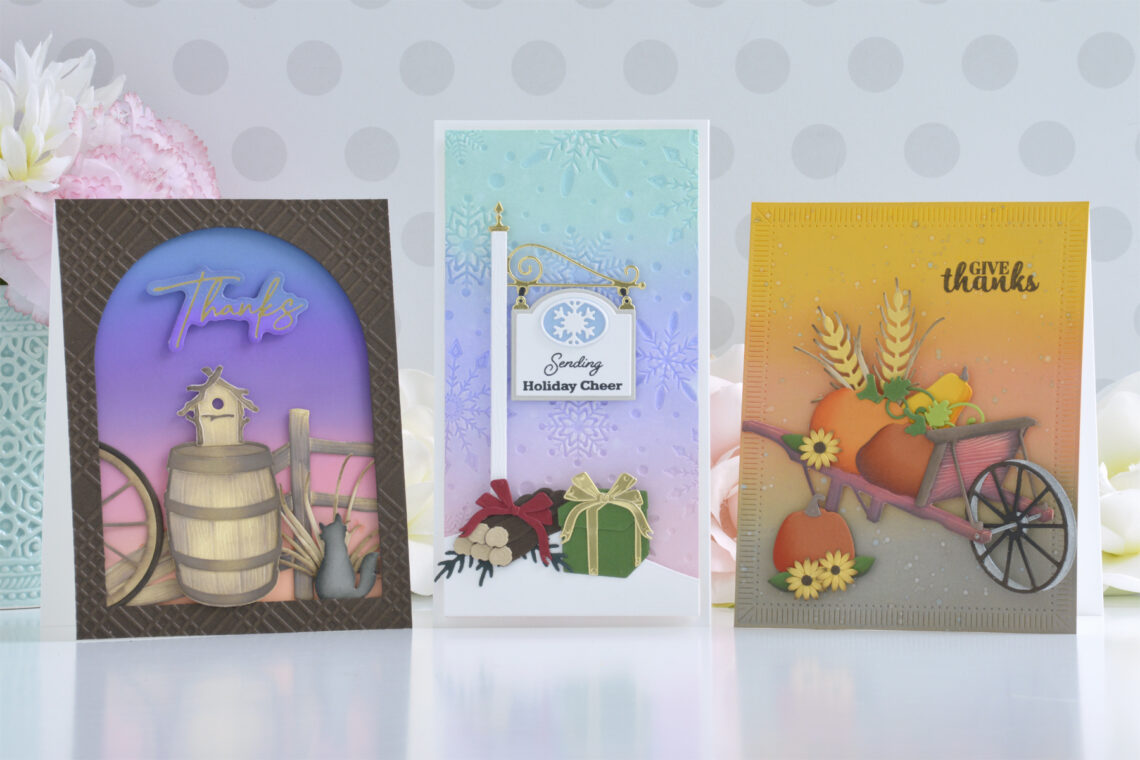
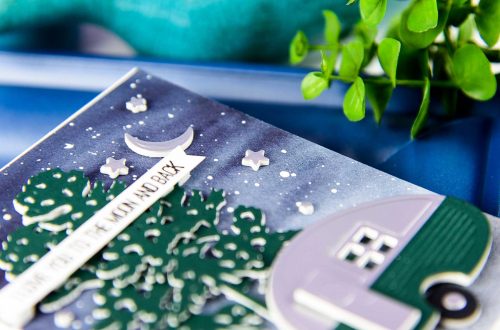
Hi there, this is Annie Williams and I’m thrilled to be back on the blog today to share some fun ways to use Distress Oxide Inks to enhance your die-cut scenes. Ink-blended backgrounds can add tons of color to your cards while coloring die-cuts with inks can really add dimension and realistic details. Here I used Distress Oxide Inks along with the Country Road Collection to create three colorful cards for different seasons. Sunset Scene Thank You Card Distress Oxide Inks are perfect for creating easy ink-blended backgrounds even between colors you might not normally try to mix. I thought a bright sunset-inspired sky would be beautifully paired with a…
-
Enhance Die Cuts With Ink Blending With Michelle Short
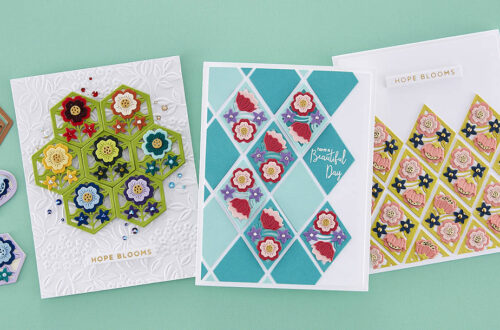
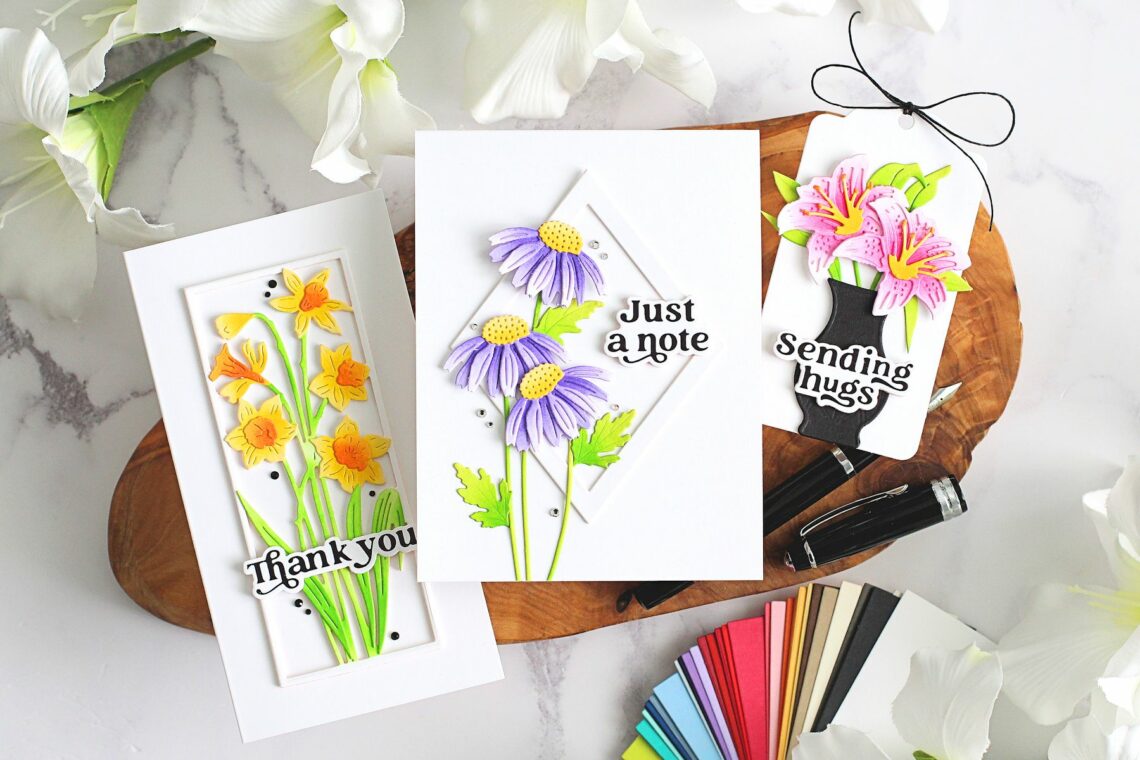
Hello there, Michelle Short here to share three projects with you using the new Photosynthesis Collection. This beautiful collection features lots of florals, which I love! Since it also features mainly die cutting, I wanted to show how you can enhance die cuts by adding ink blending. This really adds interest and dimension to clean and simple cards! My first card uses Floral Stems Etched Dies. I cut the cone flower top petal layer from Snowdrift cardstock and the bottom ones from Purple Mist. I then cut the flower centers from Chamomile and the stems and leaves from Peridot. Using Blending Brushes, I blended on Distress Oxide Inks, focusing the…
-
Design Decisions: Keeping the Process Simple Using the Stylish Ovals Collection with Joan Bardee
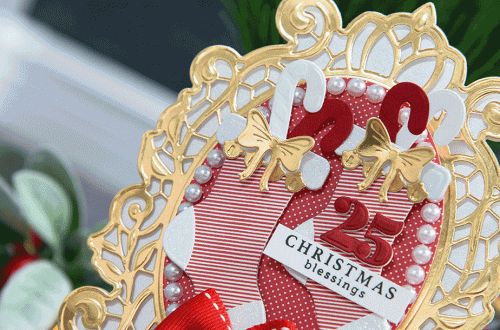
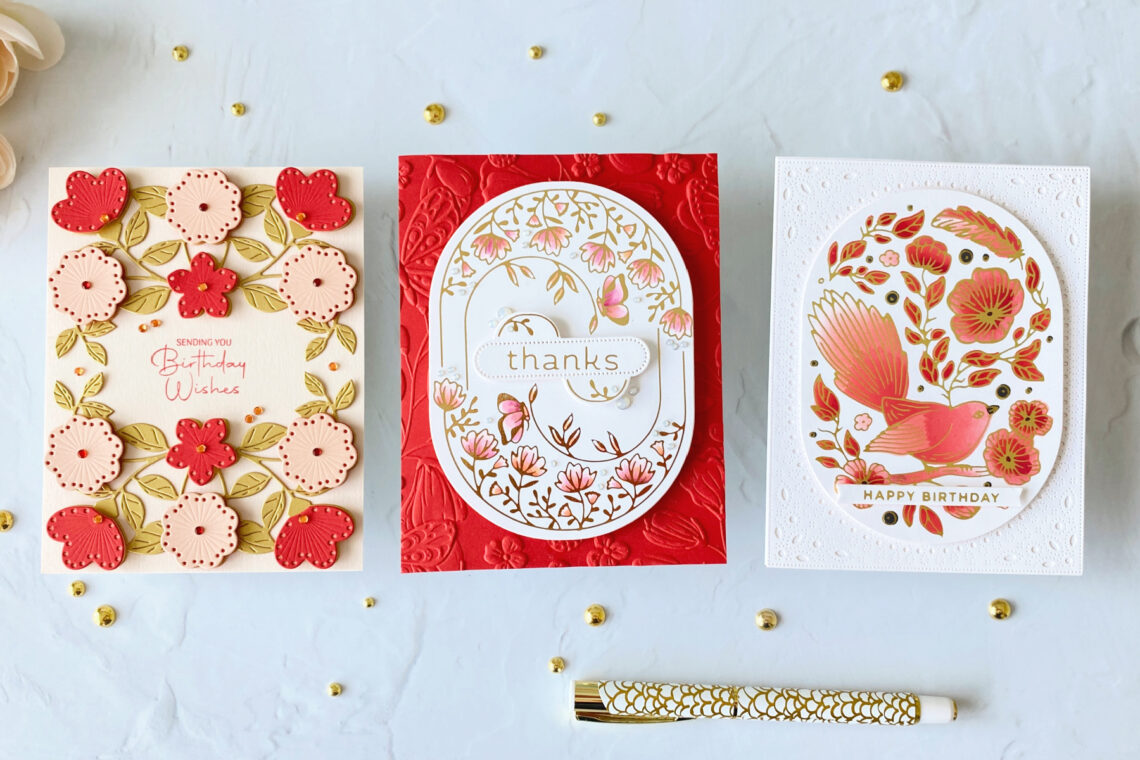
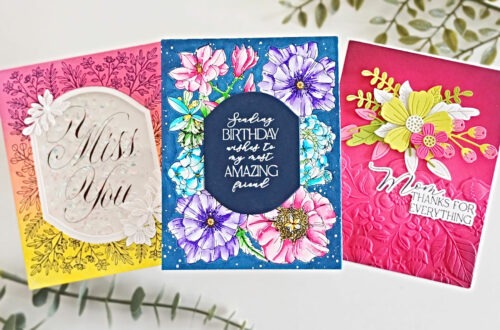
Hello crafters! Do you have a hard time settling on a card design? I’m Joan Bardee and I confess to remaking my cards multiple times. Today I’m sharing how I simplified my design decisions using the beautiful Stylish Ovals Collection. I took a long look at the collection and noted that several of the products have a symmetrical or near-symmetrical design. Symmetry, where one half of the design mirrors the other half, is balanced and evokes calm. So, for each card, I opted to use: 1. the same limited color palette (red/peach, white, and/or gold), and 2. a symmetrical or near symmetrical layout. I found that by making these decisions…
-
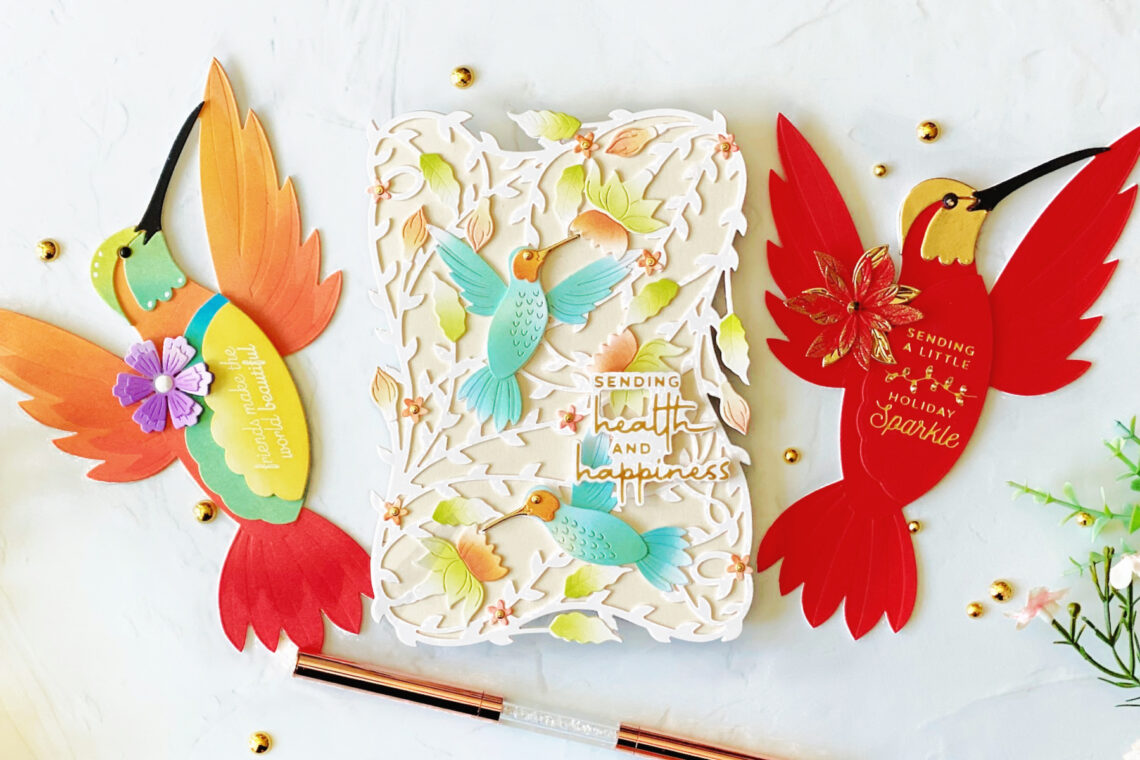
Shaped Cards with Bibi’s Hummingbirds by Joan Bardee
Welcome! Joan Bardee is here today. Delighted to share 3 colorful, shaped, cards using Bibi’s Hummingbirds Collection, designed by the very talented Bibi Cameron. This collection is very different from what I (and probably you) own. If you are looking for unique and gorgeous, this is for you. The Hummingbird Card Creator die makes an approximately 5” x & 7” card in the shape of a hummingbird. I’m also sharing another card featuring another beautiful product – the Delicate Floral Hummingbirds, which also can make a large, shaped card. You don’t have to make shaped cards with these products, but it adds a wow factor. Making a Shaped Card If…
-
Metamorphosis: Rainbow Colored Fun
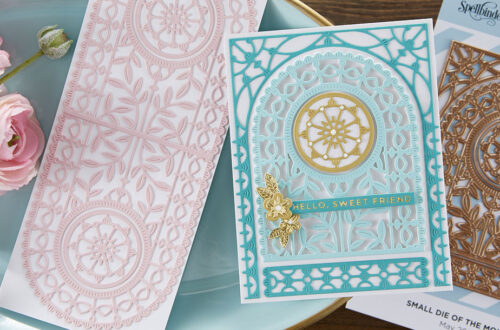
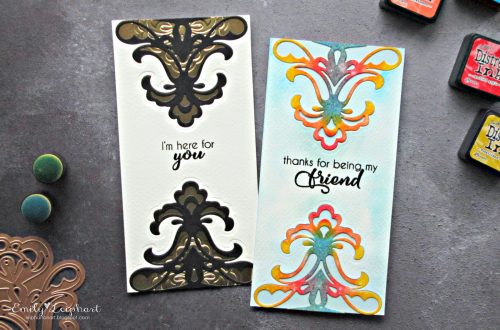
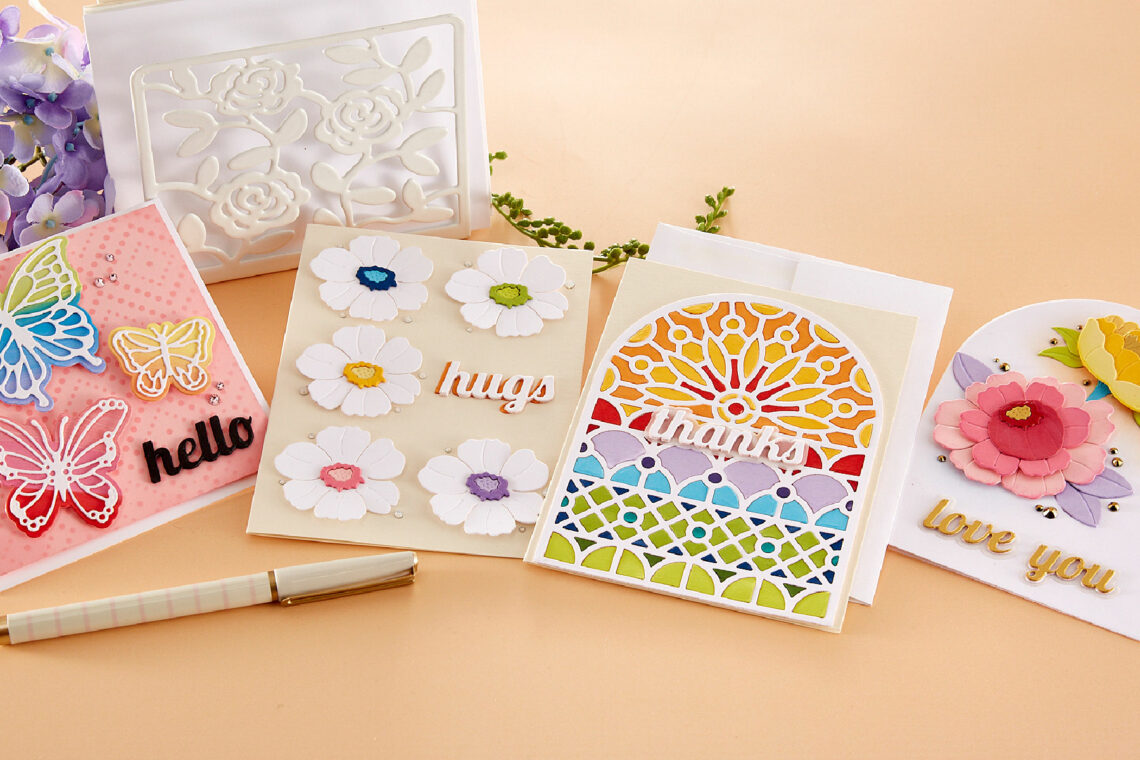
Hello and welcome! I’m Joan Bardee and today I’m featuring 3 cards using the gorgeous Metamorphosis Collection designed by Simon Hurley. (How does Simon create so many amazing products, videos, and samples??) This collection consists of 4 sets of dies: In Bloom, Stained Glass Window, Everyday Sentiments, and Brilliant Butterflies. I was particularly smitten with the arch shape in Stained Glass Window and the collection put me in the mood for rainbow colors, so get ready for rainbows. The Stained Glass Window base die is perfect to make an arched-shaped card, so I did. Die cut a fantasy rainbow-colored bouquet (with gold accents) using the In Bloom dies. Love how…

