Stitched for Christmas Card Inspiration with Jung AhSang
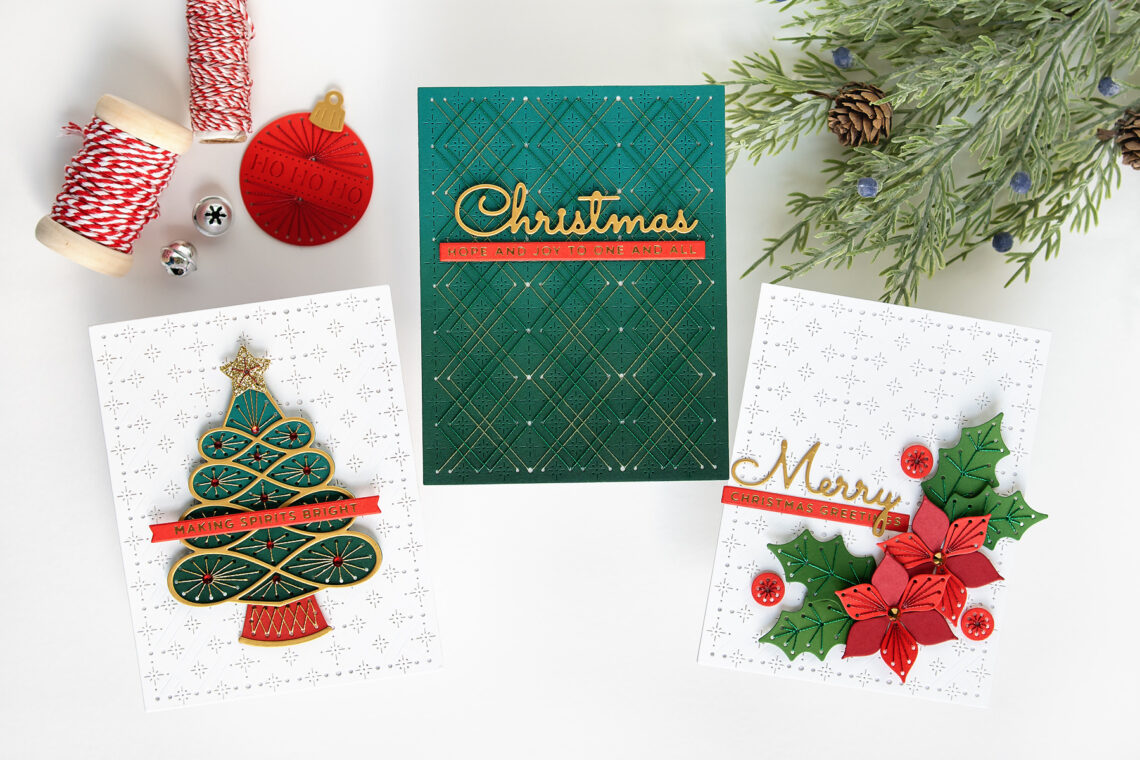
Hello crafty friends! It’s Jung here, and I am back with another guest post on the Spellbinders blog. For my projects today, I’m working with the Stitched for Christmas collection.
STITCHED POINSETTIA
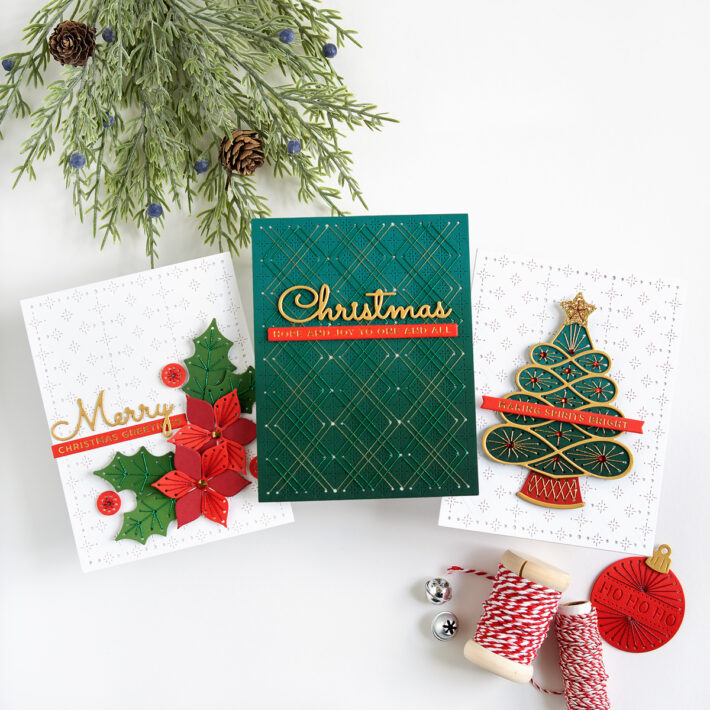
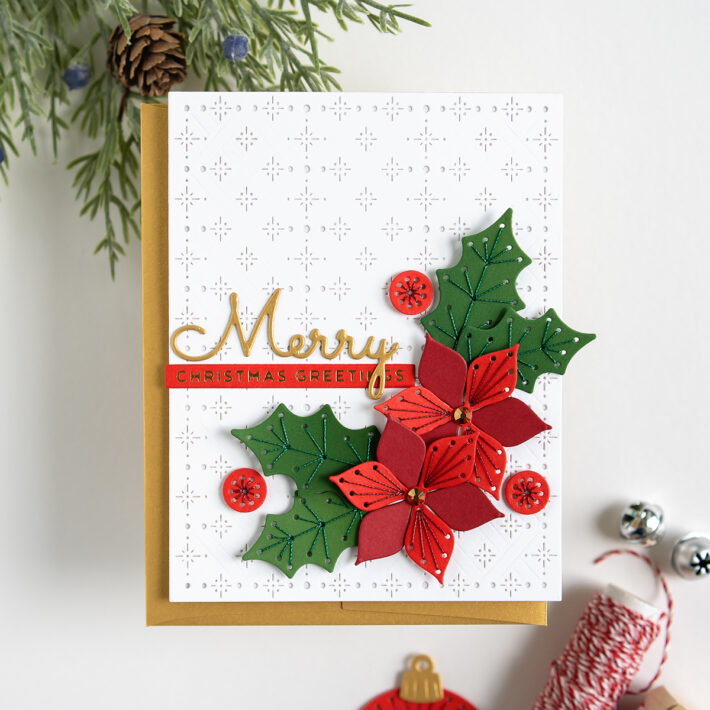
For my first card, I used the Stitched Poinsettia & Holly set, along with the Stitched Starry Argyle background die.
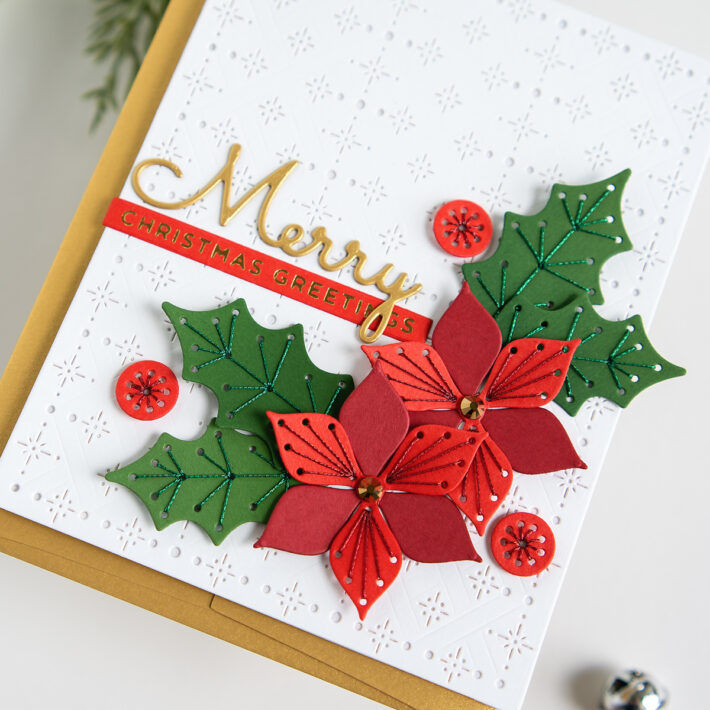
I started by die-cutting all of the pieces in the Poinsettia & Holly die set. Then, I added stitching to the die-cuts while I sat on the couch and watched a show. I used red metallic thread for the flowers and berries, and green metallic thread for the leaves. I also die-cut a panel of white cardstock using the Stitched Starry Argyle background die. Without the stitching, the background die adds some nice interest to the background without overpowering the flowers.
I adhered the background panel to a white A2 card base. Then, I adhered the flowers with only a dab of glue to the center of the flowers, and the leaves with only a dab of glue on the ends. I adhered the berries with tiny pieces of foam tape. For my combo sentiment, I used a glimmer sentiment strip and a die-cut word. I used my glimmer machine, polished brass foil, and red cardstock to foil the “Christmas Greetings” sentiment. I trimmed it using a sentiment strip die. I adhered the sentiment strip to the card. Then, I diecut “Merry” 2 times from gold cardstock. I glued them stacked together and adhered the word above the sentiment strip on the card. To finish off the card, I added gold gems to the center of the flowers.
STITCHED STARRY ARGYLE
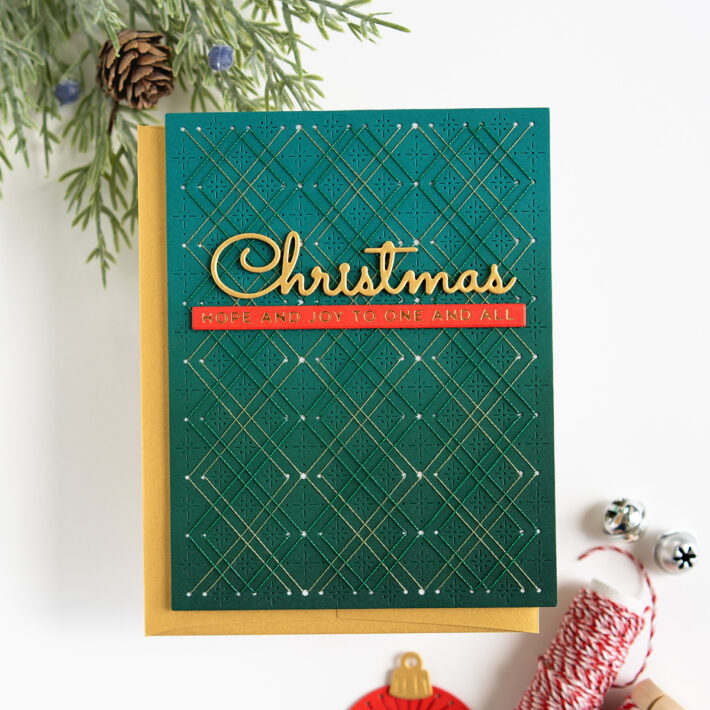
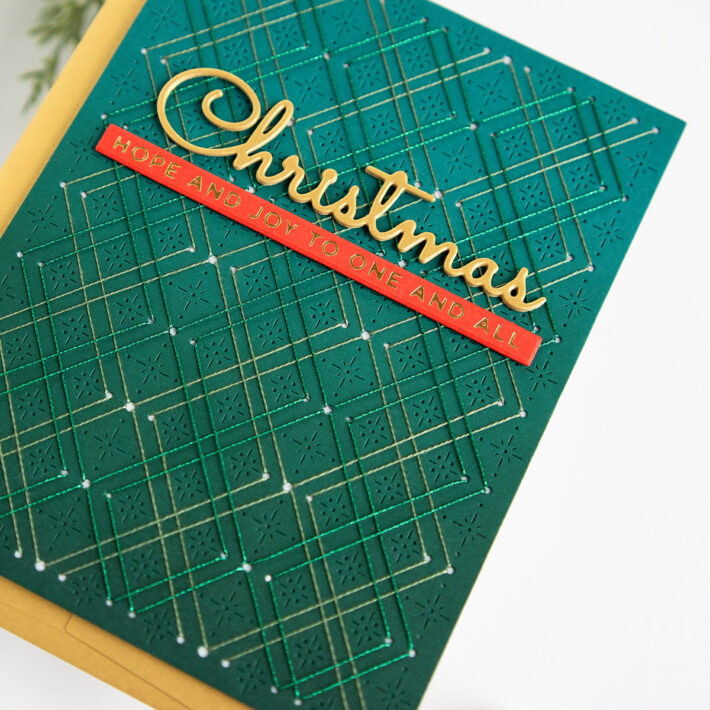
For my second card, I focused on the Stitched Starry Argyle background die.
First, I added some dark green ink blending to the bottom of green cardstock. Then, I ran it through my Platinum with the Stitched Starry Argyle background die. Again, I took the diecut to the couch and stitched on the panel while watching TV. I used 2 different greens: metallic green thread and light green embroidery floss that I had in my stash. I really love the stitched pattern on the background!
I wanted to highlight the detail of the background, so I kept the card pretty simple. I adhered the background panel to an A2 card base. Then, I added a combo sentiment, just like in the first card. I used the “Hope and Joy to one and all” sentiment strip, and Christmas for my die-cut word.
STITCHED CHRISTMAS TREE
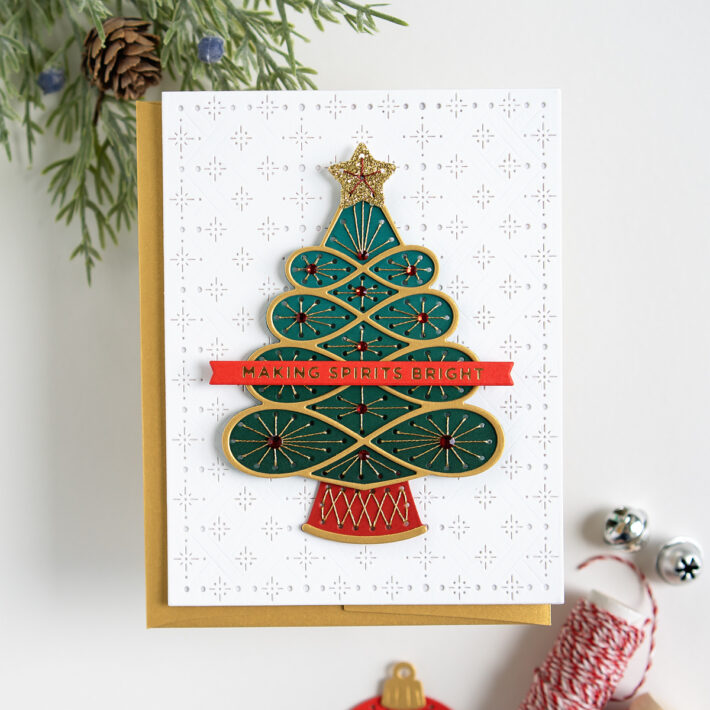
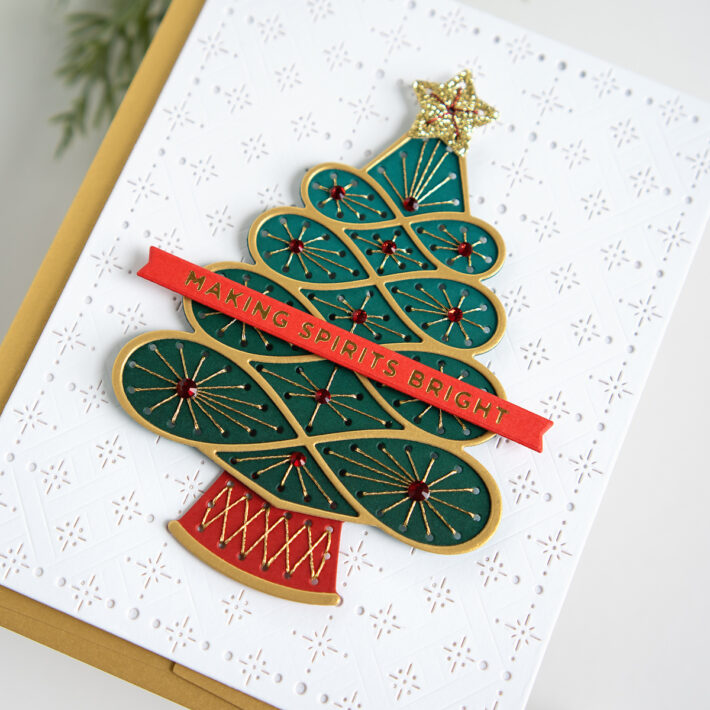
For my third card, I used the Stitched Christmas tree set, as well as the Stitched Starry Argyle background die.
I die-cut all of my pieces first. I added a little bit of ink blending to the bottom of the green cardstock and then started stitching. I used gold metallic thread for the tree and the tree collar, and red metallic thread for the glitter star. Once the stitching was finished, I glued on the brushed gold decorative pieces to the tree and tree collar. Once again, I used the Starry Argyle background die to die-cut a white background panel for the card.
I adhered the white background panel to a white A2 card base. Then, I attached the tree, tree collar, and star using foam tape. I used another glimmer sentiment “Making Spirits Bright” and adhered it to the card, in the middle of the tree with more foam tape. To finish off the card, I added gold gems to the tree.
I love adding stitching to my cards. It’s a craft I can easily do sitting on the couch, haha! I hope you got some inspiration from my cards, as I really loved making them. Thanks so much for stopping by, and don’t forget to check out these products in the shop.
Spellbinders Supplies:

Other Supplies
Light green embroidery floss.

2 Comments
Delia Wilkes
Absolutely love your cards, they’re gorgeous. Can I please ask, did you double up the cardstock die cuts for the embroidery ? I received these die’s yesterday and look forward to trying them out❤️
Rita Pierson
Beautiful!! Will you make a religious (Nativity scene, etc.)?